- Home
- Forums
- Ride Reports
- MotoBikes
- Restorations
- Wrenching
- 1963 BMW R69s
- 1969 BMW R60/2
- 1978 Yamaha 125
- 1979 KZ1300
- 1979 Kz1300 - Bob's Beauty
- 1981 CBX SuperSport
- 1981 Kz1300 Model A3 - Chocolatie
- 1984 Ford F250 XL
- 1987 ATK
- 1987 MowieMowie
- 1987 RotoTiller
- 1988 Honda Accord Lxi
- 1990 BMW RT100 - Barrie
- 1991 Harley Davidson FLHTCU
- 1992 Johnnie Deere
- 2000 YZ426
- 2002 Dodge Ram
- 2006 Carson RacerX Trailer
- 2006 Host Camper
- 2006 KrZy8
- 2007 Wabs
- 2012 KTM 690R
- 2013 Naomi - FJR 1300
- 2014-08-01 Air Compressor - Sears
- 2017 Kioti
- 2018 Toy Hauler
- 2020 Honda Fit
- 2021 Miscellaneous
- 2024 Log Splitter
- 2024 NeoDyne MC Lift
- 2050 test
- Lil Trlr
- Eats
- RIP
- PC Not
- Cages
- Test
- FJRF Best
- For Sale
Candy Butt Association
World's Wimpiest Riders
You are here
2021-08-25 2013 FJR Wind Screen Story

Forums:
2013-08-25 2013 FJR Wind Screen Story (Naomi)
Naomi came with stock OEM screen and Cee Bailey 'Laminar Lip'.
Laminar Lip blew off.
Then realized how much the stock screen sucked.
Researching the FJR forums learned that Yamaha completely redesigned the wind flow for Gen3.
Contacted Gary Patel at Rifle, Atascadero.
Gary used my 2006 to template Gen2 'tuning blocks' and windscreen, which work incredibly well.
Gary was interested in templating my Gen3 so dropped the bike off and Gary went to work.
First up, some pics of the very successful Gen2 setup.
Looks like screen is in down position.
(took pics weeks ago!)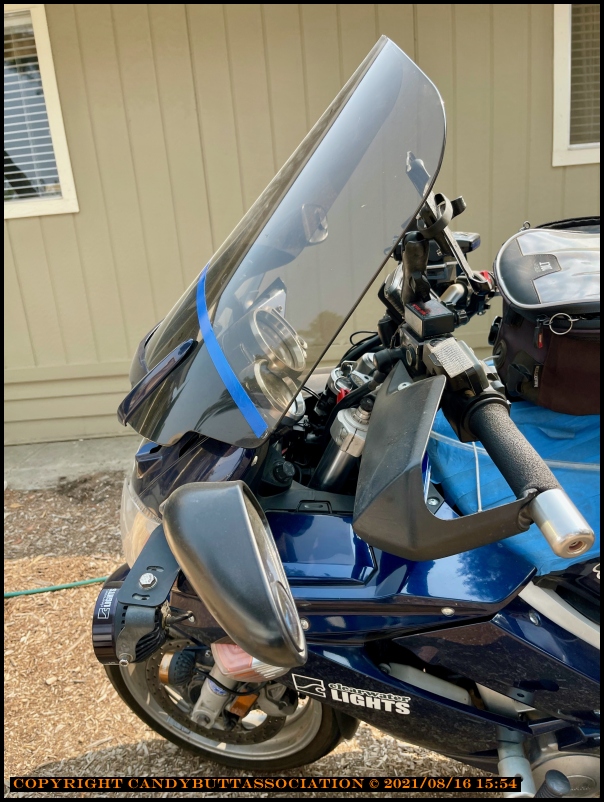
Front view.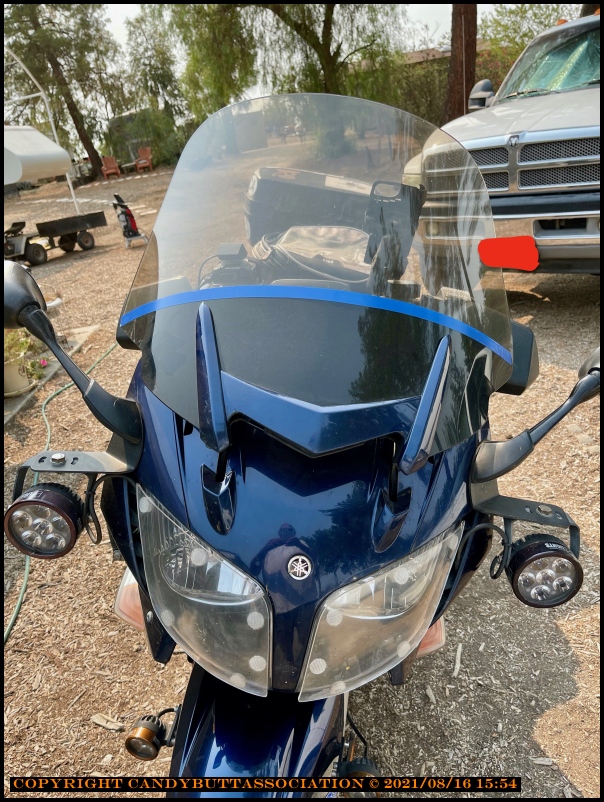
Up position. Note that as the screen raised, it becomes more vertical.
Poor design, mamaYama.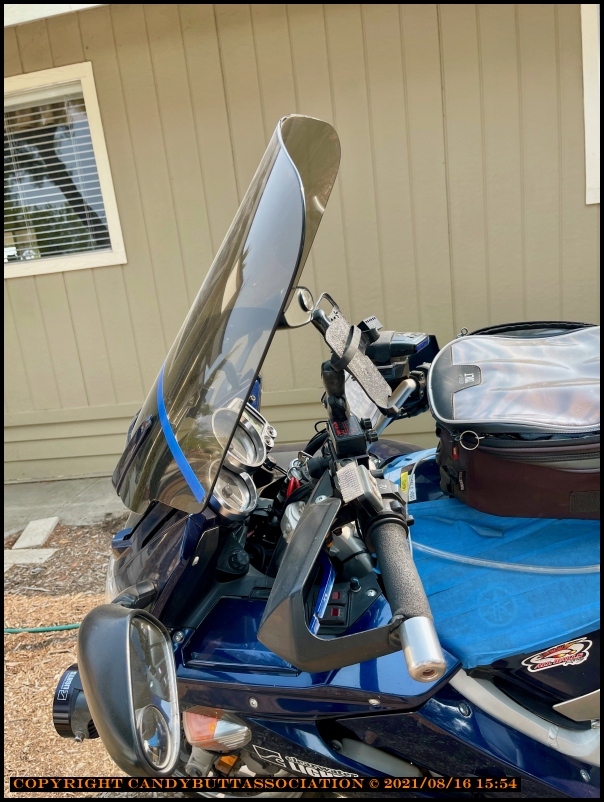
Up position front view.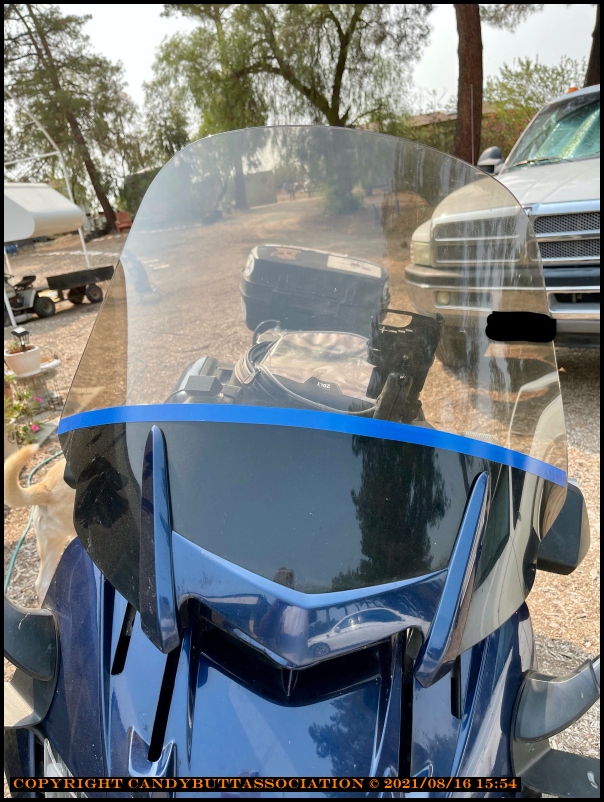
Up position side view.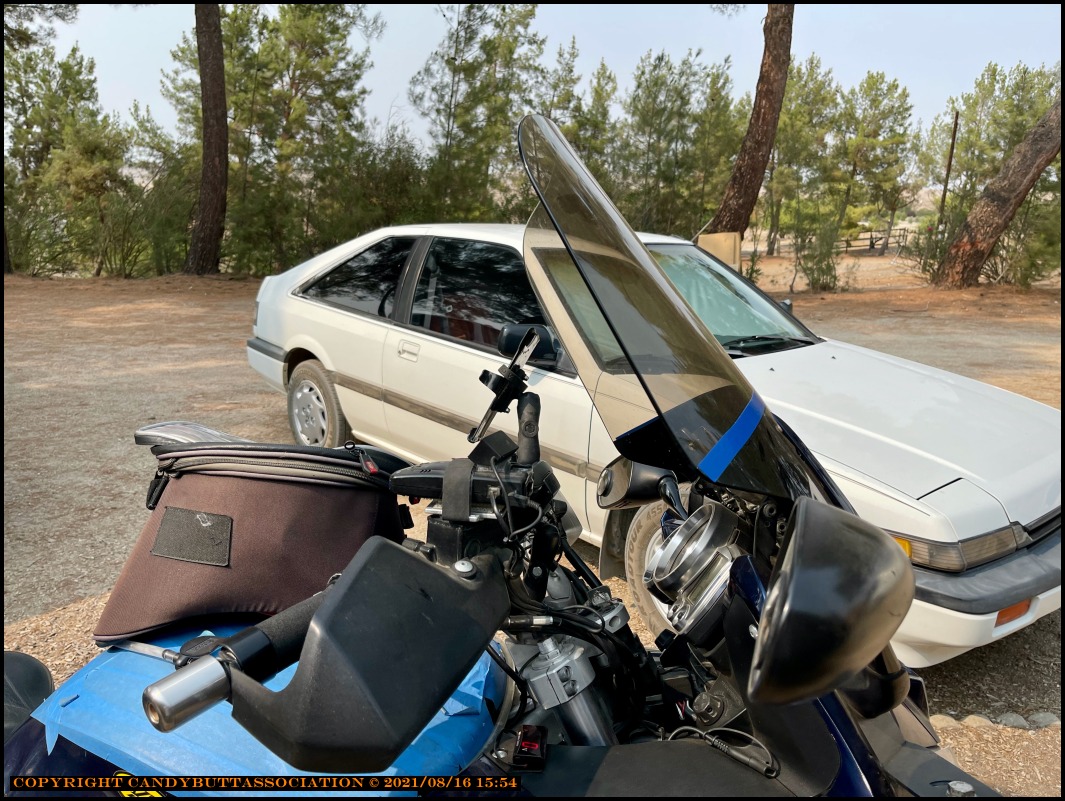
Height measurement.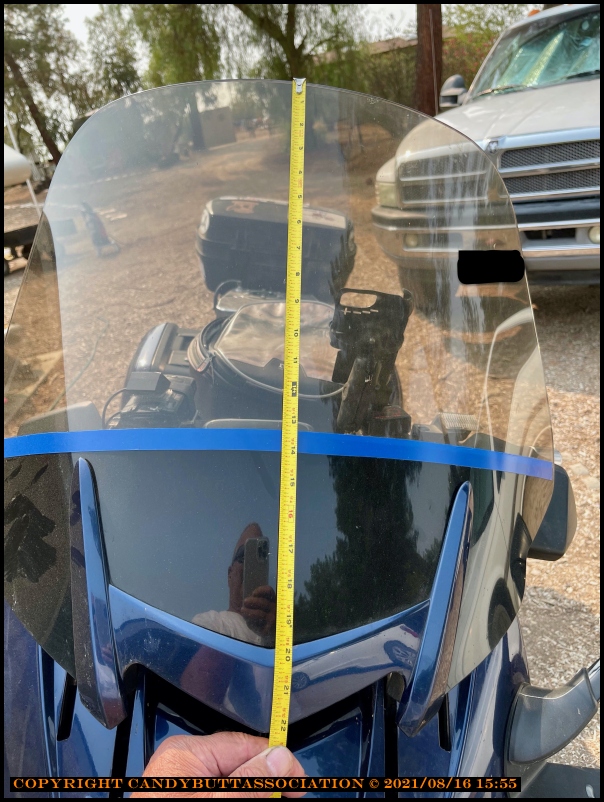
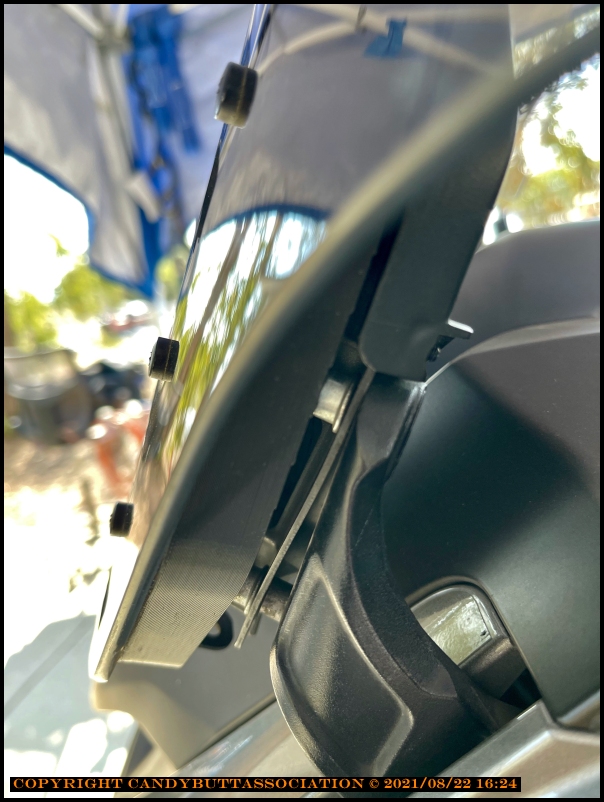
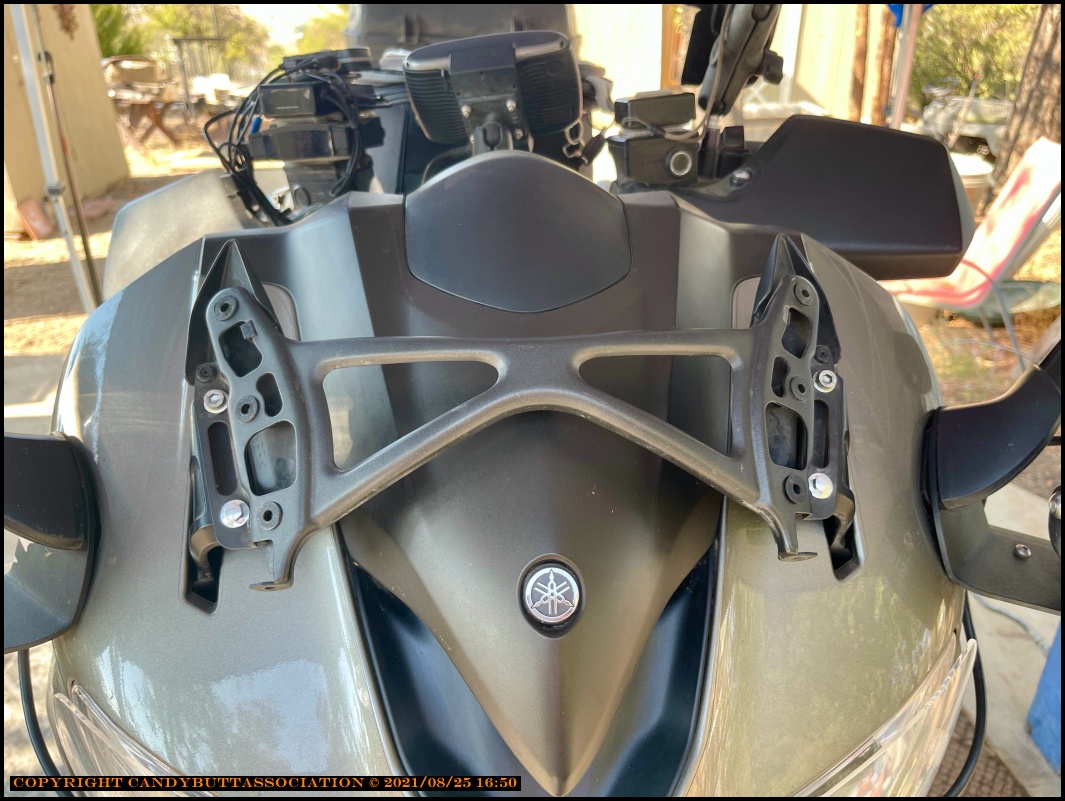
Prototype Gen3 screen and 'tuning' blocks.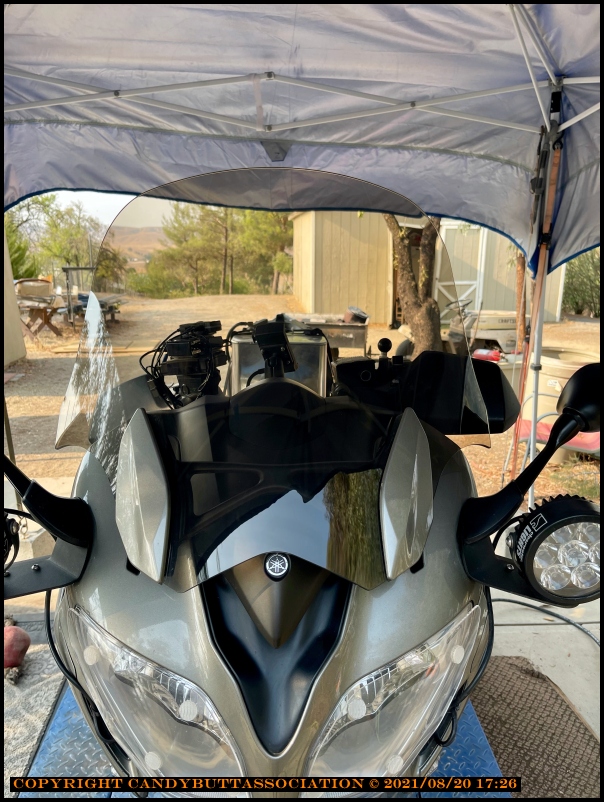
Up position. At this point of time, have not ridden to test.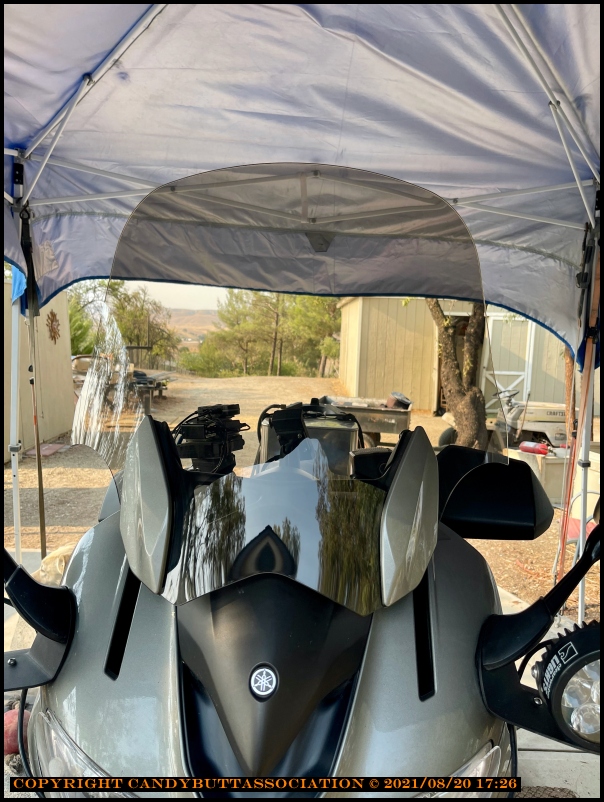
Cockpit view.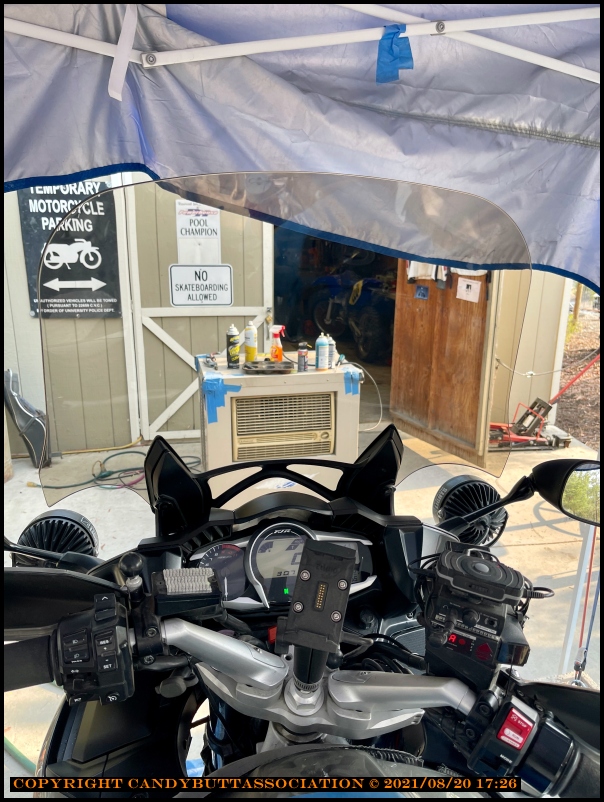
Tuning blocks are 3D printed prototypes for testing.
Not sure if Gary plans to keep 3D or machine from aluminum.
Machining cost $$...
Another view.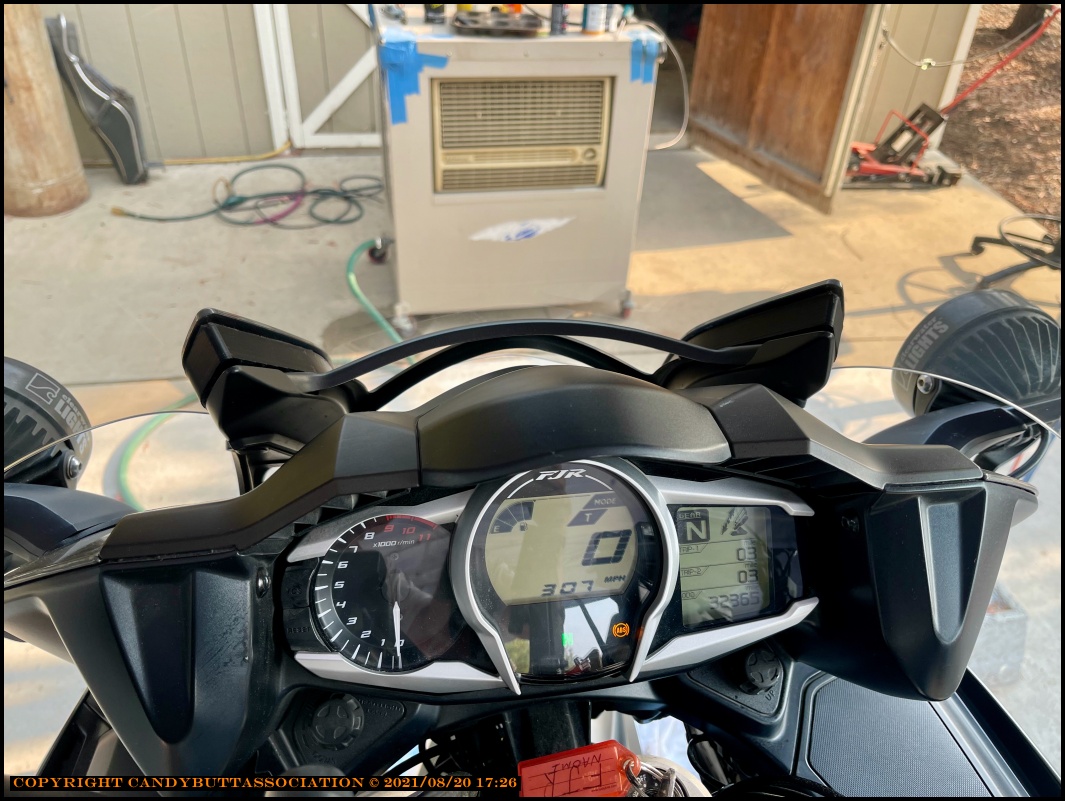
And again.
Not as nice as Gen2 blocks..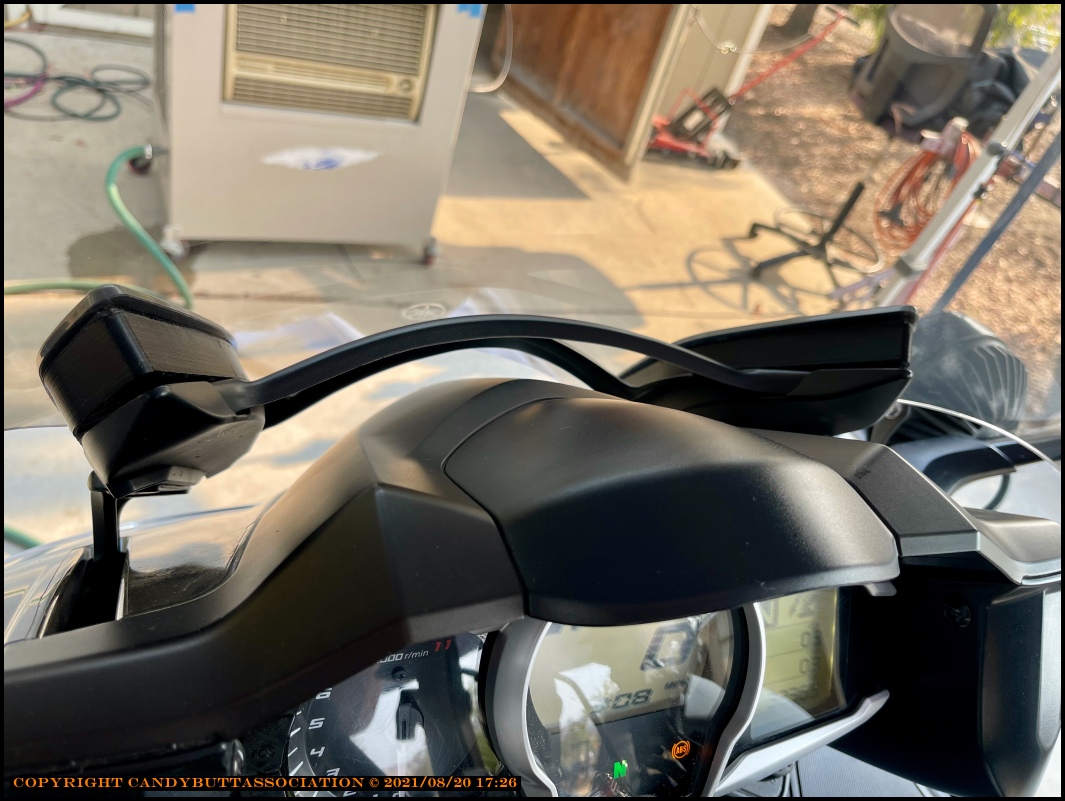
.
Air gaps look ugly.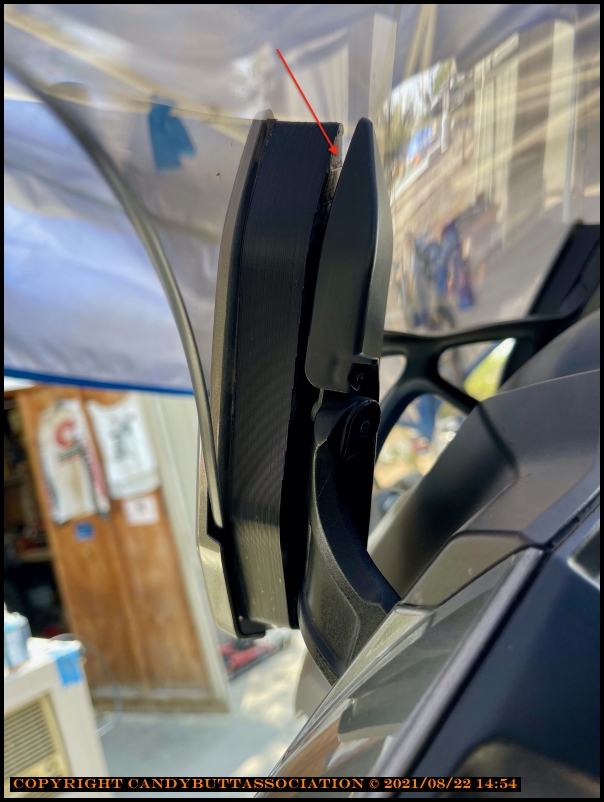
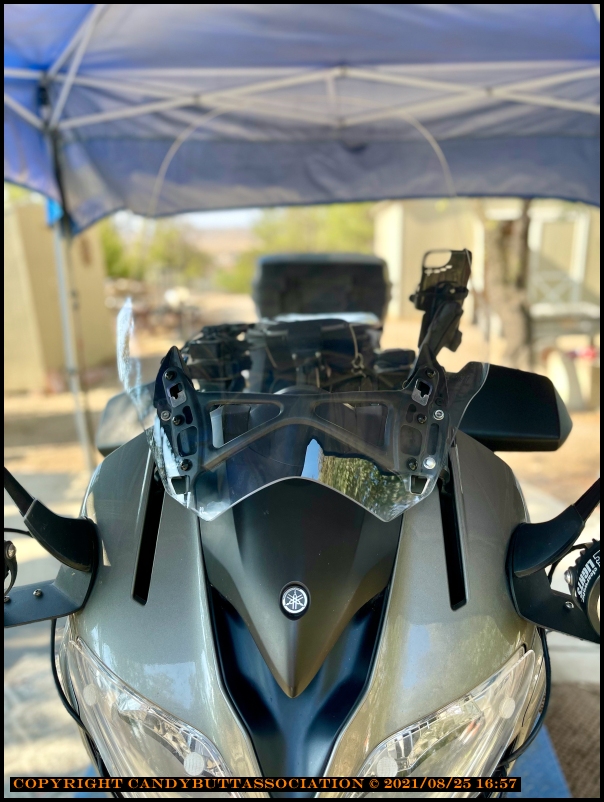
Screen appears very vertical in full up position.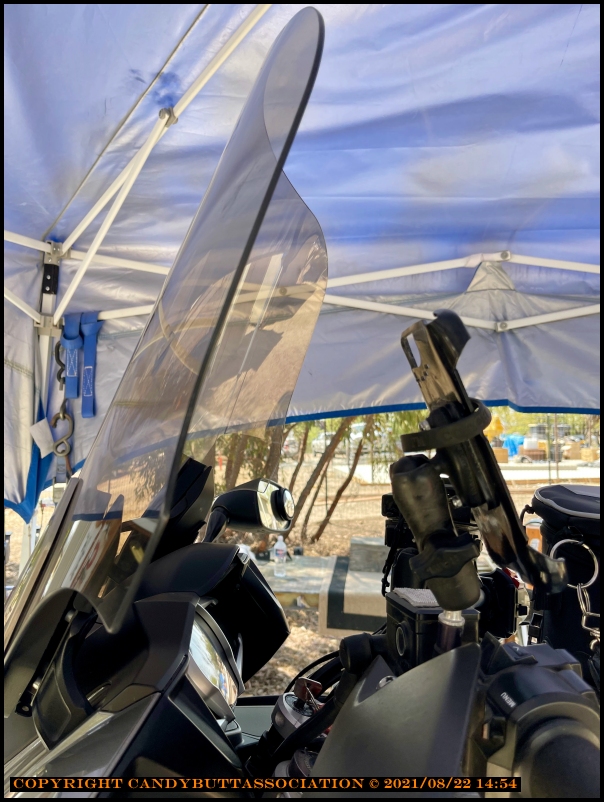
And that's with 1/4" spacers under lift mechanism bottom points.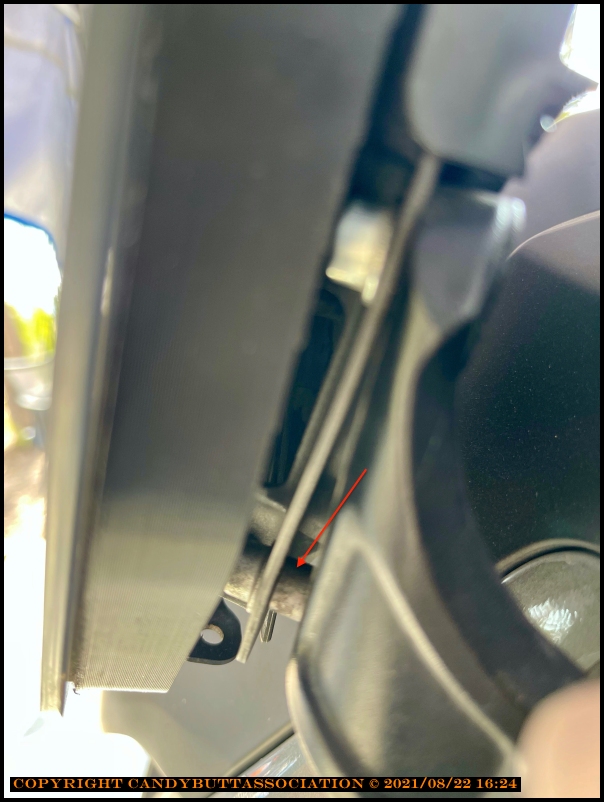
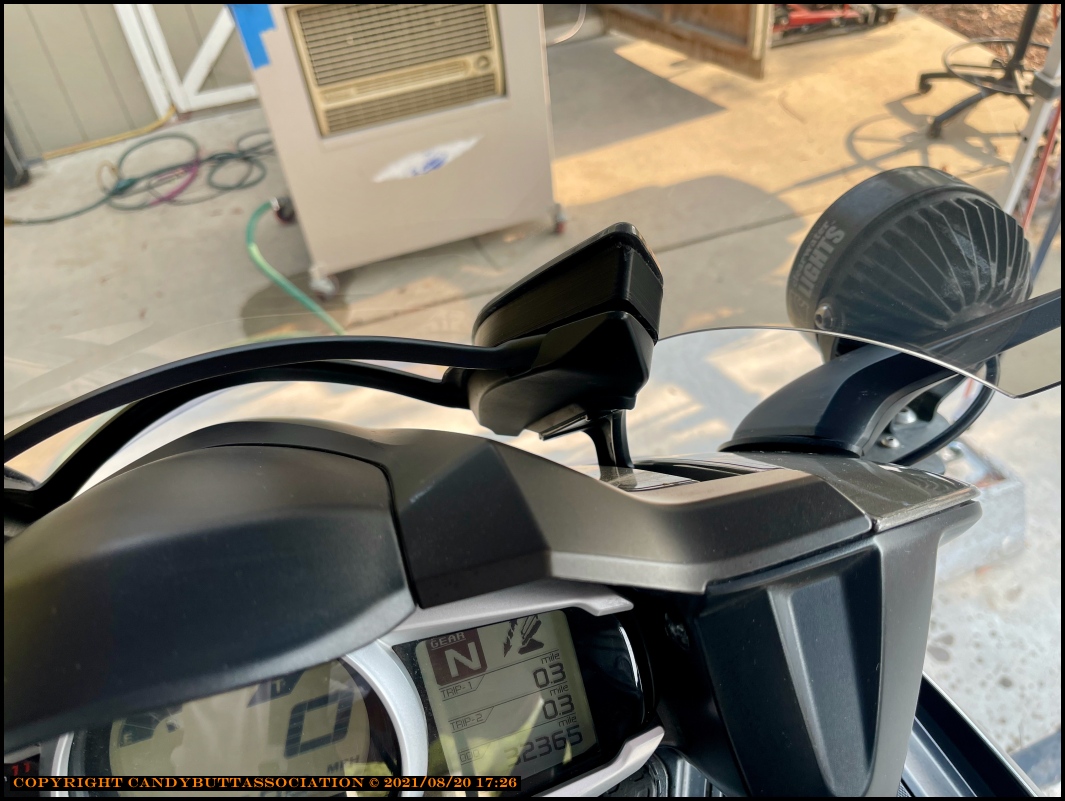
Tubing cut size.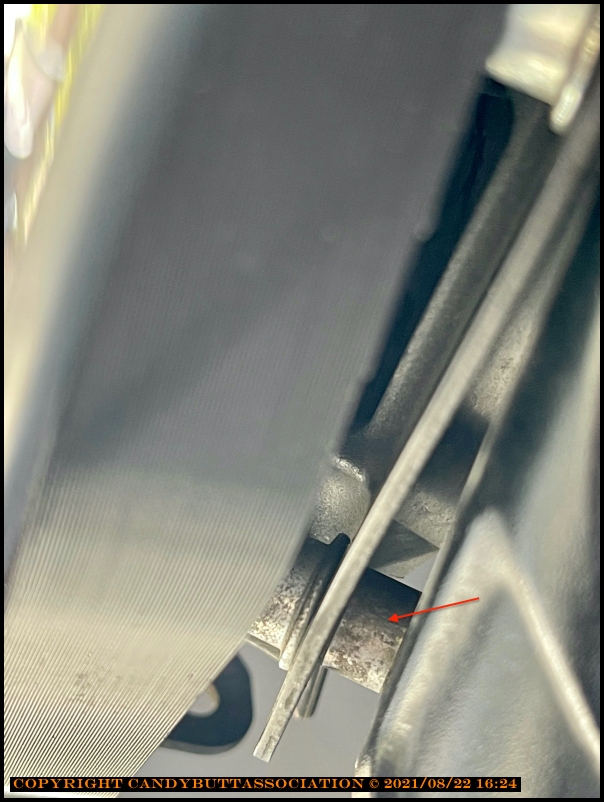
.
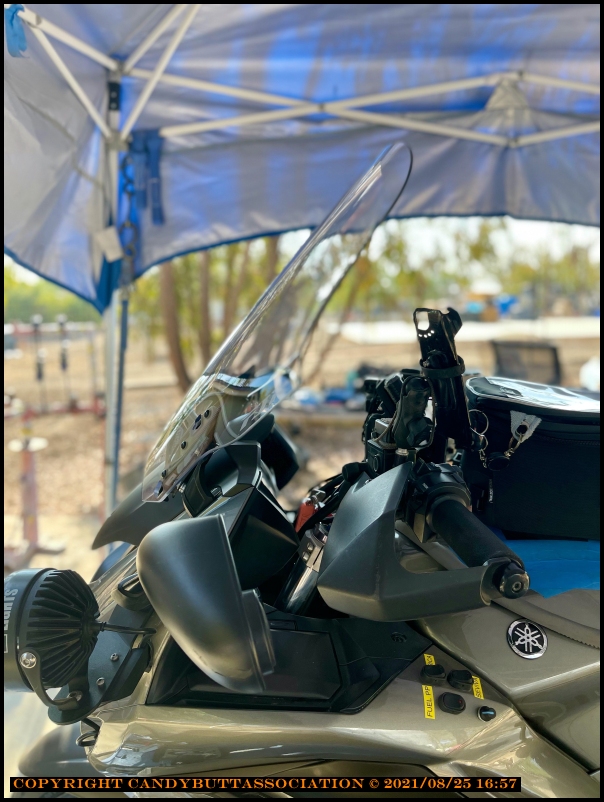
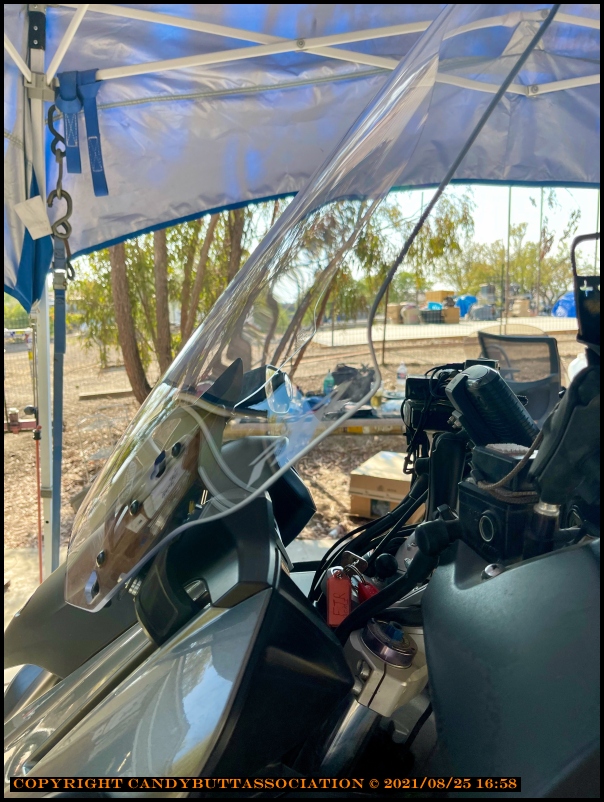
Hmm. Very vertical. Starting to wonder if too vertical.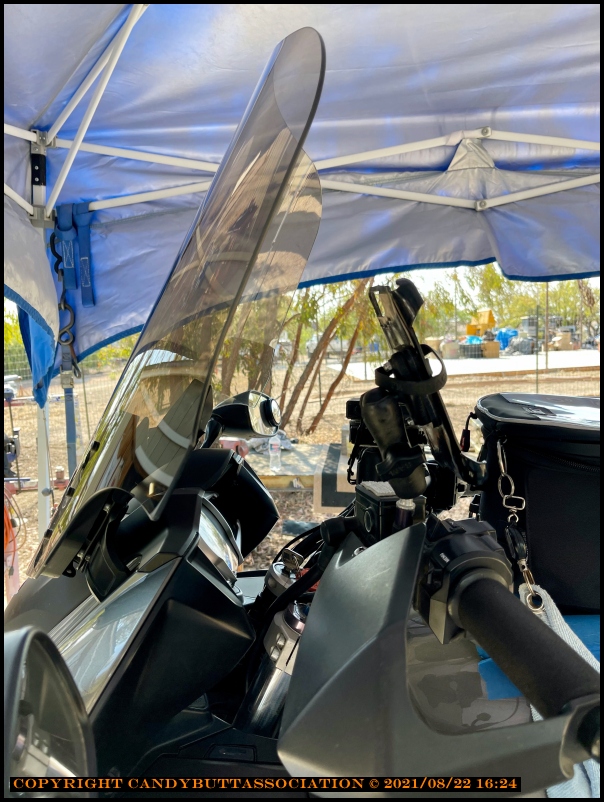
Full down position is not as 'layed' back as Gen2.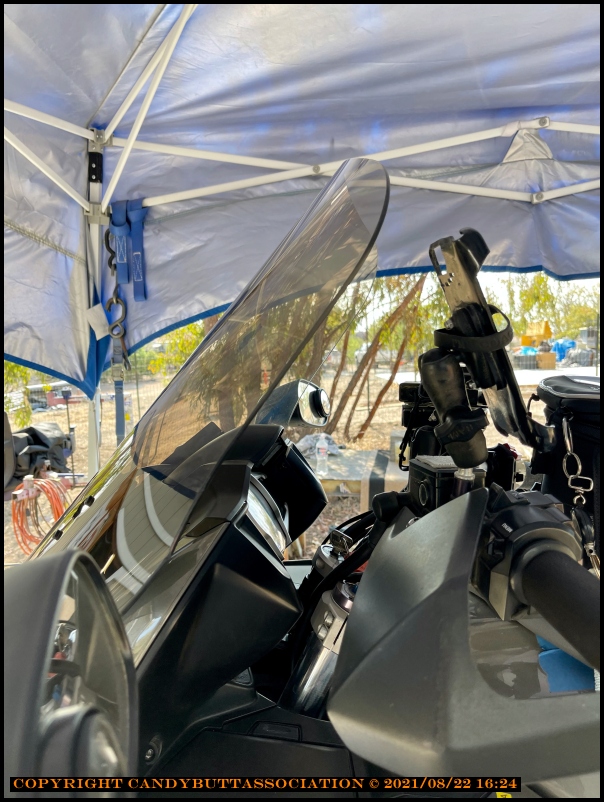
Riding Test
Took Naomi out for test ride, 341 miles, and it simply sucked.
Severe buffeting, eyeballs shaking hard enough difficult to read street signs under some conditions.
Sounded like two rock n' roll drummers pounding on either side of helmet too.
Standing on pegs in clean air much better, but even that's too loud as compared to Gen2 setup which has a nice
pocket of quiet with screen approx 30% up. Recall the screen becomes more vertical with lift, so the idea is find
the quiet zone at height the rider normally uses. For me, I like a little wind on chest to eliminate wrist fatigue, which
equates to looking over screen top by about 2 inches.
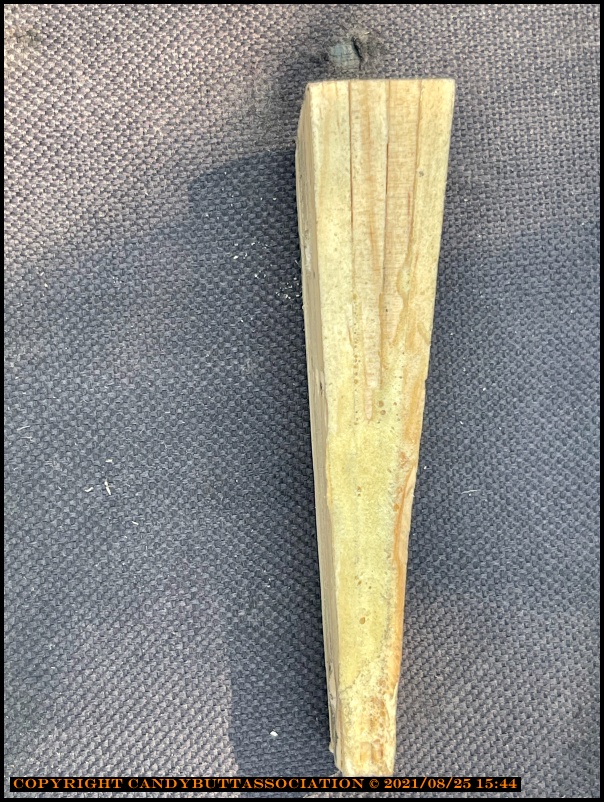
Decided to make some temporary 'tuning block adjusters from wood shims, to experiment.
15.5 mm at fat point.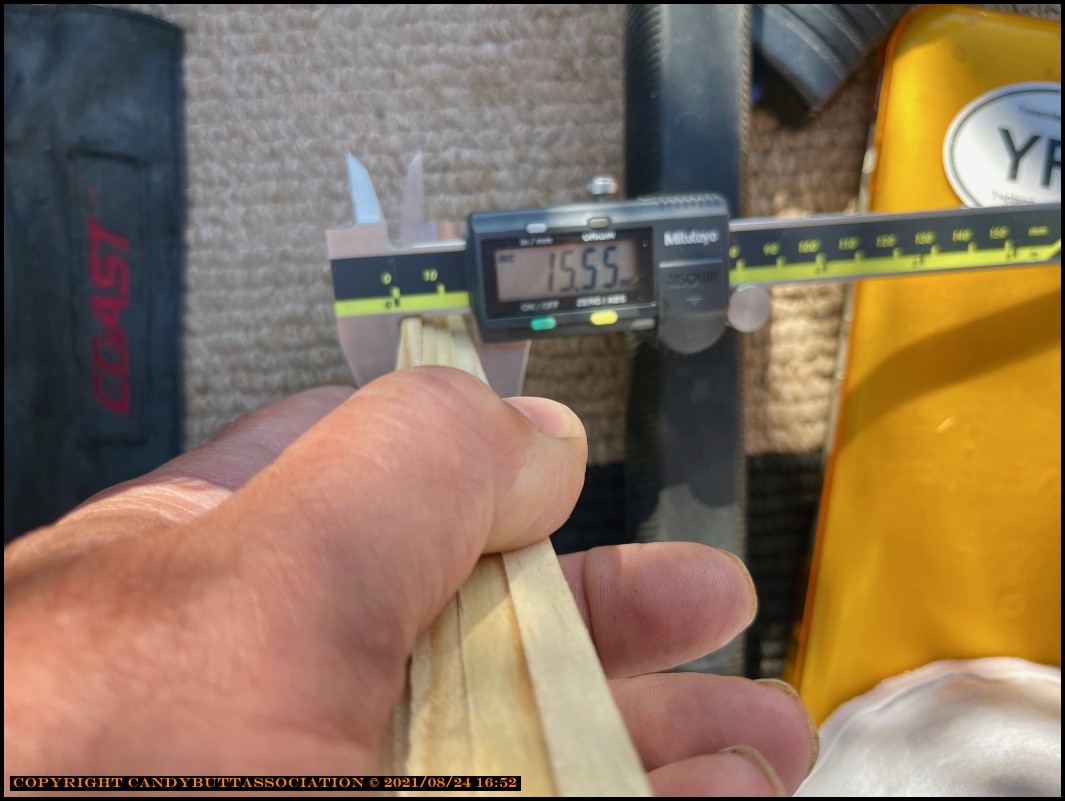
6.2 at skinny point.
Glued shims together.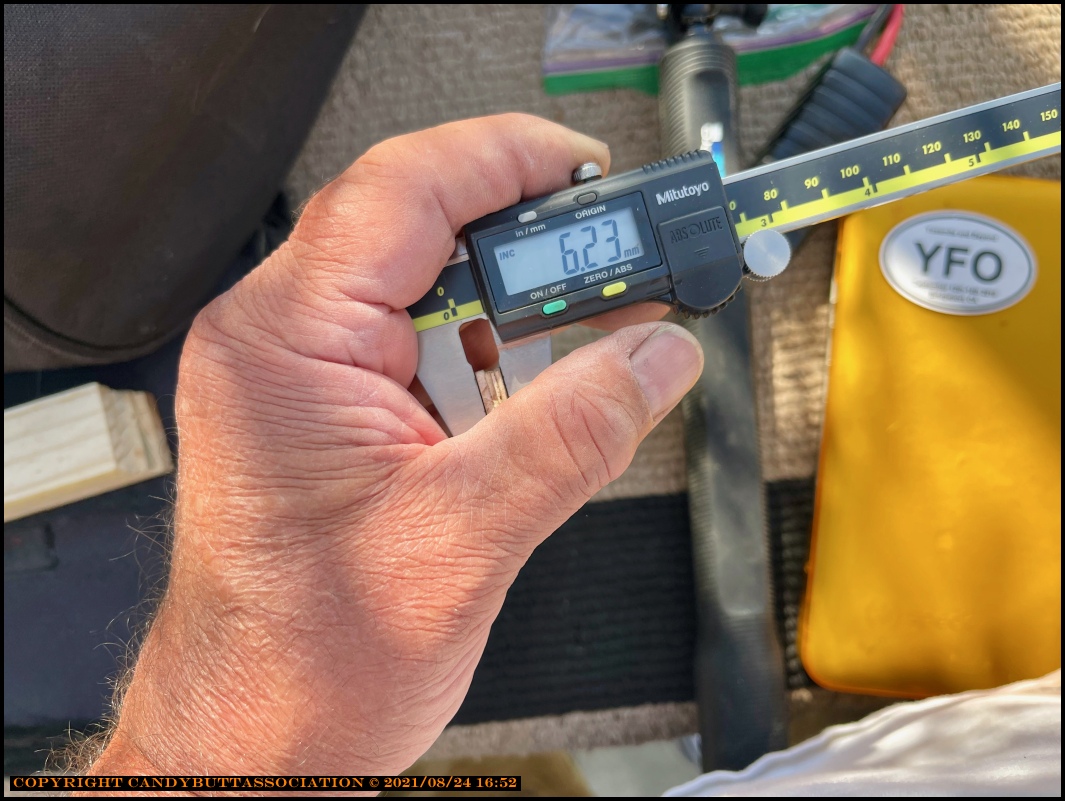
9.35 mm thickness delta, top to bottom of shim.
Whichis nearly .4 inches.
Will it be enough?
Stay 'tuned', no pun intended! 
Theme by Danetsoft and Danang Probo Sayekti inspired by Maksimer
2015-08-26 Wind Screen Story continued
Called Gary, let him know more work needs be done. Gary confirmed and stated after re-running the numbers the screen needs more angle and is working on rev2. Hey, that's why it's called prototyping, right?
Gary is a department of one, "Get a man right on it!", but said he'll try to have rev 2 ready before I leave for Tyler's Virgina Creek Settlement run and RR10.
In the meantime, purchased a Yamaha touring shield from PartZilla as a 'plan B'. It's here now. Spoke with Bill Lumberg from FjRiders.com, he has tested a bunch of screens. Naturally curious, I guess.
"I’ve used Cee Bailey, Aeroflow, all three vstreams, and the Yamaha touring. The Yamaha touring is probably the best all around, for me.
The Aeroflow is notably good, but leaves bad helmet battering at higher speeds for this 6’0’rider, 32” inseam, that uses a helibridge in the middle position.
The vstream 20308 was probably a close second."
Installed OEM touring screen and test road today. It works very well. I did shim the bottom about 1/4".
Pics to follow.
Pics out of order, sorry.
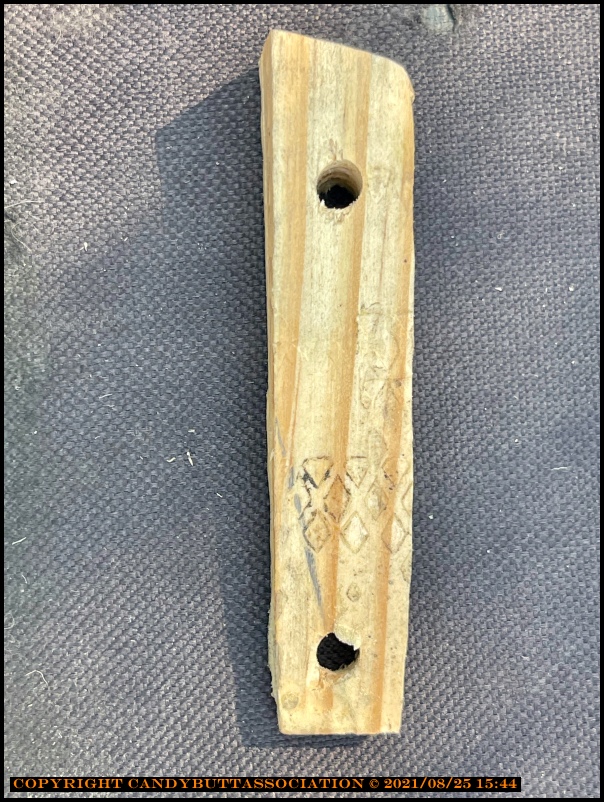
First attempt at home-grown tuning block adjusters..
Starting point.
Glued together.
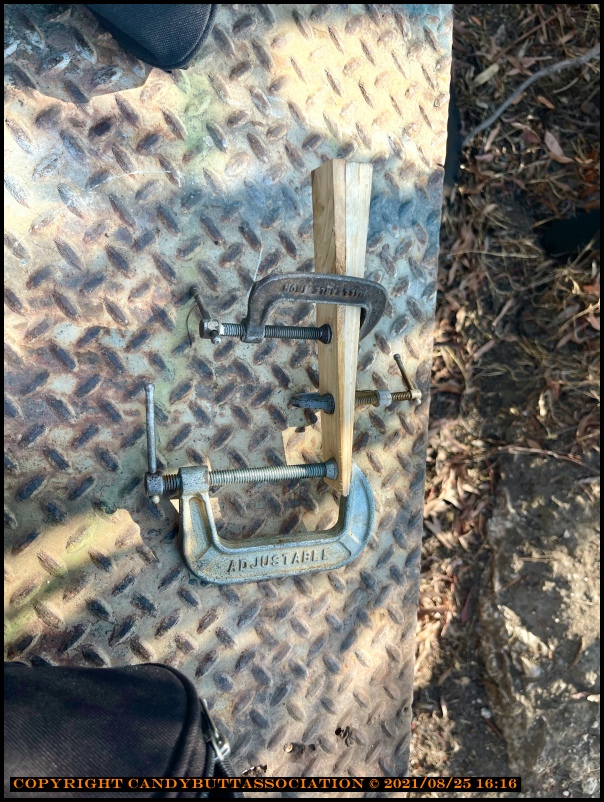
Installed. Unfortunately, I dorked up the other side and had to build another adjuster from scratch,
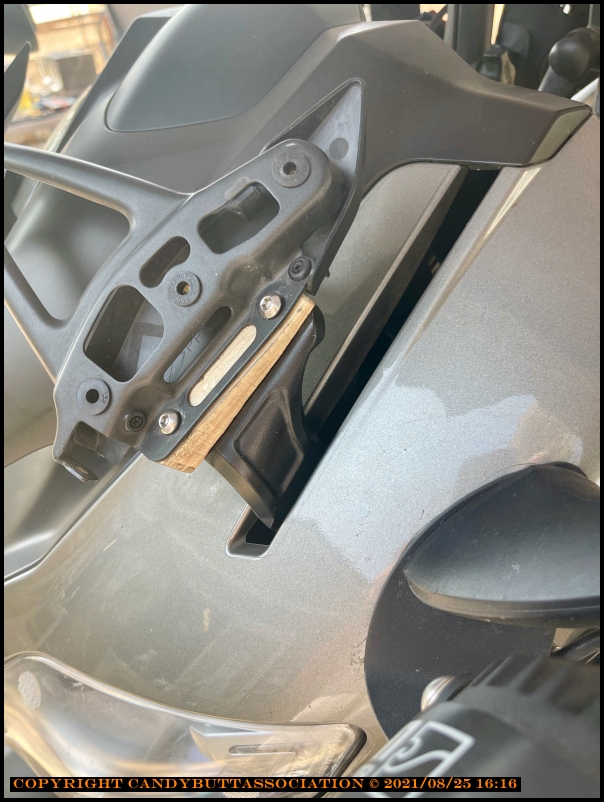
While the glue cured, installed the OEM touring screen.
I told you this was out of order..
Preparing to install OEM 'touring' screen. Got these nice spacers from local hardware store.
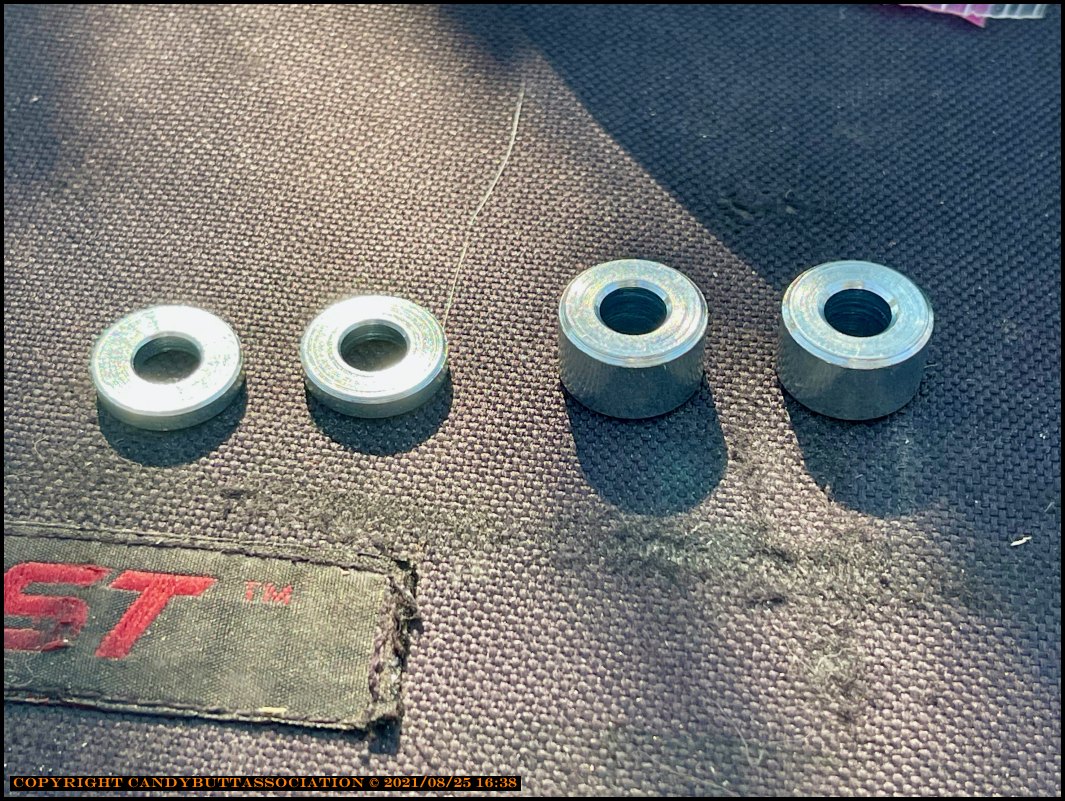
Decided to stack two of the smaller spacers. Not the bracket wants to bend to conform, so just enough torque to hold..
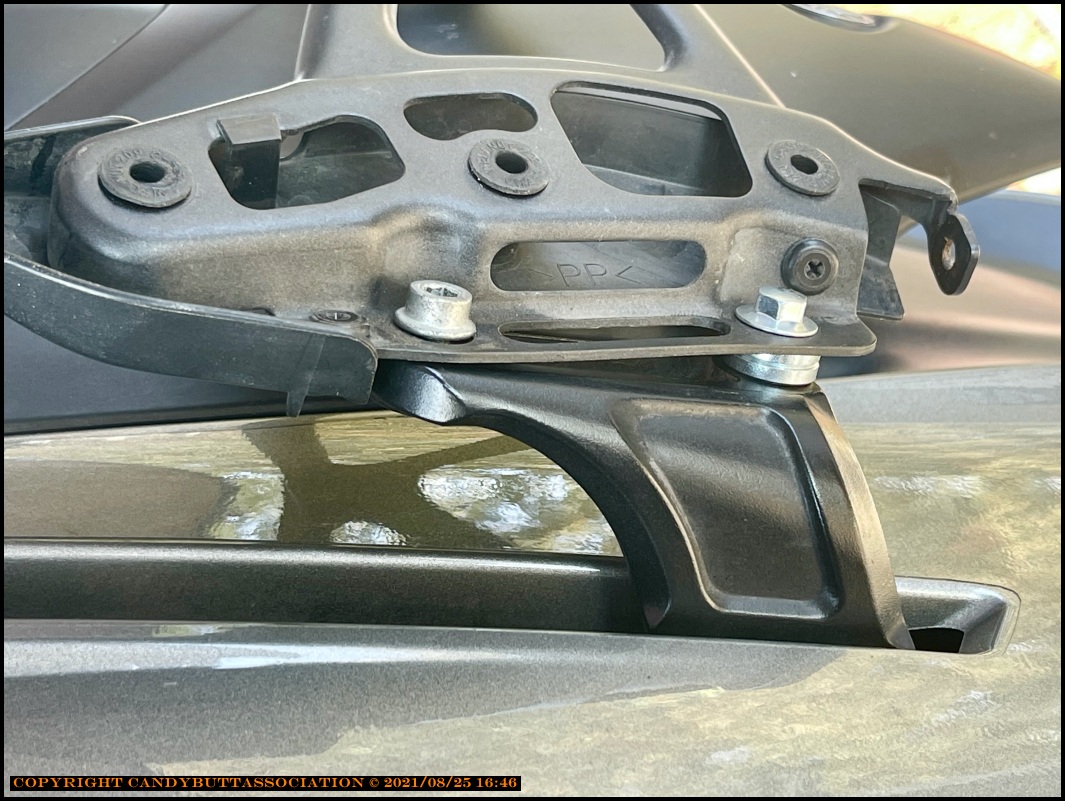
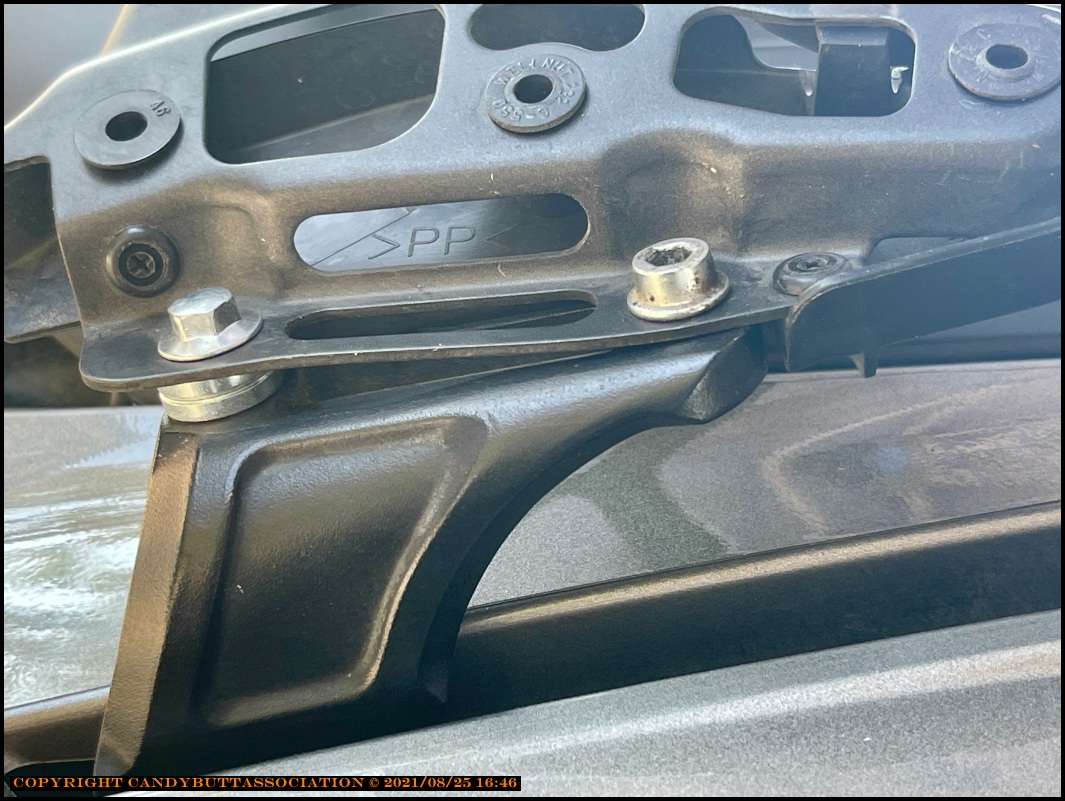
Close up view.
Front view.
Front, screen up.
Side, screen up, much more 'angle' than prototype.
Screen down. this might work, pretty close to Gen2 Rifle angels.

Close up of upper position.
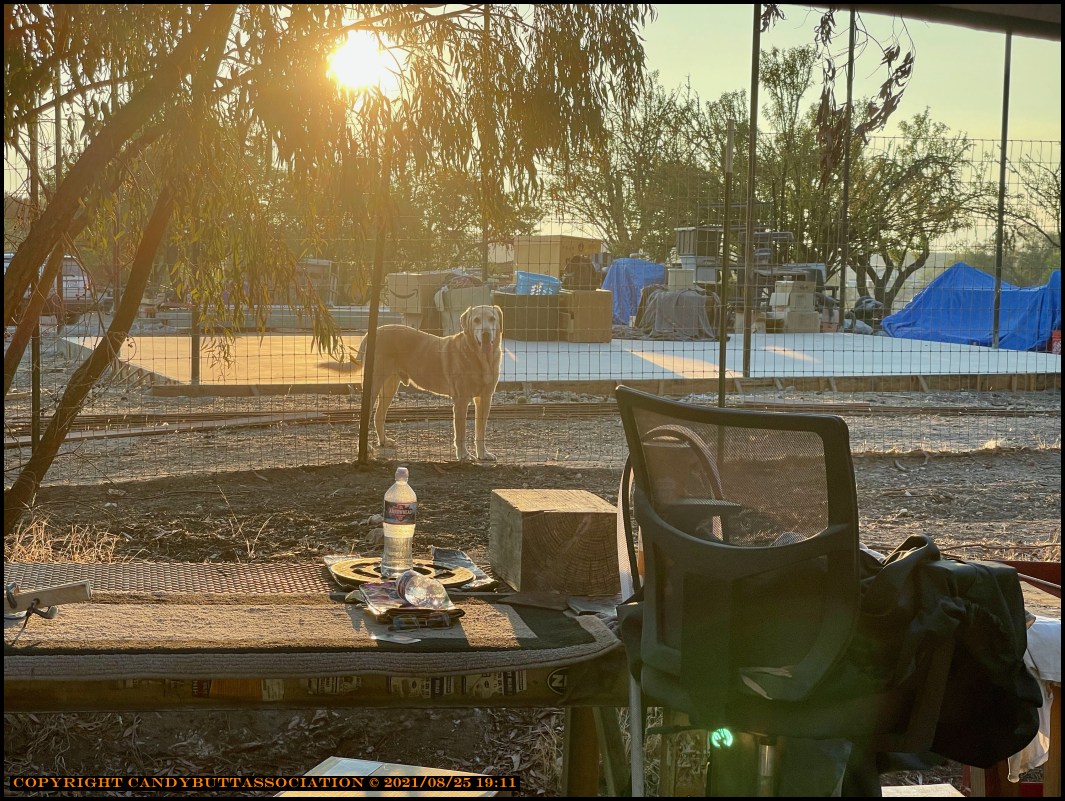
Getting late, Duece, neighbor dog, supervises.
Long of short, this configuration works very well per 80 mile test ride.
Full down position equals clean air flow, same as sticking head outside the bubble.
Full up and some buffeting, but no rock n' roll drummers.
Mid position is the sweet, sweet spot. Quiet, almost as good as Rifle Gen2 screen with tuning block.
There is one spot where my duck-billed helmet has some down force, but it's only for approx 5 or 10 degrees.
All in all, the Yamaha touring screen works very very well.
It will be fun getting back to prototyping the Gen3 Rifle with Gary. Hopefully the product will excel and be better than the OEM touring screen.
More later.
Good work by other peeps..
Good work by other peeps..
I mentioned a while back that I had experimented with making a mod to the 3rd Gen's windshield angle similarly to how many folks modified their 1st (and even some 2nd) Gens in the past. The concept is to change the angle of the windshield and, especially for the 1st Gens, to increase the air gap at the bottom of the shield above the faring surface to reduce the vacuum behind the shield in an attempt to reduce turbulence and buffeting.
Since my experiments have been relatively successful, I've decided to go ahead document what I've done (so far), so that other 3rd Gen folks can do some of the same, or maybe they will spin off of this with something even better.
To get started, lets take a look at the windshield mechanism on the 3rd Gens. Refer to the parts layout below:
After removing the two painted trim covers, (#4) the windshield is mounted to the part that I'll call the "windshield carrier" (#8) with six plastic screws (#2) threaded into six rubber captive well nuts (#3). Once the shield is removed you are left with the carrier bolted to the two articulating arms on either side of the Drive Unit Assembly that (#13) protrude through the two slots in the front faring. The carrier itself is mounted to the arms using four 6mm x 12mm long flange head cap screws (#9).
After removing the four cap screws the whole carrier assembly can be lifted off and you are looking at the arms of the Drive Unit Assembly.
Note the angled relationship of of the two arms to each other. Here's a closer look at one of the two arms
And the back side of the carrier assembly mounting area
Seems simple enough to install some spacers and modify the angle that the carrier mounts to the moving arms and thereby change the shield angle. The parts that I used were pretty cheap and readily available, I used two 6mm x 20mm Allen head cap screws, and two short spacers that I manually cut from a single plastic 1/4" ID, 1/2" OD x 1" length plastic spacer bought at Home Despot.
The picture below shows two of the 20mm screws and plastic spacers along with two of the four stock 12mm long screws that will be used in the top two holes.
I first cut the 1" spacer in half lengthwise, with a slight angle ~ 10 degrees on the cut, and then filed the beveled ends of the two down to exact (and nearly identical) length of 10mm at the longer side of the bevels.
Installed the two beveled spacers in the bottom cap screw locations with the fatter sides down, using the longer 20mm cap screws. This will tilt the carrier and windshield back further towards the rider.
The carrier assembly is a relatively thin steel plate and will flex a bit as you tighten it up. If you over do it you may bend the steel to the new angles, but that should be no big deal. It's easy enough to get them tight enough that they will not come loose, even with the slightly skewed hardware.
Now for the results with the Yamaha Accessories Touring Windshield mounted:
Windshield at maximum height in stock configuration:
Angle is -34 degrees from vertical (steep) and the height above the steering stem nut is 22 1/8"
Compared to Windshield at maximum height with the 10mm spacers installed
Angle is tilted back -41.6 degrees and height is still 21" above the stem nut, so a loss of 1 1/8" height but an increased tilt of 7 1/2 degrees.
Now, the stock windshield config at minimum height is 16 3/4" above the stem nut and at a -46.6 degree angle
And the minimum height with the spacers installed is 15 1/4" and a 54 degree angle from vertical.
To summarize the measurements,
The shield stock goes from 16 3/4" to 22 1/8" height and -46.6 to -34 degree tilt from vertical.
The spacers will go from 15 1/4" to 21" height at from -54.0 to -41.6 degrees tilt from vertical.
After a few days of mixed use, on and off the highway, I can say there is definite improvement on both ends of the shield's range. Whereas, (with the touring windshield mounted) there used to be a lot of turbulence and buffeting of my head with the shield fully up, now the fully up position is actually usable. And with the increased angle and lower shield top at the lowest position you can get enough cooling airflow to you upper body to be able to run a bigger shield during the hotter weather, so you'll be prepared for those occasions when it cools off (in the mountains) or you hit some bad weather without roasting yourself on the nice days.
I've made some measurements of the mounting area, screw spacings, and the spacing of the two arms to each other at the four screw holes as the next step may be to fabricate something a little bit more elegant such as an interface between the arms and the carrier. Ideally I would like to shift the carrier assembly both back in the angle (as the spacers do) but also upwards in that plane about an inch or so to regain some of the lost height from the new angle.
The tricky part will be that the two arms are angled to each other, so moving the new screw holes upwards will be at an angle to the two screw holes. Not a big deal, just something that needs to be calculated in the design. In the meantime, this works pretty well, and could actually be used with an even taller windshield such as a Cee Bailey 23" or CalSci XL and still be livable in the heat of summer.
Disclaimer: This is my experience with a Yamaha Touring windshield on an FJR with a Russell Daylong seat in the low position and HeliBars Riser plate installed with the bars twisted all the way forward. I am 6'2" tall and wear a 32" inseam dress pants. Your experiences with your setup and your body shape may differ.
[edited to correct the cap screw size to 6mm per post by NightShine]