- Home
- Forums
- Ride Reports
- MotoBikes
- Restorations
- Wrenching
- 1963 BMW R69s
- 1969 BMW R60/2
- 1978 Yamaha 125
- 1979 KZ1300
- 1979 Kz1300 - Bob's Beauty
- 1981 CBX SuperSport
- 1981 Kz1300 Model A3 - Chocolatie
- 1984 Ford F250 XL
- 1987 ATK
- 1987 MowieMowie
- 1987 RotoTiller
- 1988 Honda Accord Lxi
- 1990 BMW RT100 - Barrie
- 1991 Harley Davidson FLHTCU
- 1992 Johnnie Deere
- 2000 YZ426
- 2002 Dodge Ram
- 2006 Carson RacerX Trailer
- 2006 Host Camper
- 2006 KrZy8
- 2007 Wabs
- 2012 KTM 690R
- 2013 Naomi - FJR 1300
- 2014-08-01 Air Compressor - Sears
- 2017 Kioti
- 2018 Toy Hauler
- 2020 Honda Fit
- 2021 Miscellaneous
- 2024 Log Splitter
- 2024 NeoDyne MC Lift
- 2050 test
- Lil Trlr
- Eats
- RIP
- PC Not
- Cages
- Test
- FJRF Best
- For Sale
Candy Butt Association
World's Wimpiest Riders
You are here
2022-03-01 Wabs CS Seal

Forums:
2022-03-01 Wabs Countershaft Removal and Replacement
Been leaking for awhile, making a genuine chain lube mess. What it looks like after cleaning most of the muck off.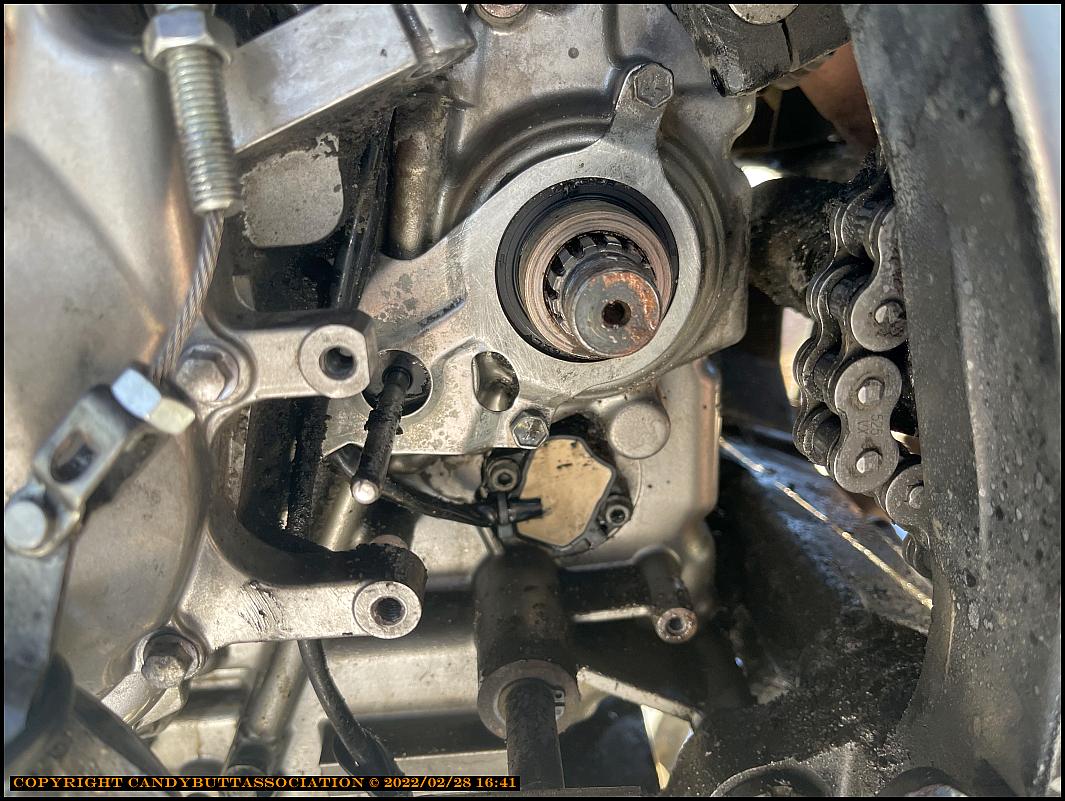
Drilled two holes, ran two metal screws, not self-trapping as there isn't adequate 'clearance' to the bearing surface due to the cutting bit...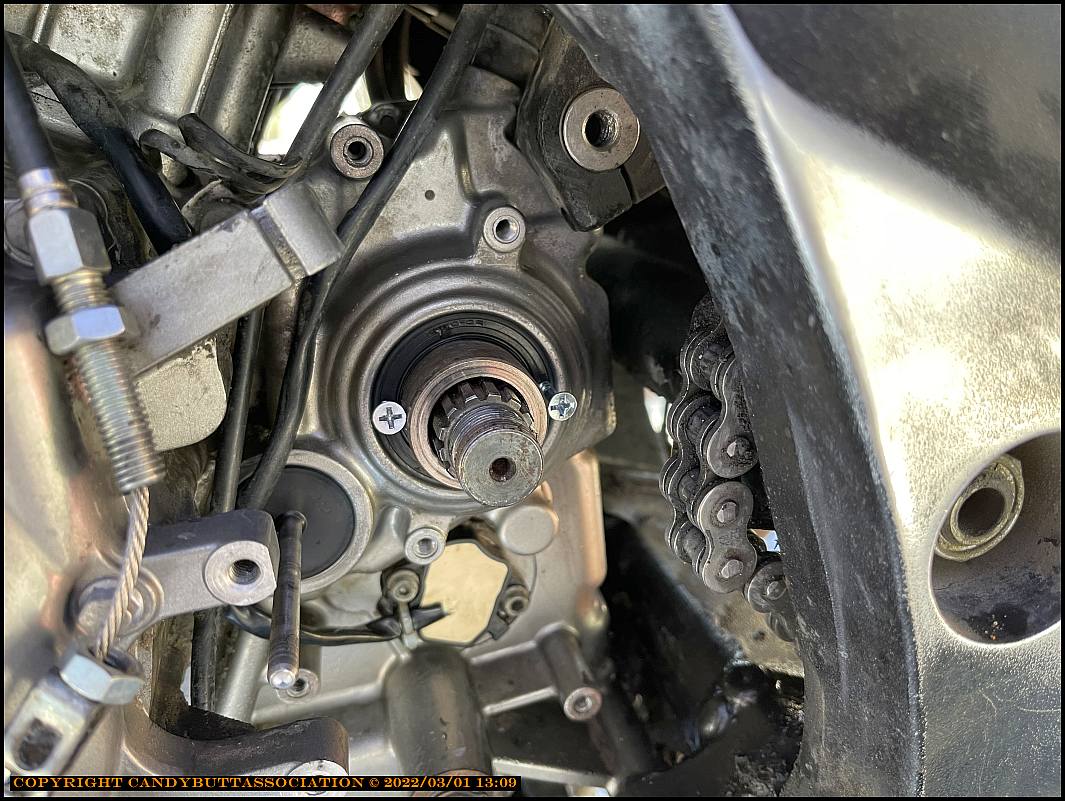
Suprisingly easy to remove. Not much interference fit between seal od and case.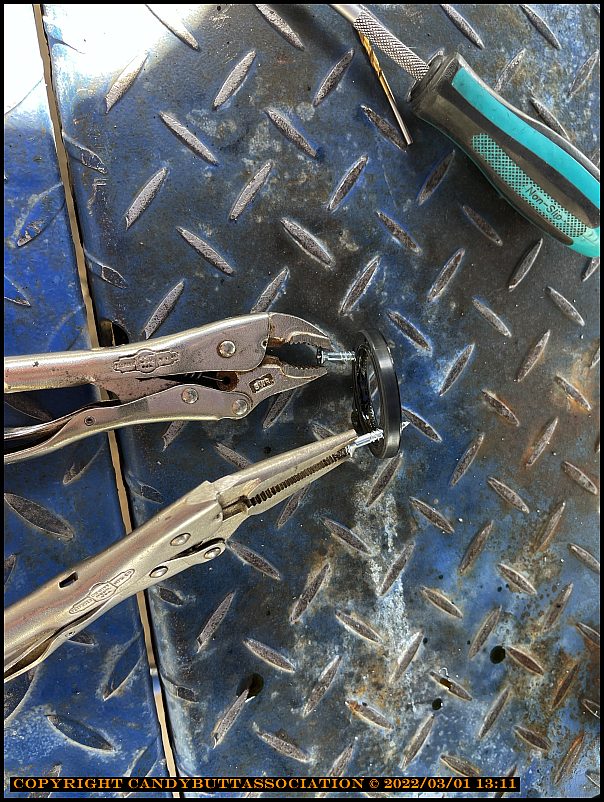
The bearing. I ran the screws in a bit too far, see the dimples on the seal. No harm to actual bearing me thinks and hopes.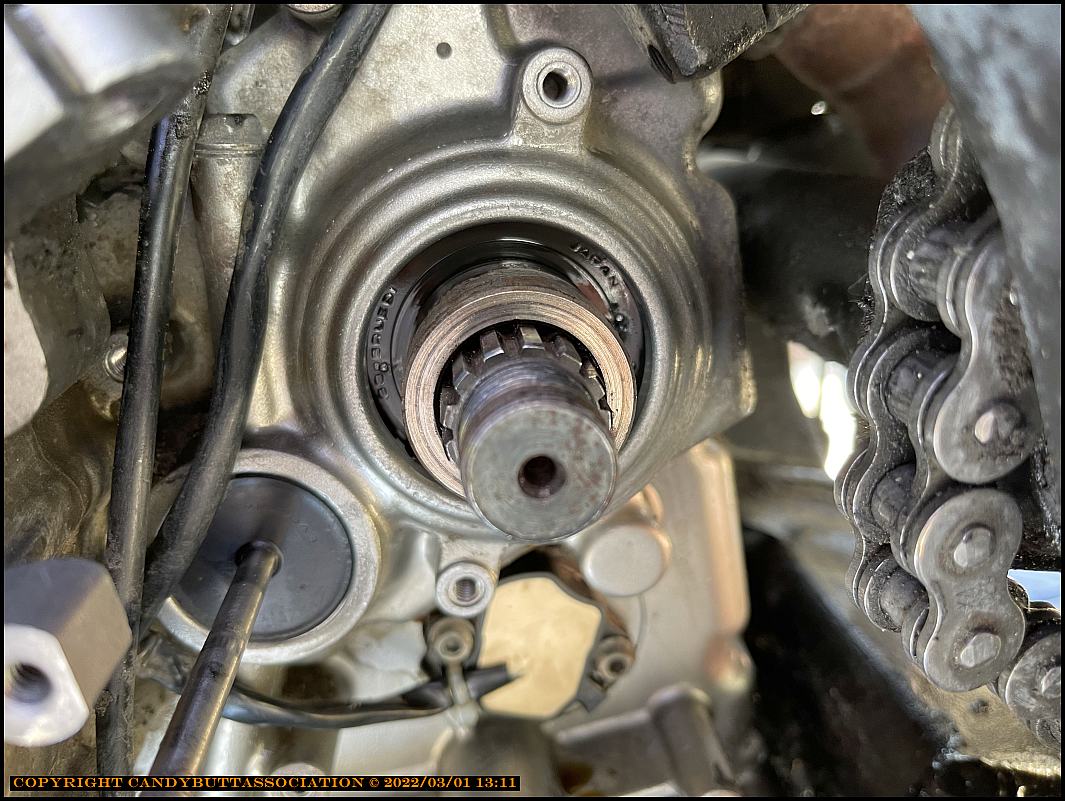
Another shot.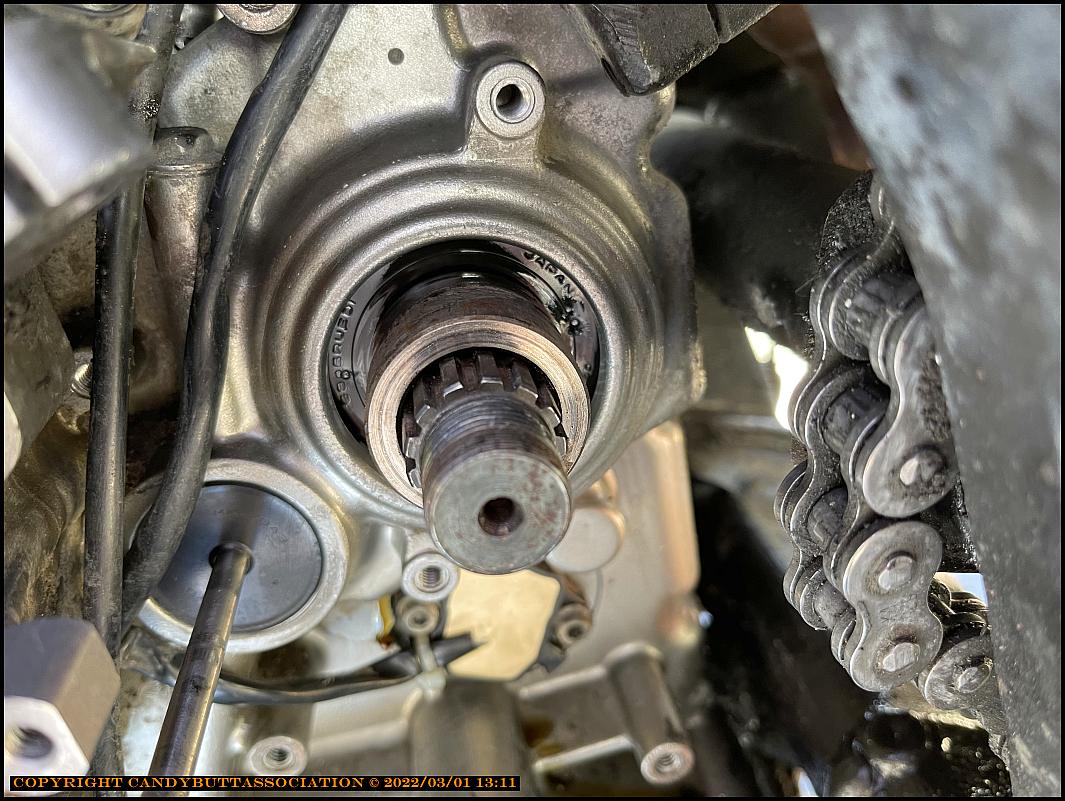
New seal installed. Used a special tool Ray donated to me for a great fit and even press fit.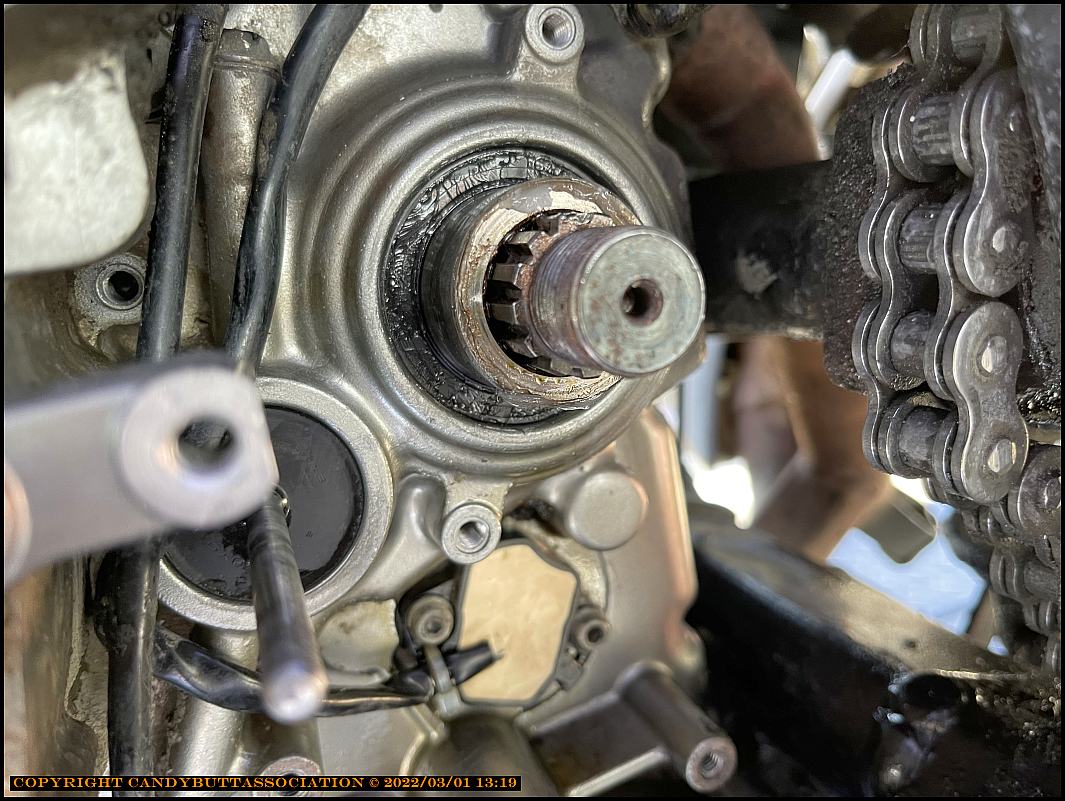
Used my custom CS seal installing tool to ensure the seal is fully seated.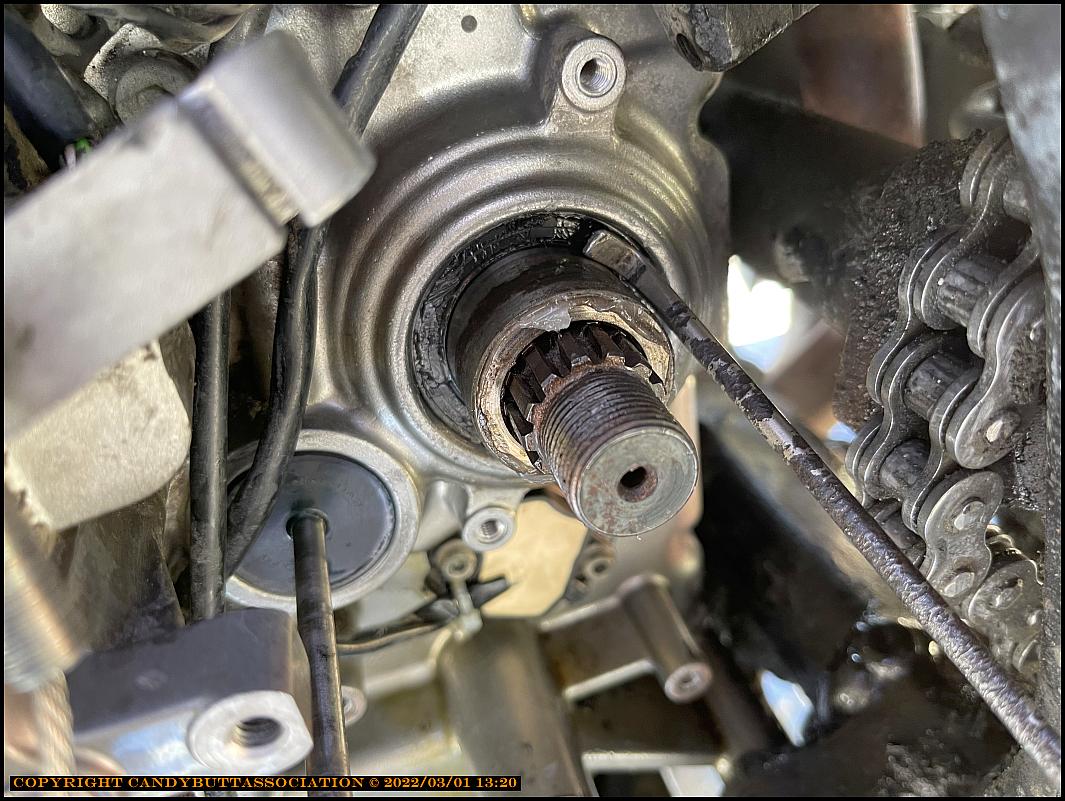
Complete job. Replaced the OEM bolt at upper left with custom 'slotted' one to access with screw driver.
My 1/8" universal swivel drive/socket would not fit to start the OEM bolt.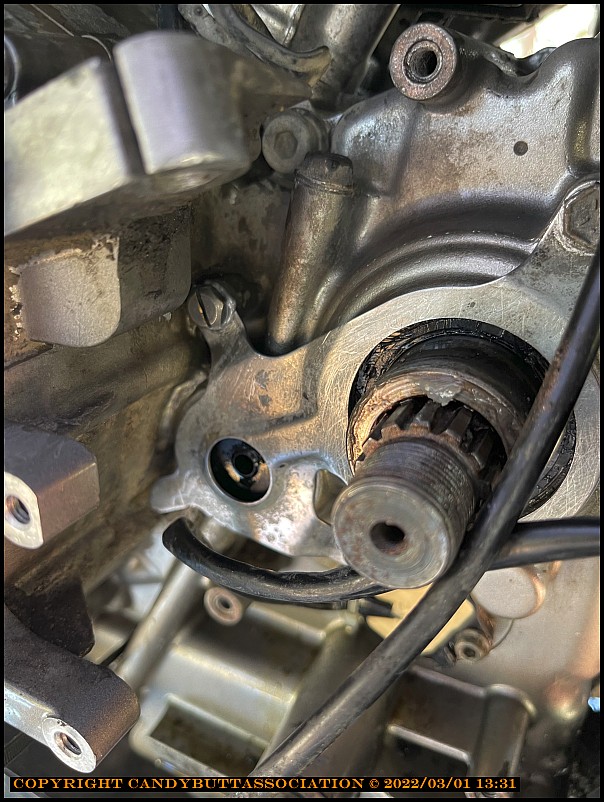
Happy to say no leaks afterward!
Theme by Danetsoft and Danang Probo Sayekti inspired by Maksimer