- Home
- Forums
- Ride Reports
- MotoBikes
- Restorations
- Wrenching
- 1963 BMW R69s
- 1969 BMW R60/2
- 1978 Yamaha 125
- 1979 KZ1300
- 1979 Kz1300 - Bob's Beauty
- 1981 CBX SuperSport
- 1981 Kz1300 Model A3 - Chocolatie
- 1984 Ford F250 XL
- 1987 ATK
- 1987 MowieMowie
- 1987 RotoTiller
- 1988 Honda Accord Lxi
- 1990 BMW RT100 - Barrie
- 1991 Harley Davidson FLHTCU
- 1992 Johnnie Deere
- 2000 YZ426
- 2002 Dodge Ram
- 2006 Carson RacerX Trailer
- 2006 Host Camper
- 2006 KrZy8
- 2007 Wabs
- 2012 KTM 690R
- 2013 Naomi - FJR 1300
- 2014-08-01 Air Compressor - Sears
- 2017 Kioti
- 2018 Toy Hauler
- 2020 Honda Fit
- 2021 Miscellaneous
- 2024 Log Splitter
- 2024 NeoDyne MC Lift
- 2050 test
- Lil Trlr
- Eats
- RIP
- PC Not
- Cages
- Test
- FJRF Best
- For Sale
Candy Butt Association
World's Wimpiest Riders
You are here
2022-08-19 KTM Intake Sensor Fix

Forums:
2022-08-19 KTM 690 Enduro R
Airbox Temp Sensor Repair
Riding around, all good, enjoying the day. Check speedo and see the Fuel Injection warning light flashing 1 long, 3 shorts then continuously on.
RuhRoh Rollie.
Finished the ride (Barrie's Boyz Steve 70 birthday) then stopped by Paso KTM dealer who graciously read the error codes then went extra step to pull side cover, discovering broken leads going to the airbox intake temperature sensor.
ODBC port connector. Herb from C&H Cycles said he still might be ablel to read/clear codes on a 2012 KTM.
Newer KTM's require factory gear.
Of COURSE! :(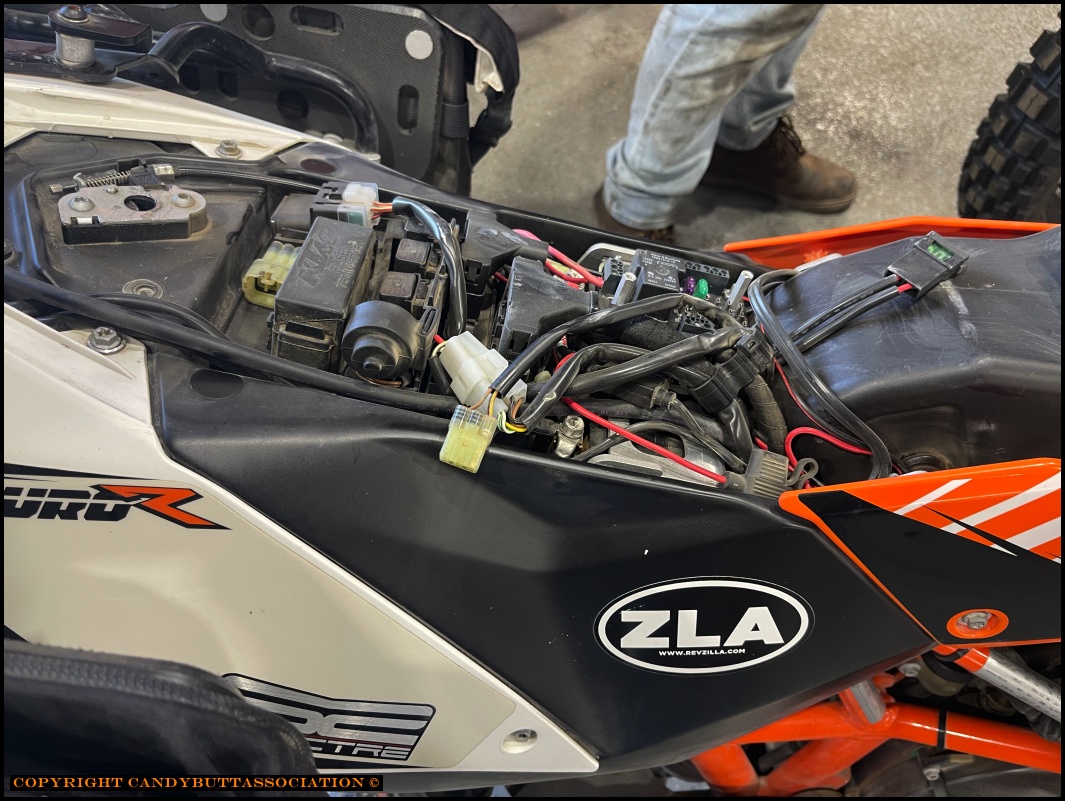
Super-Dooper KTM ODBC interface.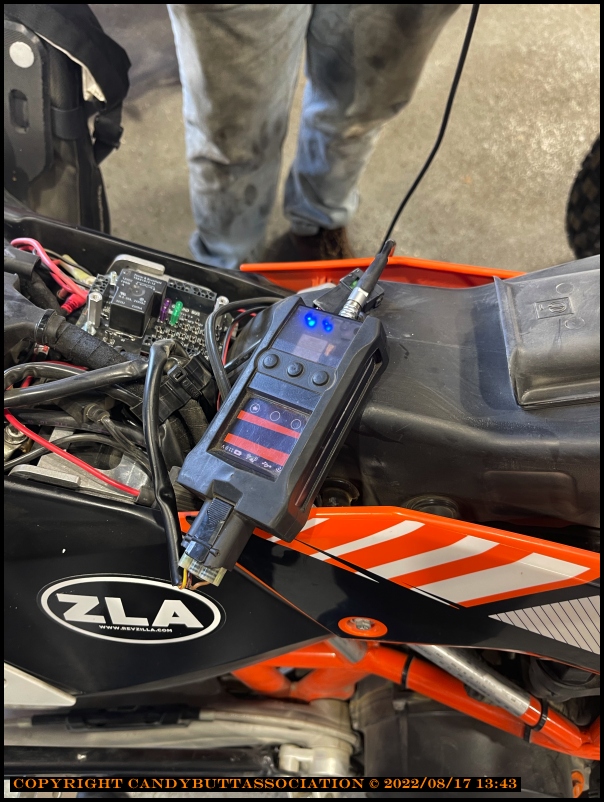
Successful connection.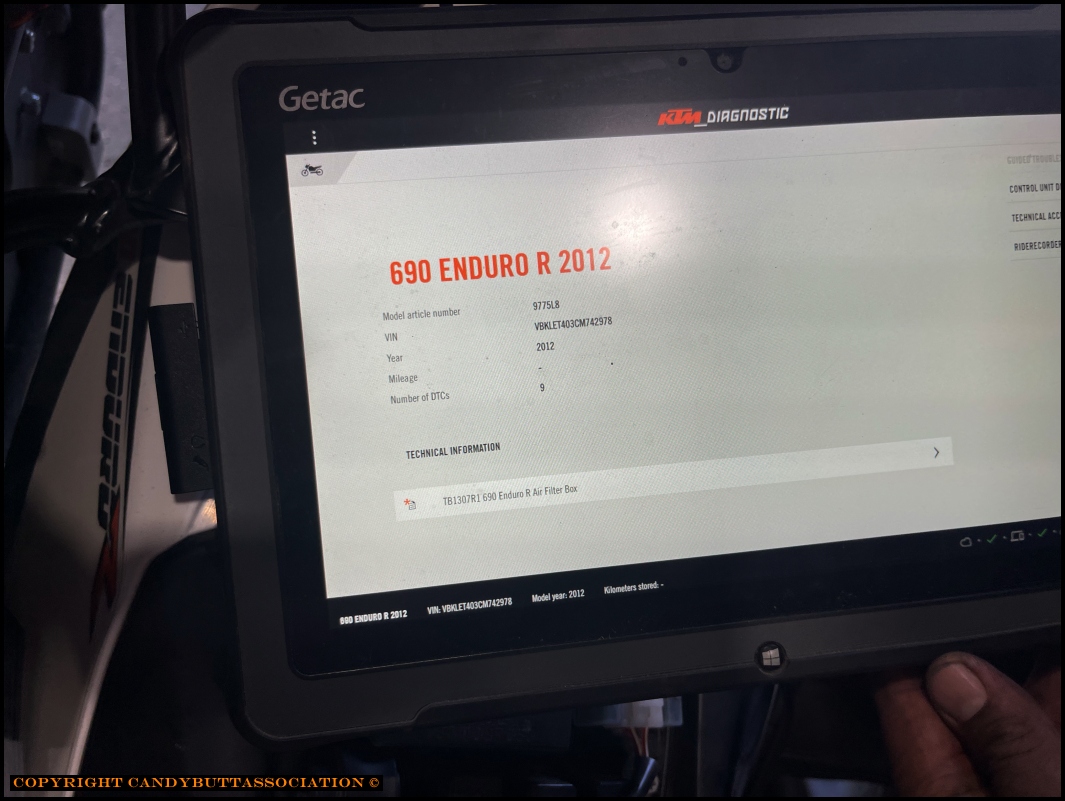
NFW all these error codes are current. The bike wouldn't run!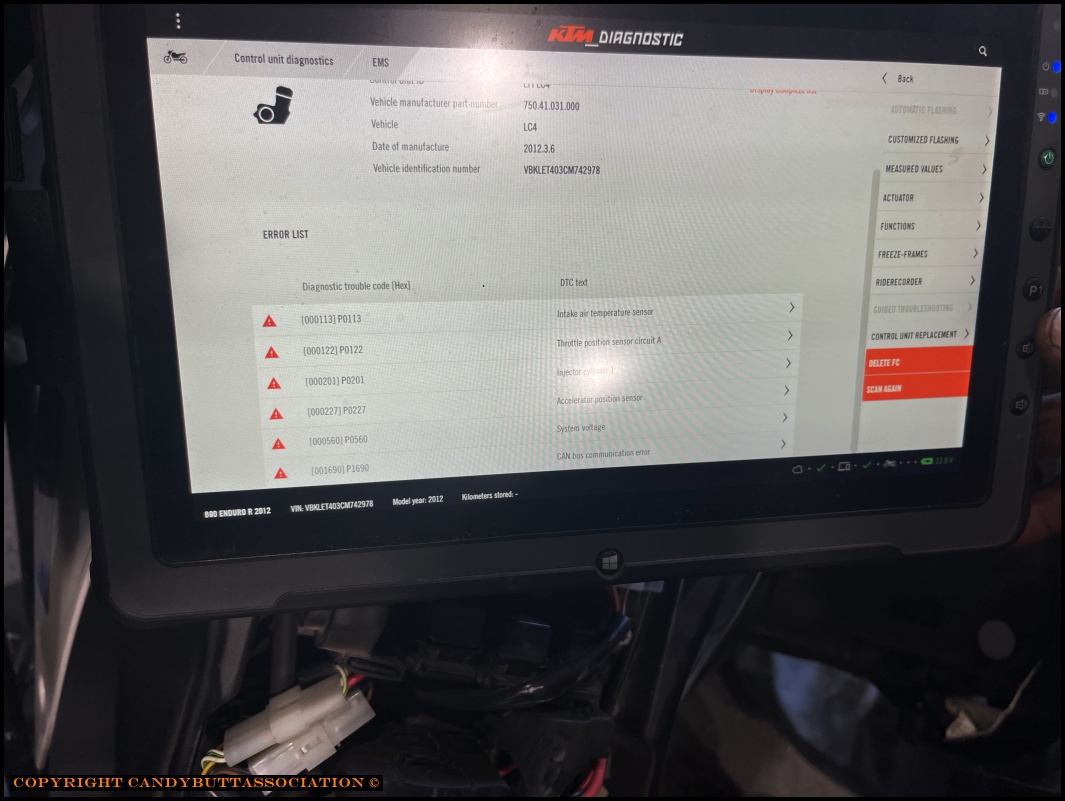
Ahh, the current code..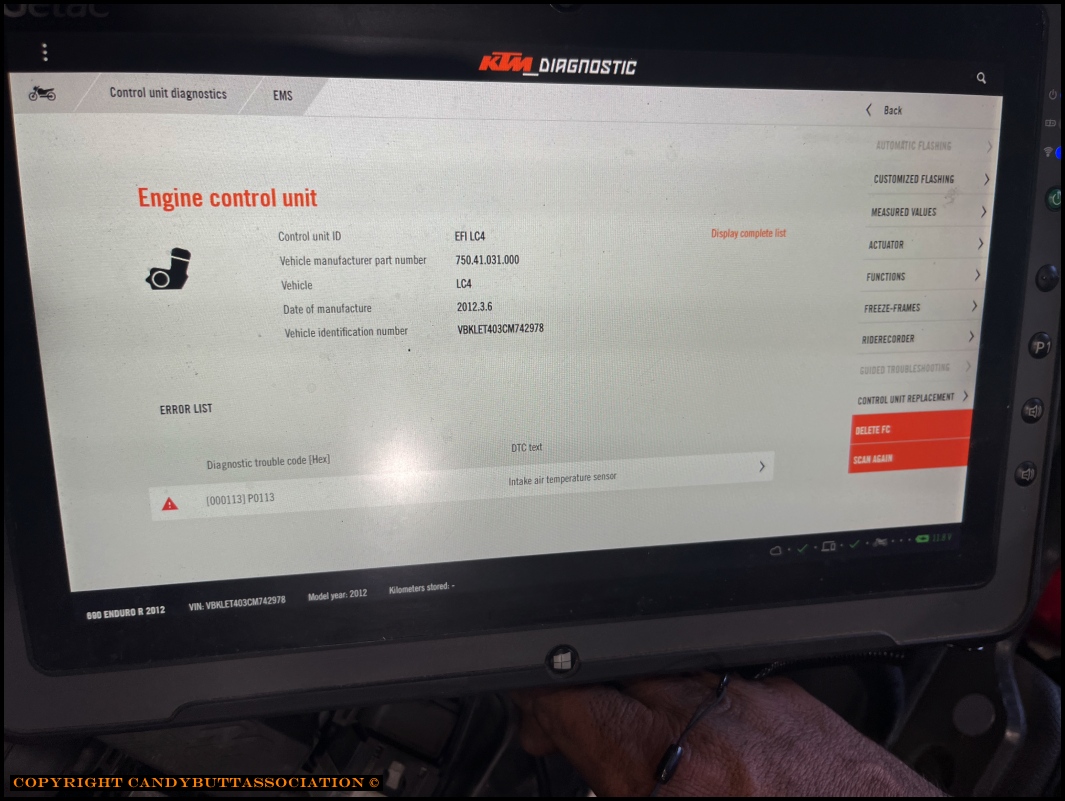
x 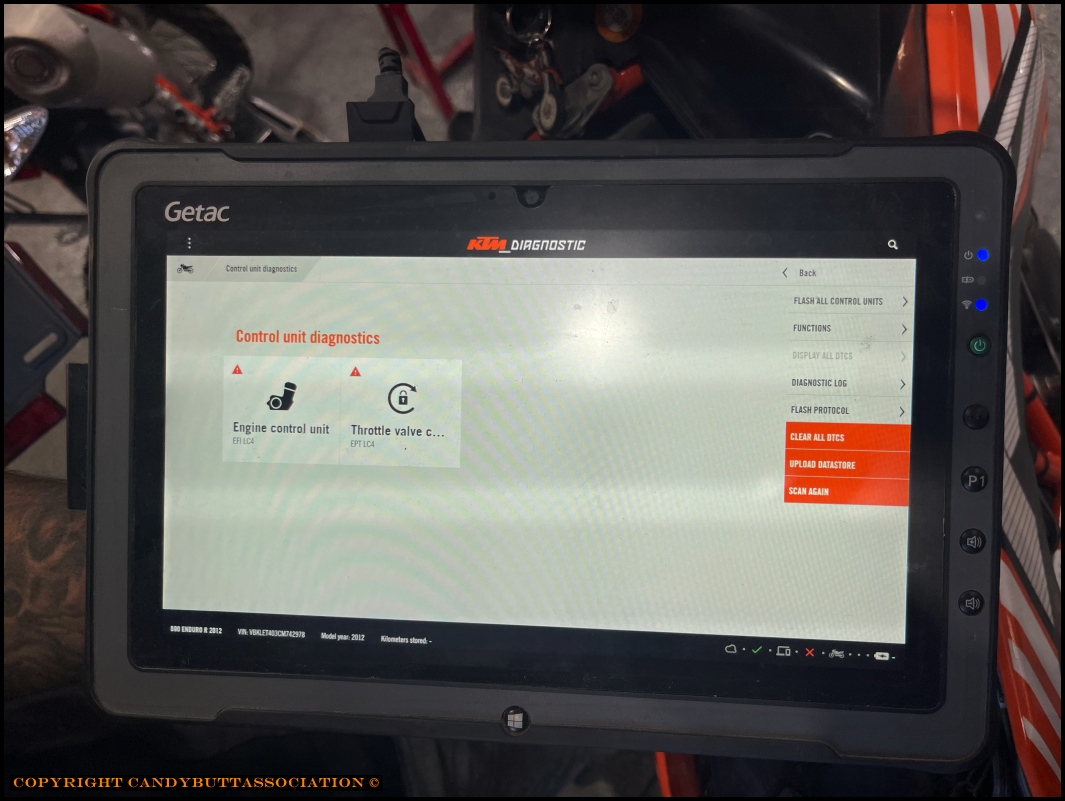
The connector. Thanks to Ivan at Hidden Power in Paso Robles.
He showed me how to disassemble without destroying the connector.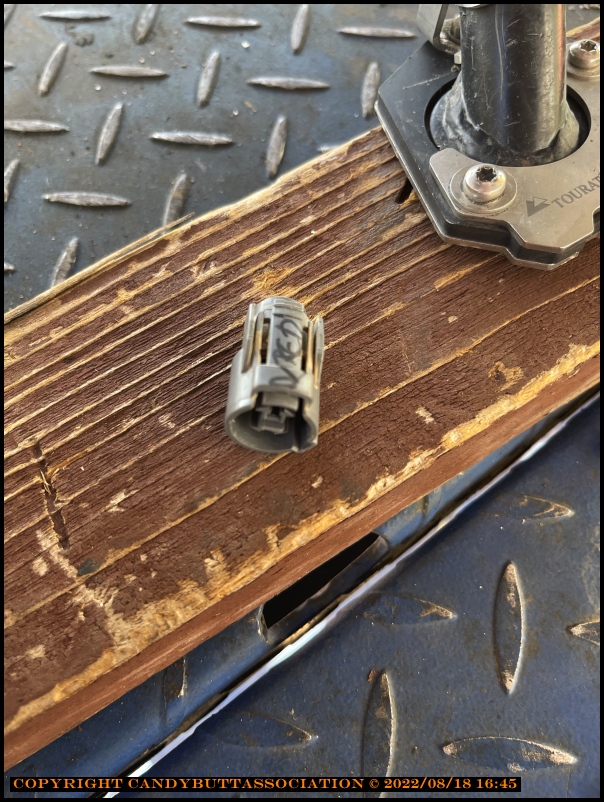
Repair in progress.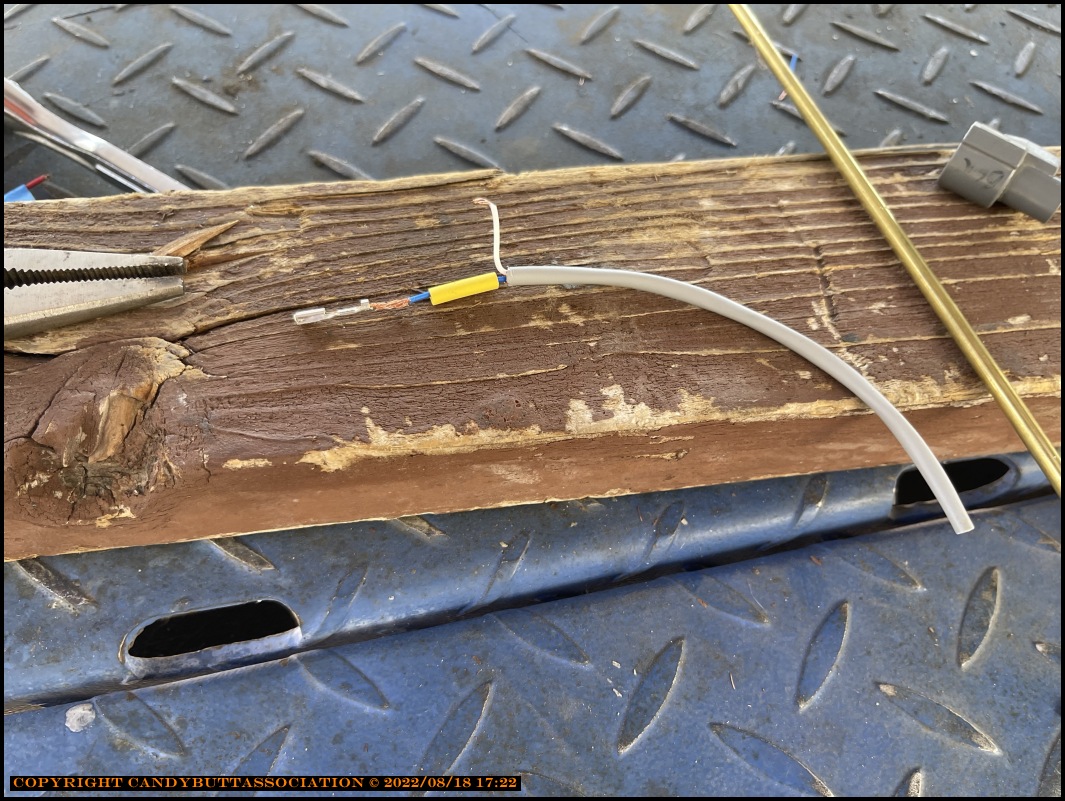
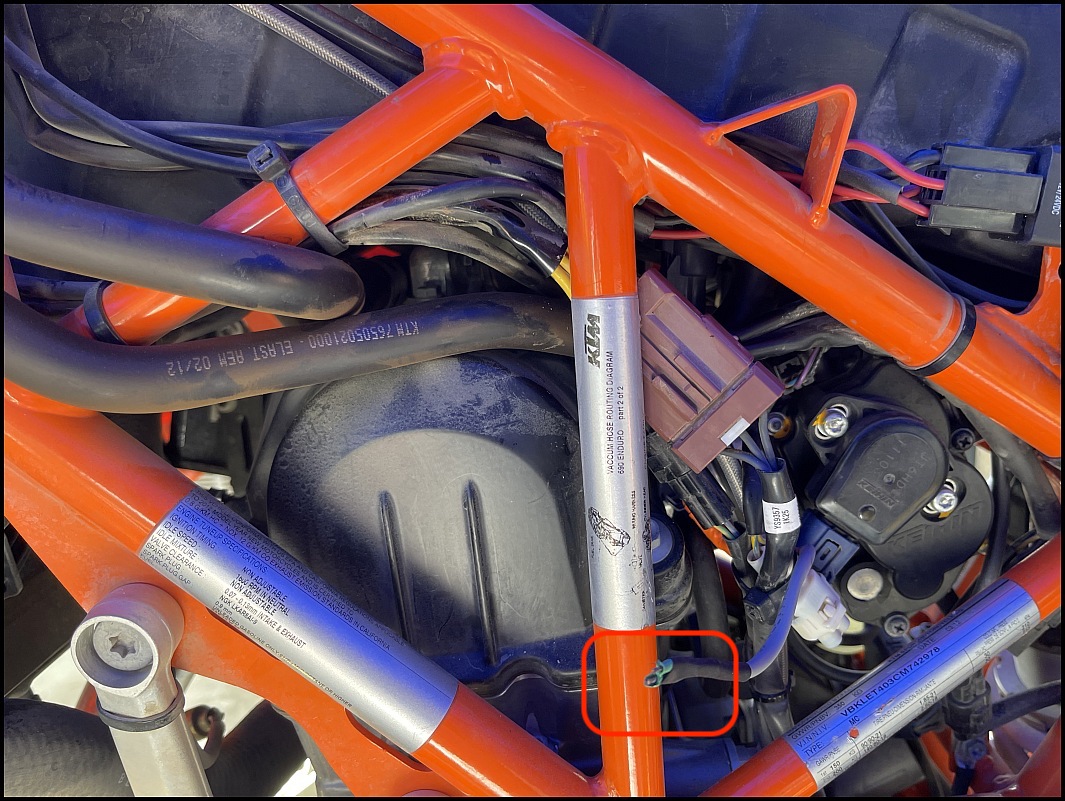
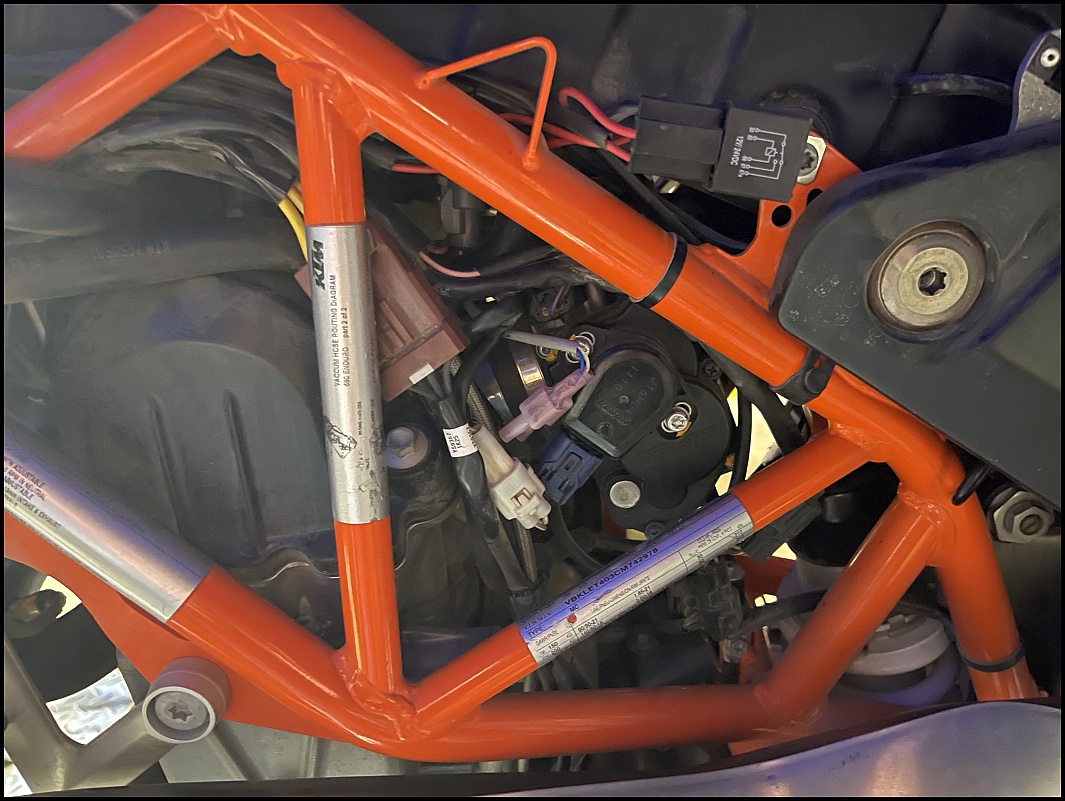
Wiring under airbox.
Gaining on it. Glad I used to be an I&C Tech....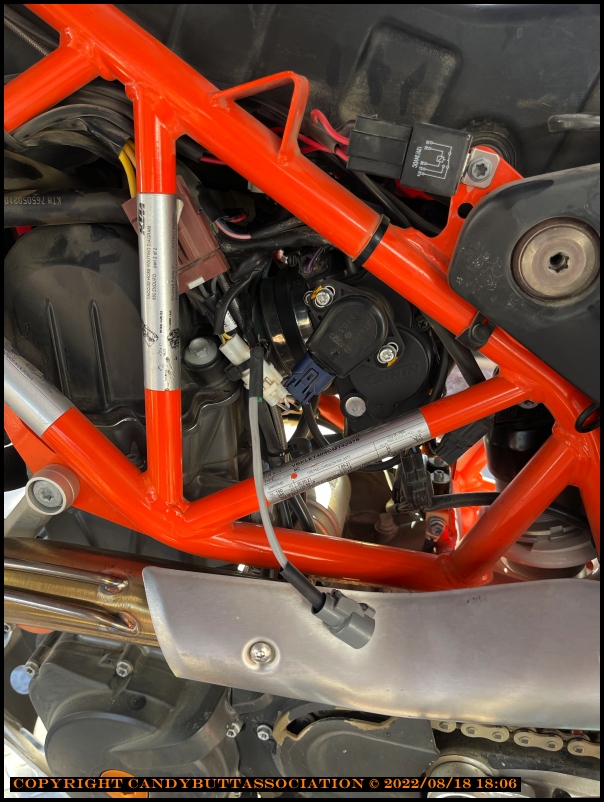
All said and done. The Orange electrical tape is 'insurance' as each discrete wire and bundle had heat shrink applied.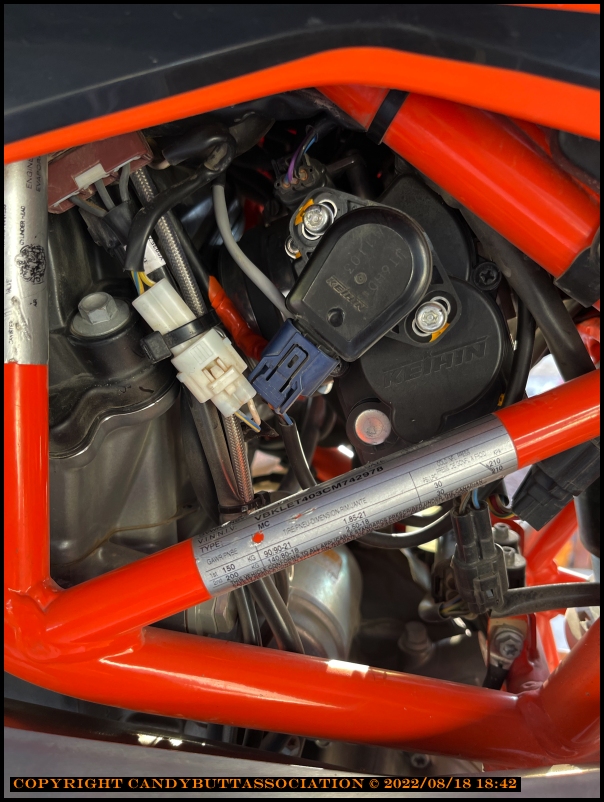
Happily, fired up and no FI warning light.
Off to KTM dealer to clear historical codes tomorrow.
Theme by Danetsoft and Danang Probo Sayekti inspired by Maksimer
2023-01-12 Fixed for good this time?
edit
2023-01-12 Sensor Fix (Again)
Guess my fix wasn't so good. It broke again.
Last time, soldered new leads onto existing wire that was crimped in connector. Could not use the little rubber 'vibration insulator' aka waterproof butt plug.
Vibration took it's toll, both wires broke. So here we go again.
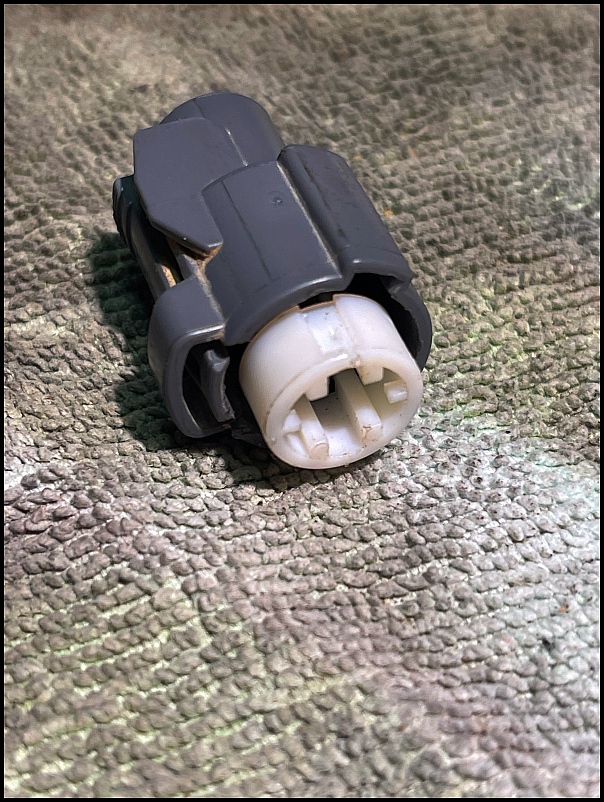
The sensor measures airbox air temp, I think, not sure. Getting the connector off is a PITA.
Now then, how does this thing come apart? Couldn't figure it out, KTM won't sell connector, so drove to Ivan's at Hidden Power Cycle Clinic for help.
Thank goodness for Ivan!
Scar marks are from me trying to remove connector from sensor.
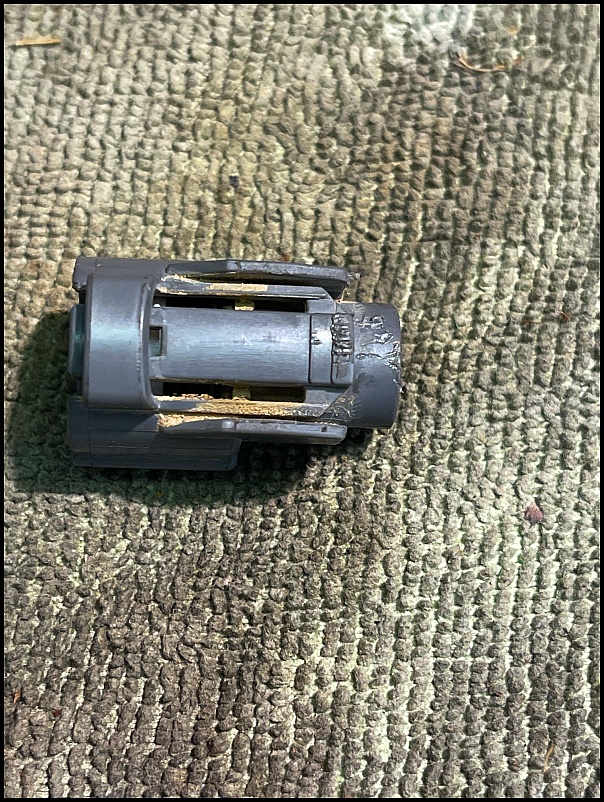
The mass of wire and heat shrink caused the wire to break at the terminals.
I kept looking at it, prying here and there.. It just didn't seem like it wanted to come apart.
Like most things, it's a matter of knowing how much force to use!
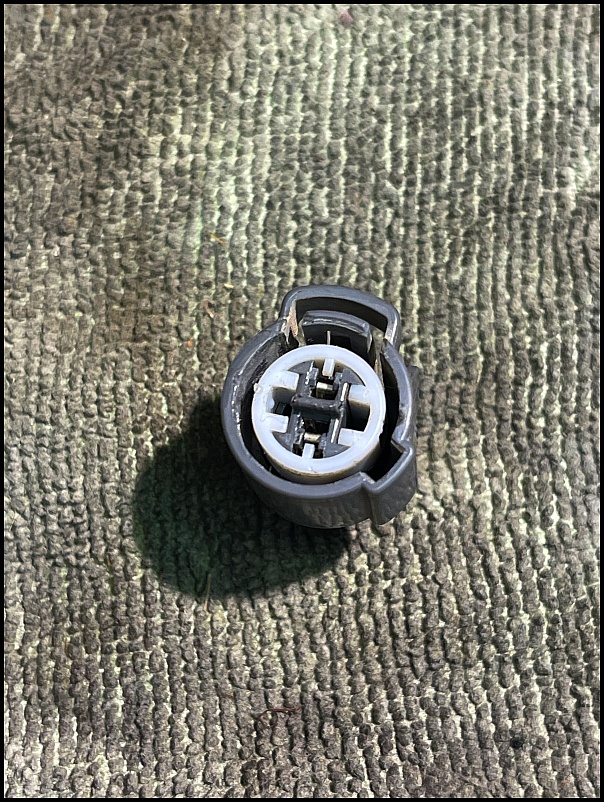
Finally, the secret. The inner white piece simply is pried out, using small screwdrivers on each side.
Handy to have 4 hands.. one person to hold connector, the other to pry.
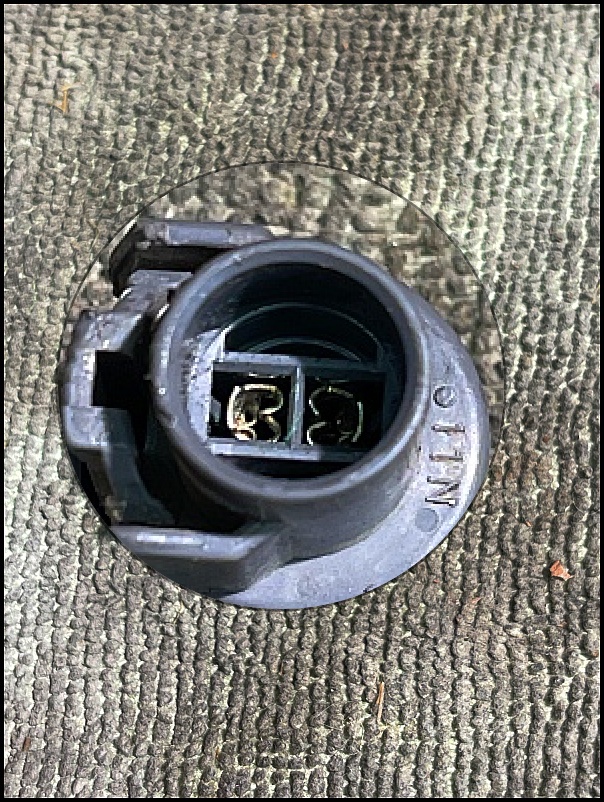
The terminals. I had some 2 wire shielded and insulated cable. Cut a chunk off, removed the wires then shielding.
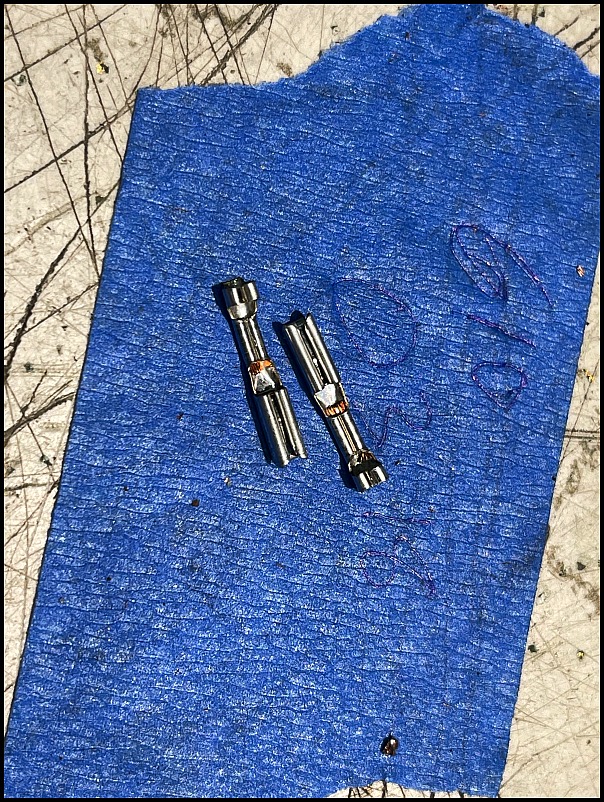
Reinstalled wire into insulation, carefully soldered to centerline of terminals and crimped the ass end tighter.
This technique allowed use of the rubber 'butt plug' which should help prevent vibration breakage.
The fewer connectors in a circuit the better, but I'm running out of wire length from harness.. So IF it should fail again, don't have to strip back anymore wire.
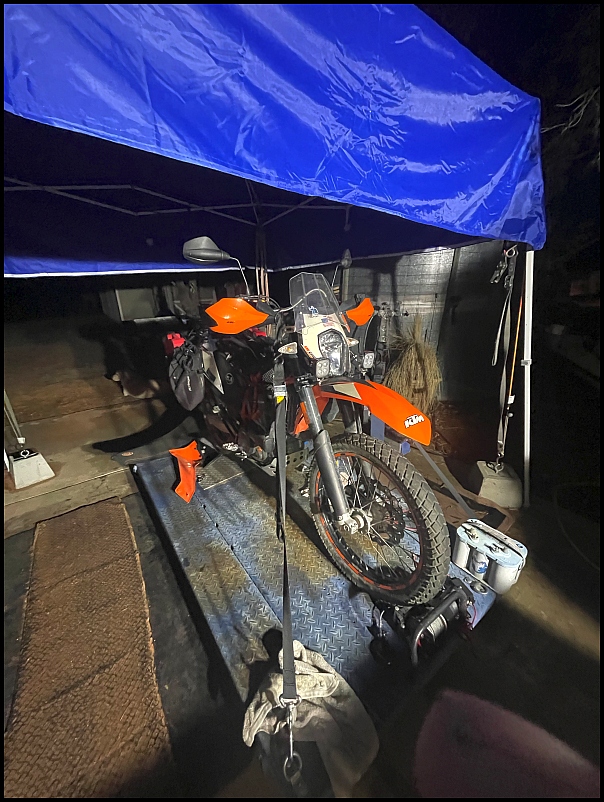
Working under the lights. 2023 Jan has been a very very very wet and rainy season. Have not ridden ALL YEAR LONG!