- Home
- Forums
- Ride Reports
- MotoBikes
- Restorations
- Wrenching
- 1963 BMW R69s
- 1969 BMW R60/2
- 1978 Yamaha 125
- 1979 KZ1300
- 1979 Kz1300 - Bob's Beauty
- 1981 CBX SuperSport
- 1981 Kz1300 Model A3 - Chocolatie
- 1984 Ford F250 XL
- 1987 ATK
- 1987 MowieMowie
- 1987 RotoTiller
- 1988 Honda Accord Lxi
- 1990 BMW RT100 - Barrie
- 1991 Harley Davidson FLHTCU
- 1992 Johnnie Deere
- 2000 YZ426
- 2002 Dodge Ram
- 2006 Carson RacerX Trailer
- 2006 Host Camper
- 2006 KrZy8
- 2007 Wabs
- 2012 KTM 690R
- 2013 Naomi - FJR 1300
- 2014-08-01 Air Compressor - Sears
- 2017 Kioti
- 2018 Toy Hauler
- 2020 Honda Fit
- 2021 Miscellaneous
- 2024 Log Splitter
- 2024 NeoDyne MC Lift
- 2050 test
- Lil Trlr
- Eats
- RIP
- PC Not
- Cages
- Test
- FJRF Best
- For Sale
Candy Butt Association
World's Wimpiest Riders
You are here
2016-06-16 KZ1300 Water Pp Impeller inspection

Forums:
2016-06-16 KZ1300 Water Pp Impeller inspection
Decided to replace the t-stat and inspect the impeller. I had a new t-stat that the vendor said was the same as OEM. Not really, but more on that later.
Radiator and fan off.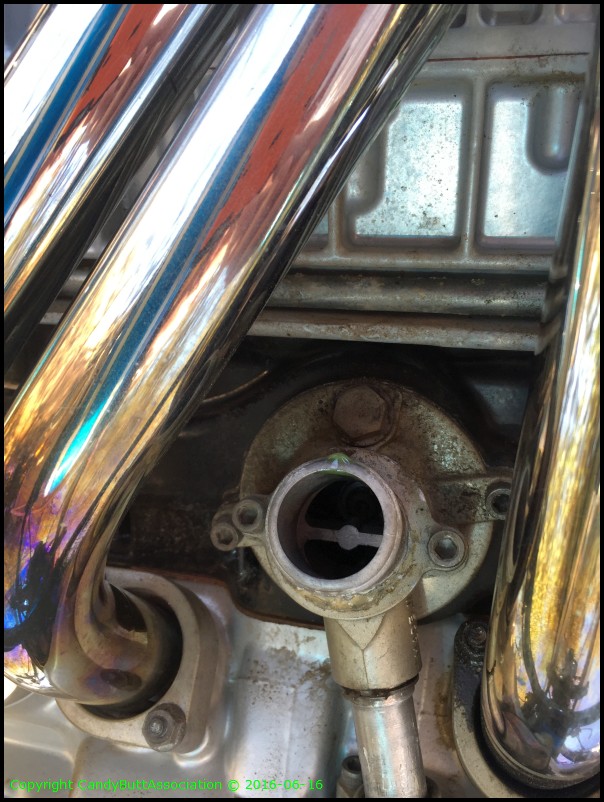
So ask me again why I didn't take a pix of the impeller. I do have this video though. To me, it appears the impeller blades are reversed in relation to rotation direction. Look at the video. Start at 18 seconds. The impeller rotates away from the 'v' of the paddle. This seems incorrect to me.. but I'm not going to change anything. What's there to change?
Start at 18 second mark to see true rotation.
ImpellerCorrectDirection? from dcarver220b on Vimeo.
Old OEM t-stat and spring. I have a new spring too. The spring keeps the t-stat located into the head.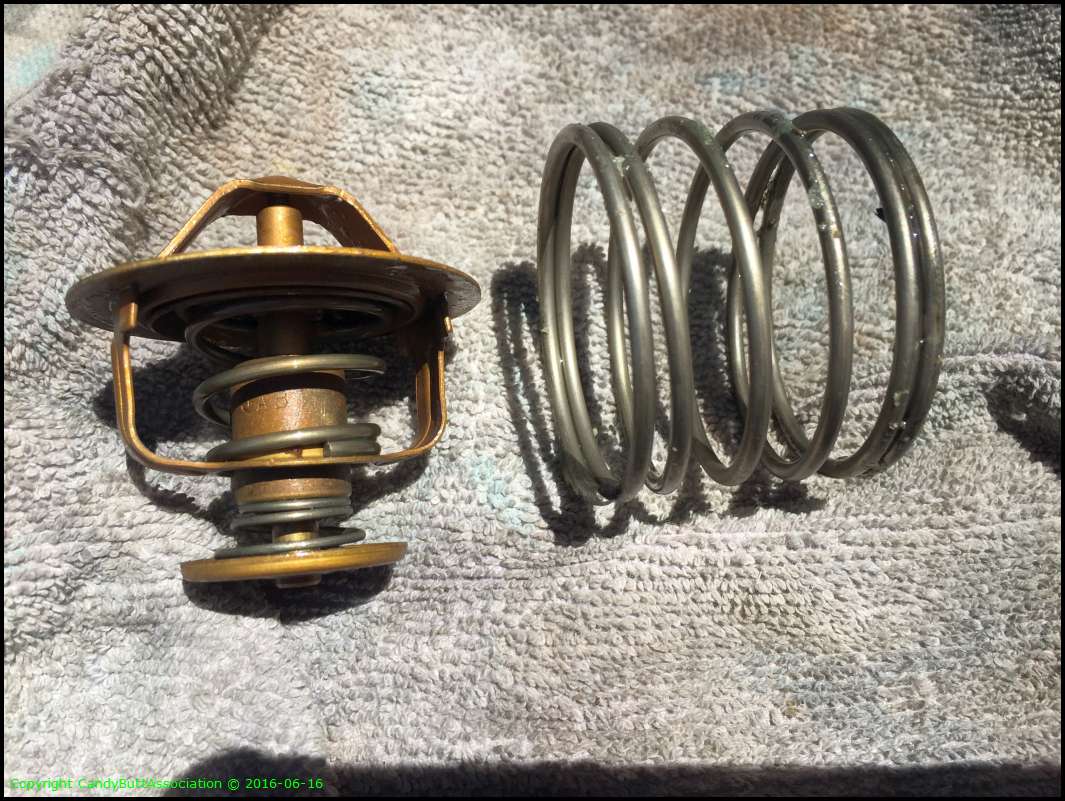
The old t-stat rated at 82C which is close to 180F IIRC.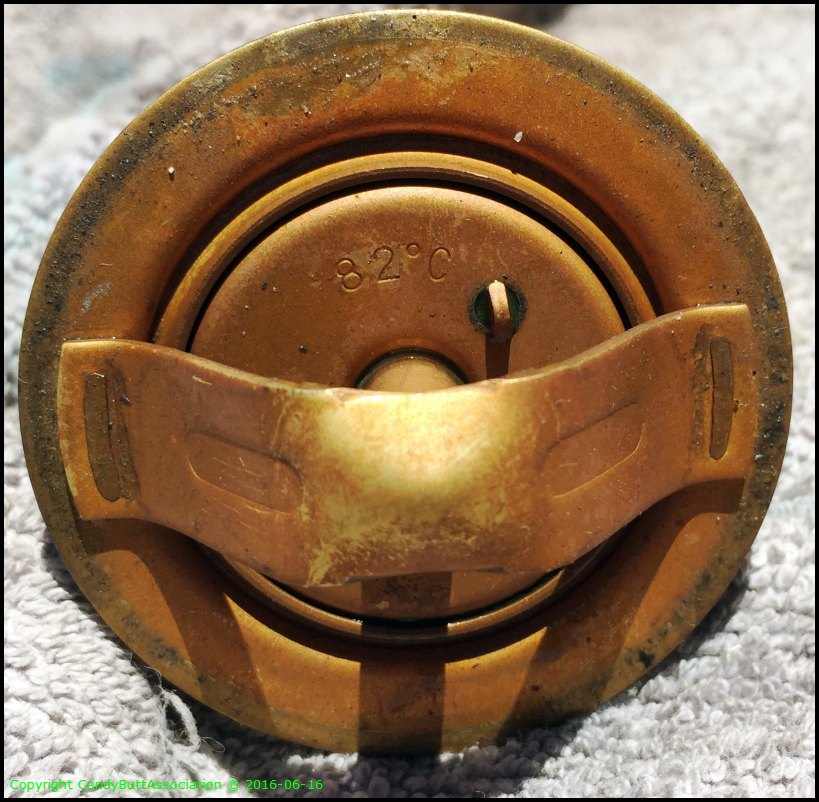
Careful, mad scientist in action. Had to to do this when ms dCarver wasn't home... both t-stats work correctly. The new t-stat opens at 155F and has greater travel e.g. it opens more to allow greater flow.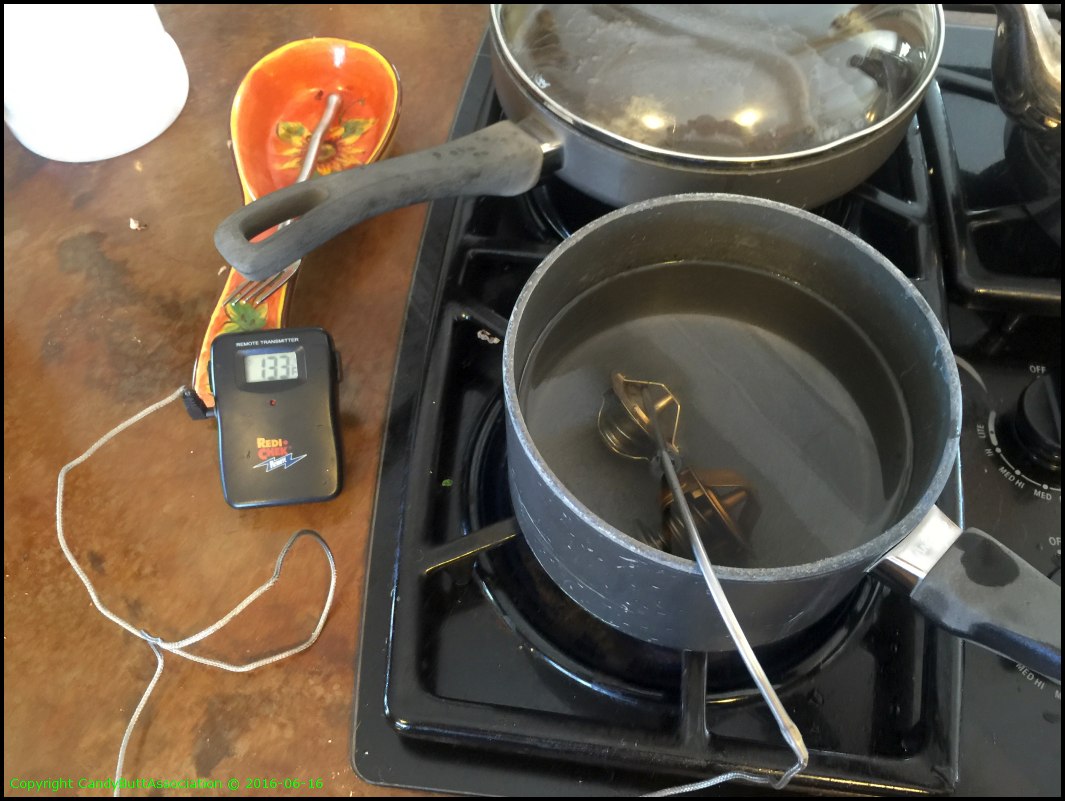
Video of the test..
KZ1300 Oem T-stat from dcarver220b on Vimeo.
I used the new spring, even though the old seemed perfectly fine.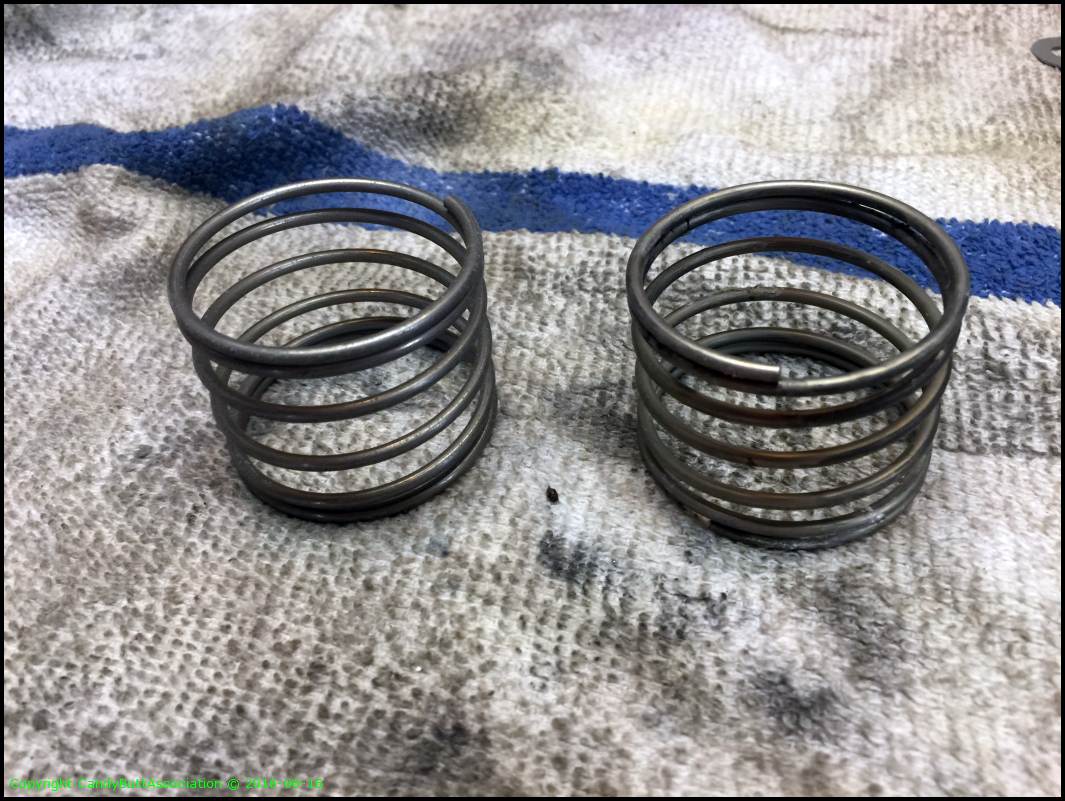
82 vs 60C.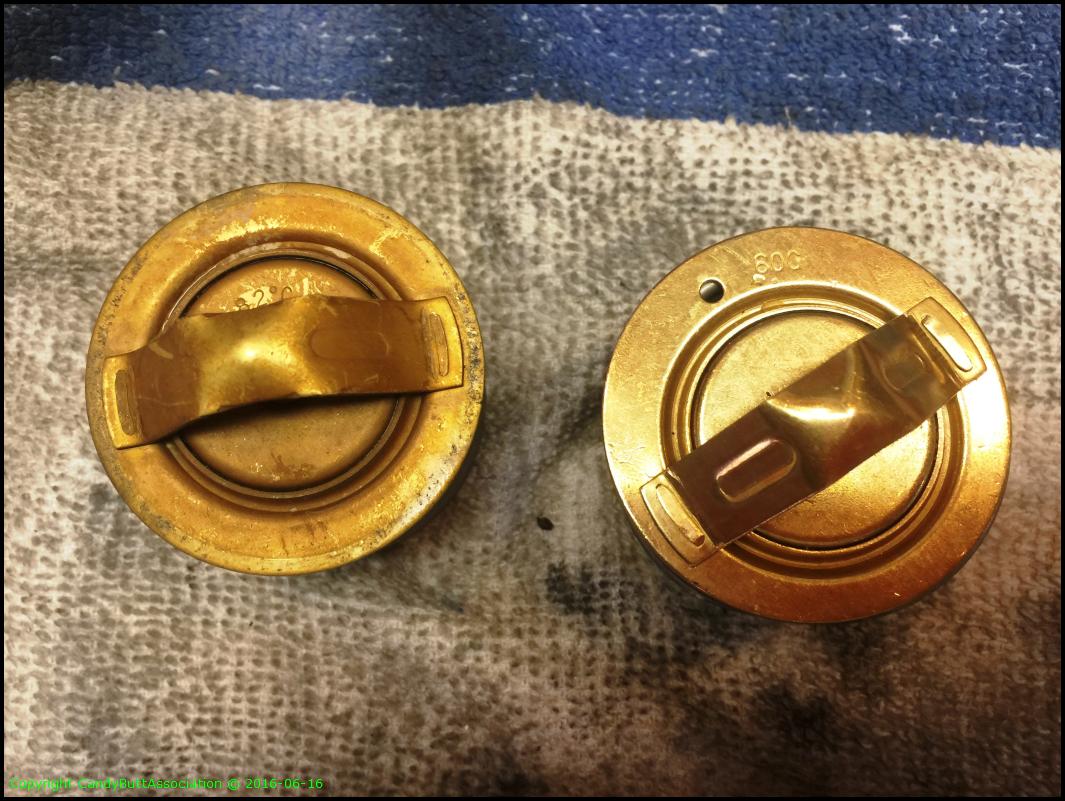
OEM sure looks fancier.. Not sure what the preload spring on top is all about. OEM on left.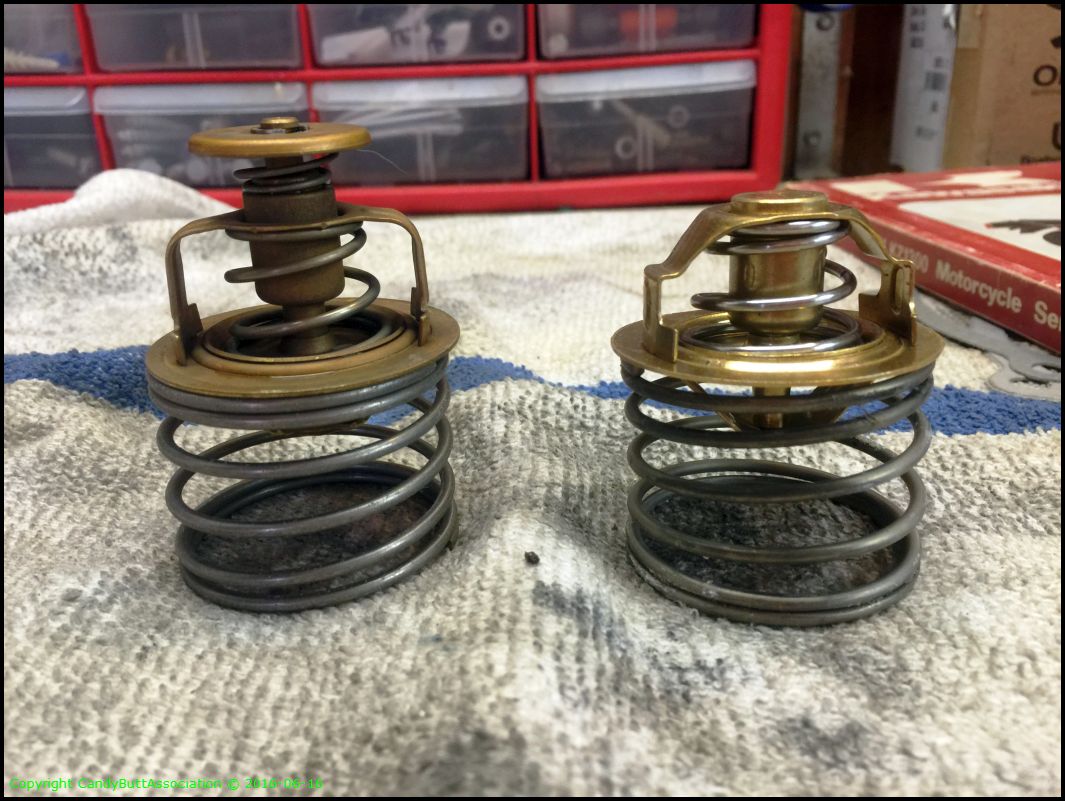
6 little rich running sparking plugs, all in a row. When the cooling issue is fixed, tuning will begin.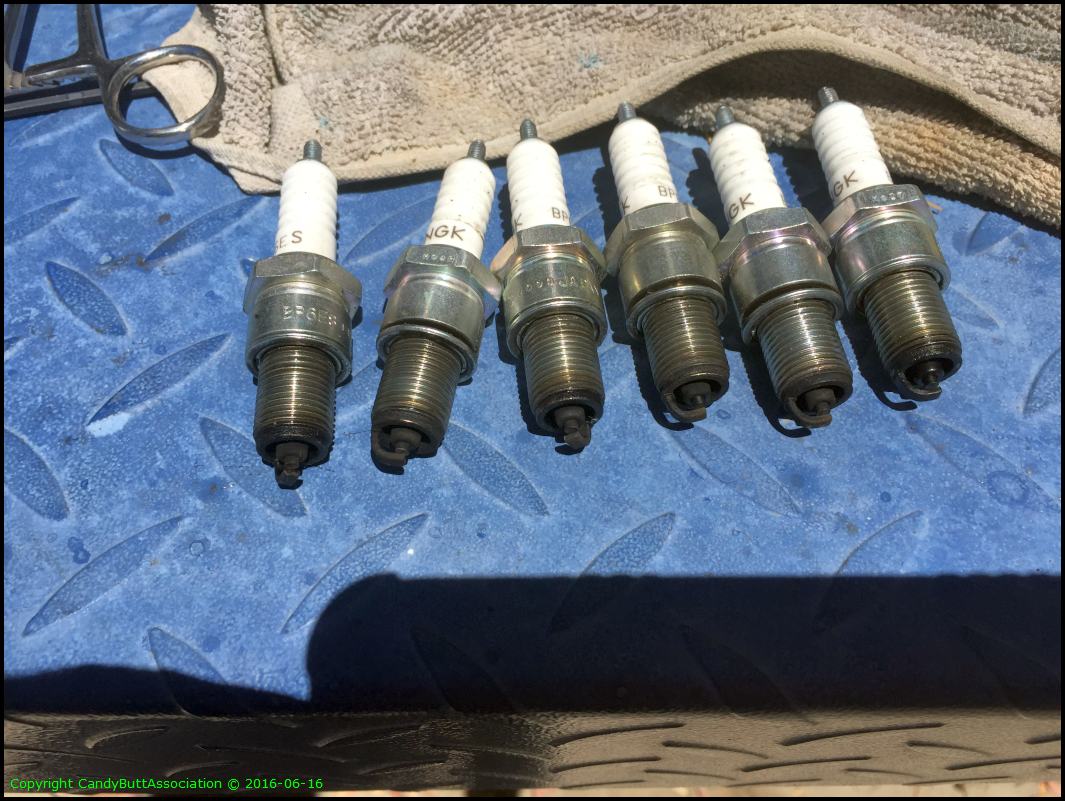
Looking up into the head. Now you can see why the spring is needed to keep t-stat located firmly.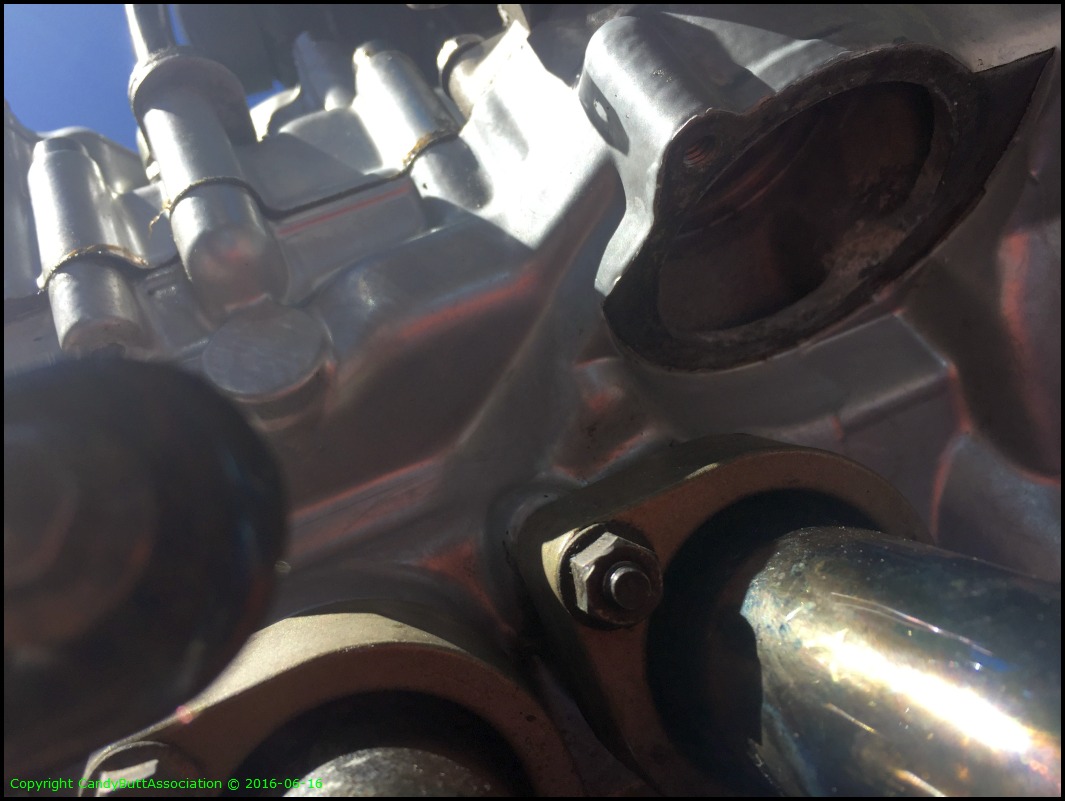
Another view.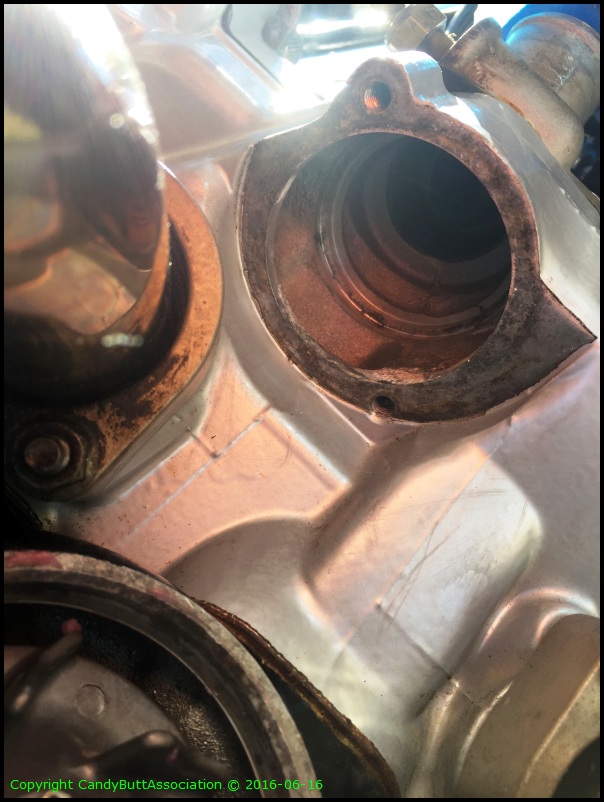
Installed.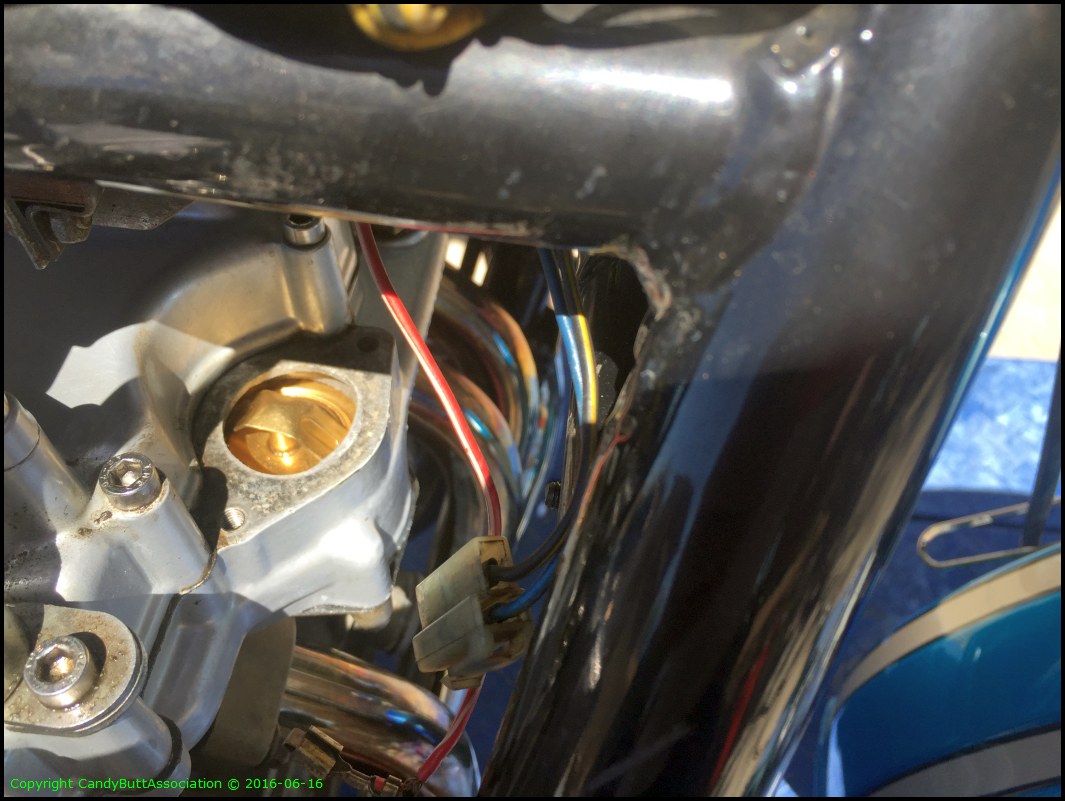
I elevated the front to hoping to release any air bubbles in cylinder rear. My bud rides KTM's and says KTM requires a 35 degree front elevation to prevent air bubbles on the 990's? Anyway, couldn't hurt.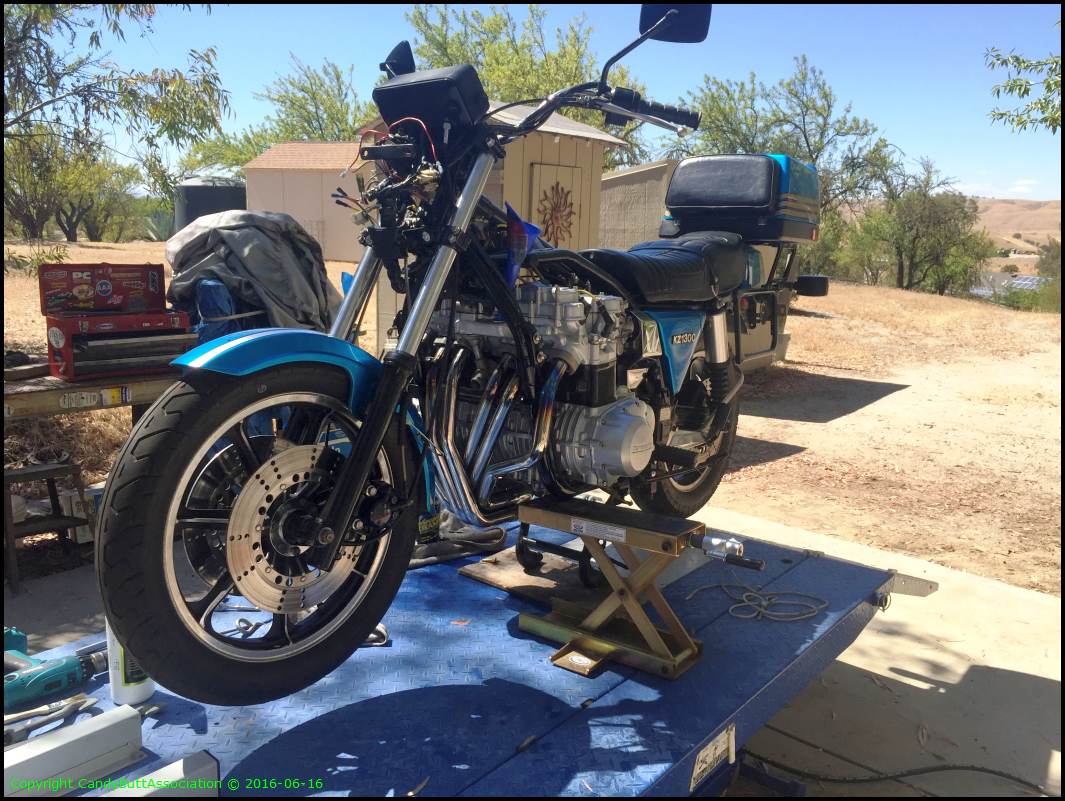
I used a different fill technique than that in OEM service manual. Removed the temperature sensor and switch.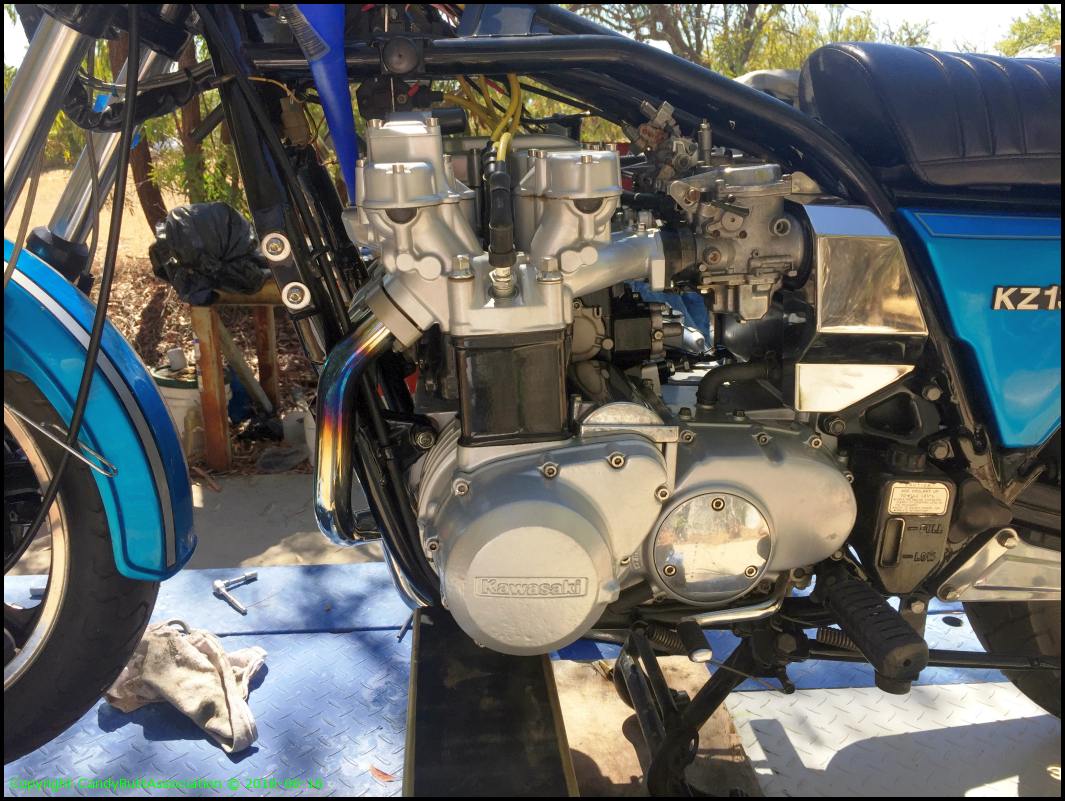
Was going to measure how much coolant went in. Then realized I had captured all except for a few drips when I drained it.. so the better test was to see how much went in, if not more, using the new fill technique.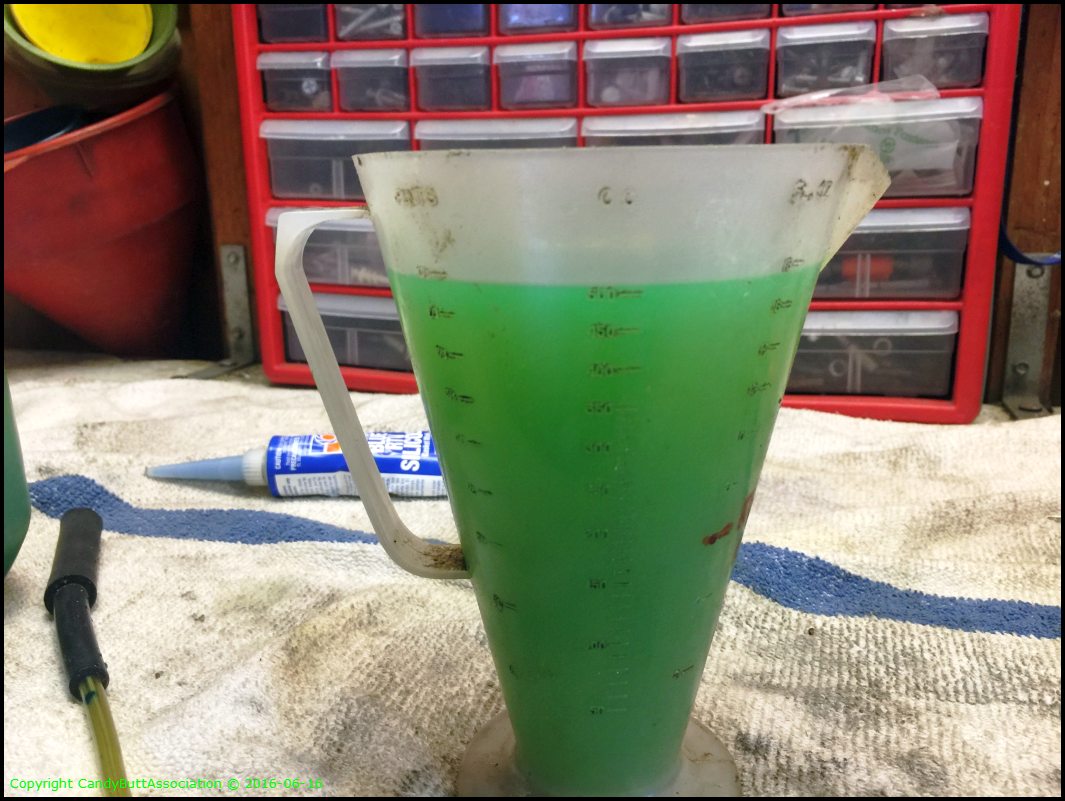
The new DG 6into1 interfered fan bracket. So relived a bit of material for clearance. Hard to see here.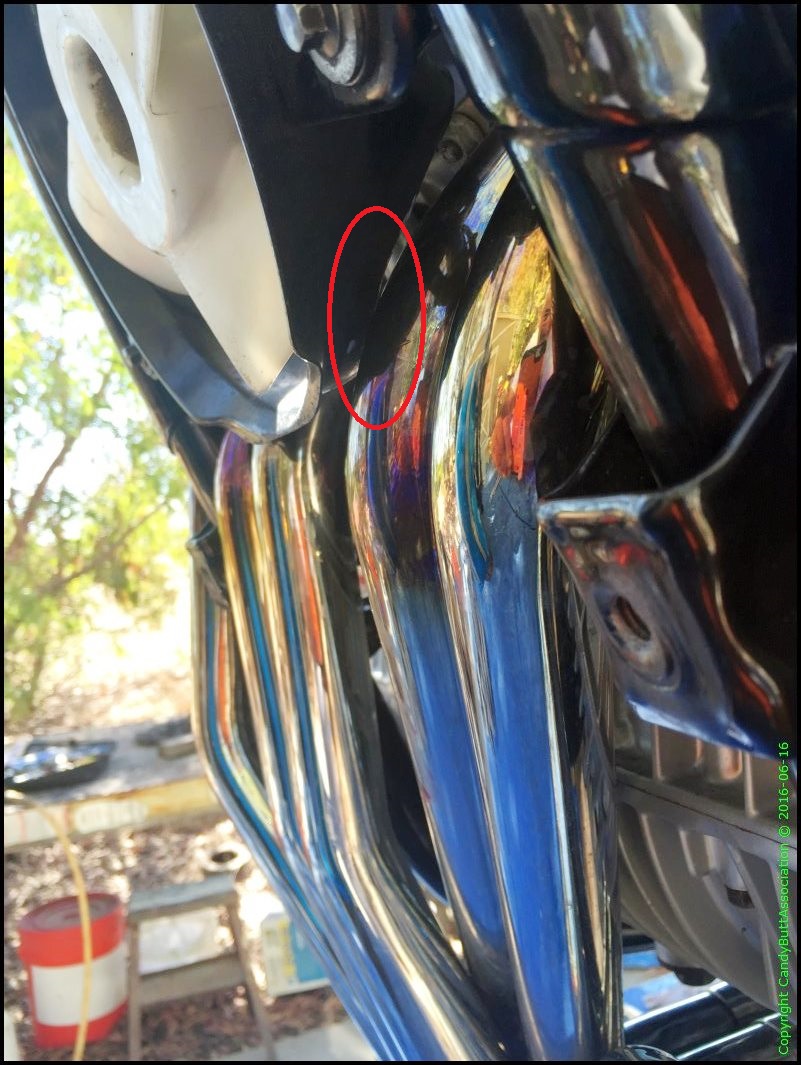
All right then, started filling using the temperature sensor hole.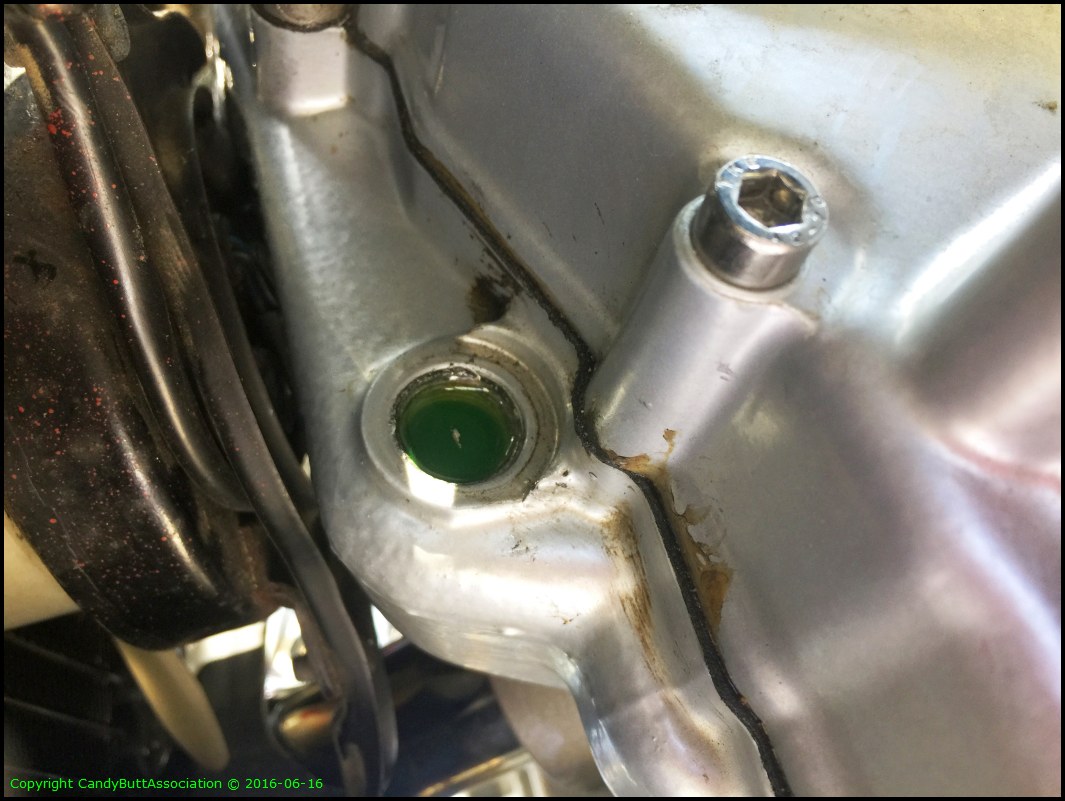
All but this much from the drain down was in the block! This is significant, as the radiator has yet to be filled. At this point, can not see level in radiator. Encouraging, me thinks.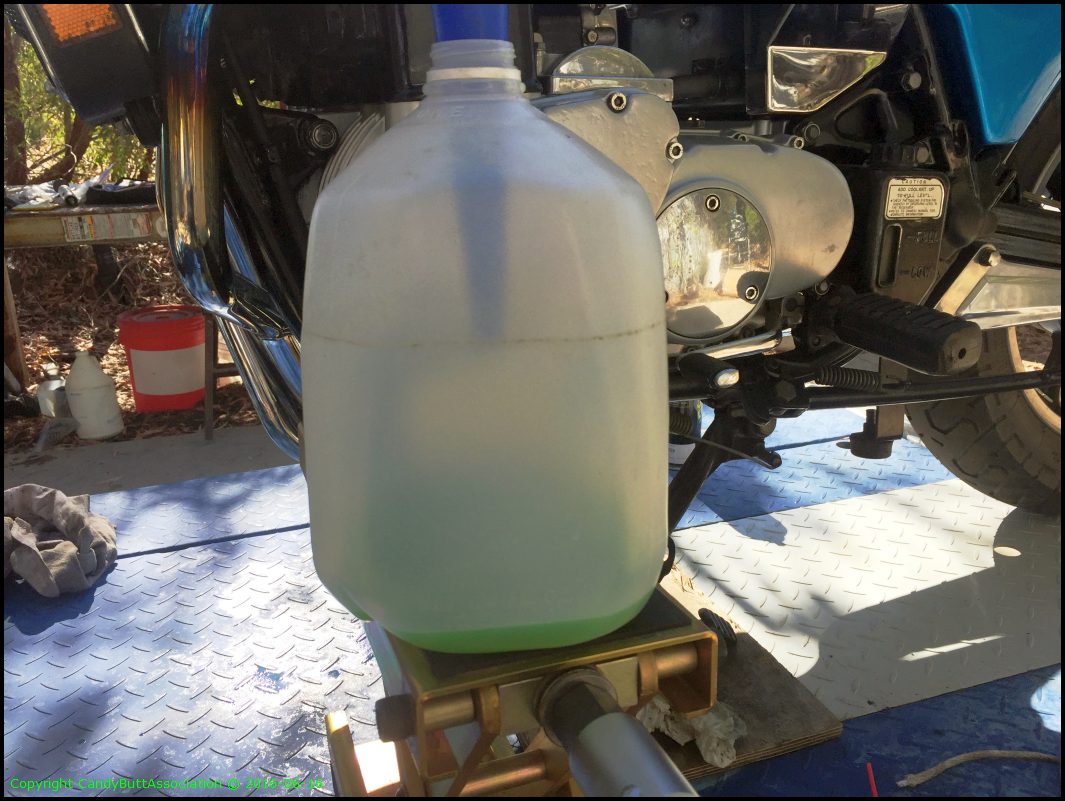
Temperature sender installed, now filling from radiator top cap. Forgot about the switch hole being open.. And yes, I replaced the switch connector.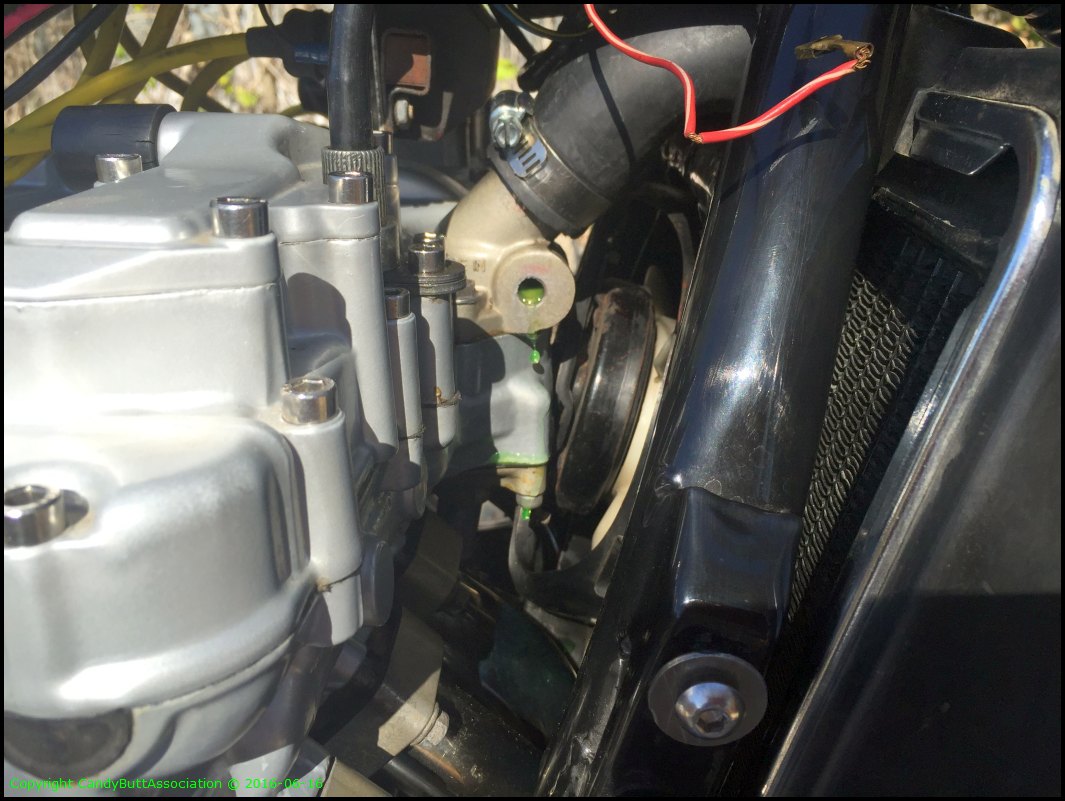
All of this went back into the radiator an more. This is a different bottle than in previous pix.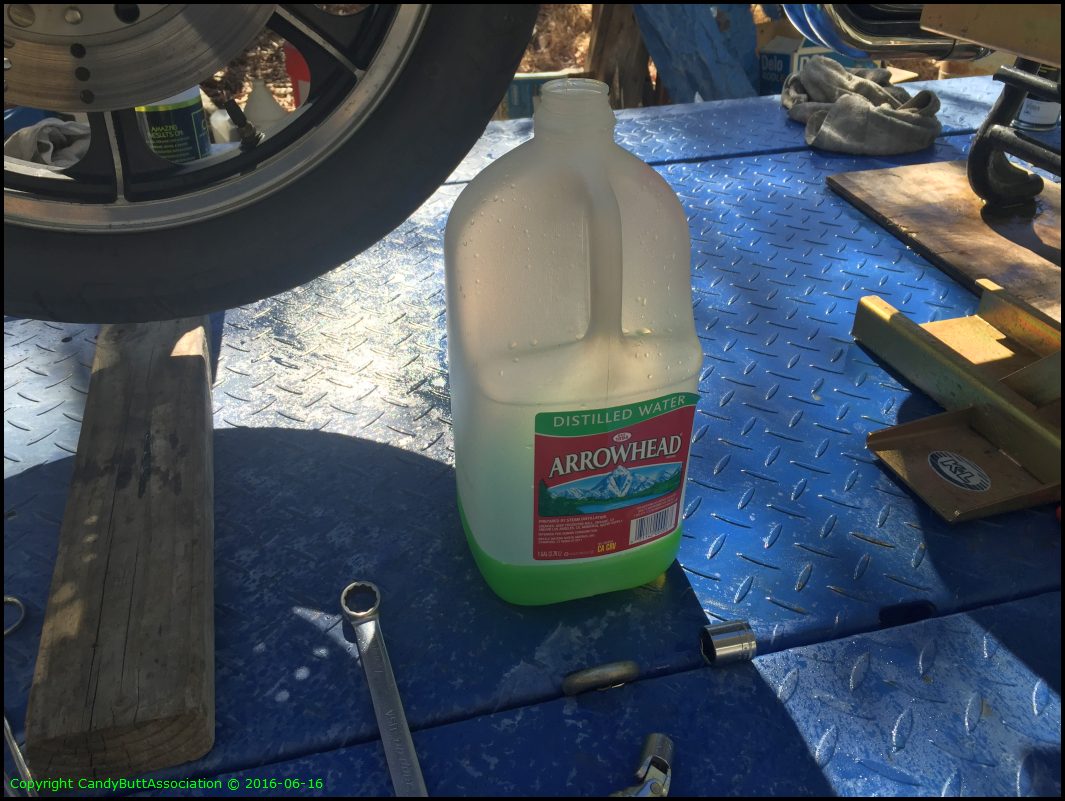
Almost done.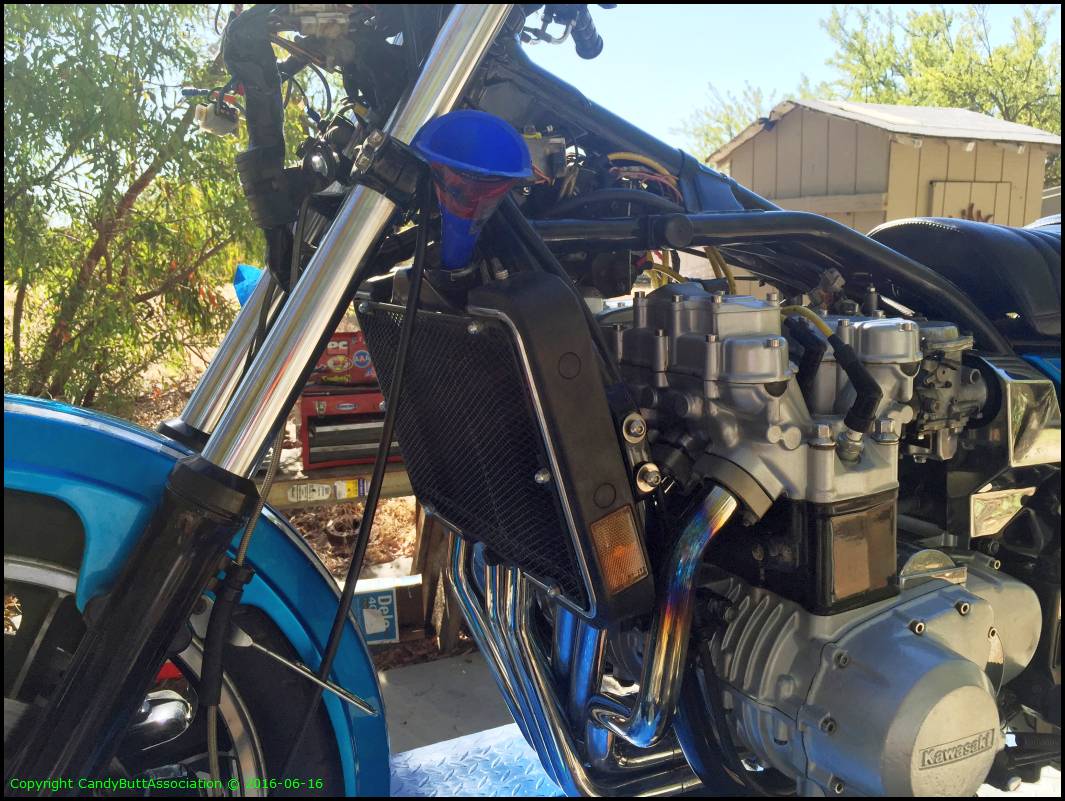
Initial results are encouraging. Previously, she would indicate well into the red zone while just idling on a fairly normal day, about 80F. After the this fill and purge, she gets to 3/4 scale and that's it.
Here's a video of the air bubble purge.
Kz1300 PurgingAirBubbles from dcarver220b on Vimeo.
Theme by Danetsoft and Danang Probo Sayekti inspired by Maksimer