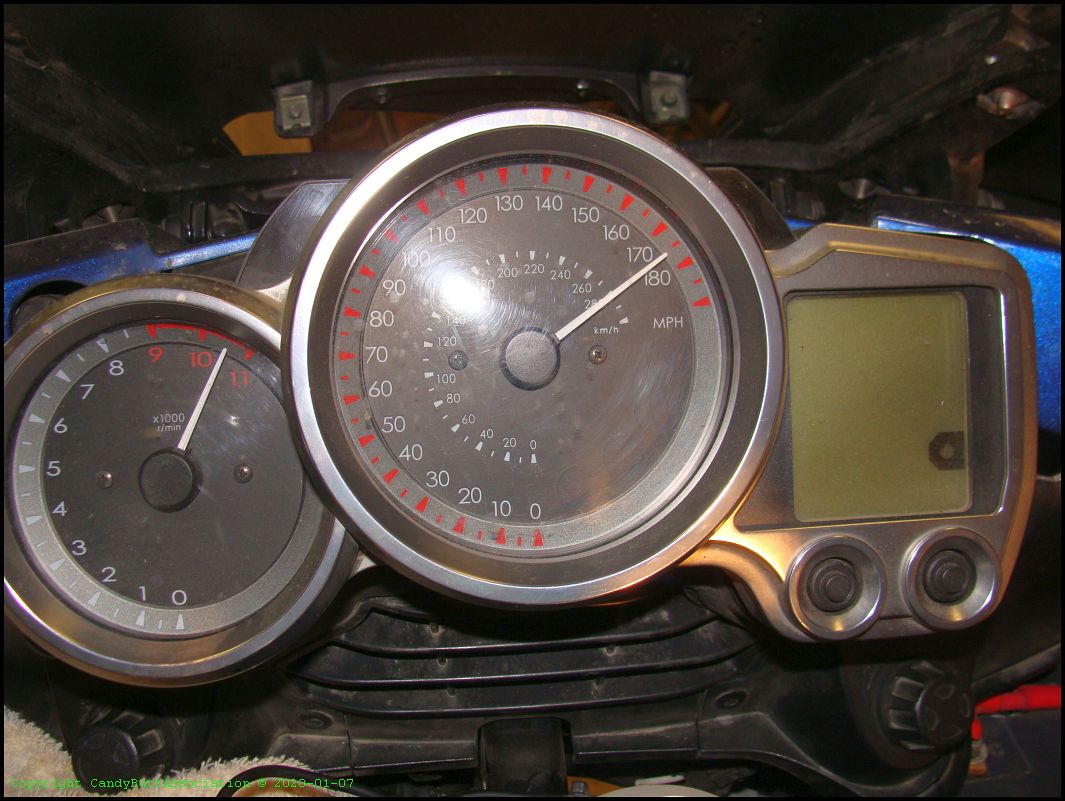
Day 2
Goals:
*Remove ball bearing steering head races
*Install roller bearing races
*Install new brake pads
*Install speed bleeders
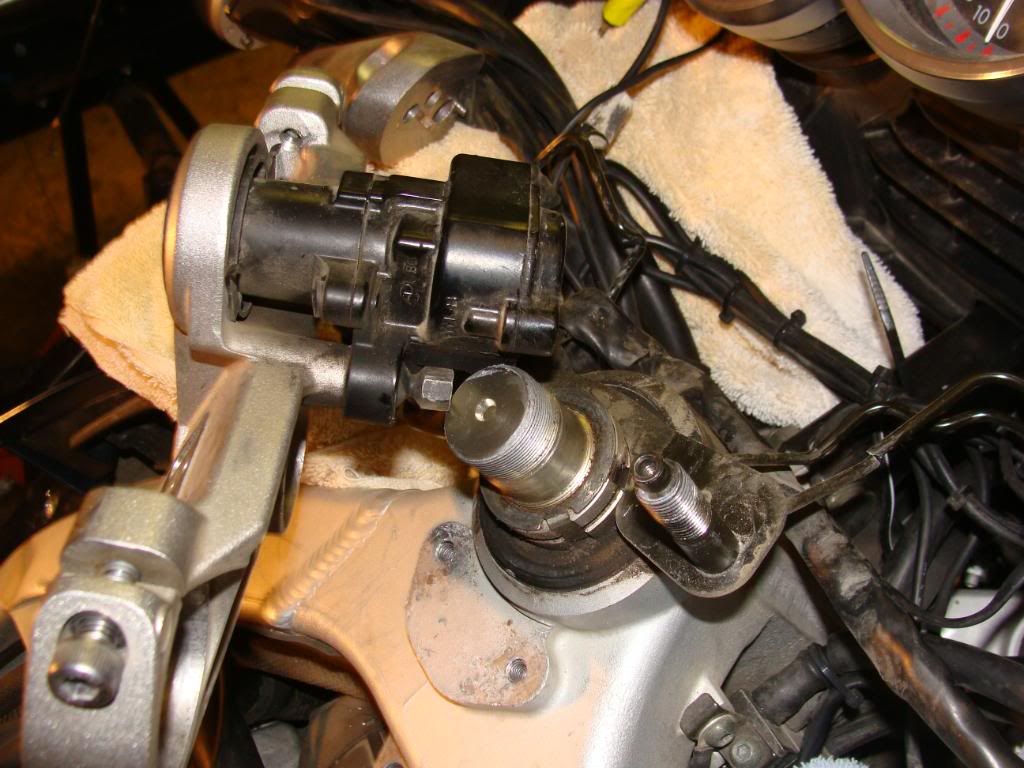
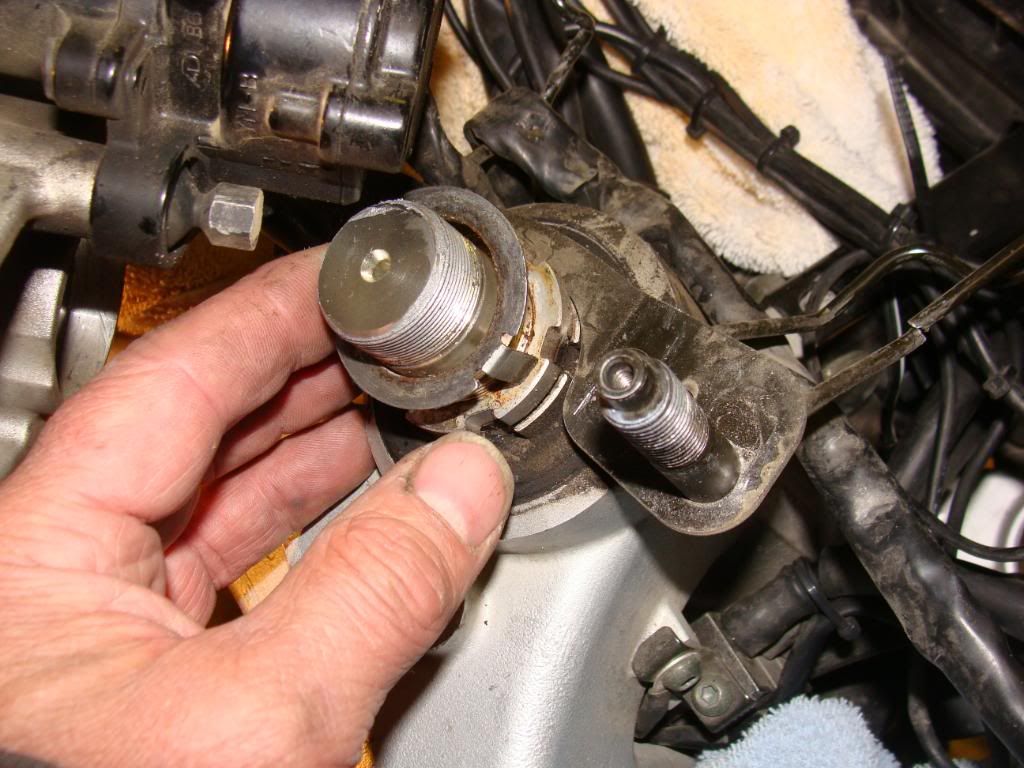
Removing steering head races..
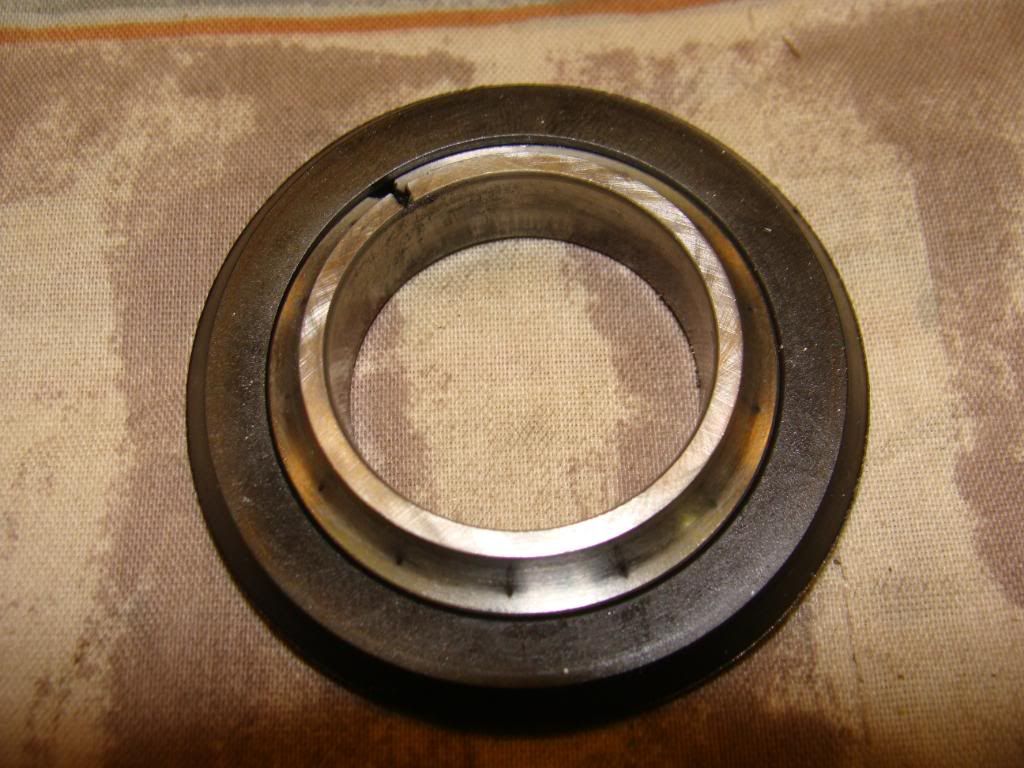
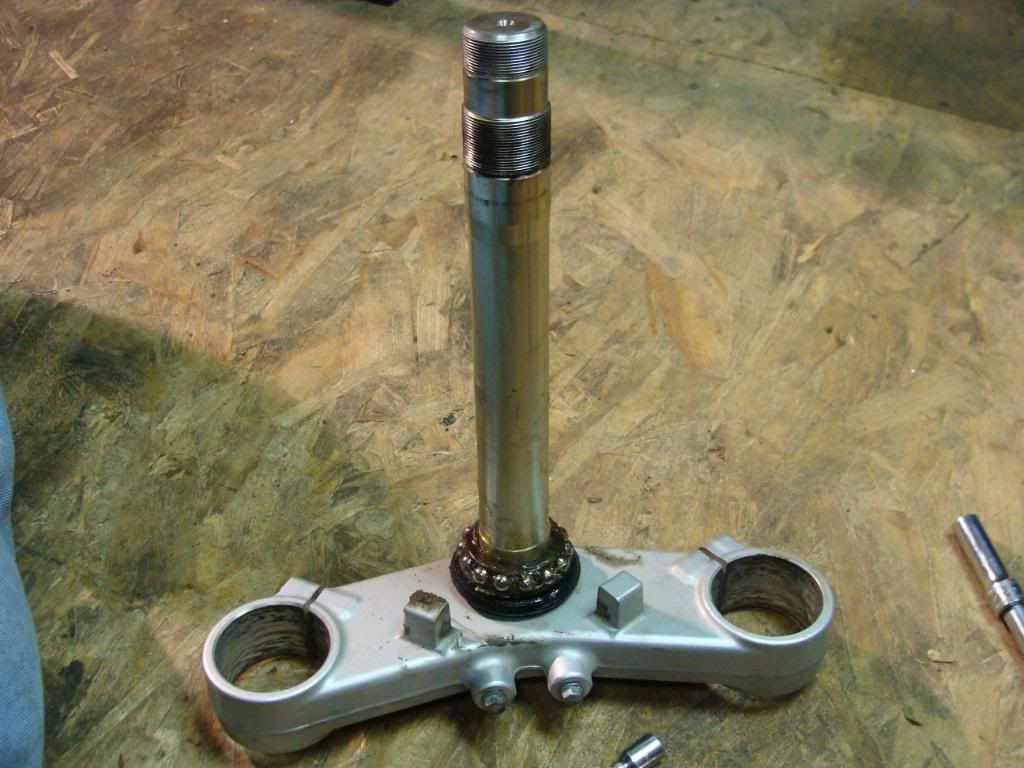
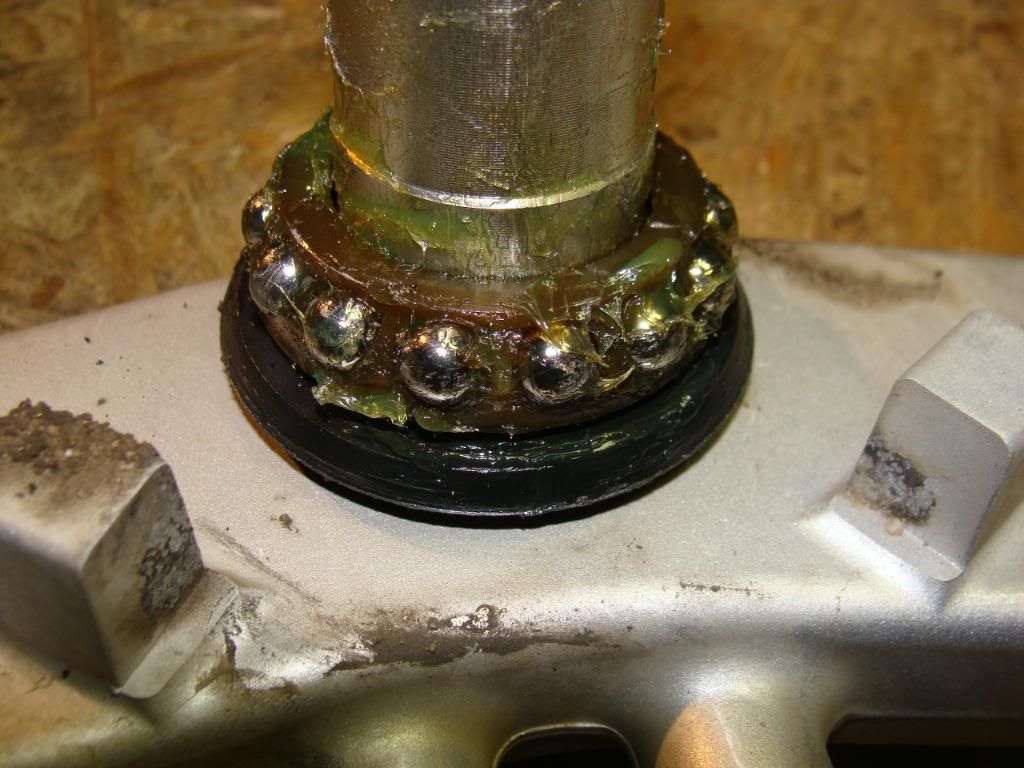
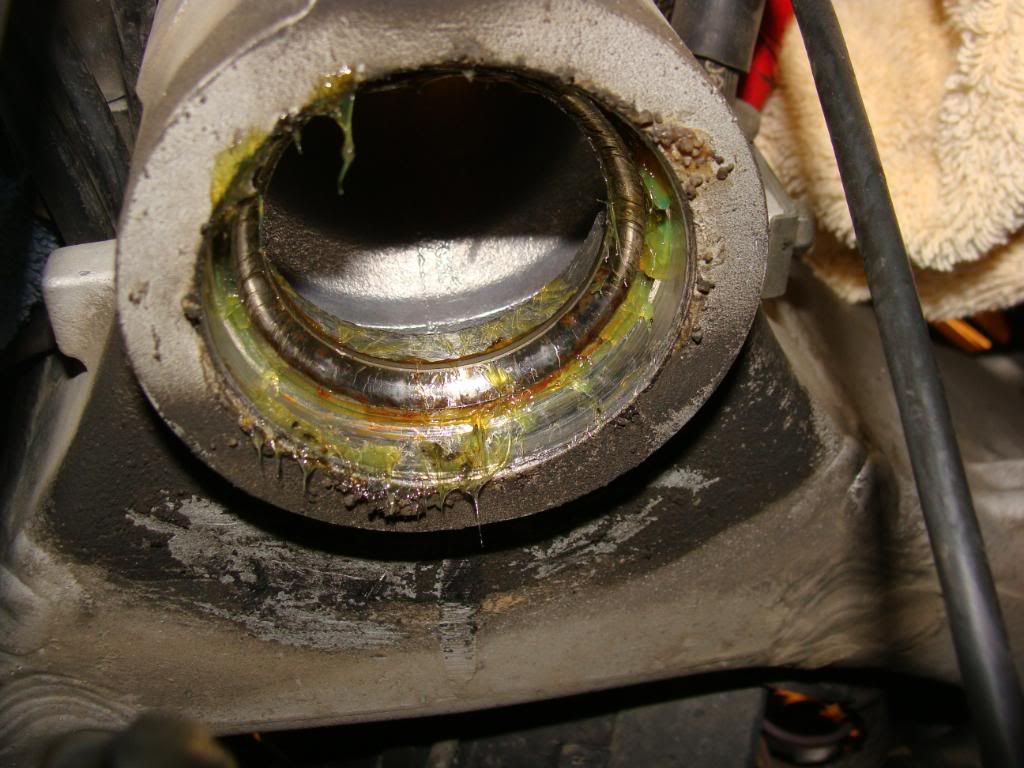
Ball bearing (OEM) race -
Lower
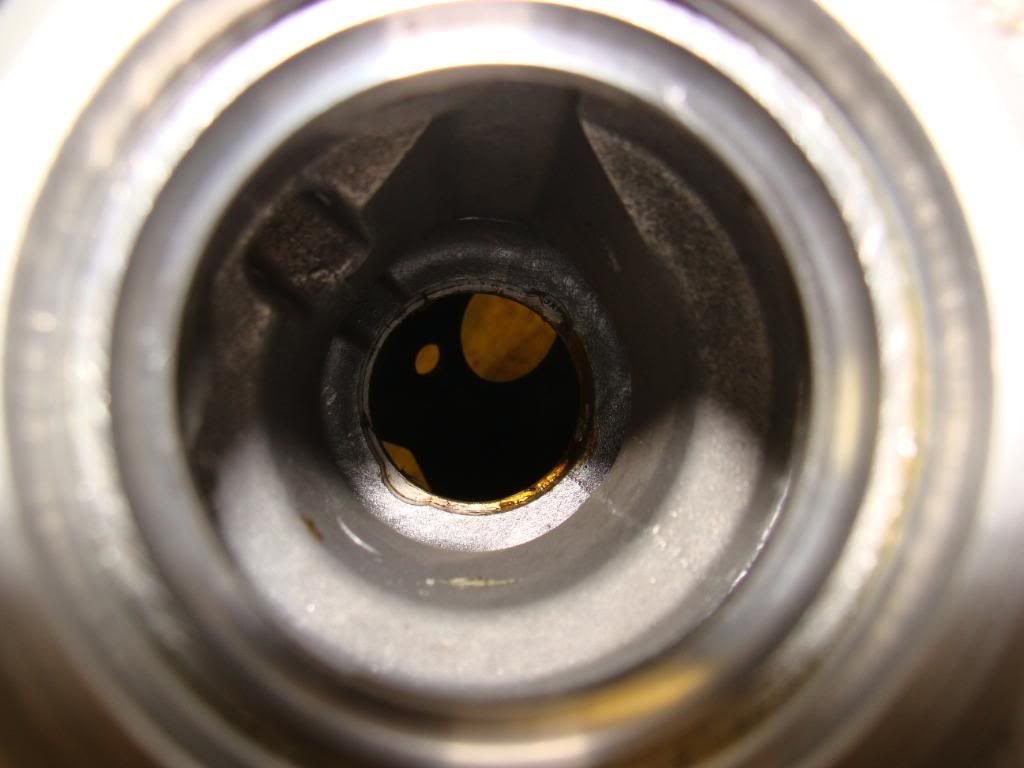
]
Upper
The whammy-dyne tool I bought which proved to be worthless, I could not get the 'fingers' to hit the race. Oh well...

Using heat to expand the hole diameter. Be careful where you place the flame. I had a fire extinguisher at the ready..
This is the upper race, and exactly what you do NOT want to do.. I've driven it out crooked, and now it's bound up. Applied more heat, noted where I needed to move the race, then back on the floor again with nothing but sophisticated tools at the ready..
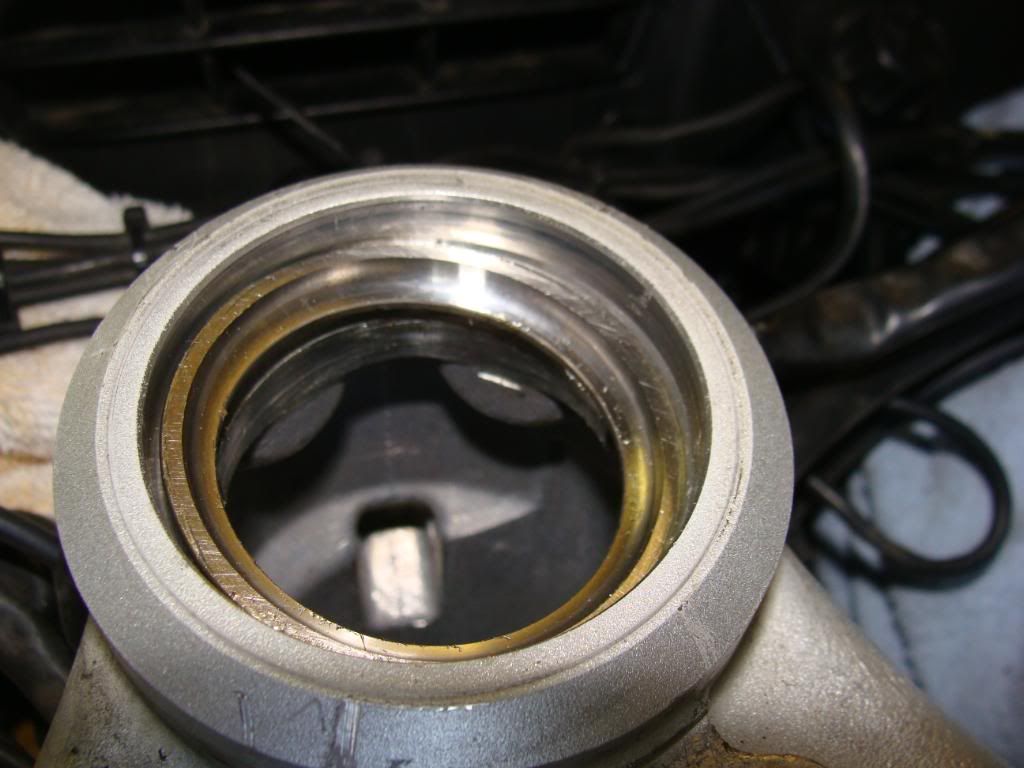
Son of a gun, I win! The lower race was a piece of cake. The upper race was a PITA to remove. You are on your back, can't see squat, brake lines and other paraphernalia are in the way. I used bungee cords to move the lines outta the way, took several deep breaths...
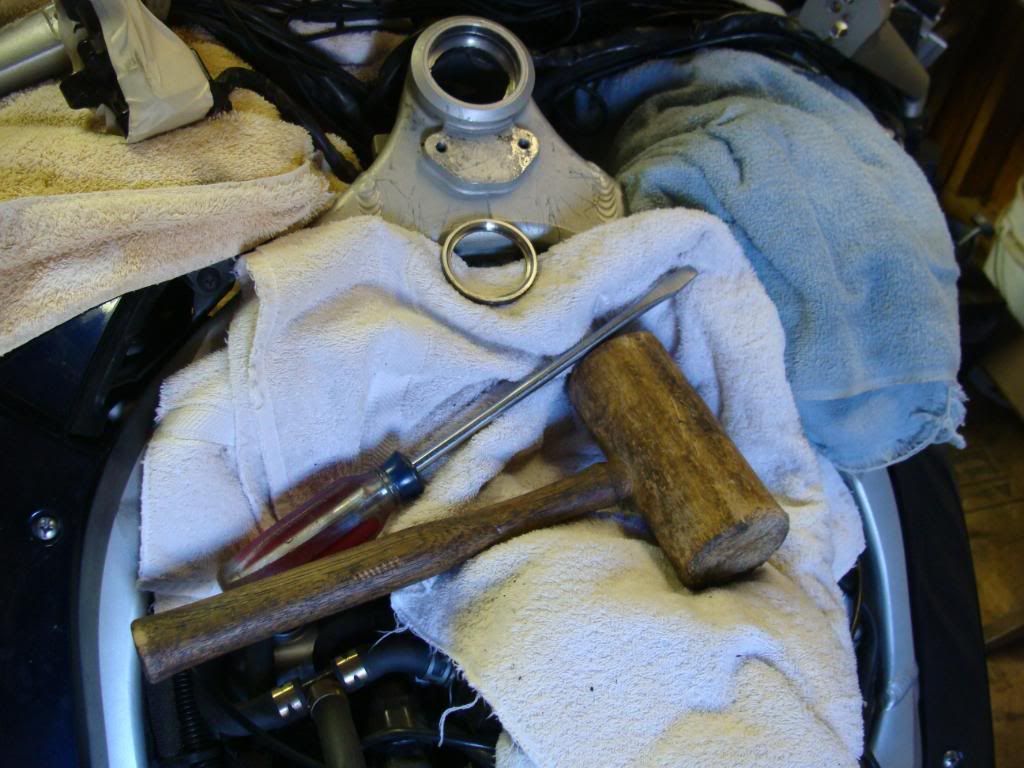
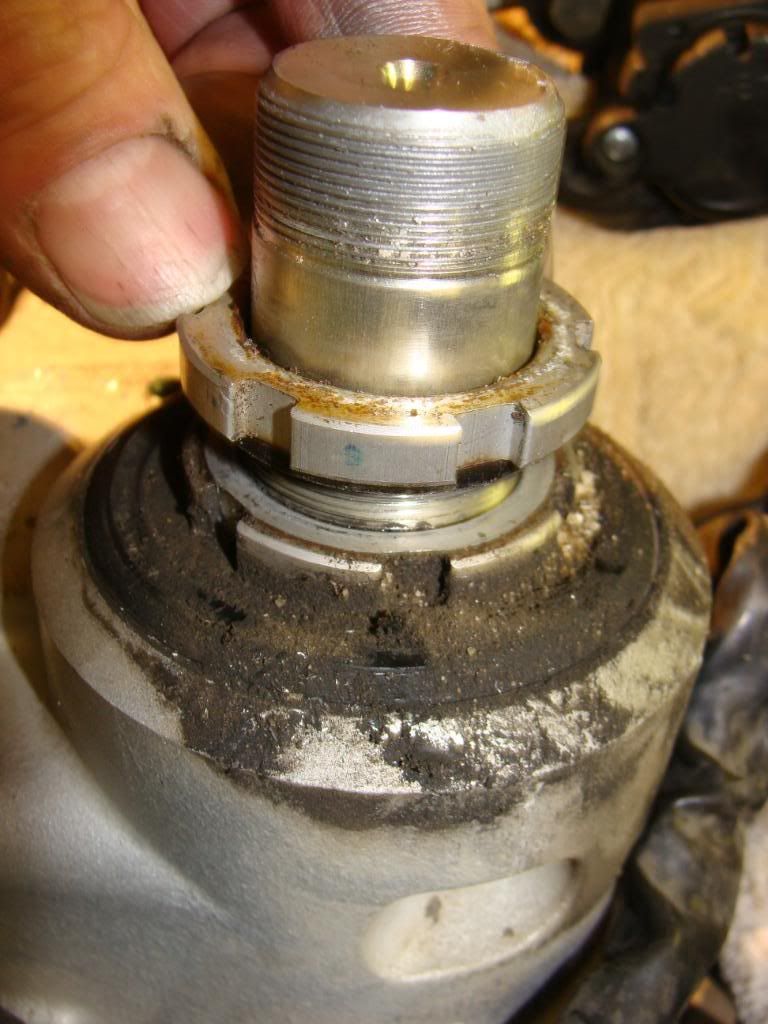
The new bearings - roller, at bottom. Sure hope all this effort is worth it..

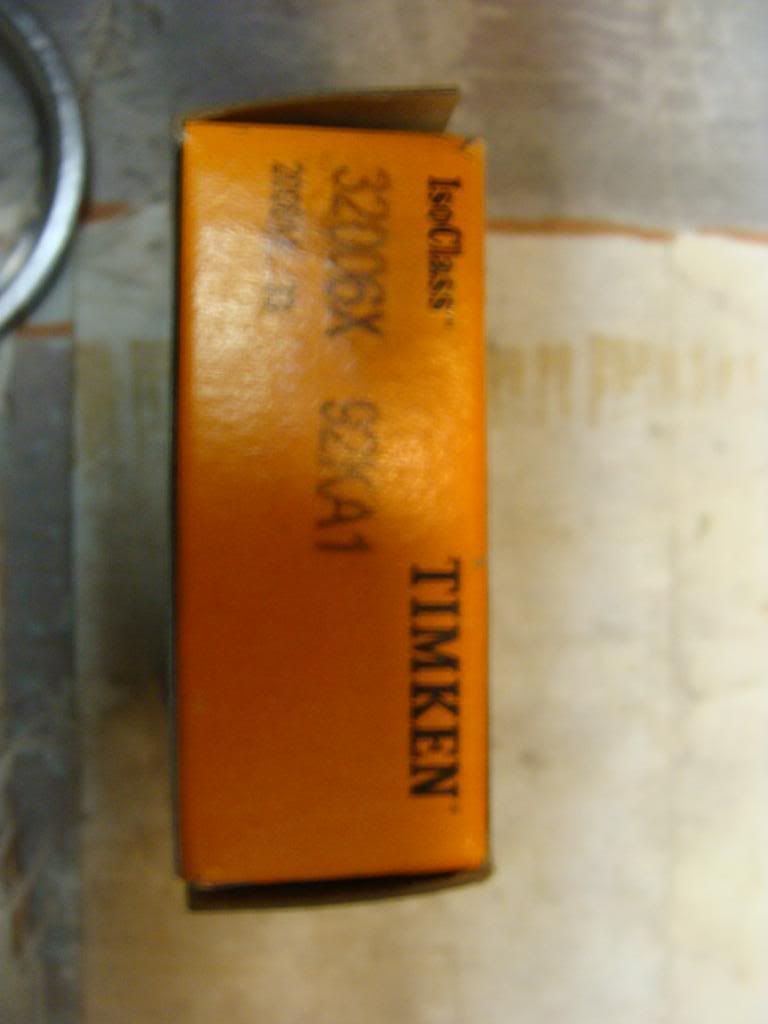
Timken part number, for future reference..
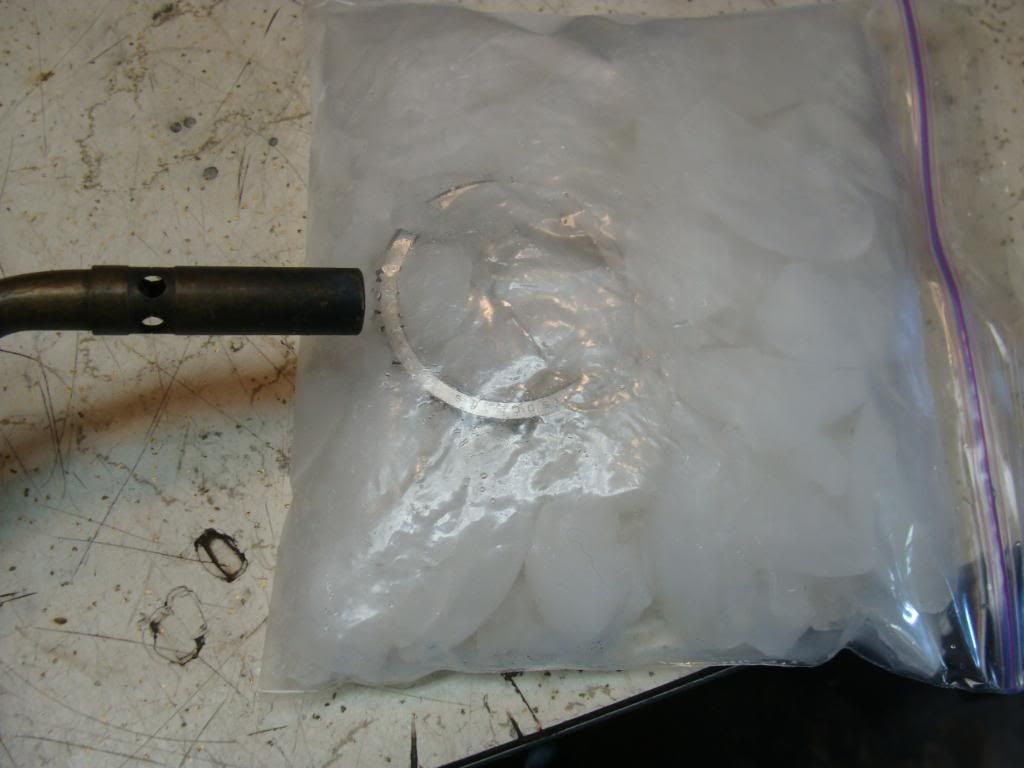
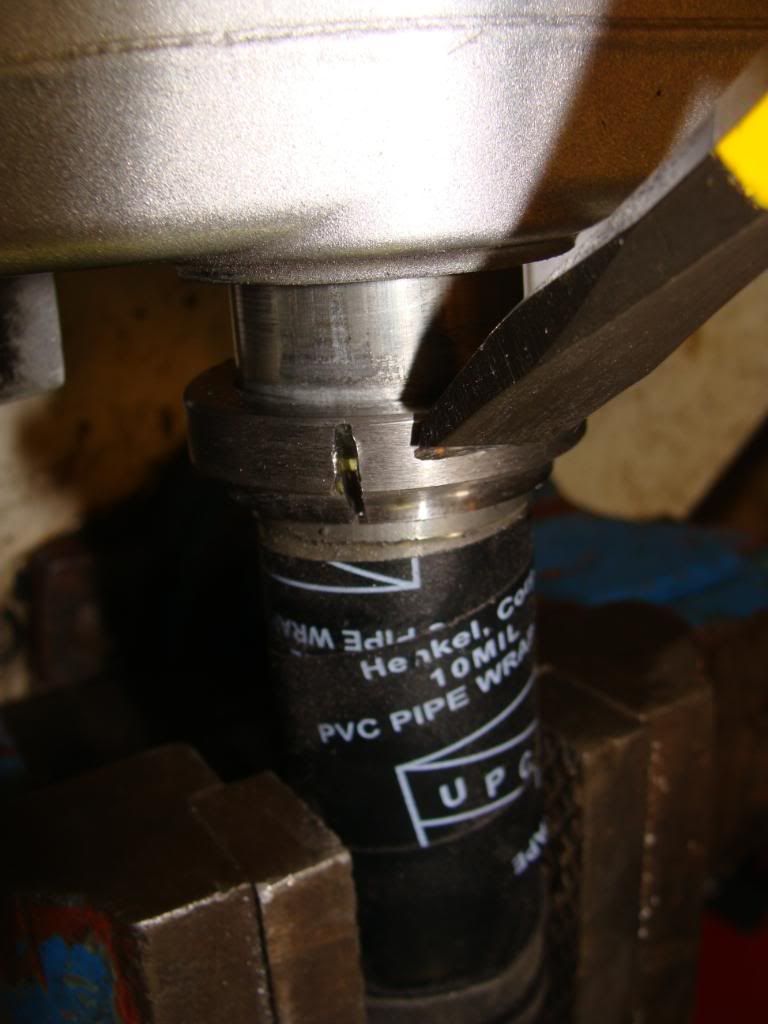
Now the game is to install the new roller races. First clean everything up. Then I put the races in the freezer for 30 minutes to contract the diameter. Heat will be applied to the frame to make it expand. Hopefully it will go together easy.
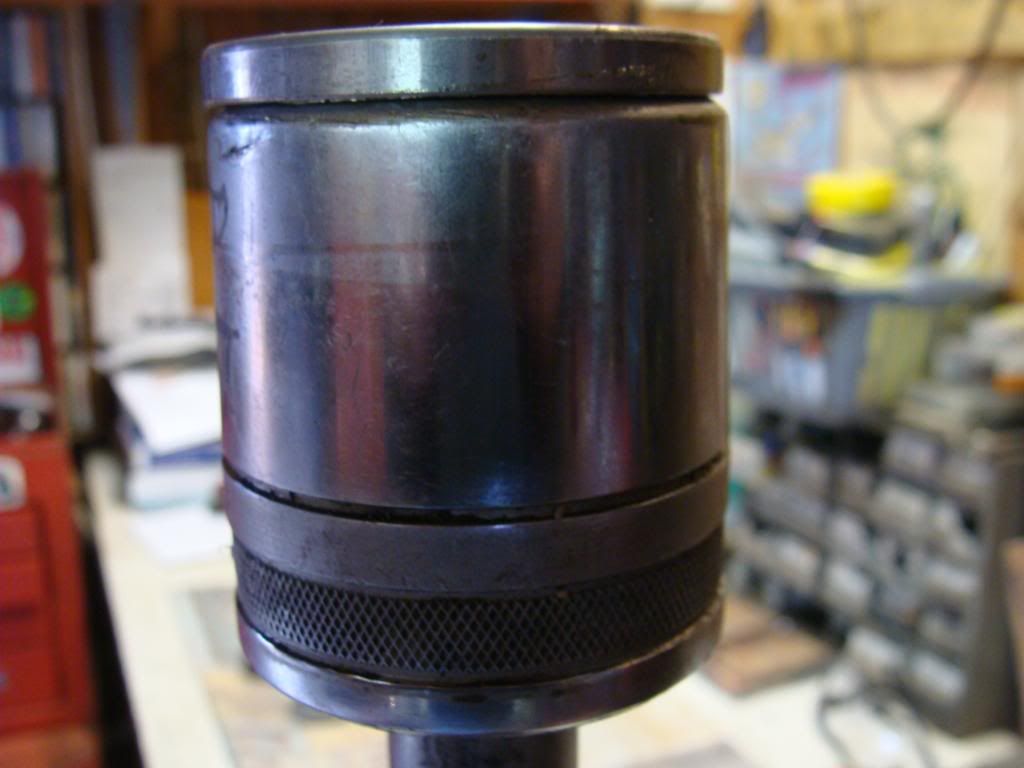
I don't have proper tools, so I jury rig it. I find that a 1.5" socket is almost the perfect size to drive the race in. But I don't want to bugger up my nice 1/2" drive set so I use a lead mallet to horrifyingly hit my drive set with.
Fire and Ice. I kept the races on 'chill' mode while I heated the frame.
I came up with this brilliant idea - to save the socket, use the old ball bearing race.
But how to secure it? Welding is out of the question - I have little skills and only Oxy-Act. So tape it is!

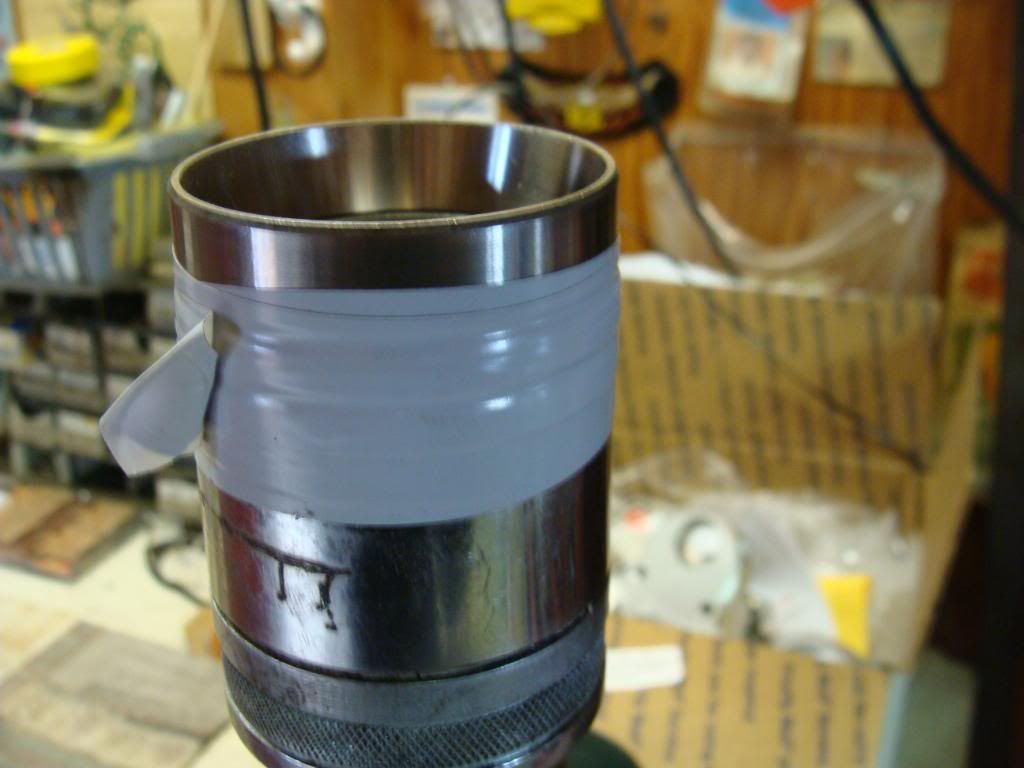
What's wrong with this setup?
Yep, the race is upside down. doh!
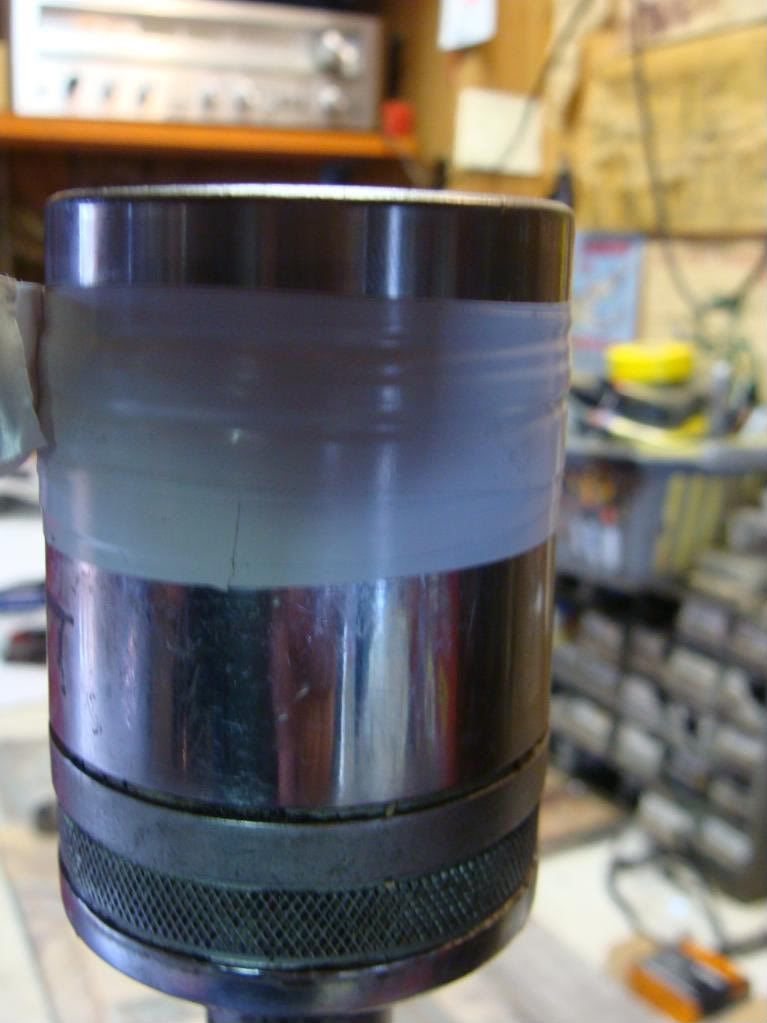
Well, none of this nonsense worked. The 1/2" drive extension and socket were to heavy to manipulate to get the correct 'seat' on the race to drive it in squarely. So resorted to the old try and true.
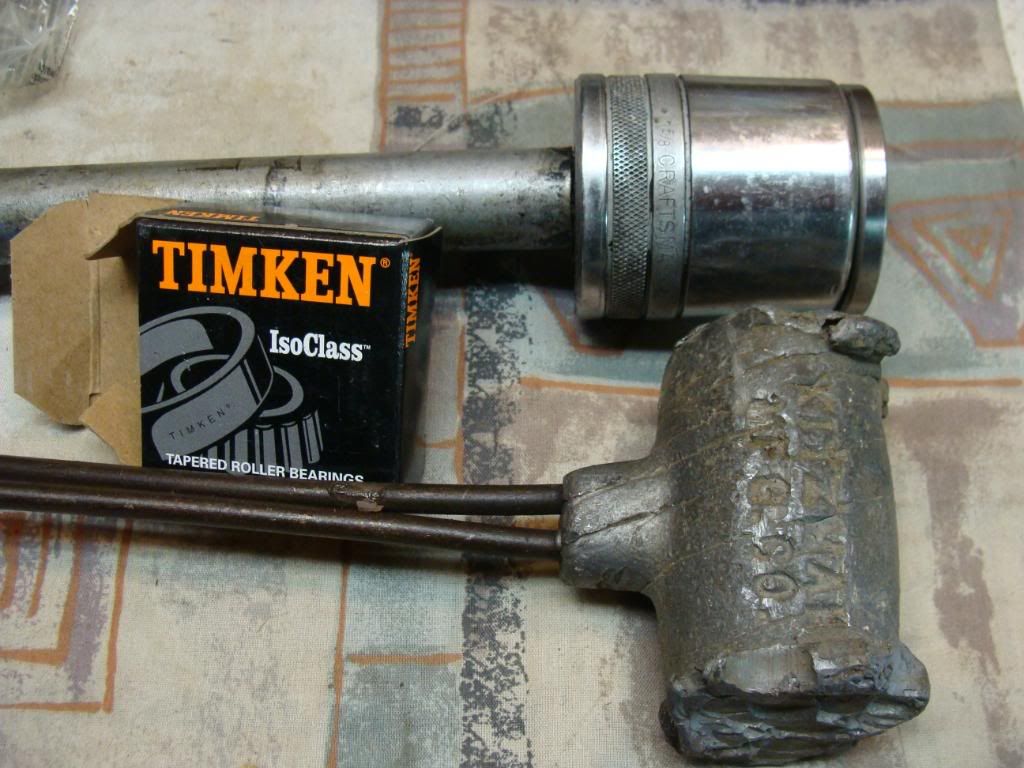
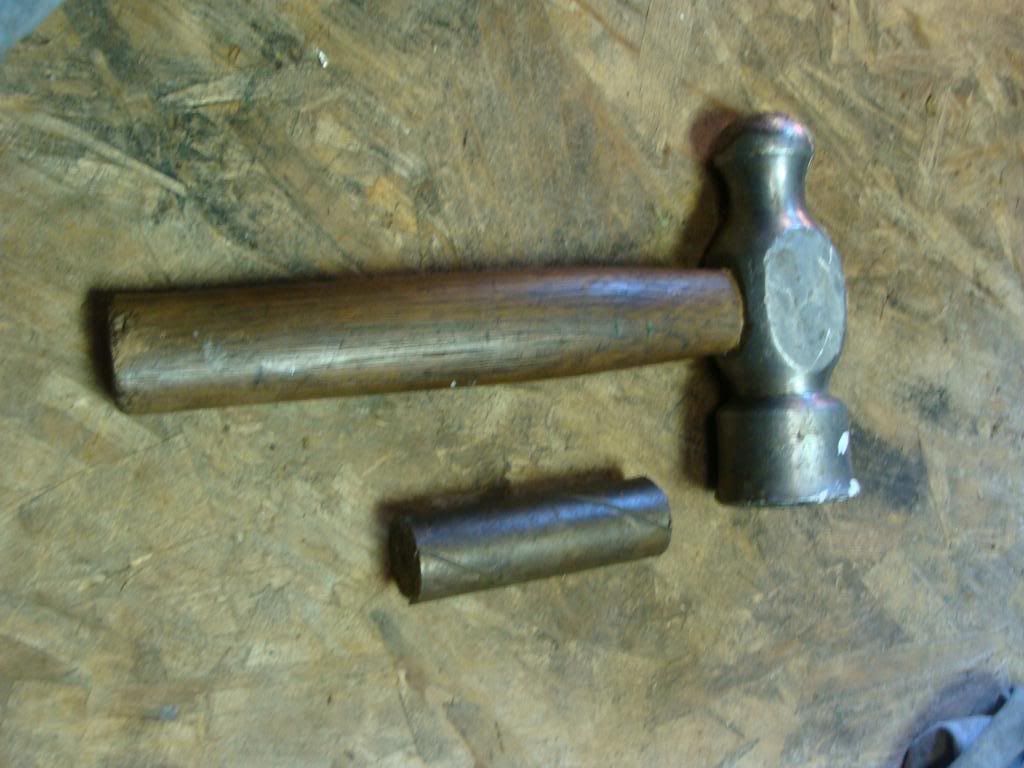
To a man with a hammer, the entire world looks like a nail... get my 'drift'?

BTW, this brass drift is the small end of a piston from a big Caterpillar. I picked it up from the desert floor near Pearblossom Ca back around 1973...
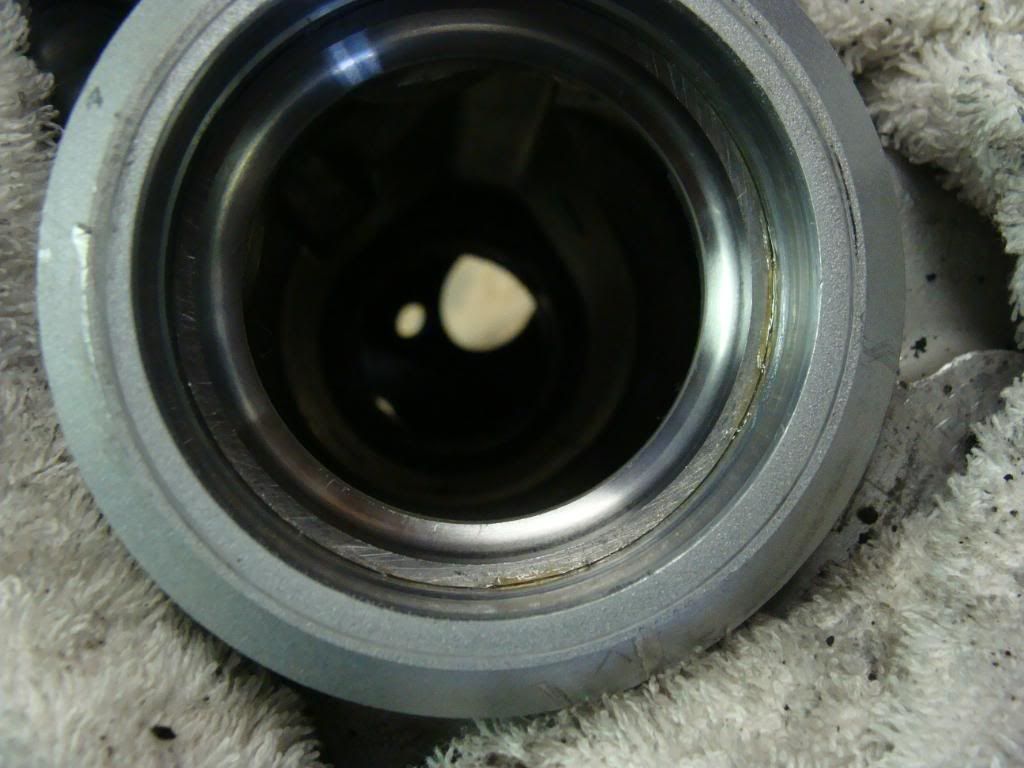
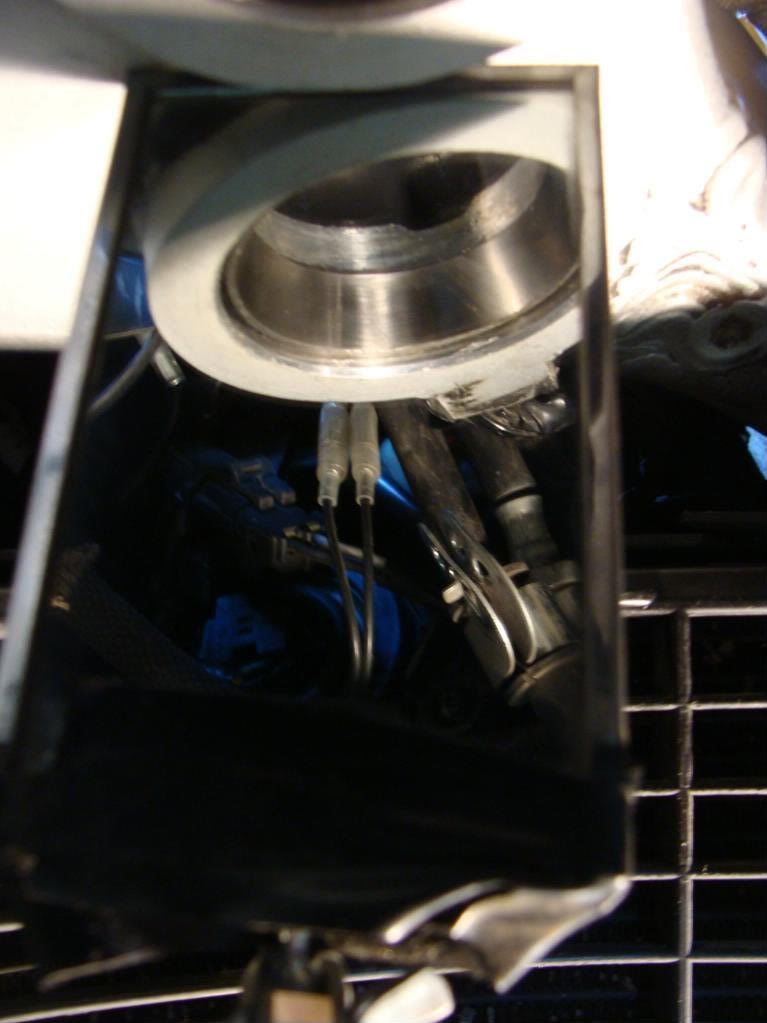
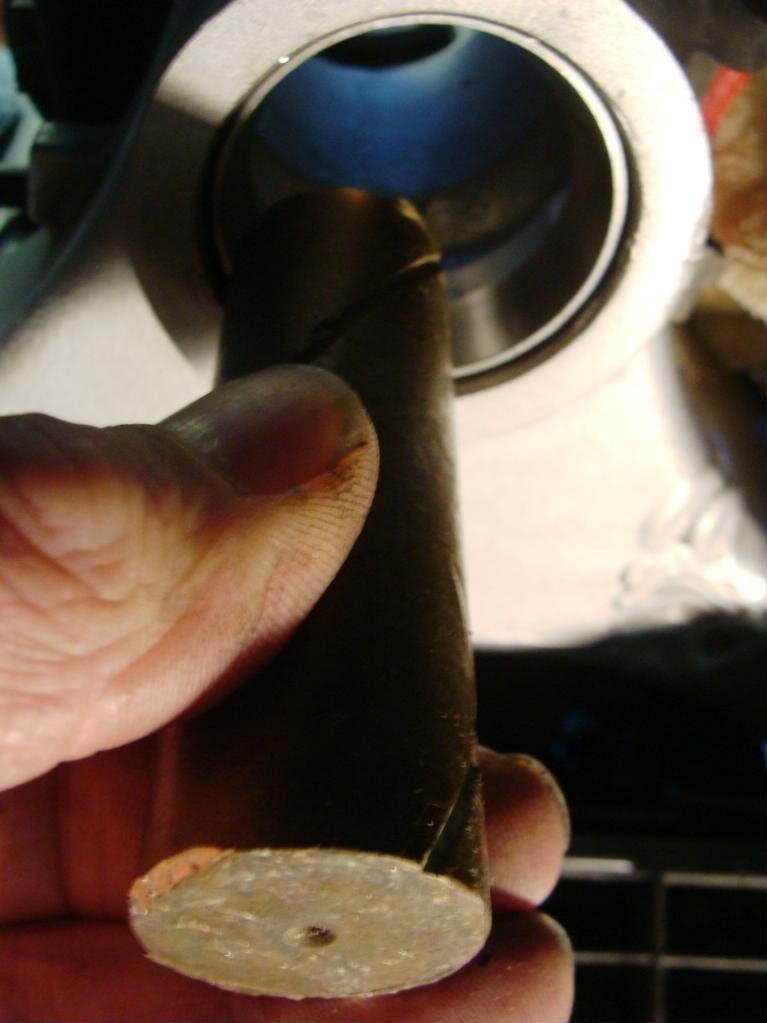
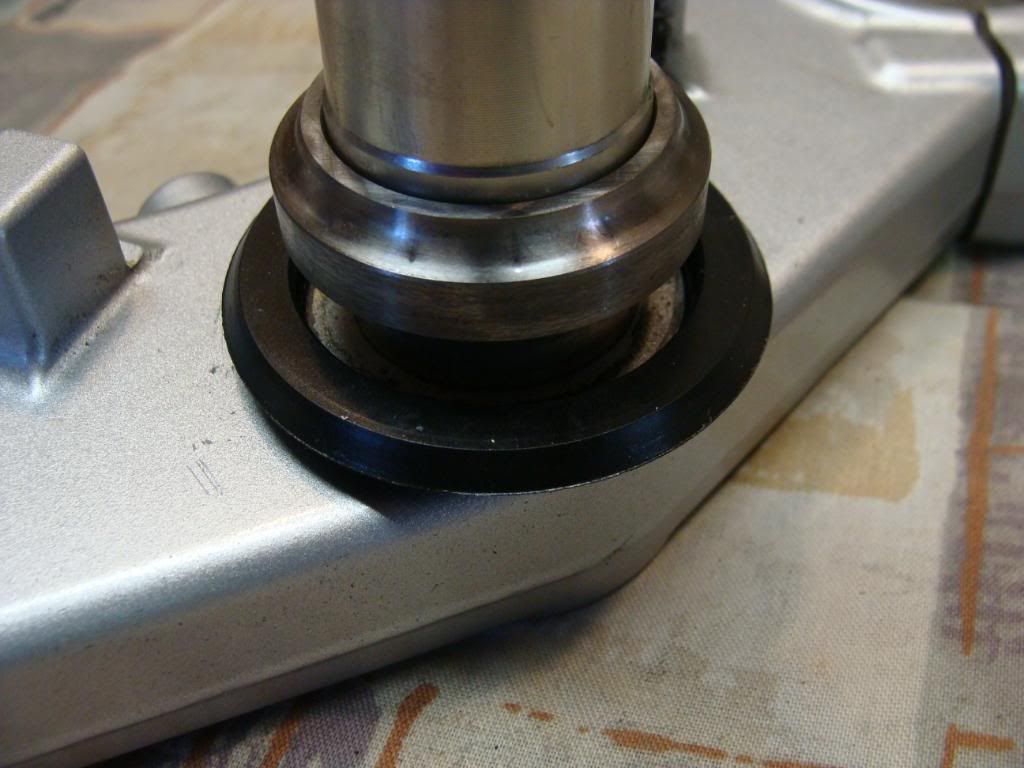
I used an inspection mirror to see if the race was fully seated on the side I couldn't eyeball. It wasn't, I was damn glad I got my phat ass off the ground to fetch the mirror to look. This is how it should look.
Pix of my big brass drift.
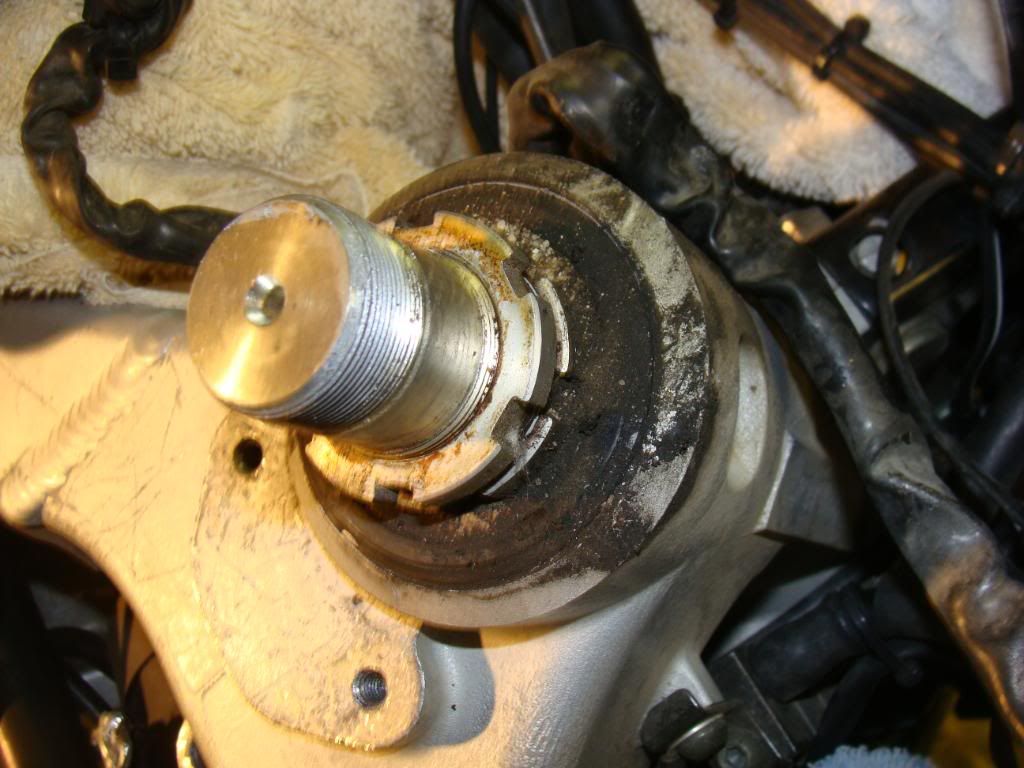
The next step - remove the lower ball bearing race. I used Dremel tool to cut into race, hoping I could weaken it enough to use a punch to split it. I did NOT want to bugger up the steering stem or lower clamp, just 'cause. I know it doesn't matter, but jeesh..


I beat on this thing using a drift punch, and it simply wasn't splitting. I don't know, it seems like it should have worked, but being a rookie and all I did not want to use excessive force then end up buying a new lower clamp and stem.
So, plan B.
I cut a 'horizontal' groove using the Dremel, then used a drift punch to slide it up, and it worked!

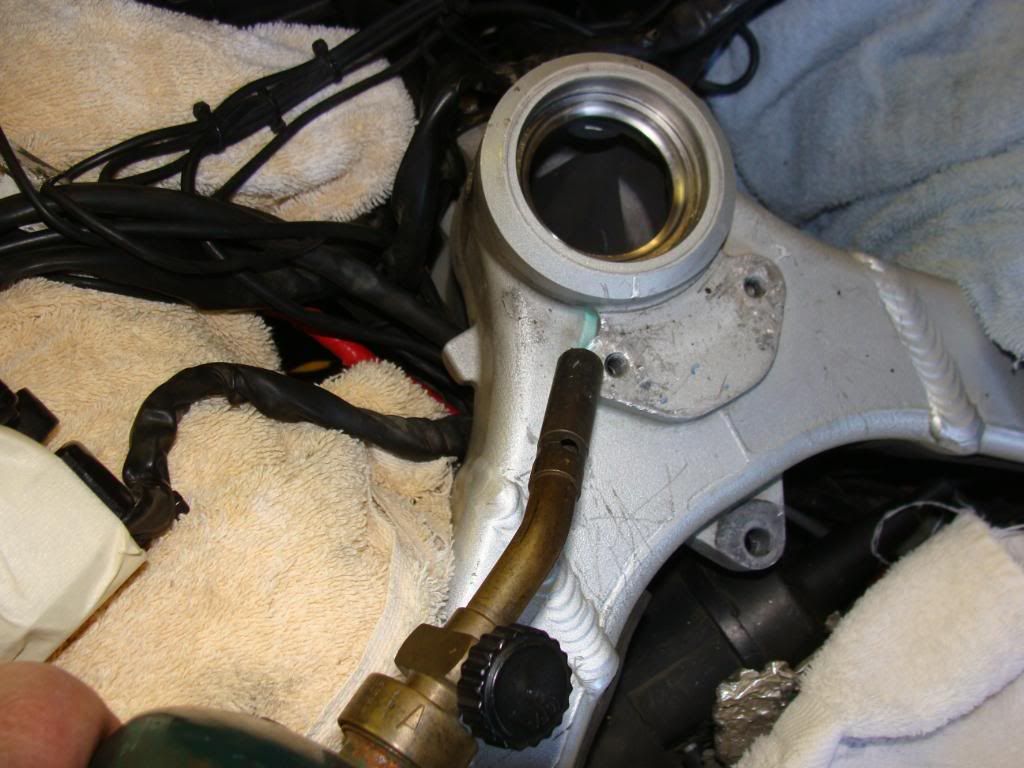
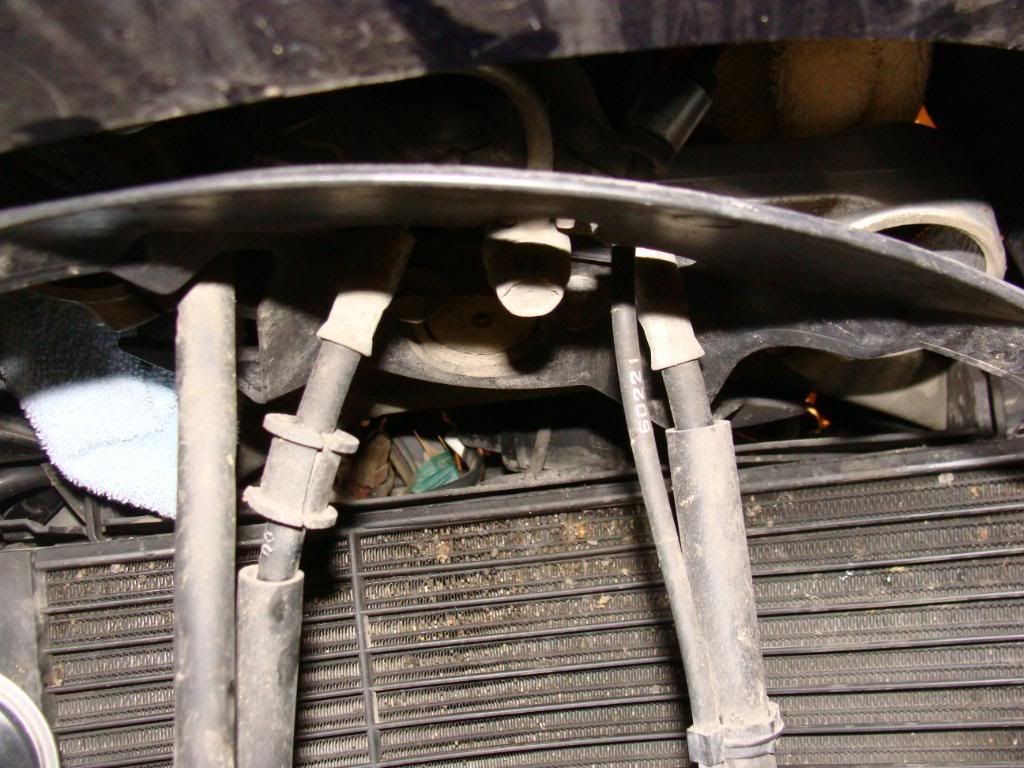
Now then, about the lower seal; I'm not sure it will work with the new roller bearing. I posted a new thread asking others for help.. Here is the OEM configuration, the roller bearing is taller, I just don't think it will work.
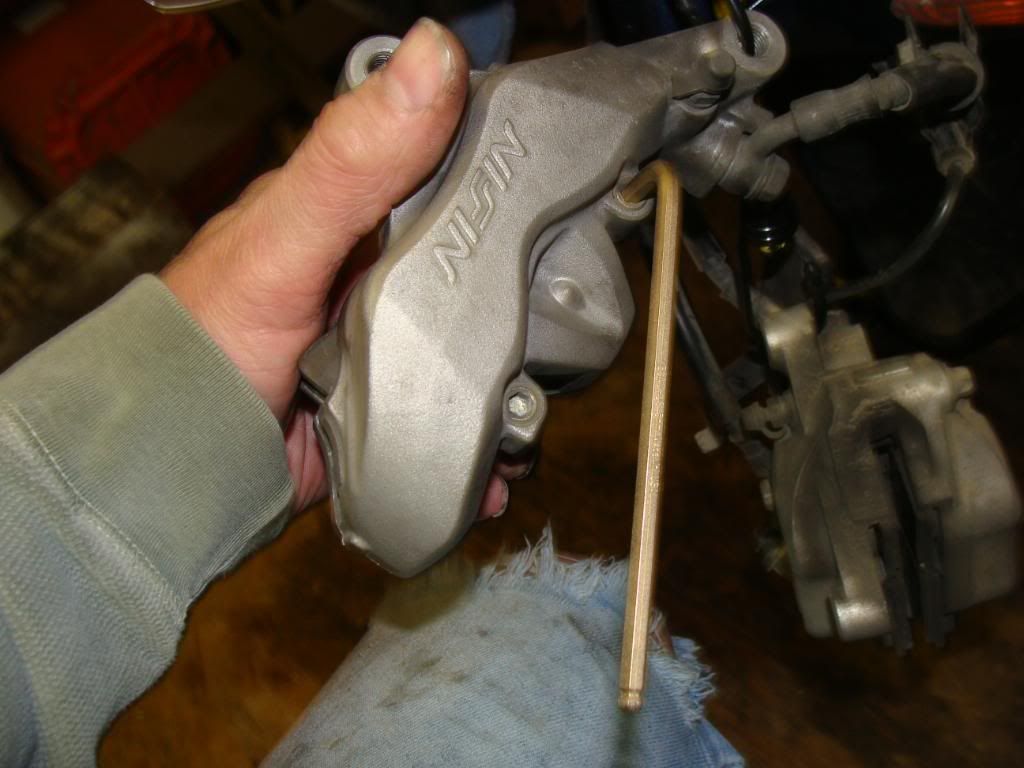
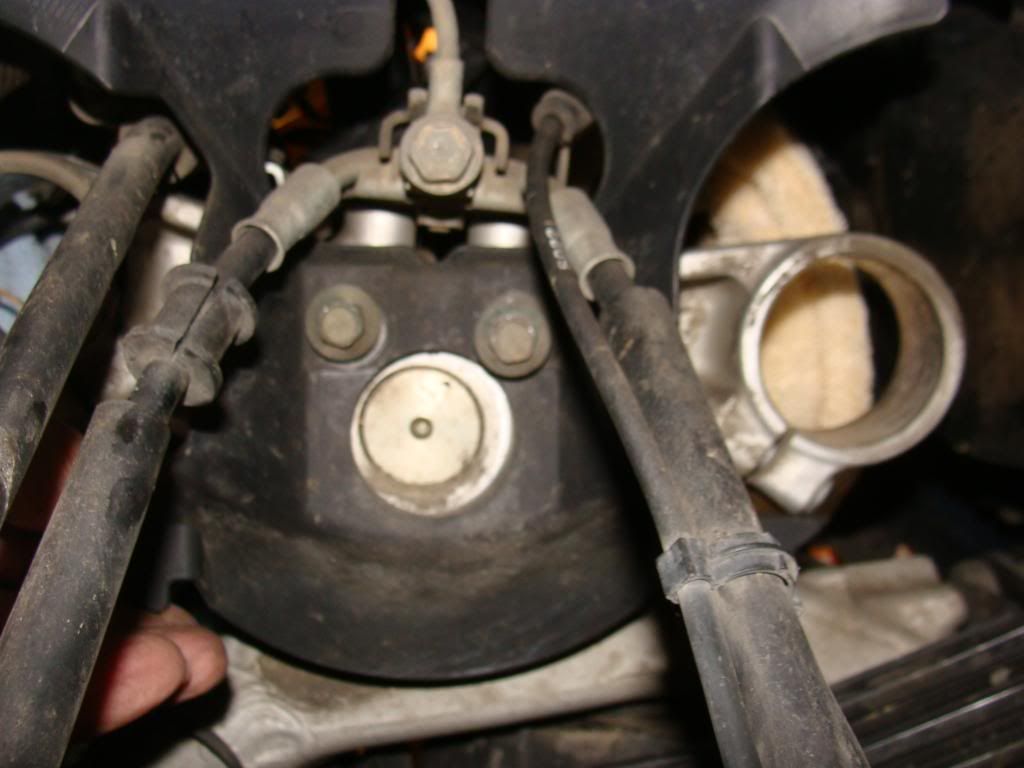
Of to Brake-Pad land we go..
Removing the pad securing pin -
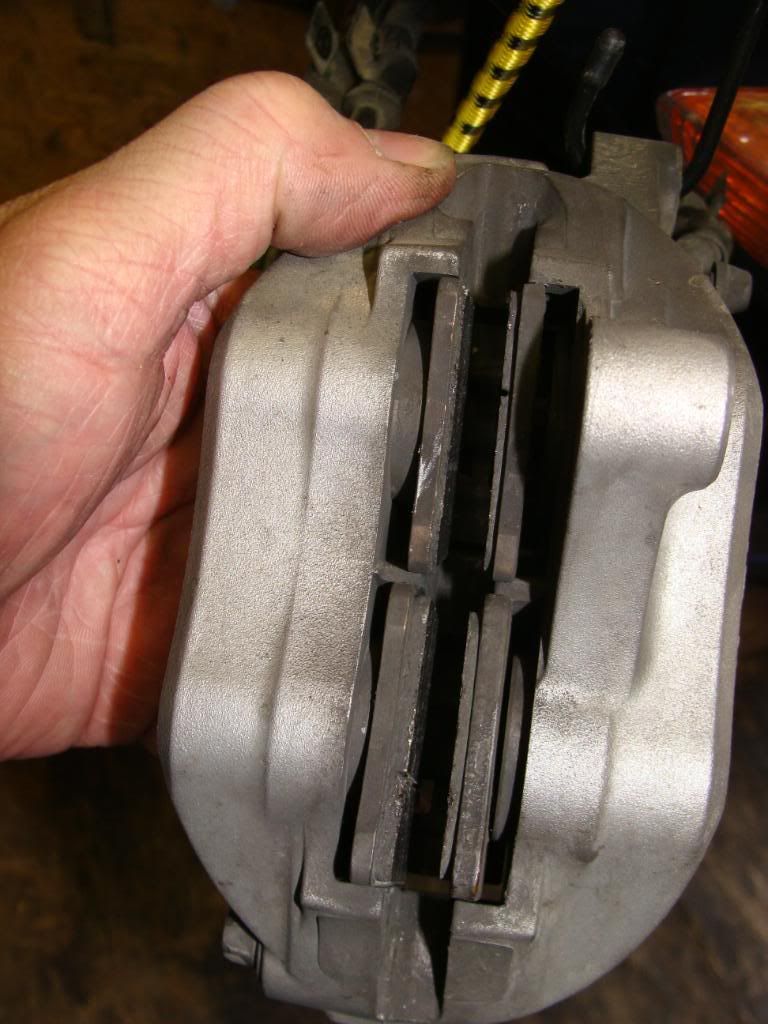
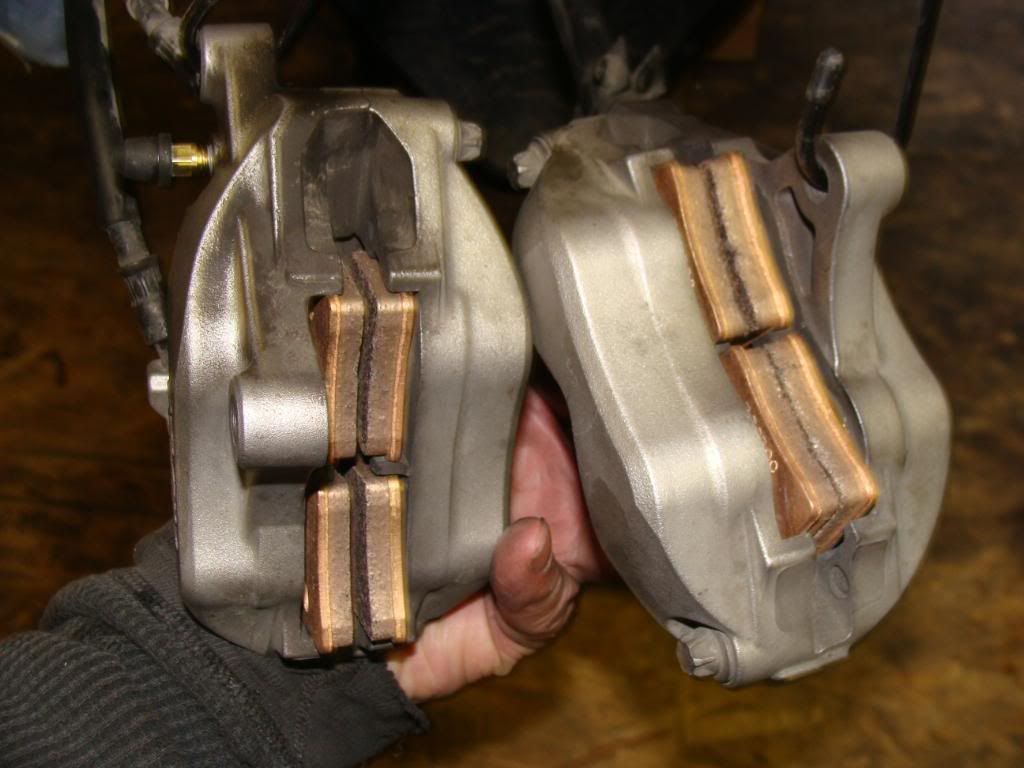
Yeah, they are due for new ones..
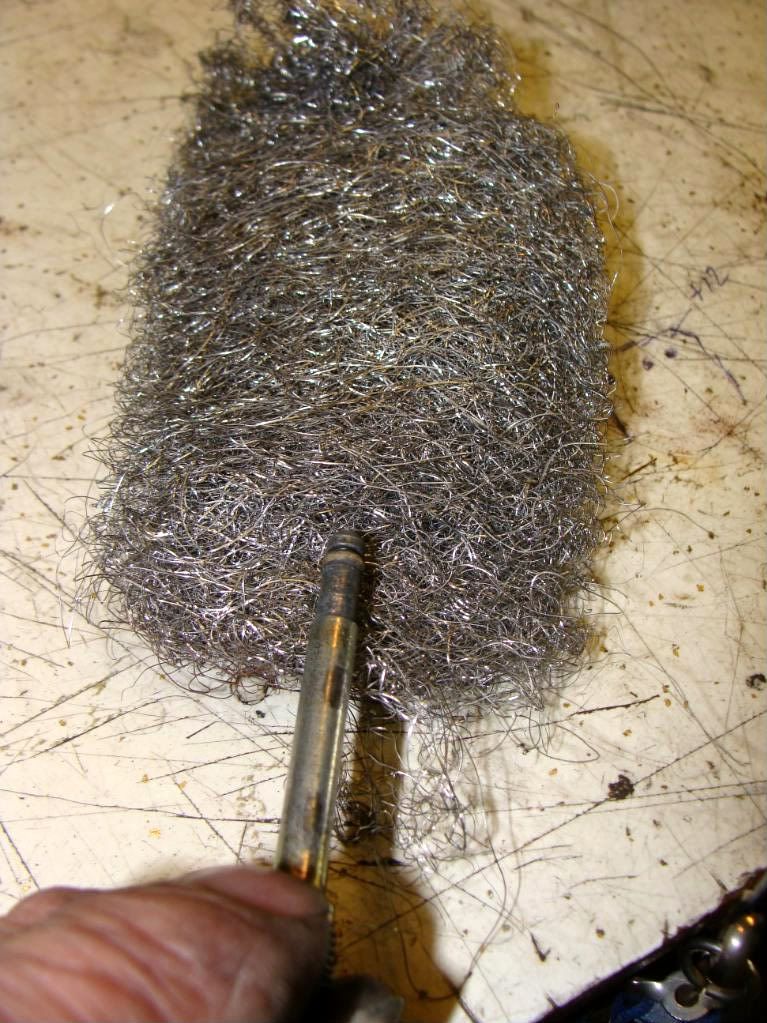
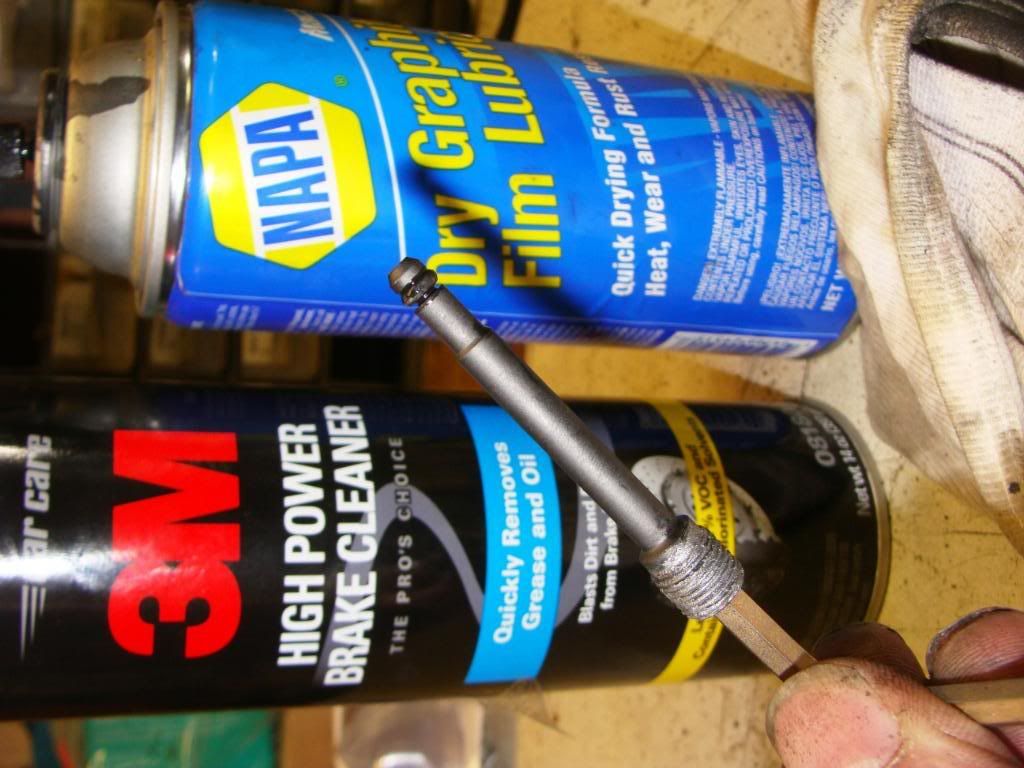
For the pins, I clean them up using steel wool and Brakleen. After they are nice and smooth, I coat them with a Moly dry lube that does not attract dust or dirt. This keeps the pads moving freely, helping to reduce drag, even after running in adverse conditions (like the 6 miles of dirt roads I ride everyday).
The newly installed pads..
Well, getting tired now, the back is starting to squawk..
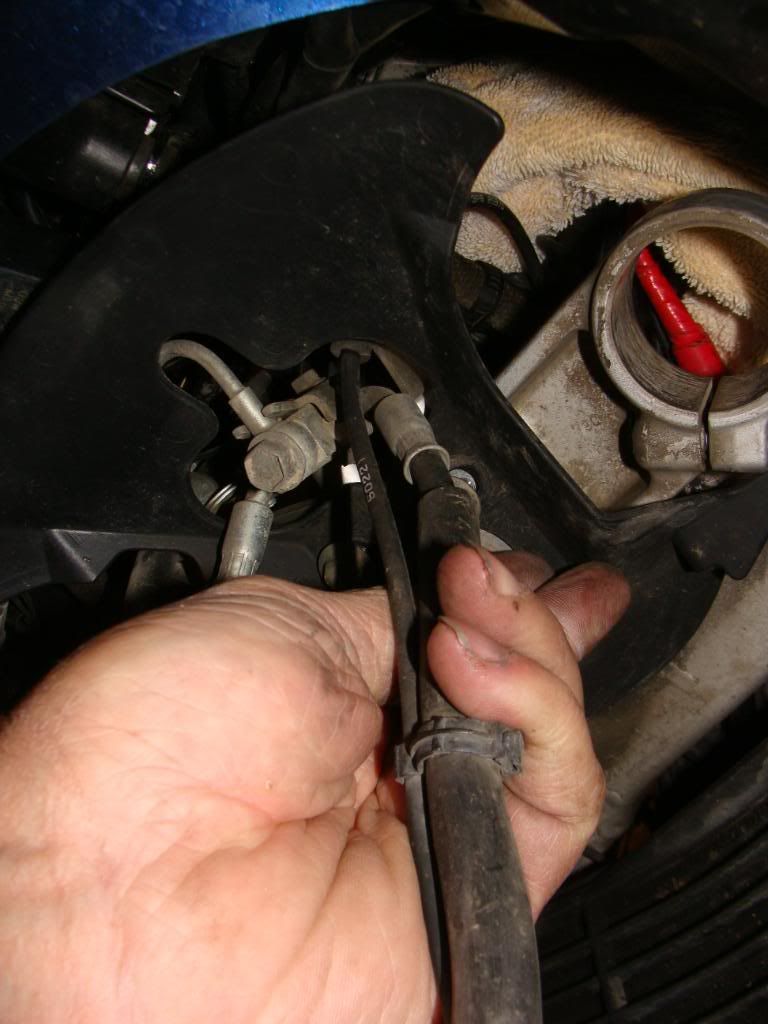
But the Speed Bleeders are calling my name, so here we go..

They are pretty simple to install, just remove the stock bleeders, be sure to have a rag handy as it will leak a bit of fluid, clean up the threads a touch, then install the new Speed Bleeders. Oh, of course, if you're smart, you'll do this before installing new brake pads, just sayin'...

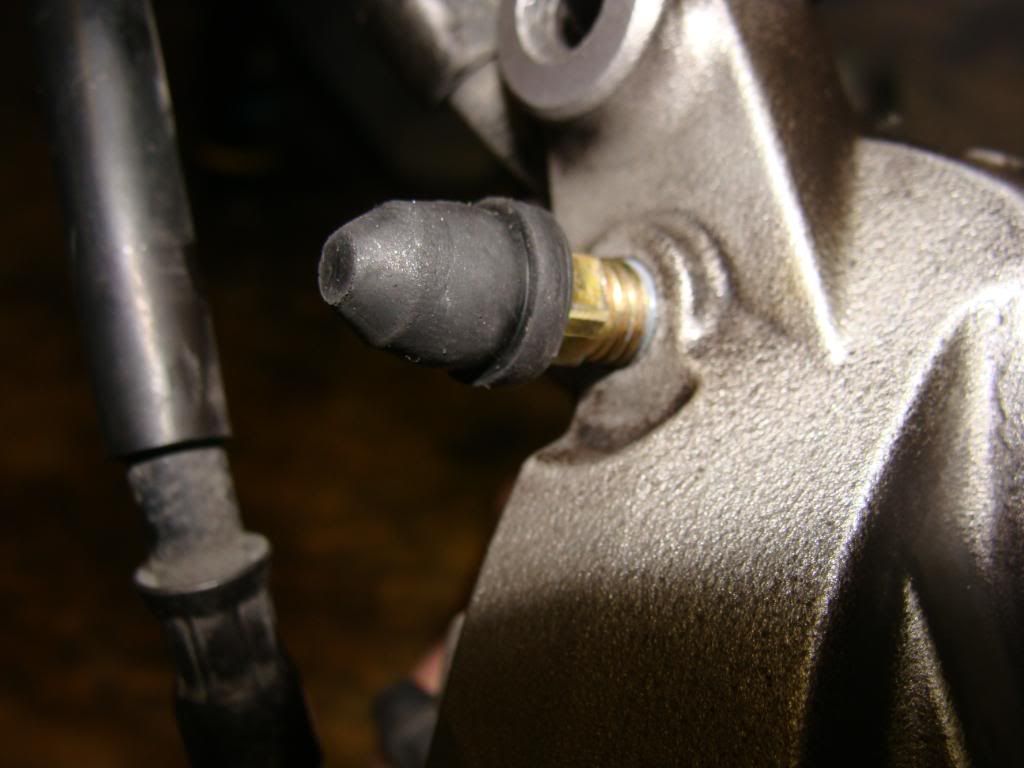
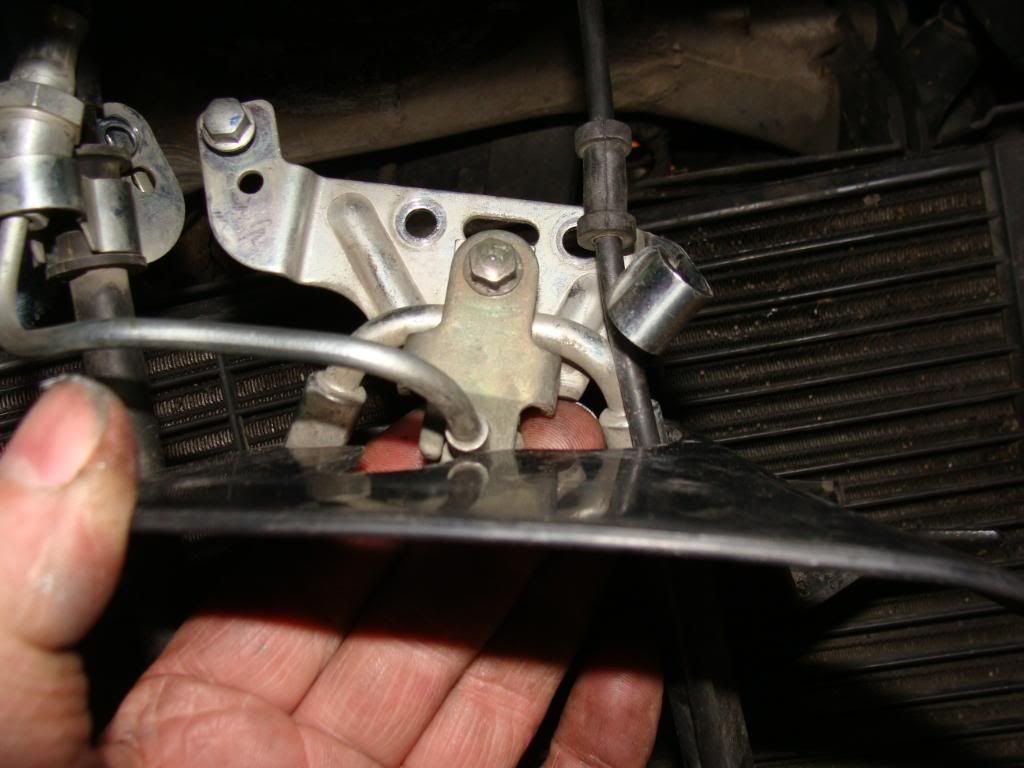
OH, and don't loose the rubber booty like I did. When I discovered I'd lost the booty, it was time to quit. I've made good progress, tomorrow is a work day and I have other chores to attend to!

I hope this helps other folks later on, if not, oh well, I've had fun doing this.
TBC -
Hugs n Kisses Tim Bates, aka TwoWheelNut, today is your birthday!


 Is it really crashing if you don't fall down?--

 ).
).


2009-12-12 Winter Rebuild and Timken Bearings
Freaking PhotoBucket..
Just to keep PB pissed off, I'm leaving my pics there to increase their stupid linked picture bandwith costs..
See text from above then match pictures below..
------------------------------------------
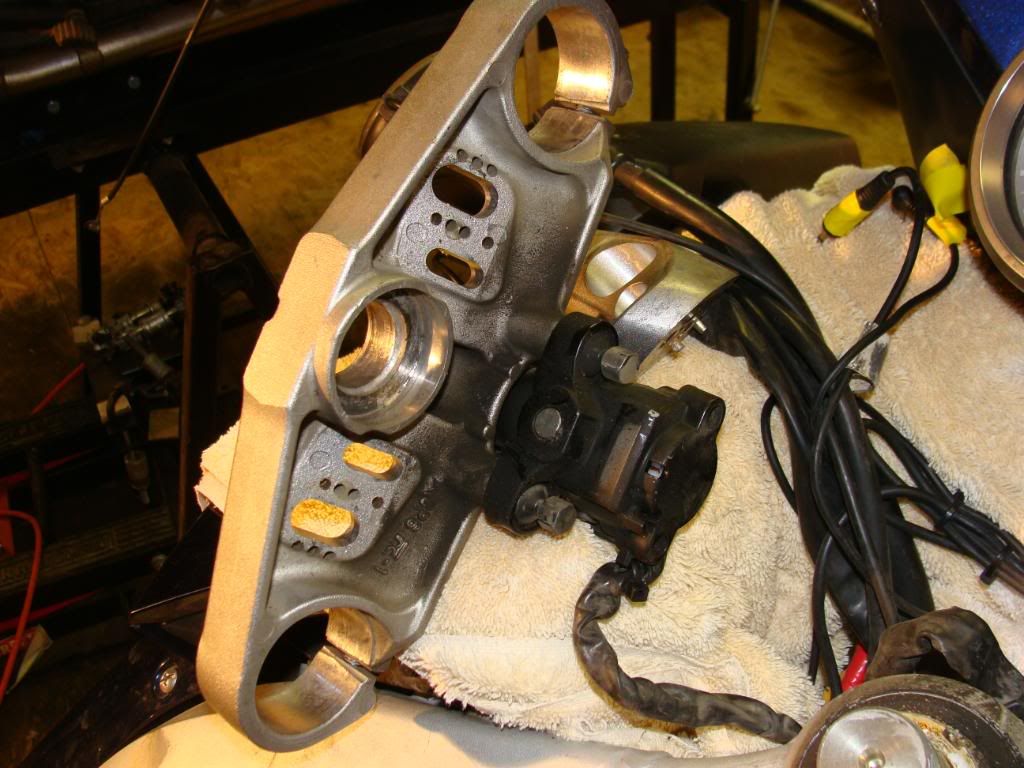
Front End Maintenance for KrZy8
Bearings, fork oil, brake pads and more
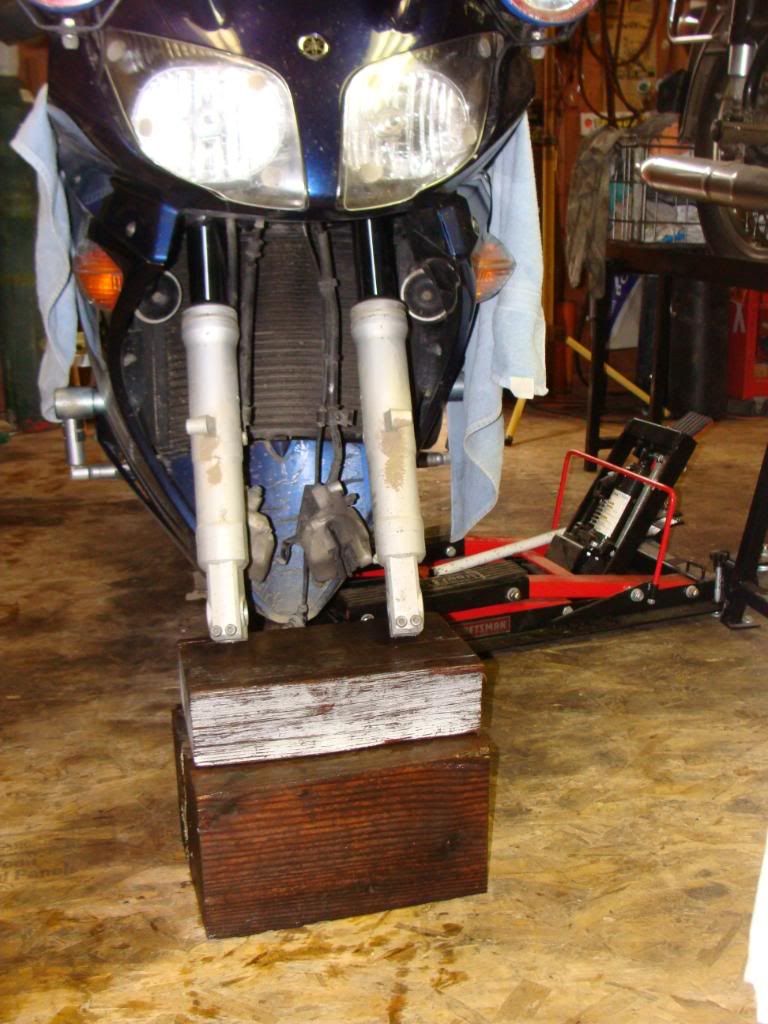
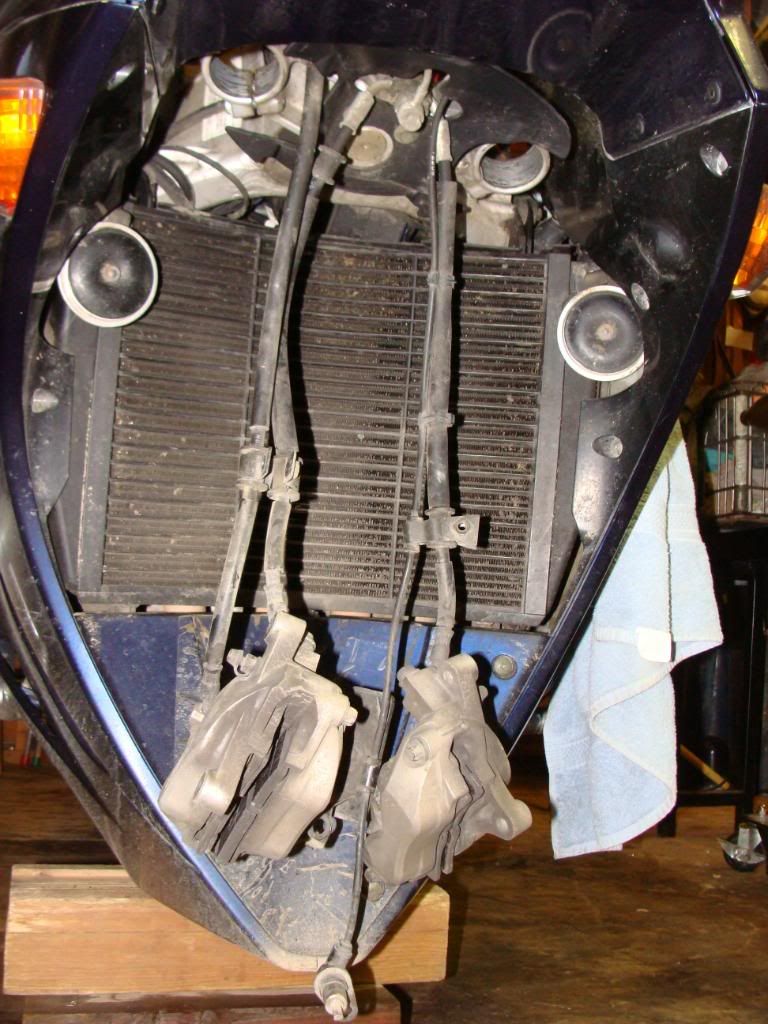
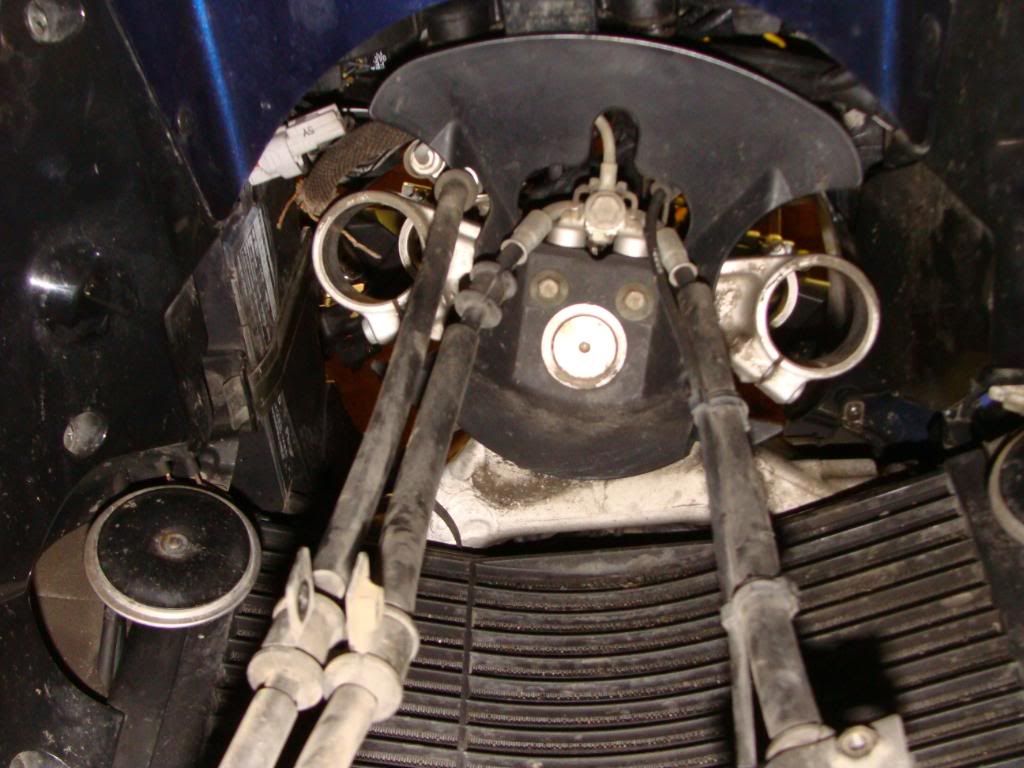
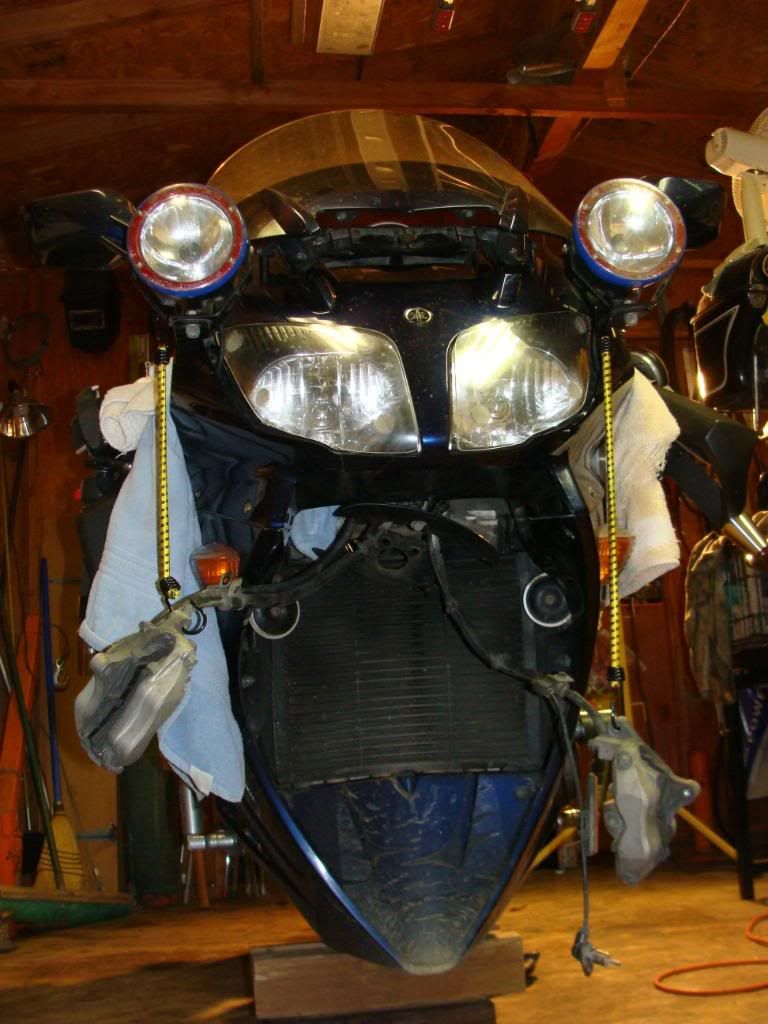
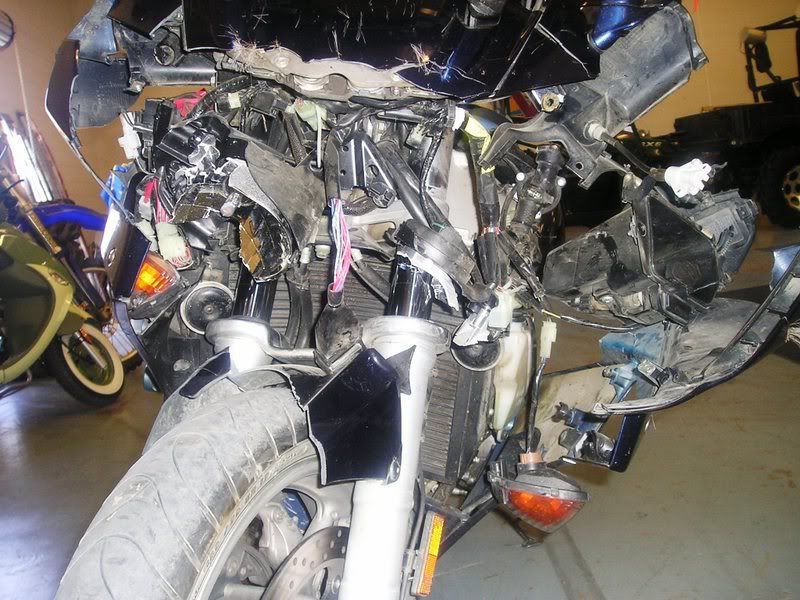
Doing some front end work on an 06 with approx 70k and 3+ years on the clock.
Planned maintenance includes:
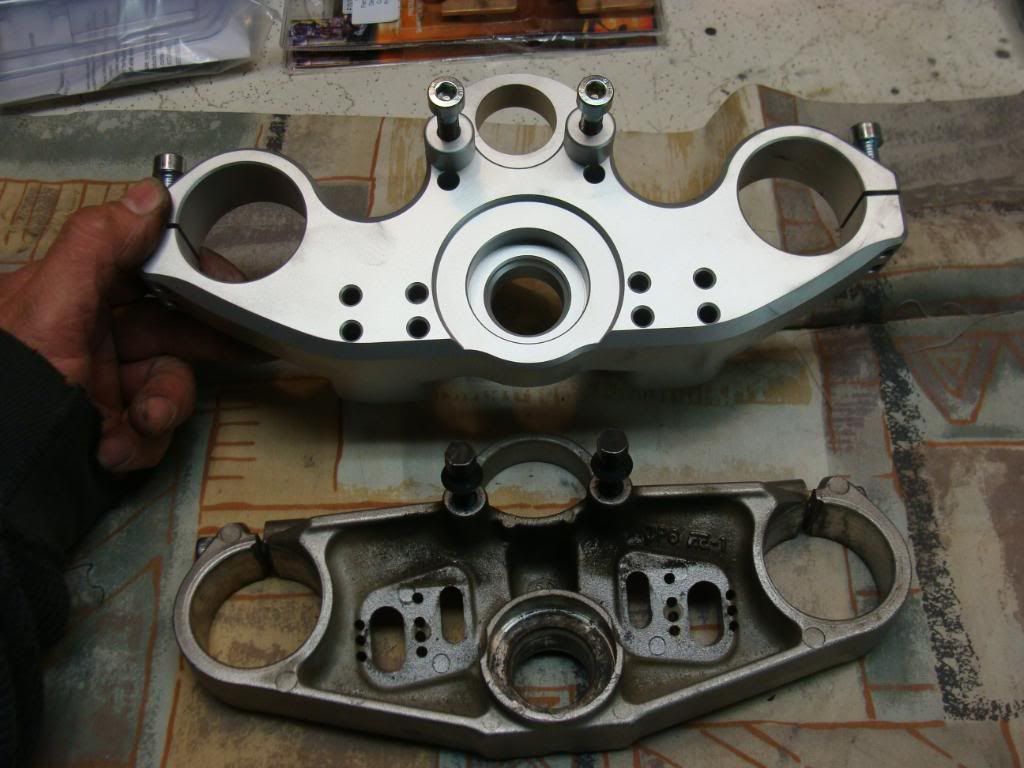
* Replace upper triple tree with Heli
* Replace steering head ball bearings and races with Timken rollers
* Replace brake pads
* Replace fork oil
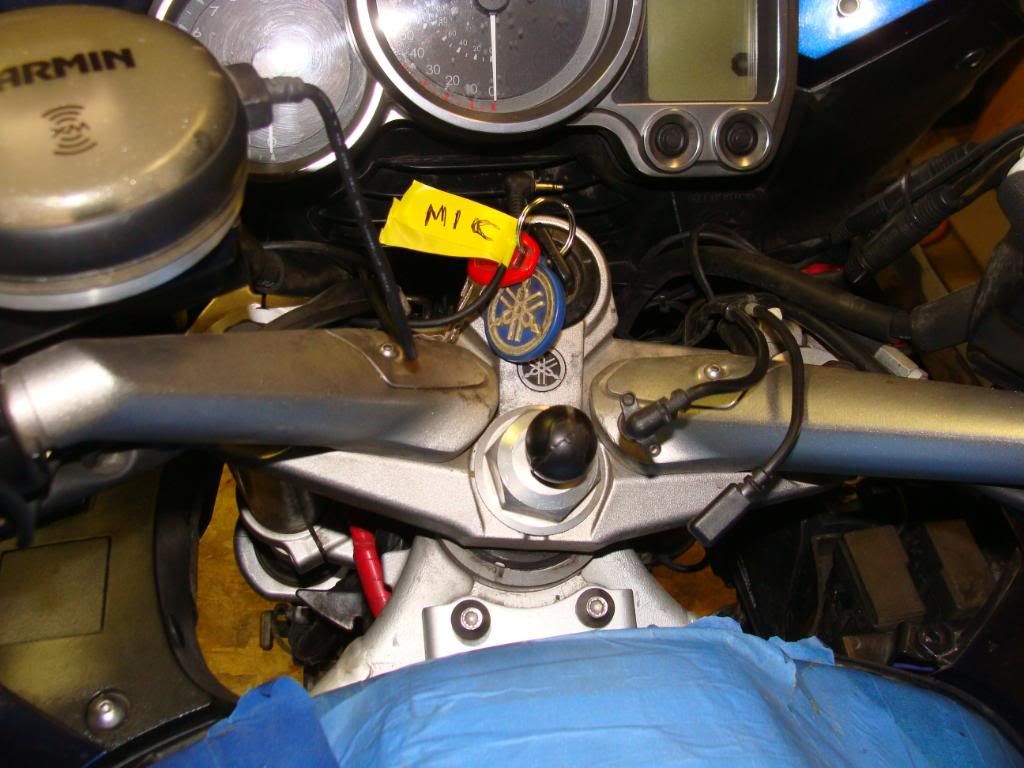
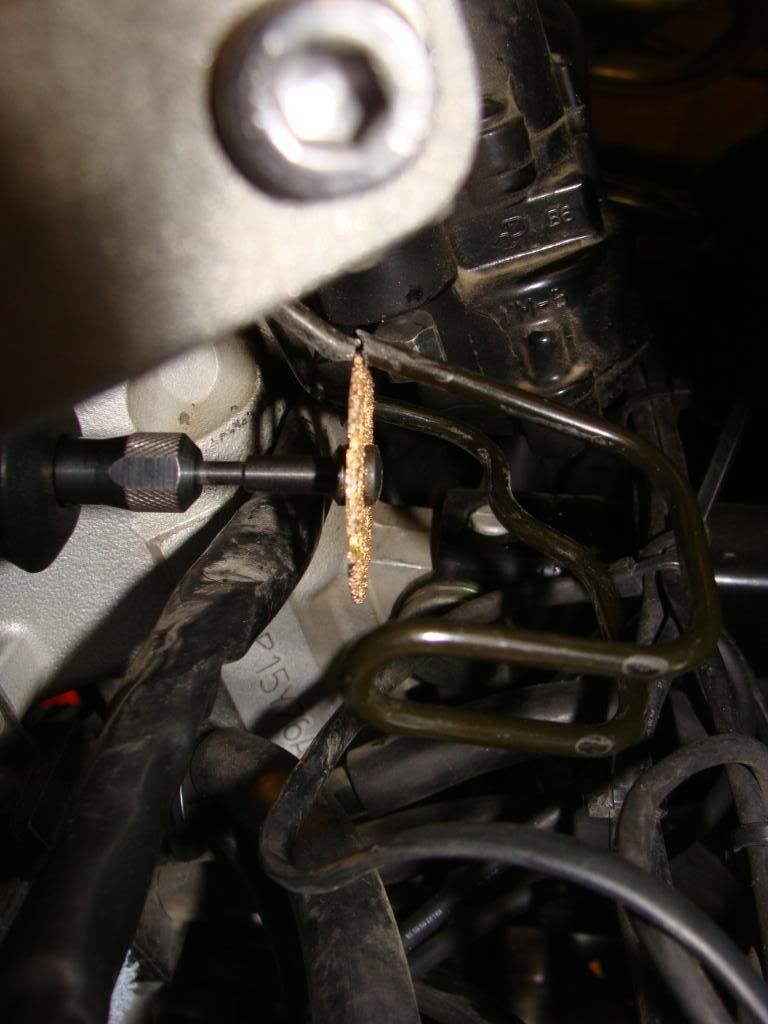
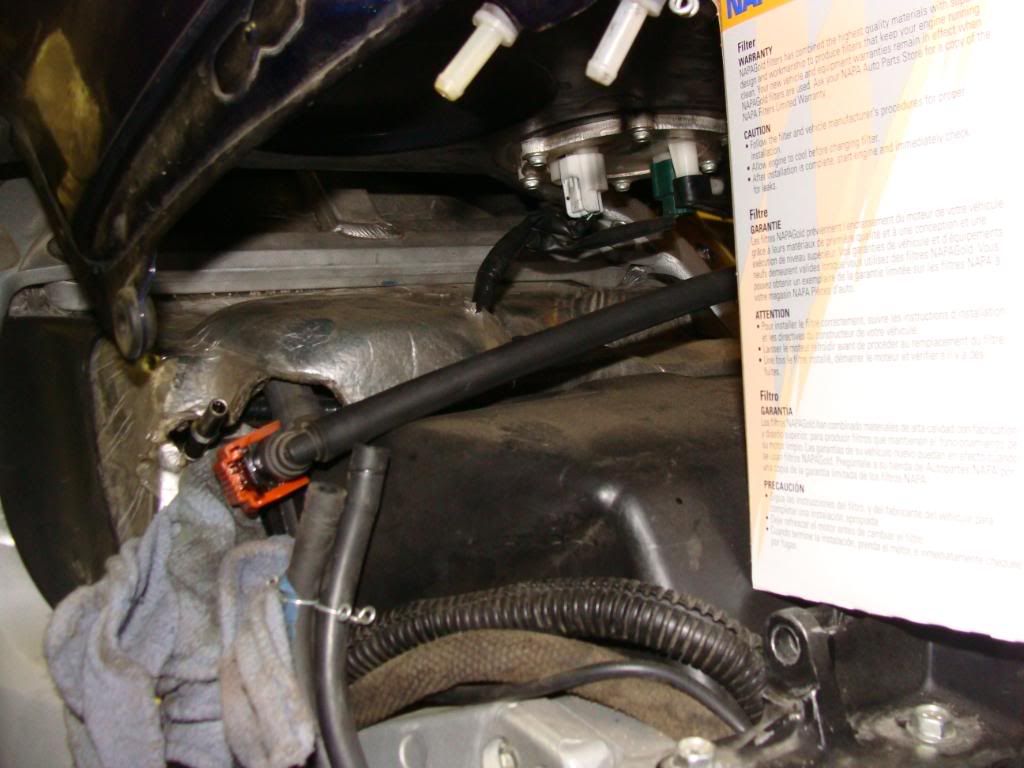
* Reroute wiring - gps, xm radio, cc, etc
* Whatever else I think of..
Some of you have already been there, done that.
For others, you might enjoy the photo essay and see parts of your Feejer you've not yet seen...
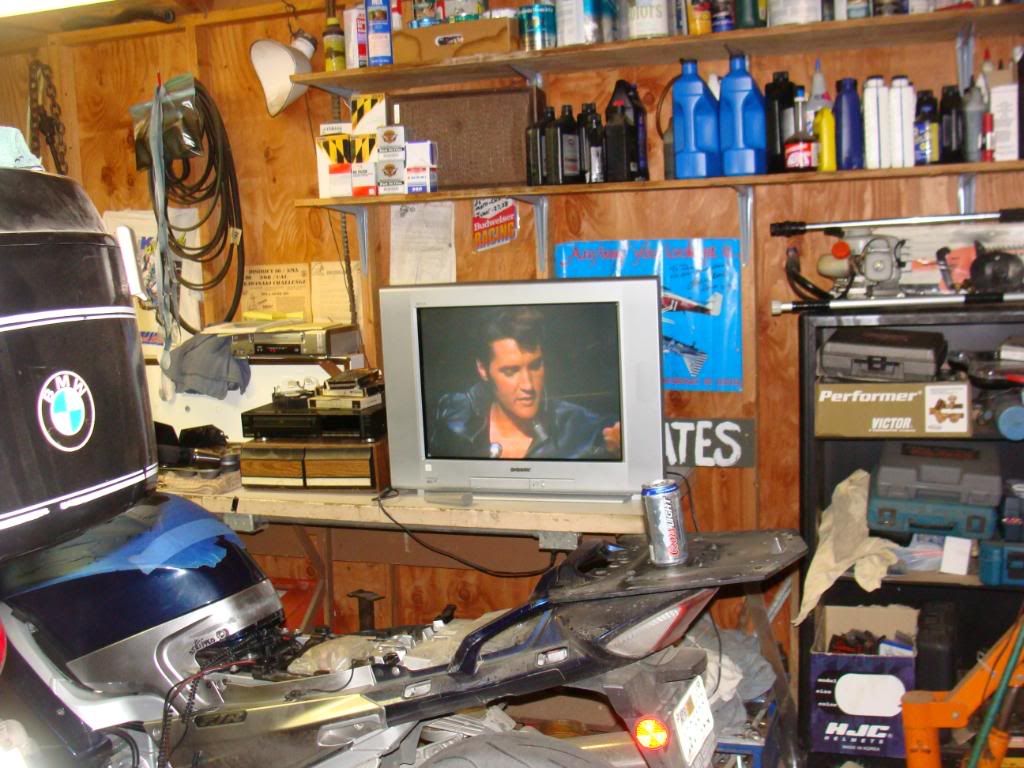
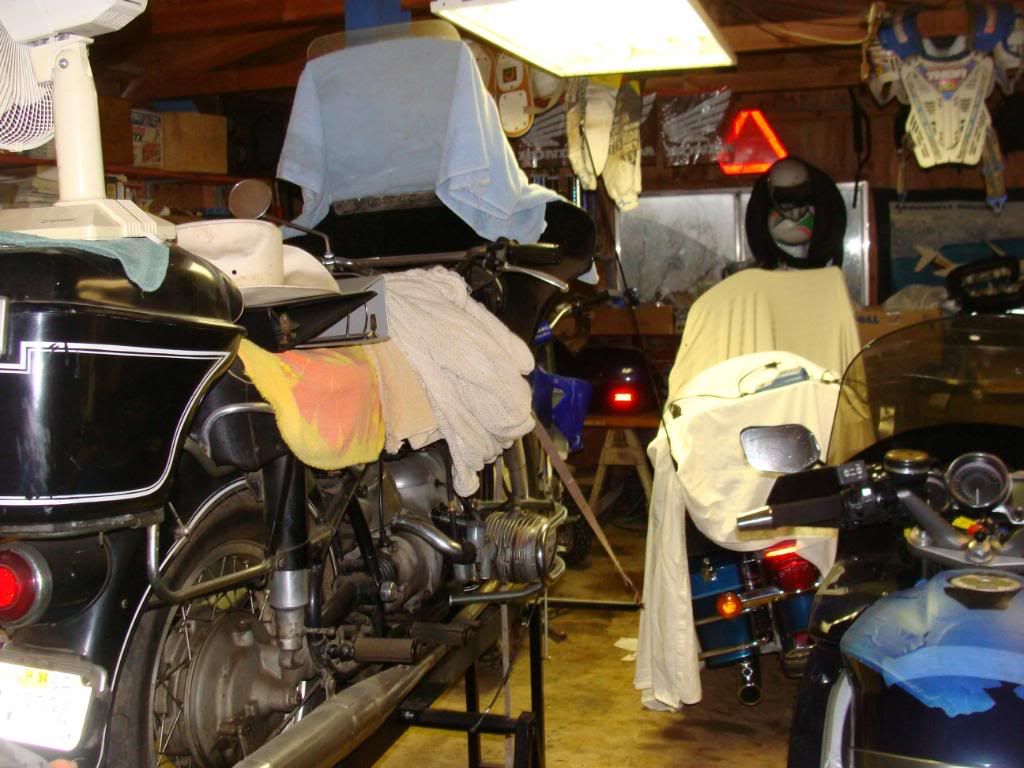
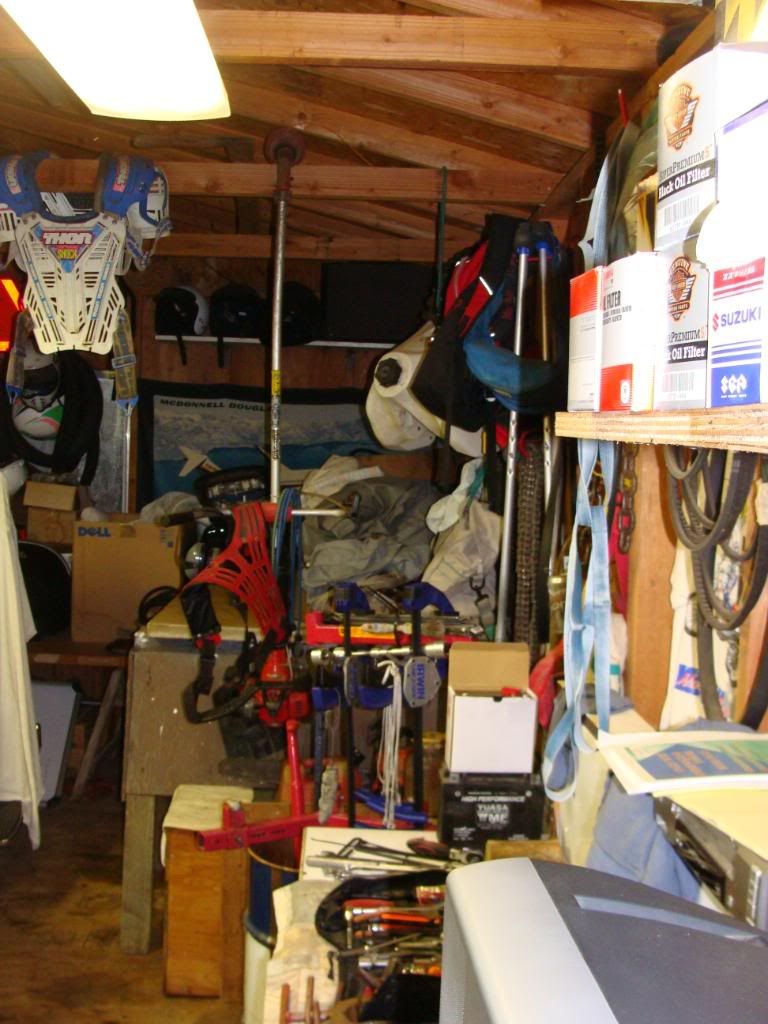
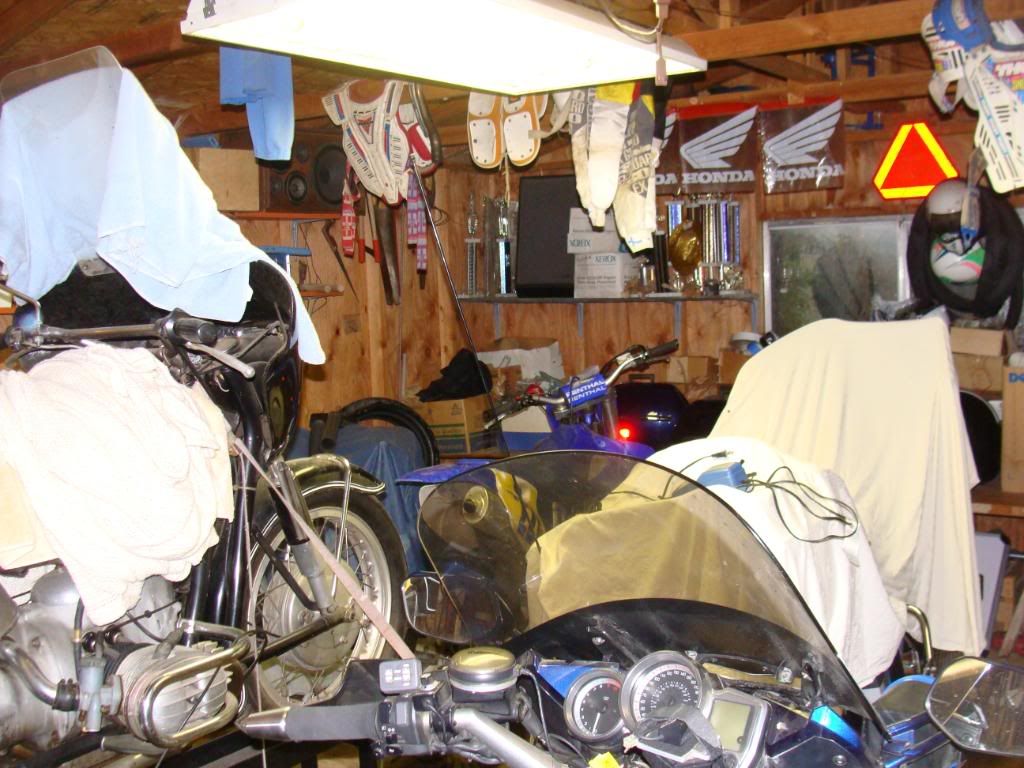
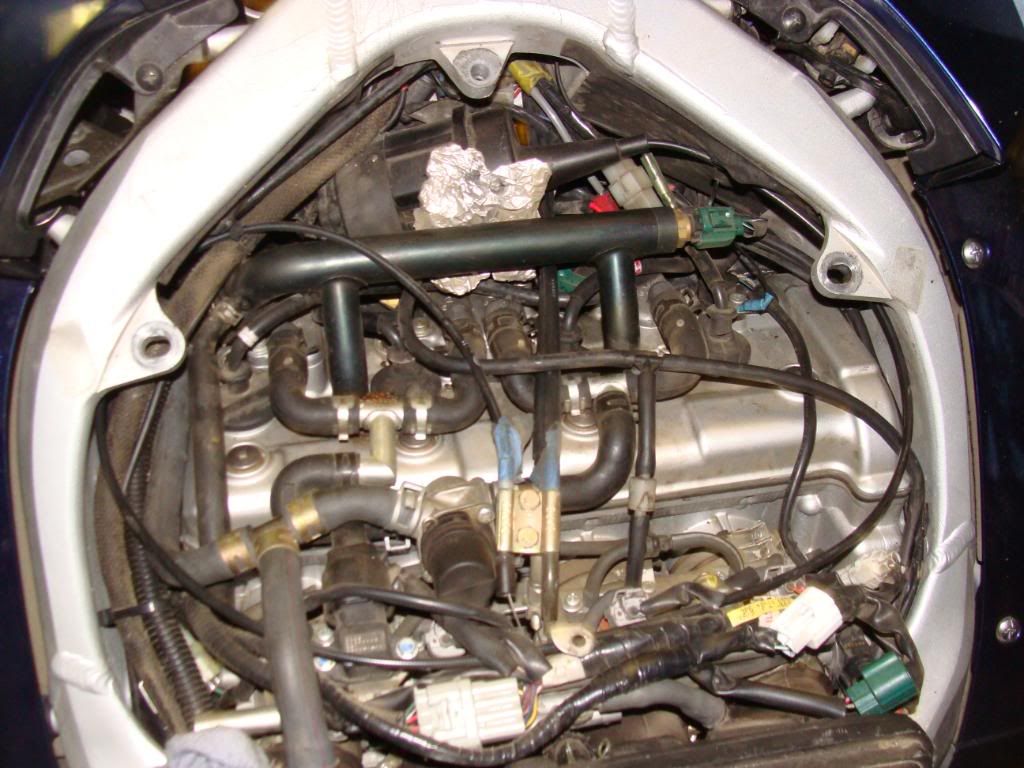
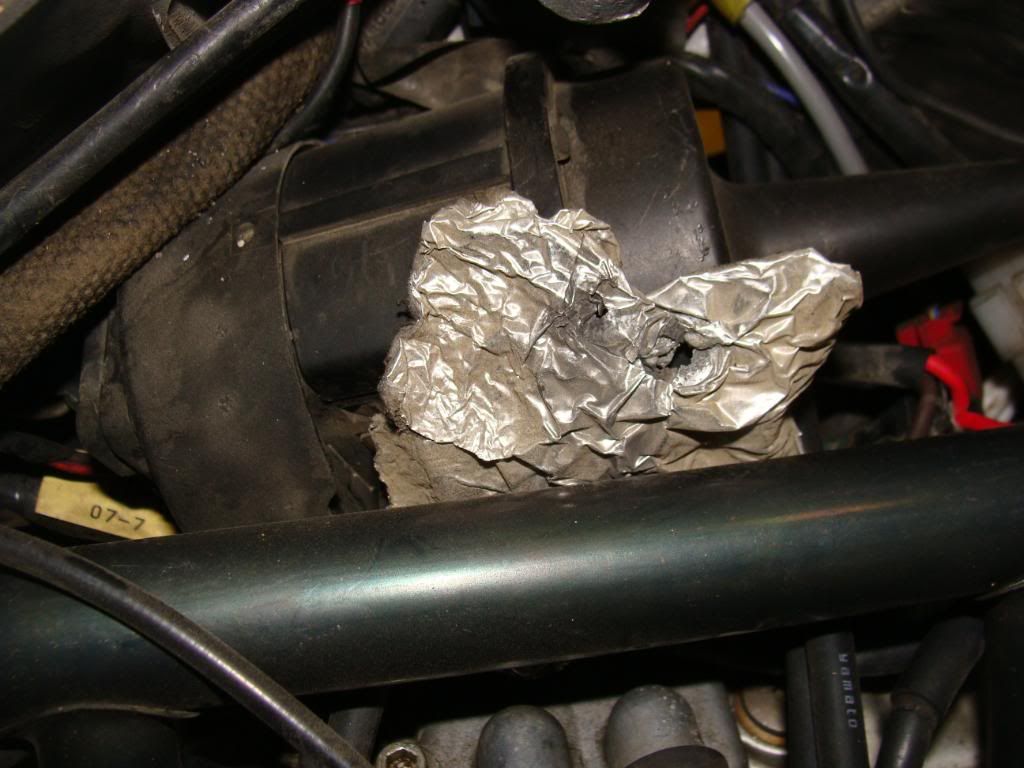
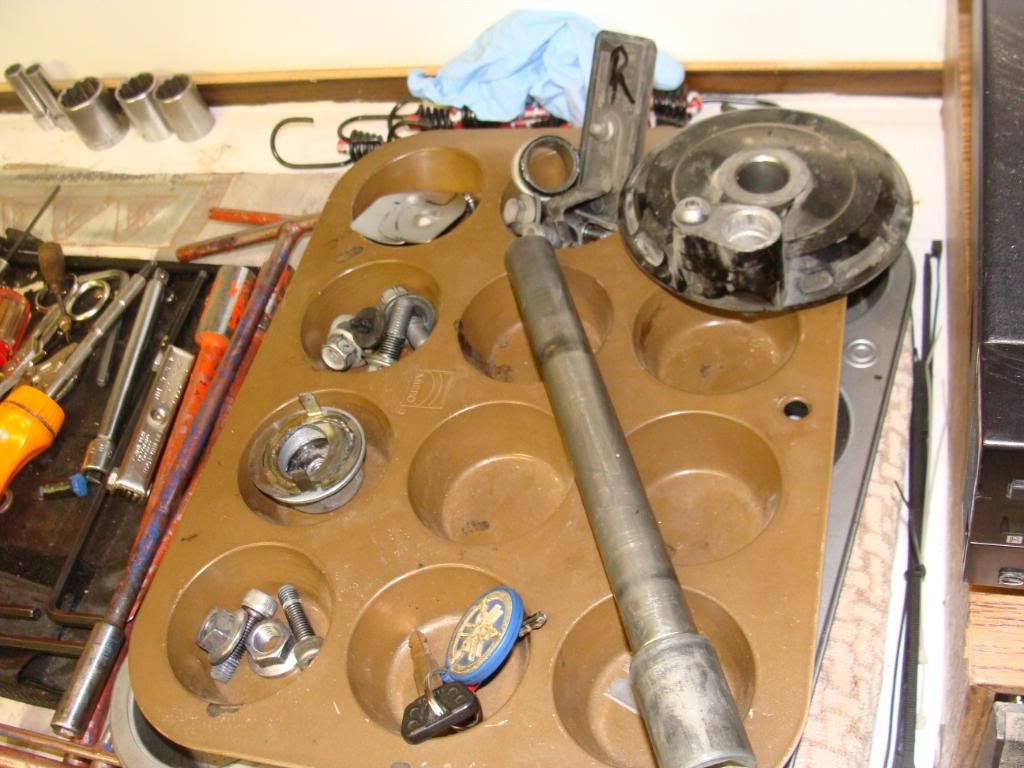
My working environment. Not the best, crowded, hand tools only, but I got Elvis on the TV..
x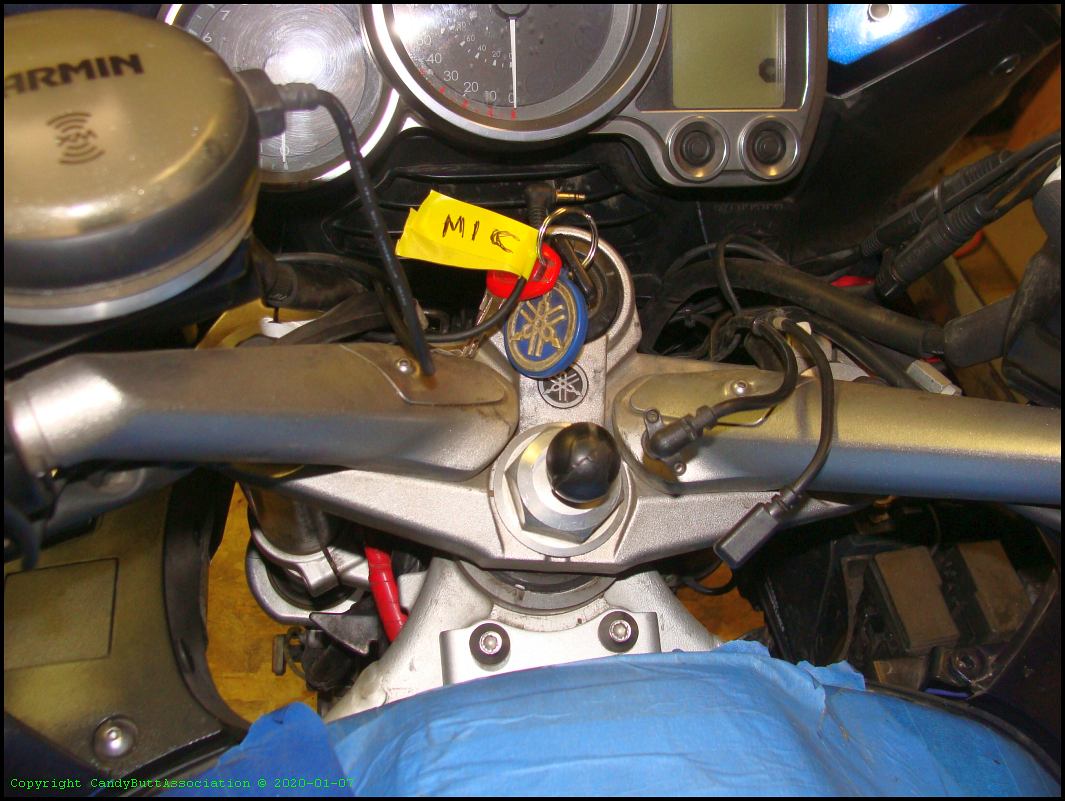
x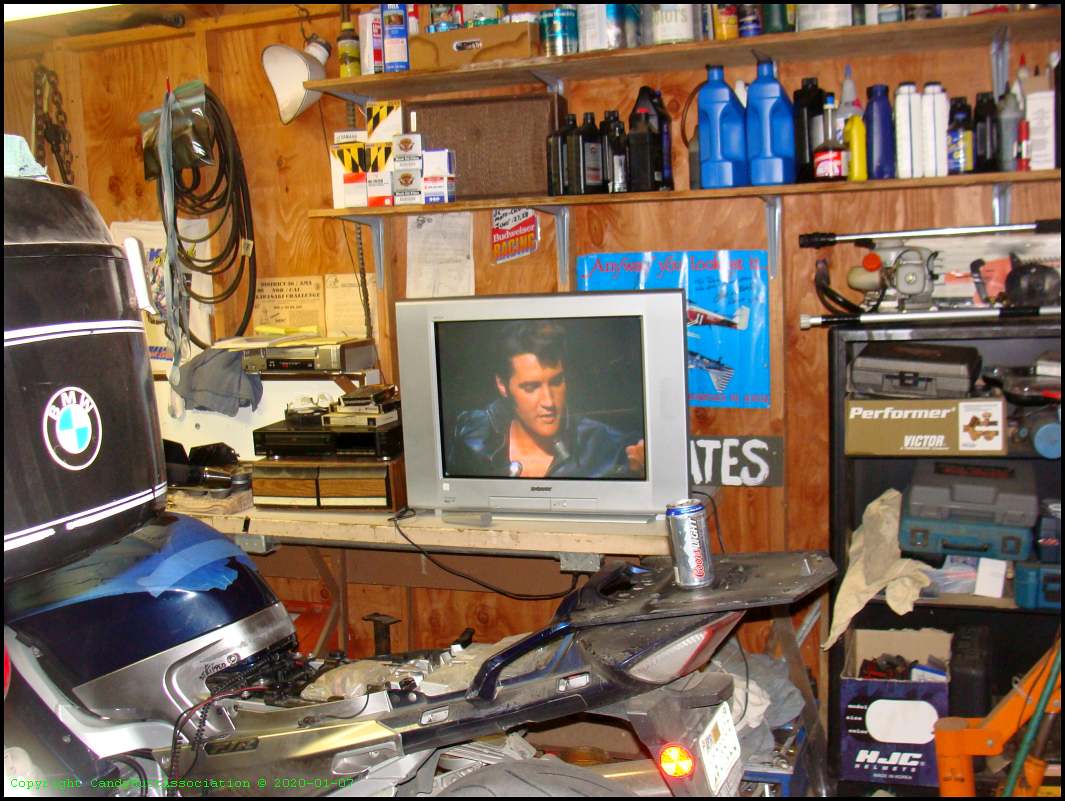
x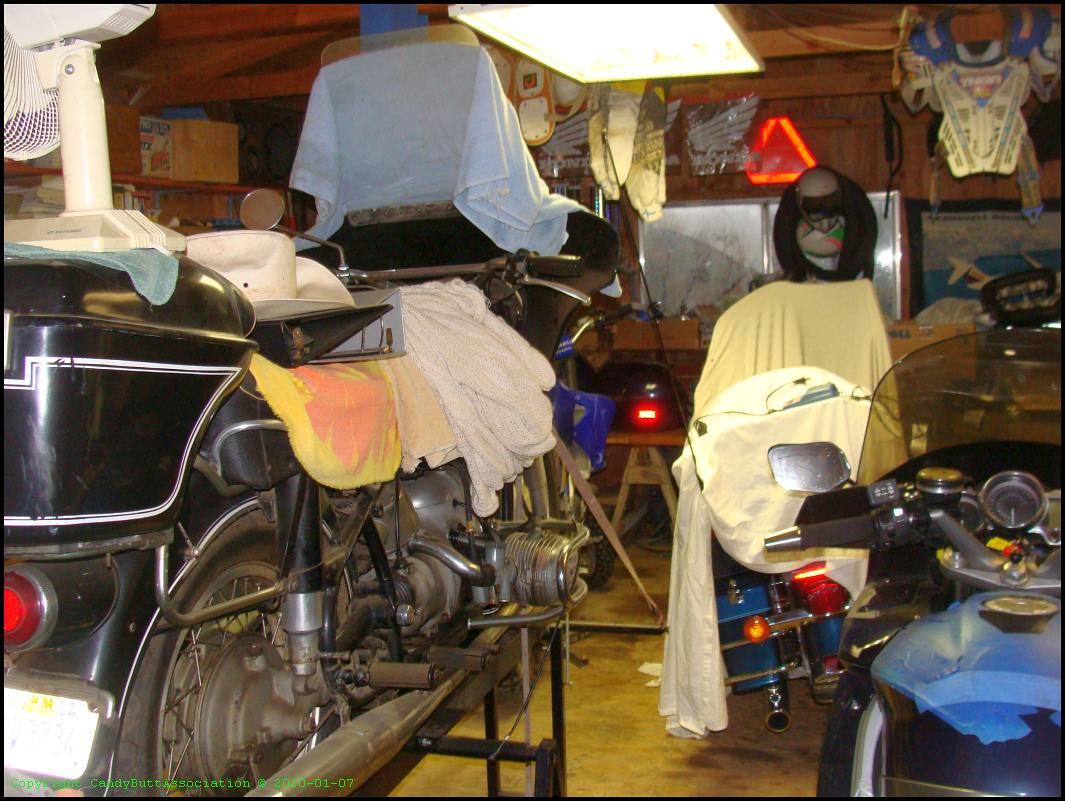
x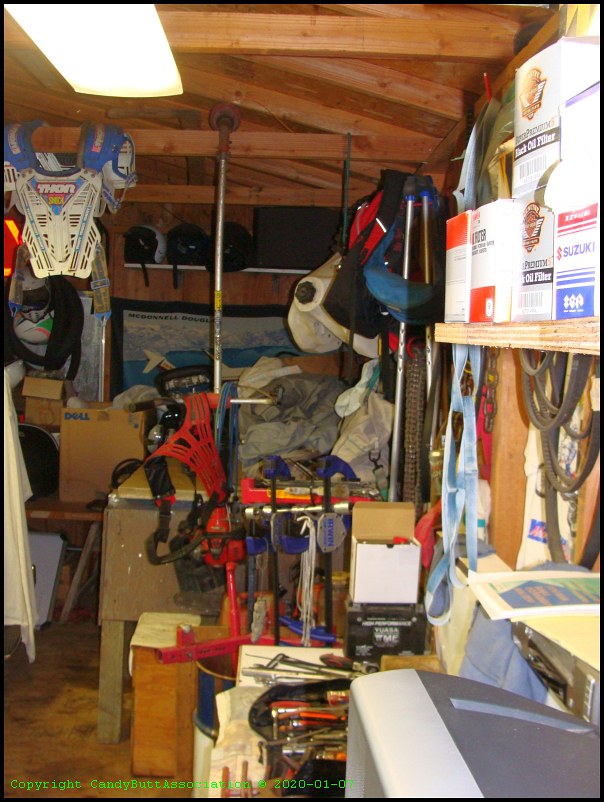
x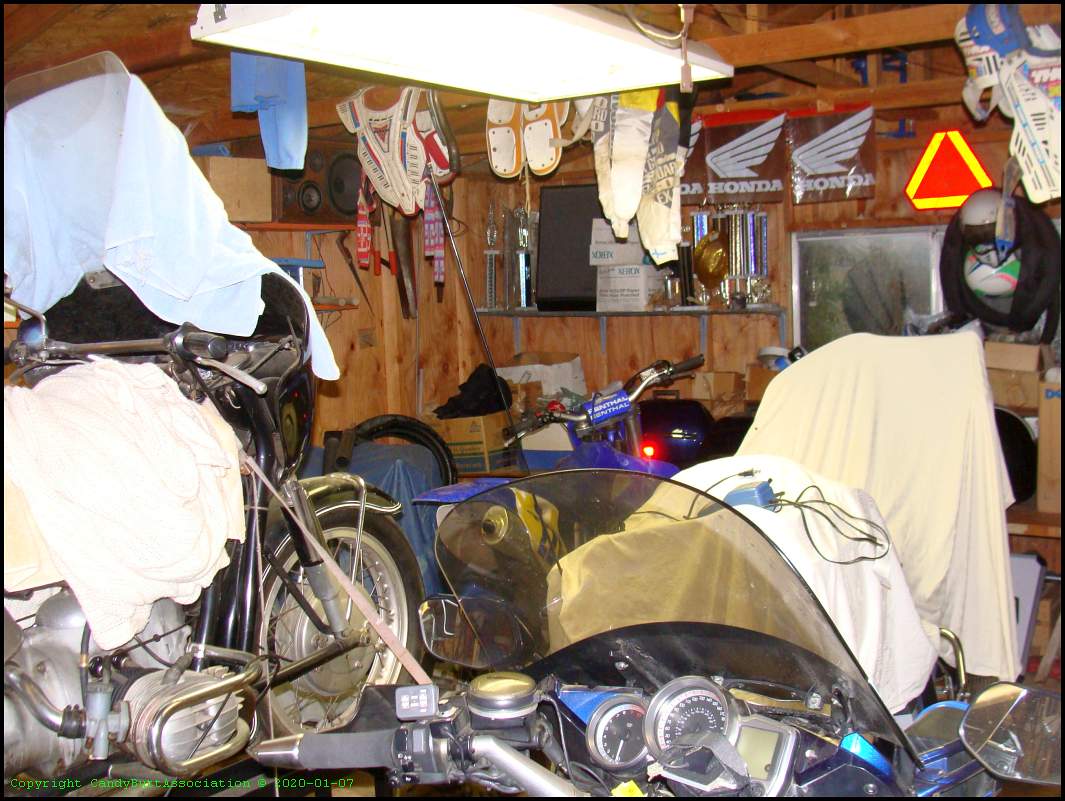
x
x
x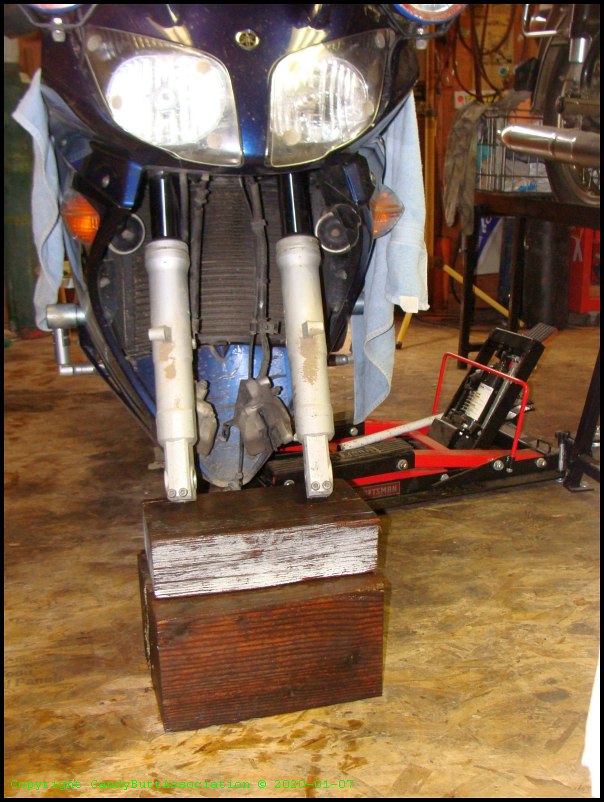
x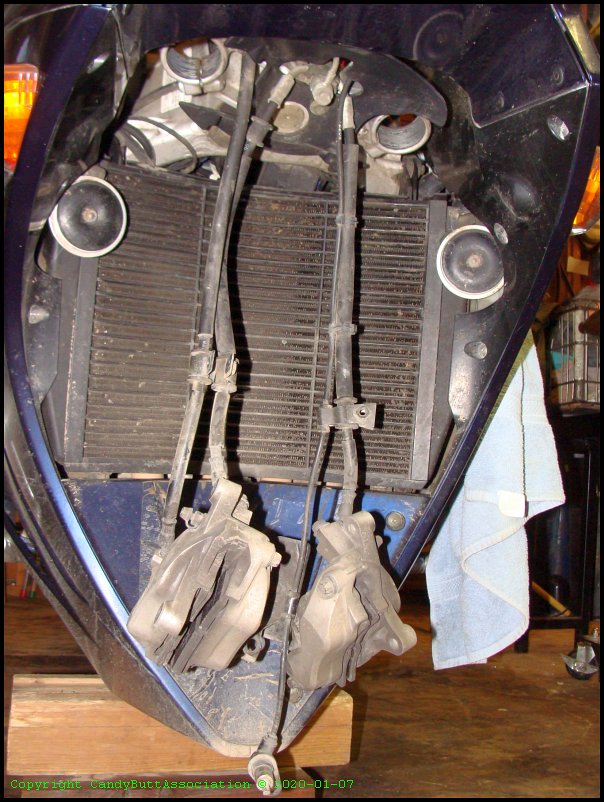
x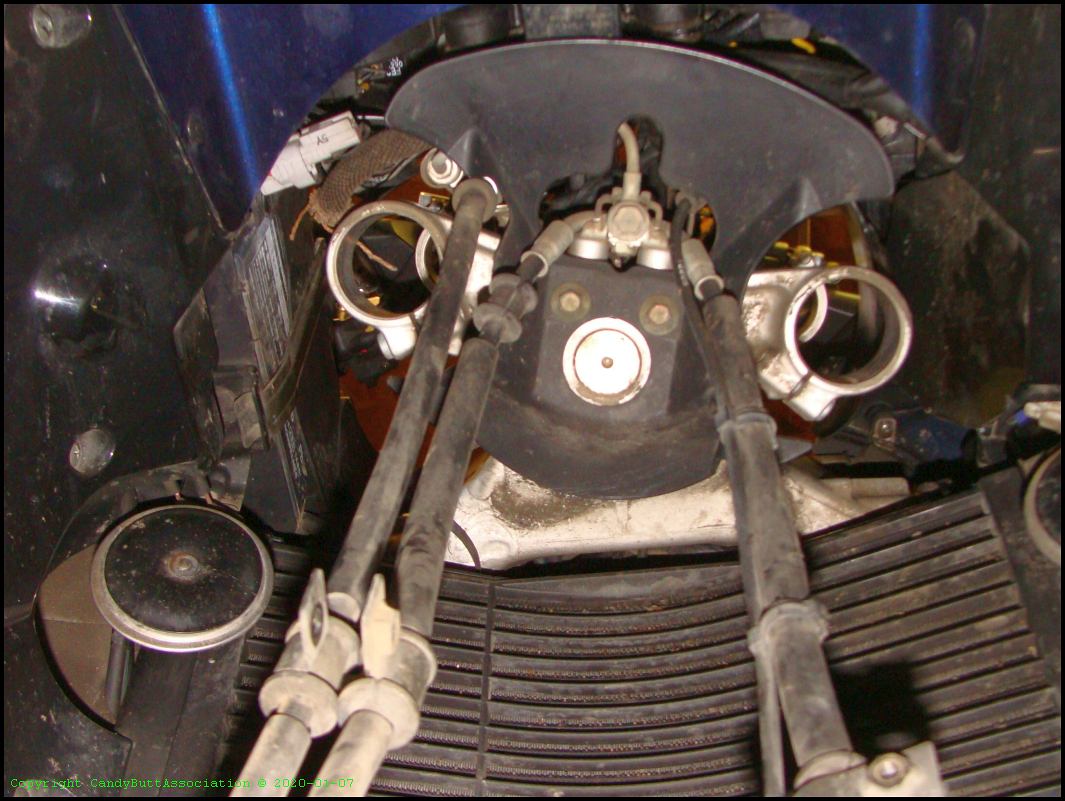
x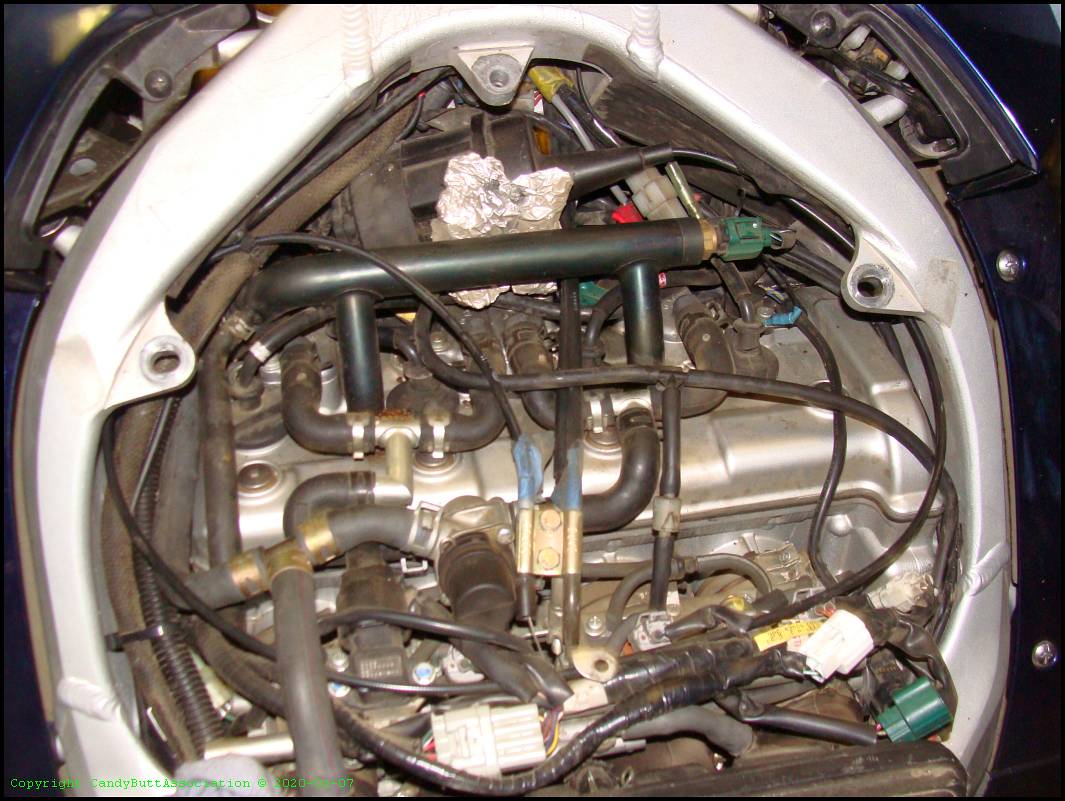
x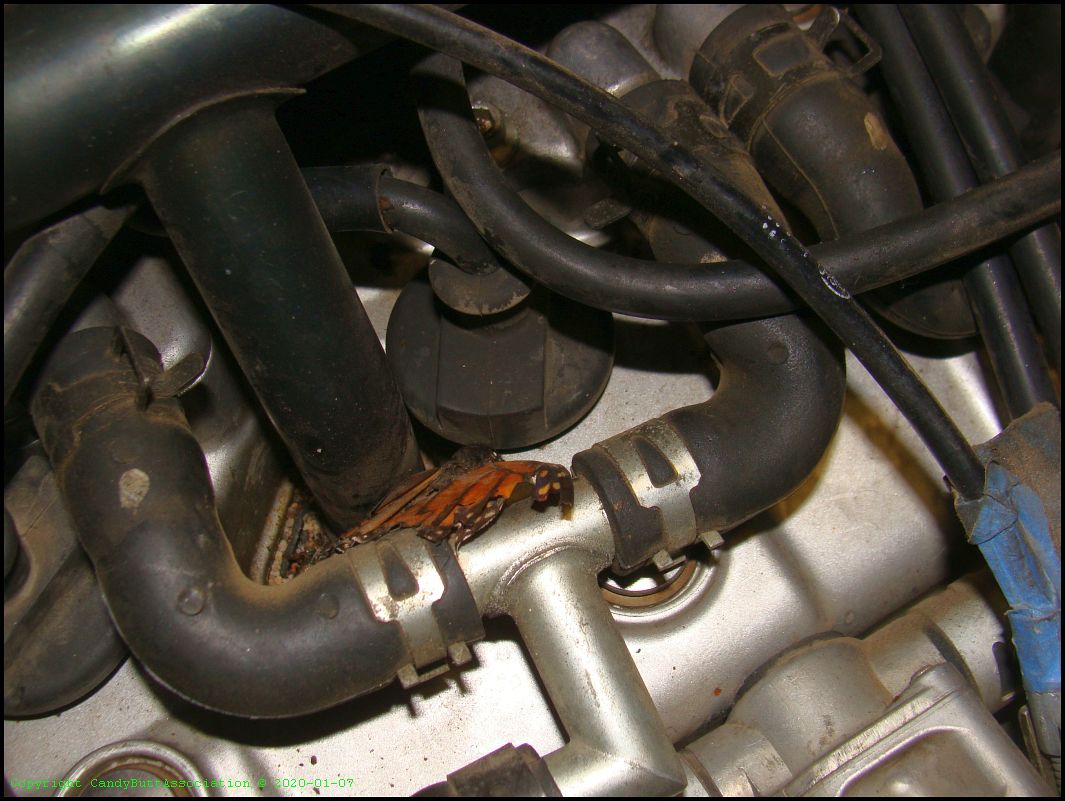
x
x
x
x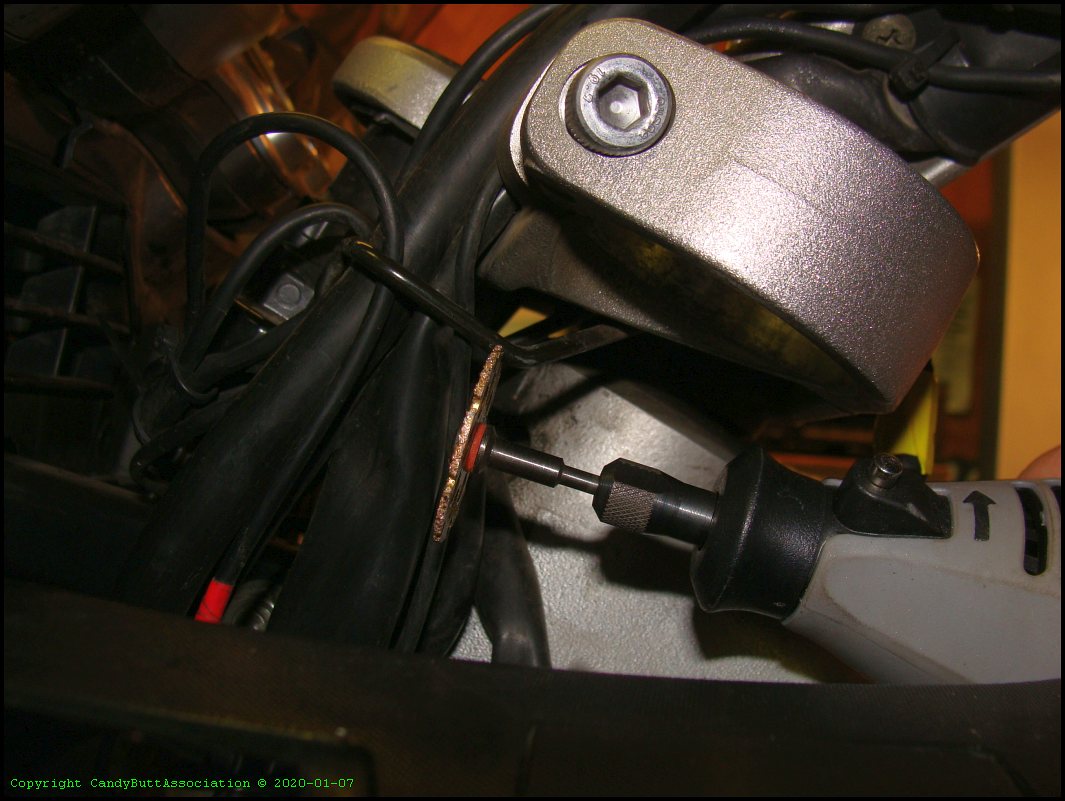
x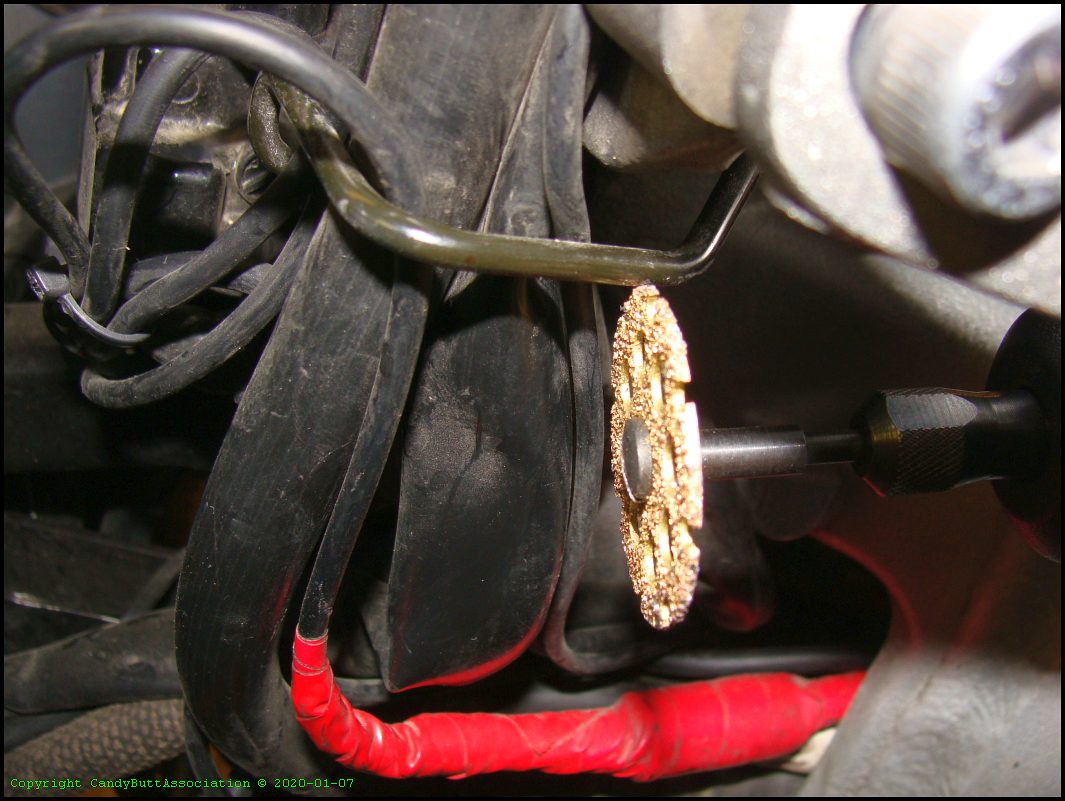
x
x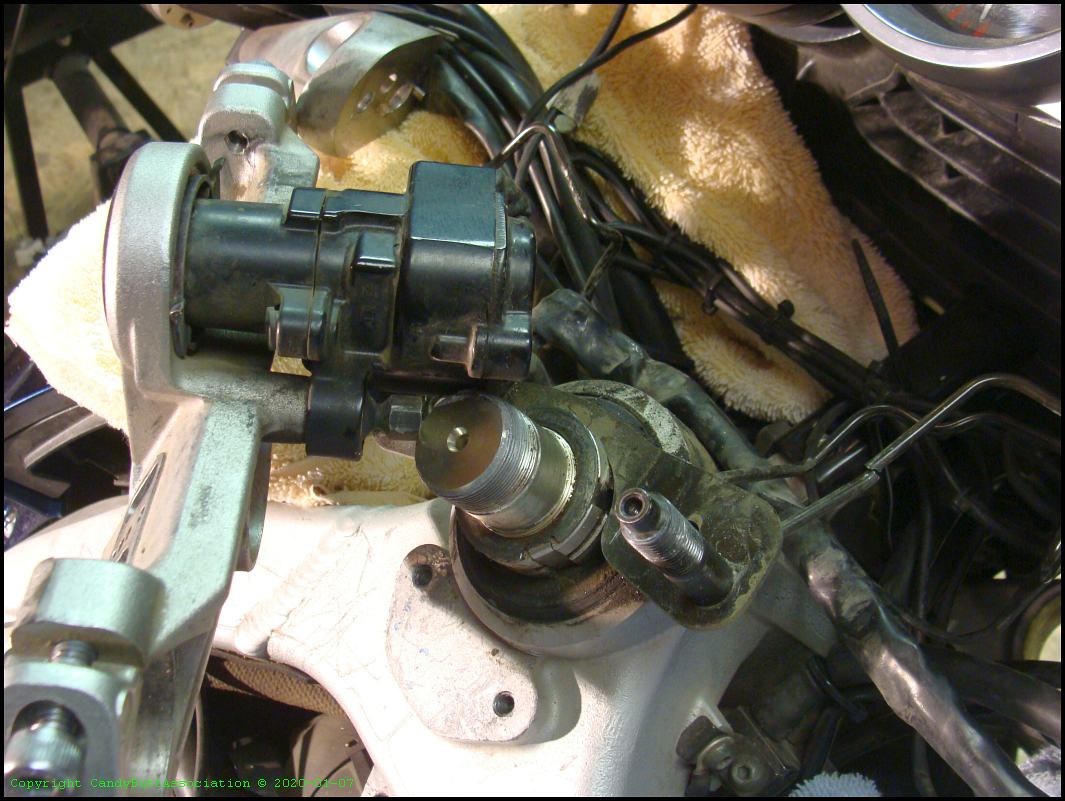
x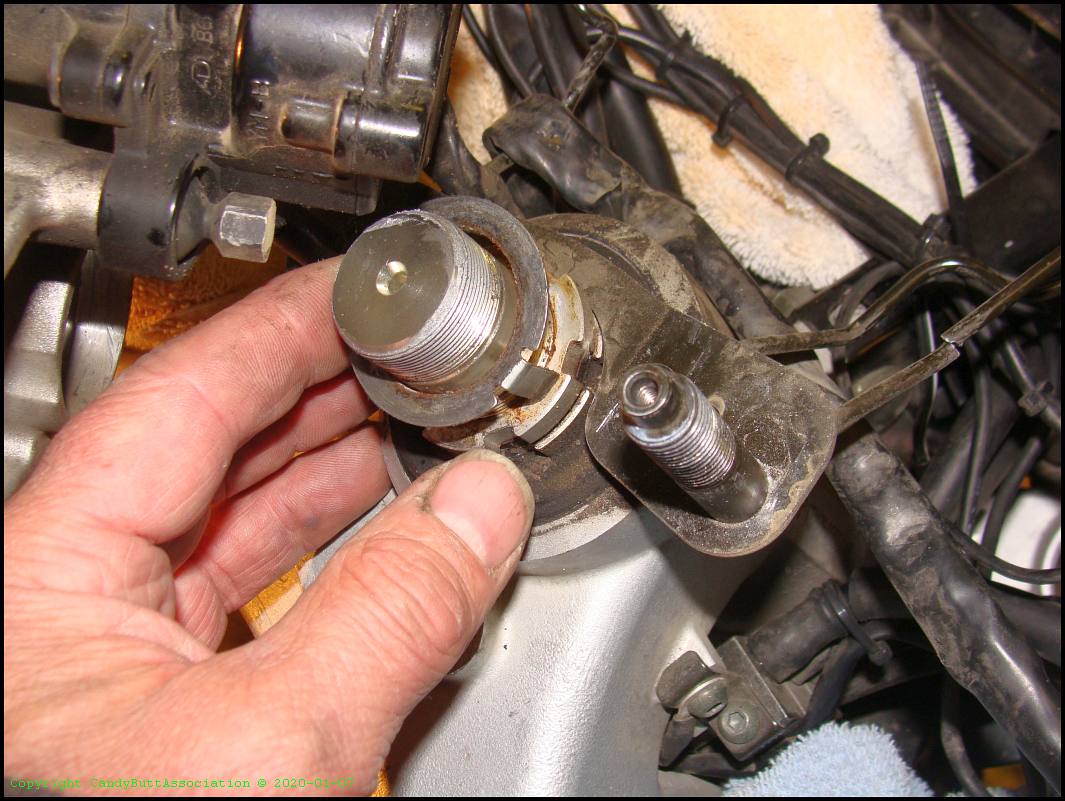
x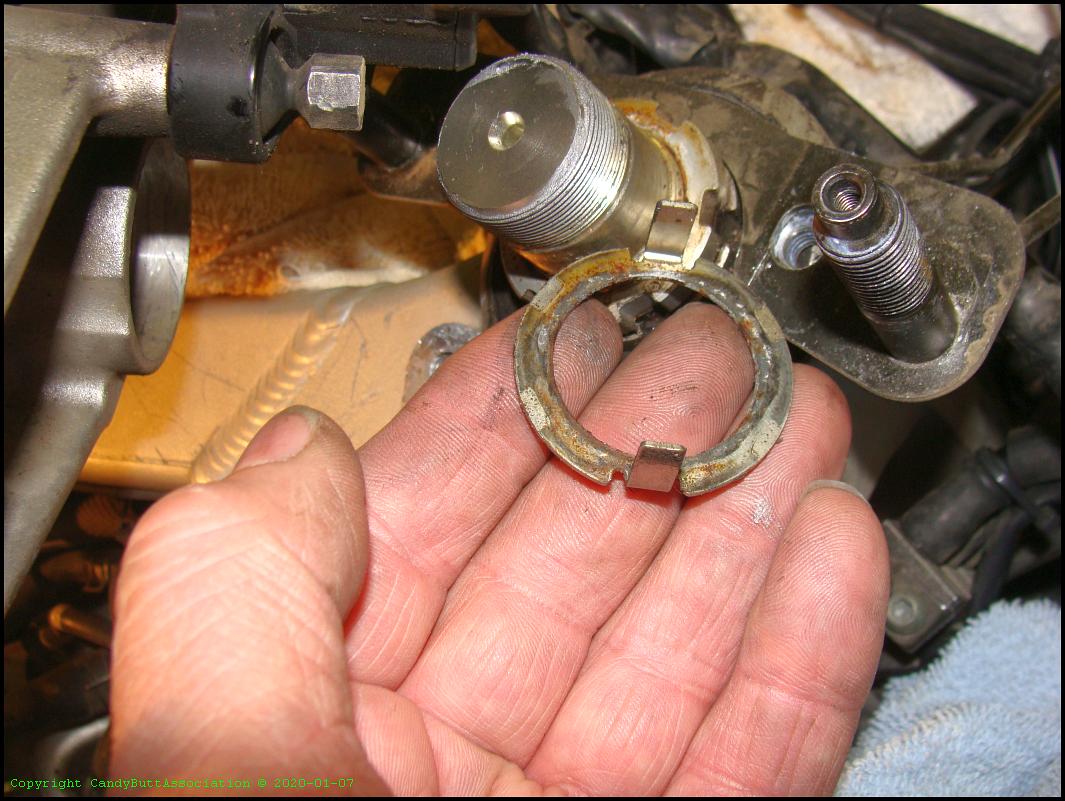
x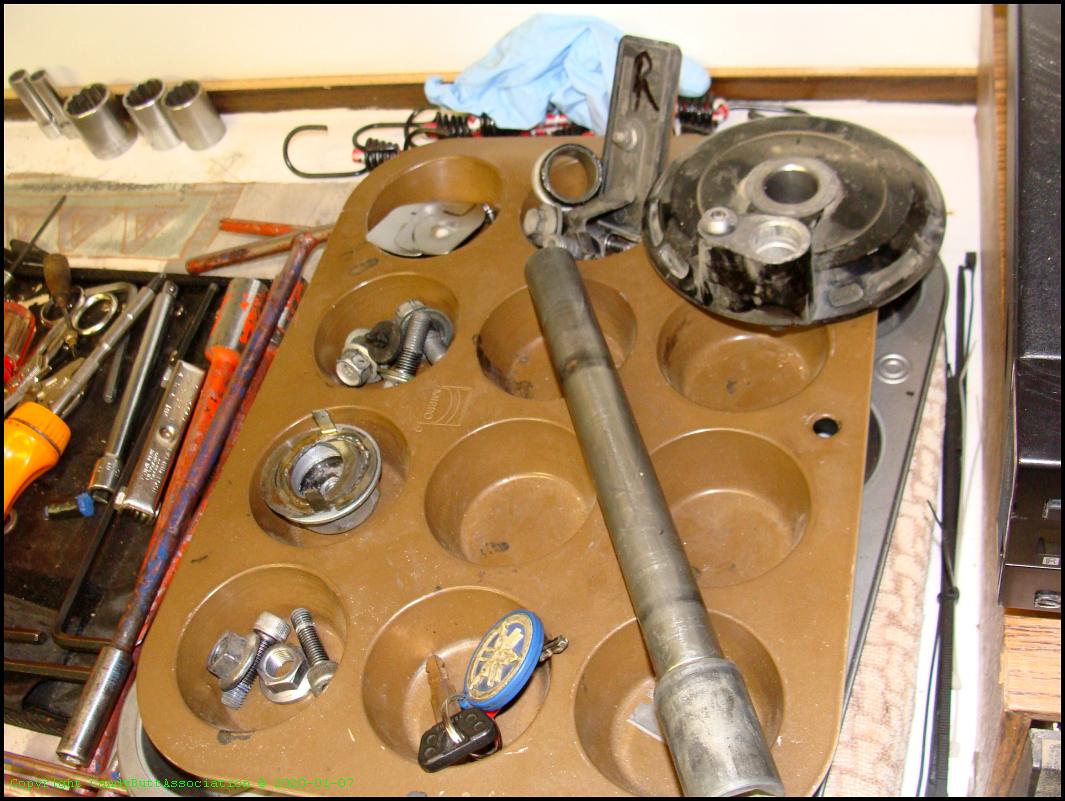
x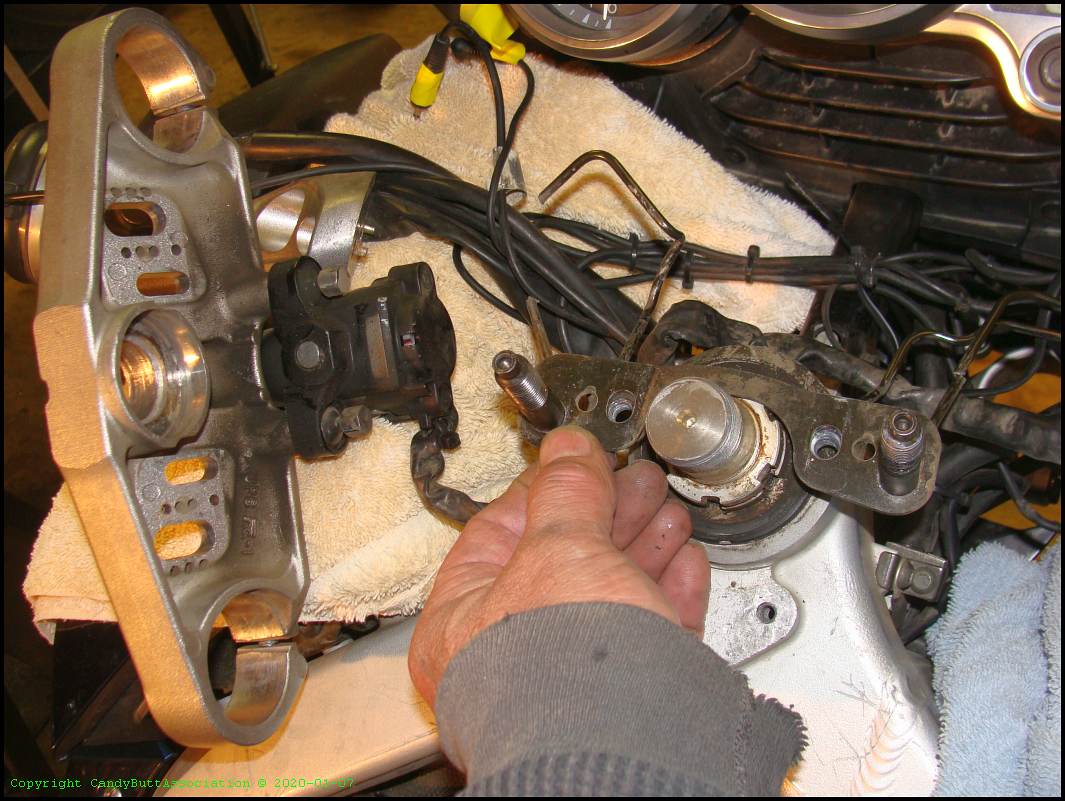
x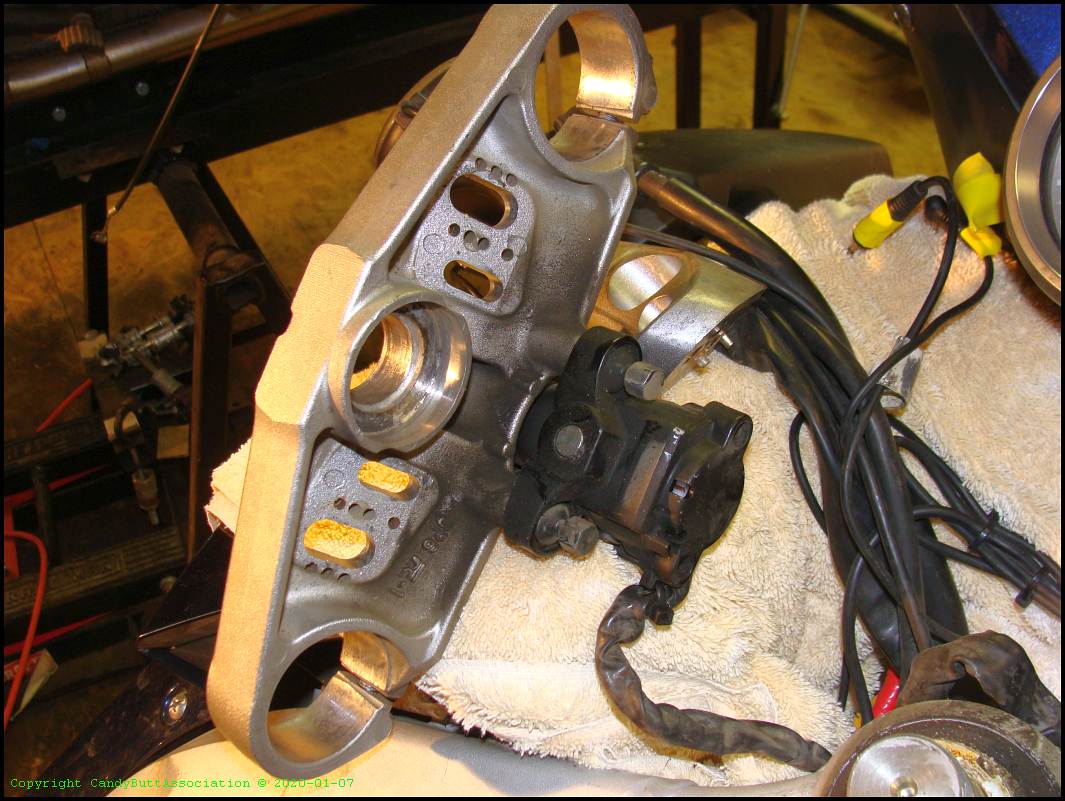
x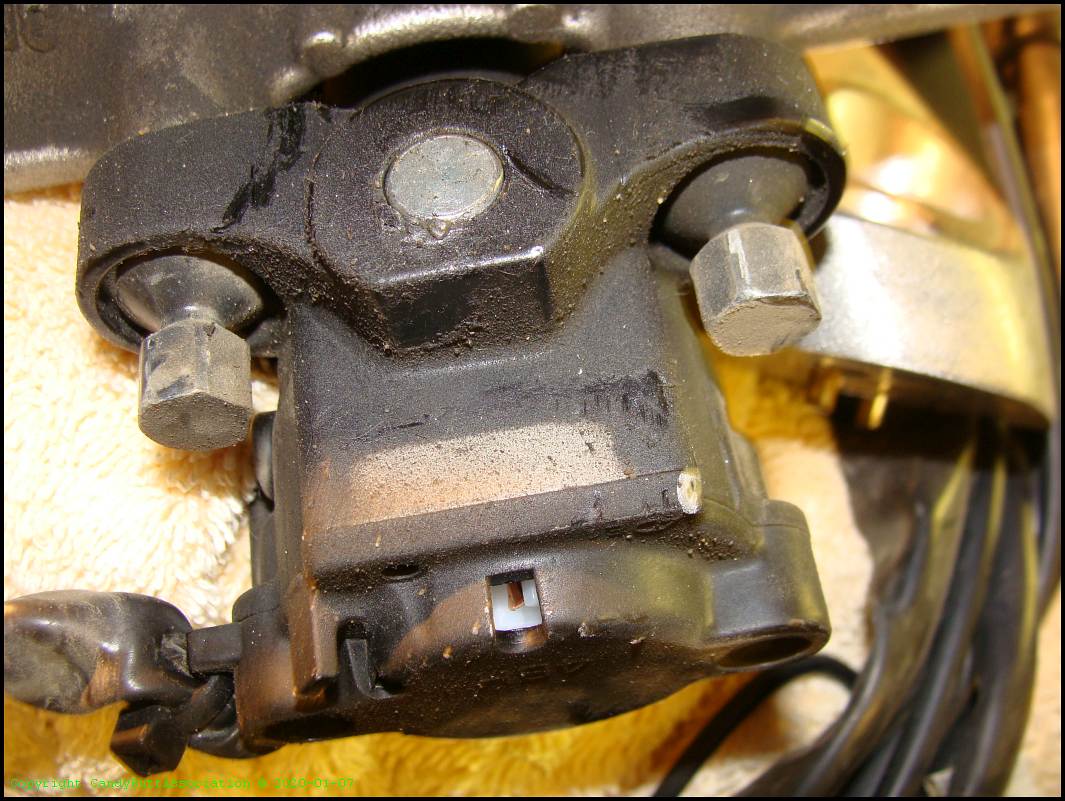
x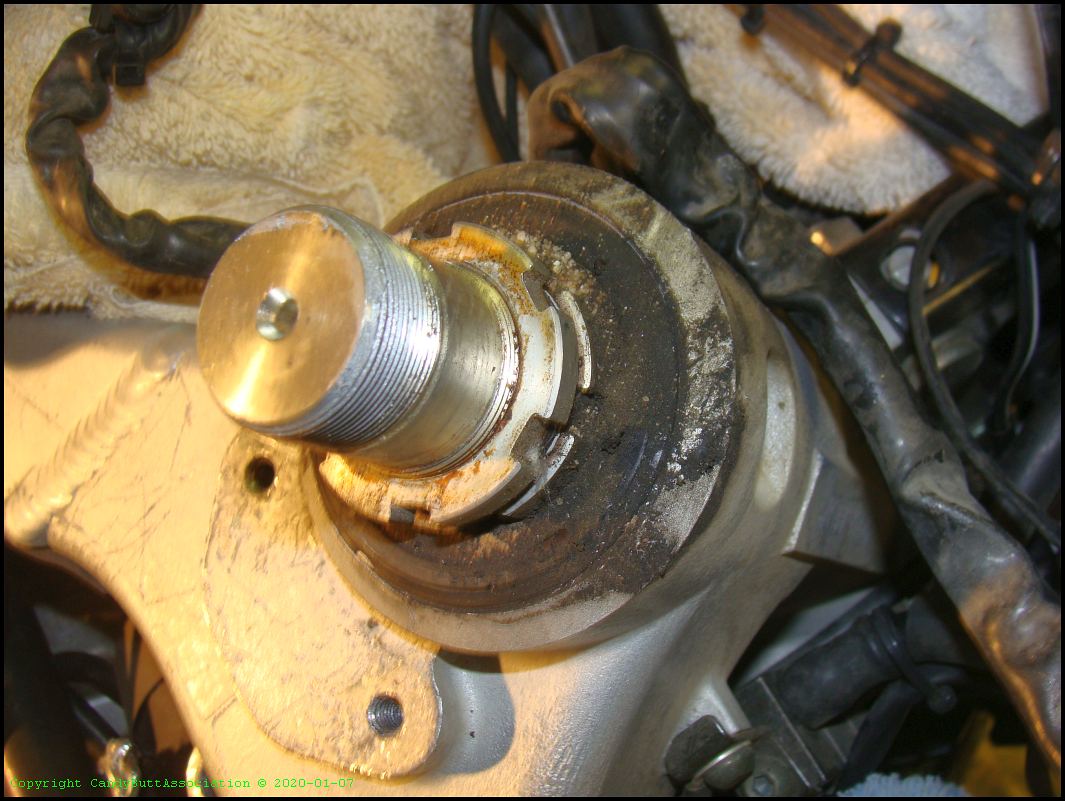
x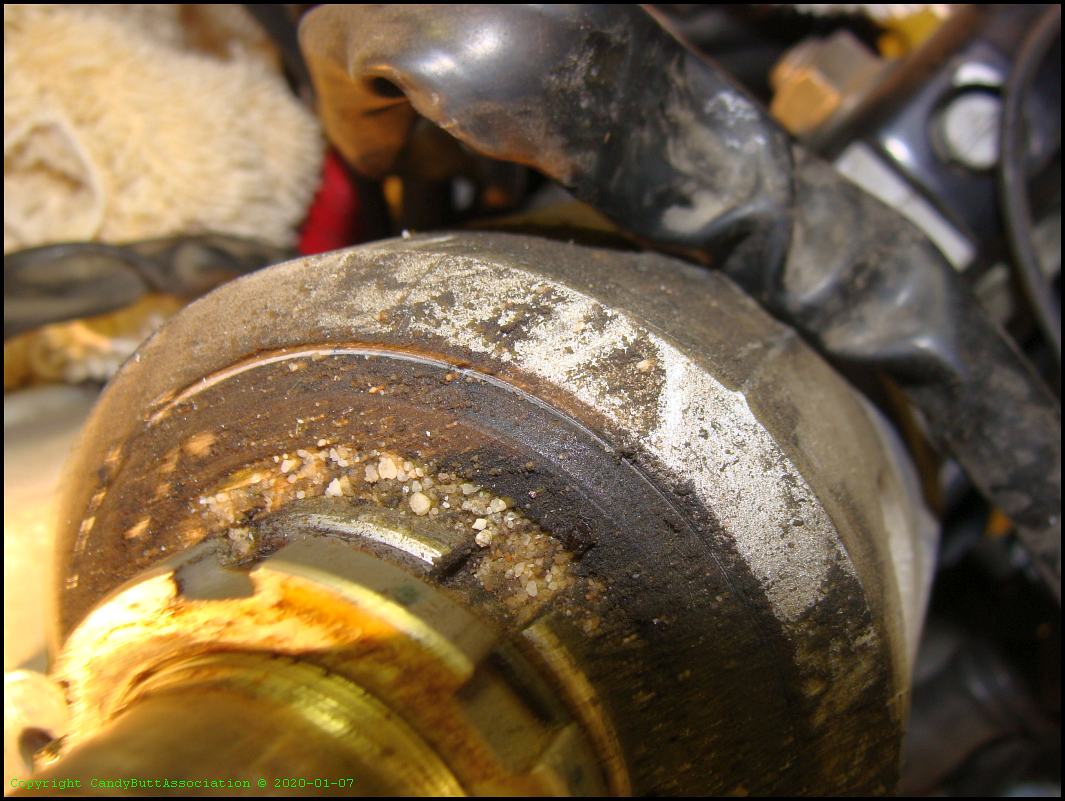
x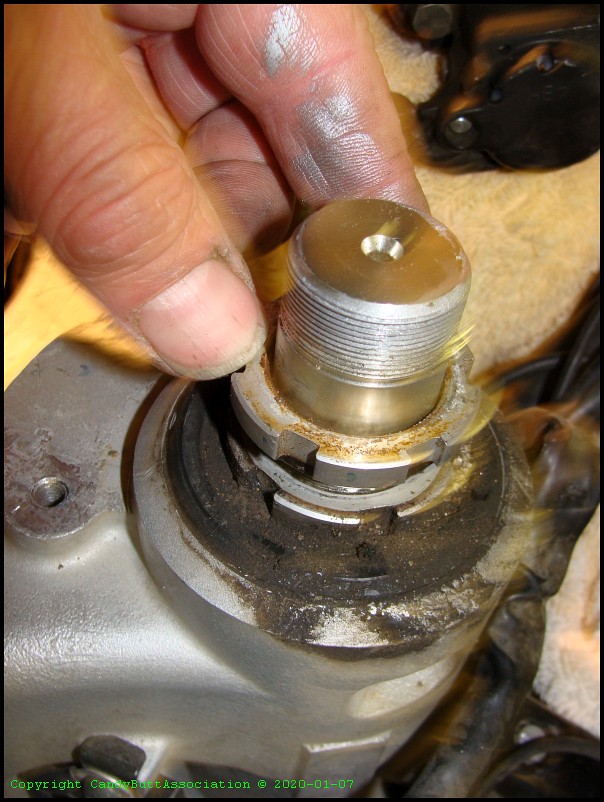
x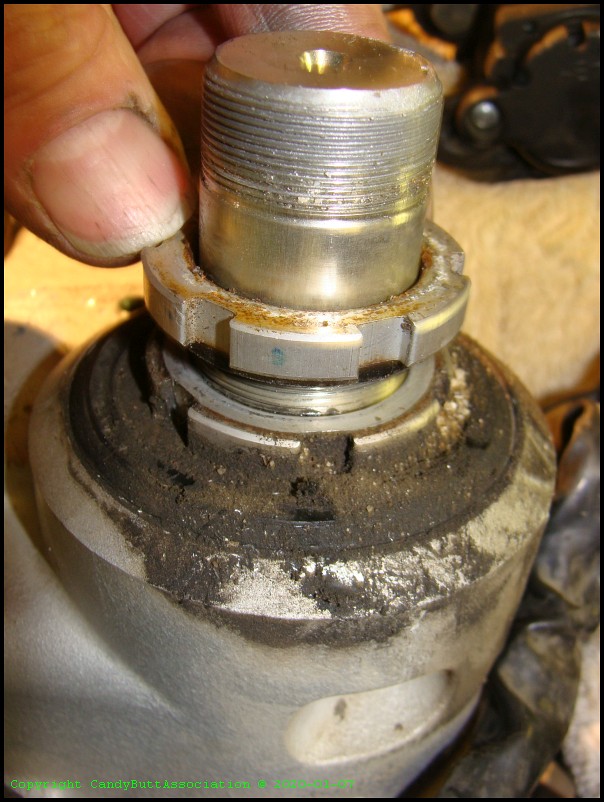
x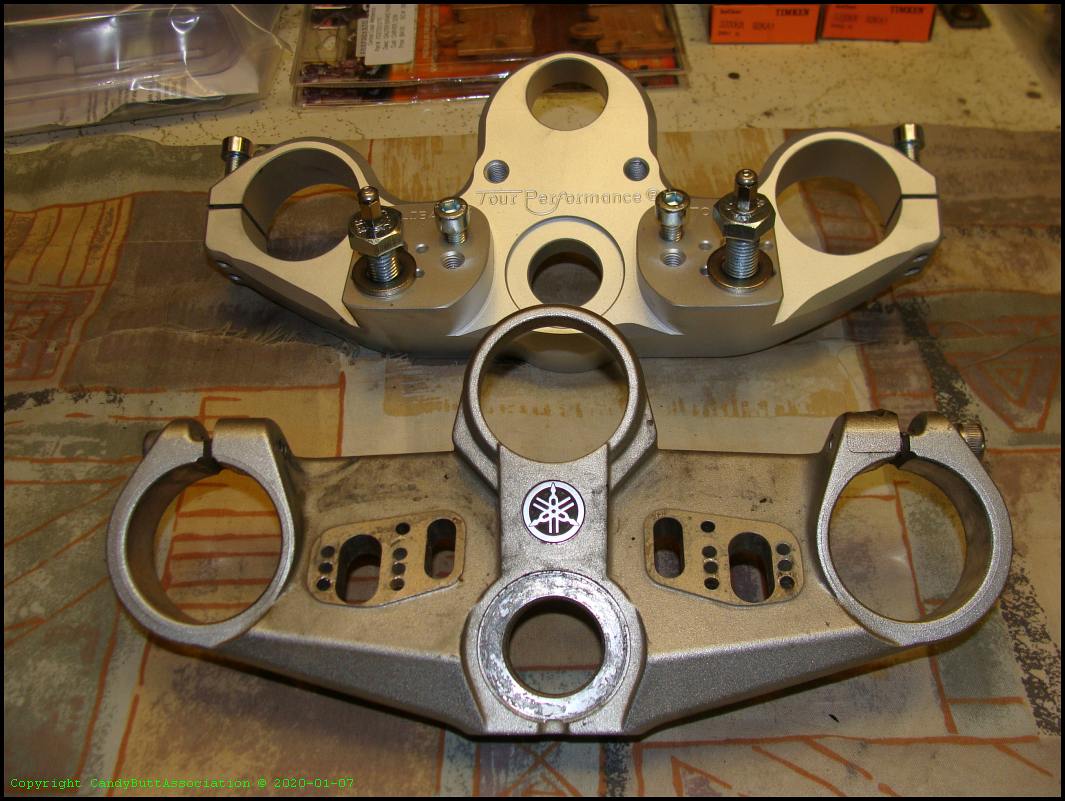
x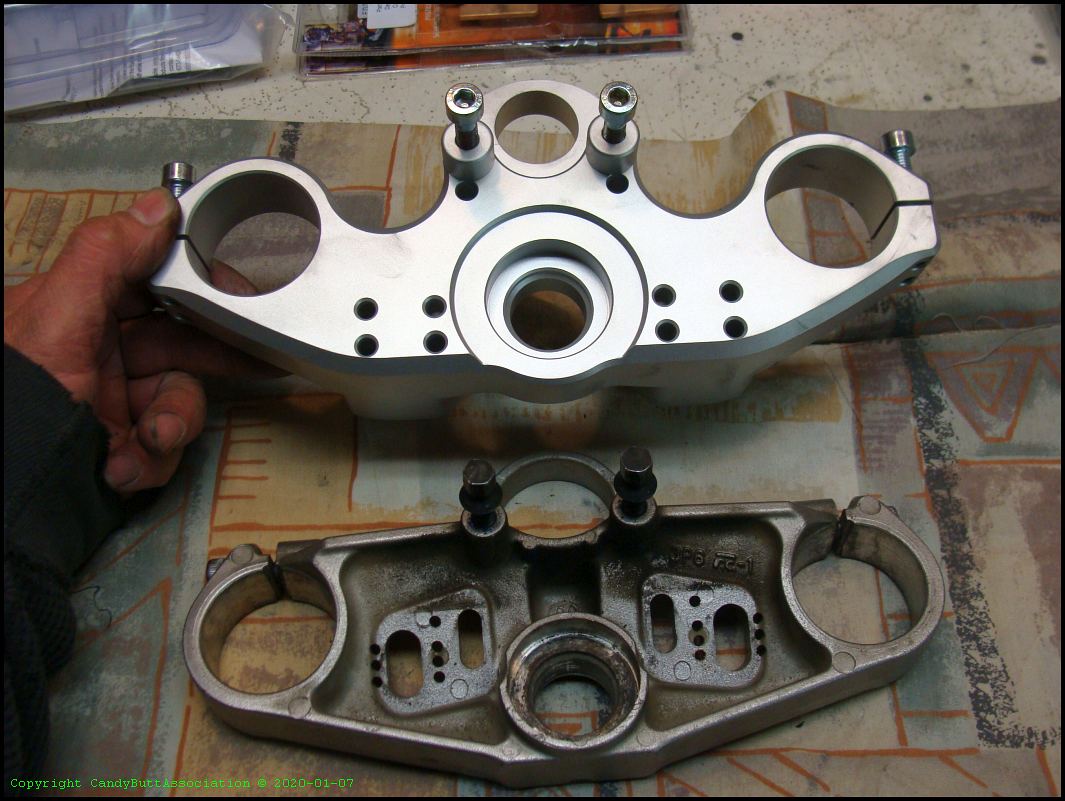
x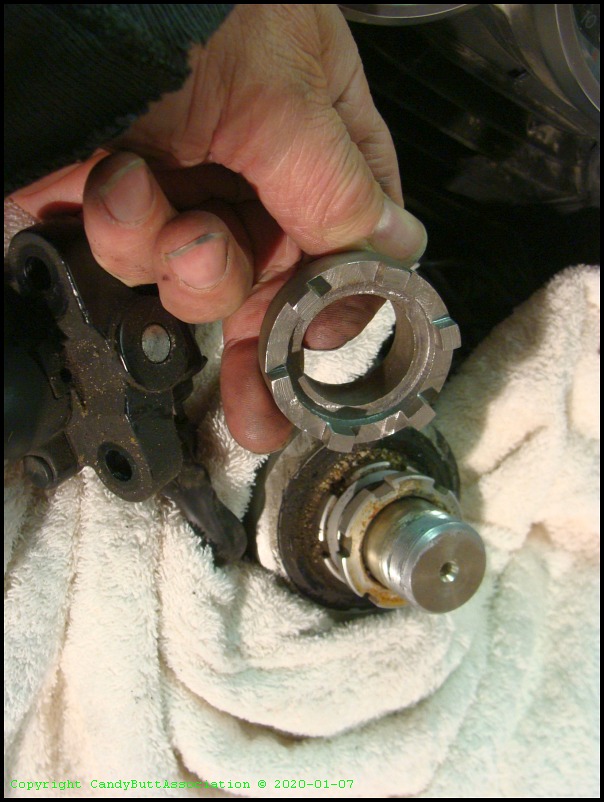
x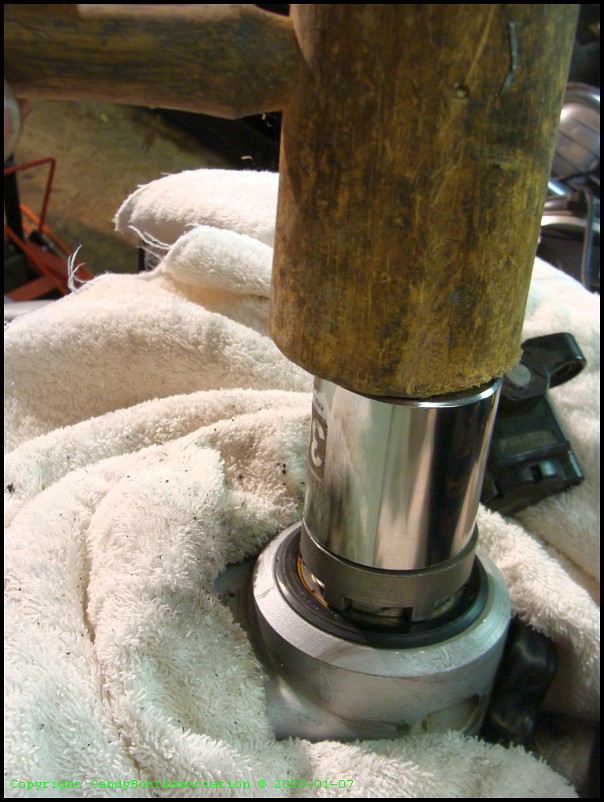
x
x
x
x
x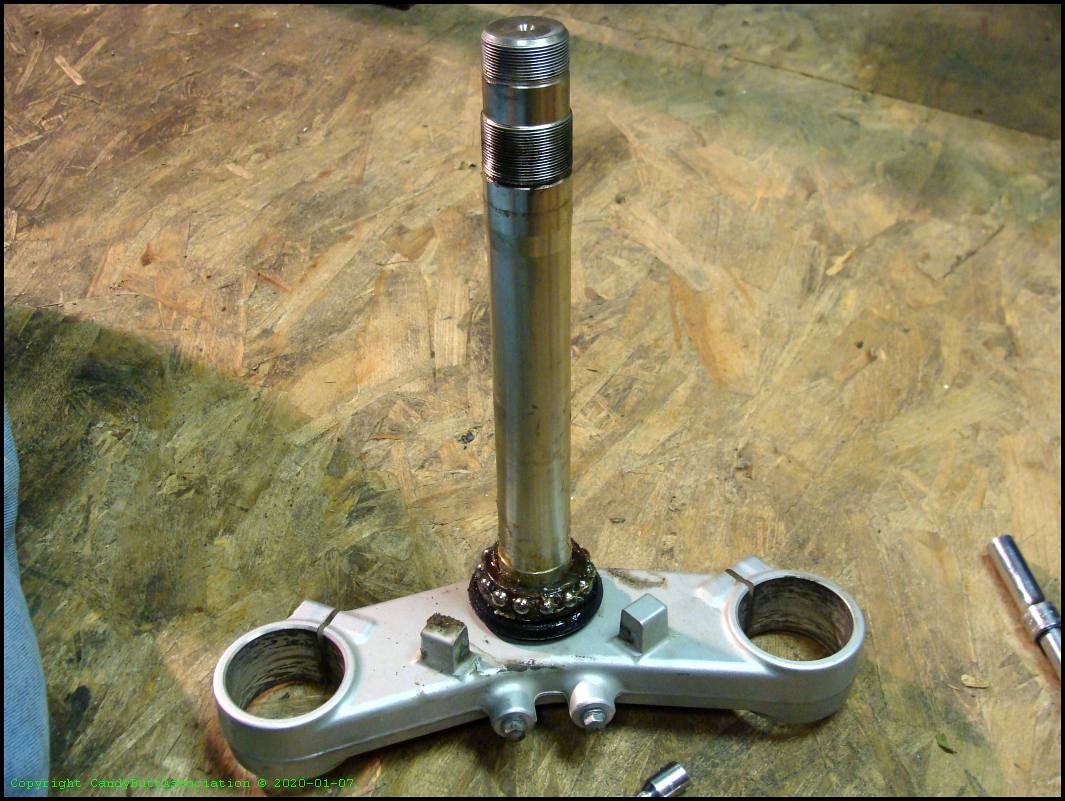
x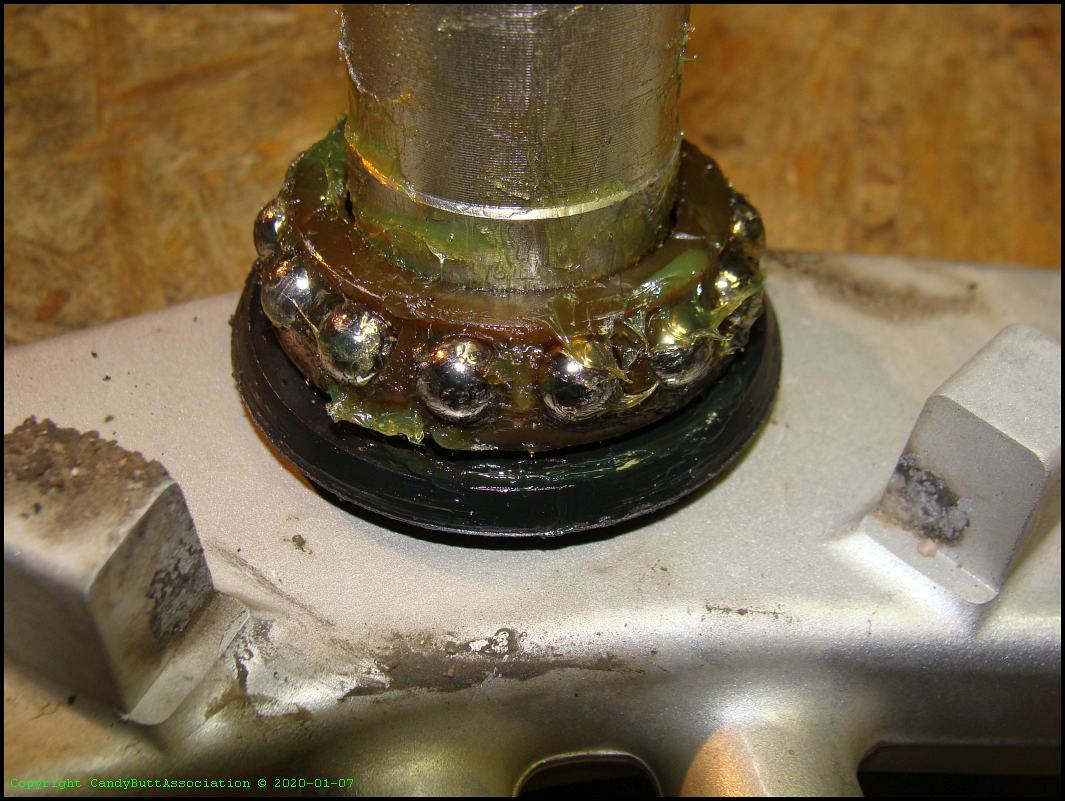
x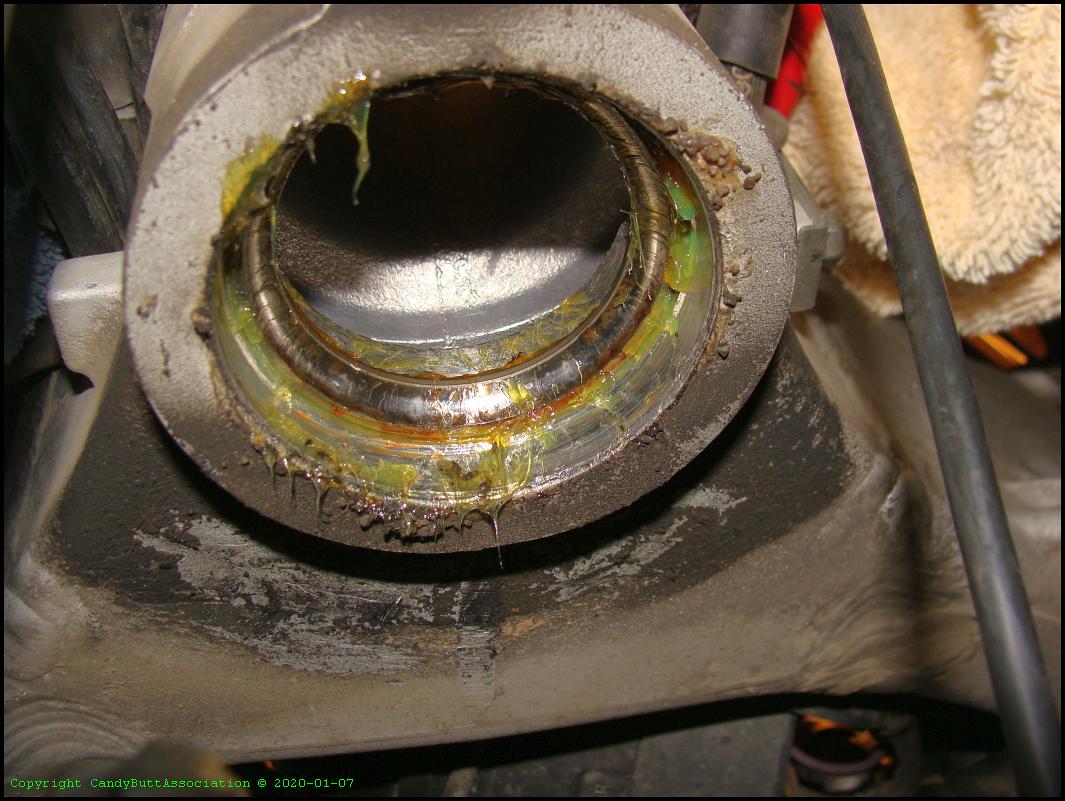
x
x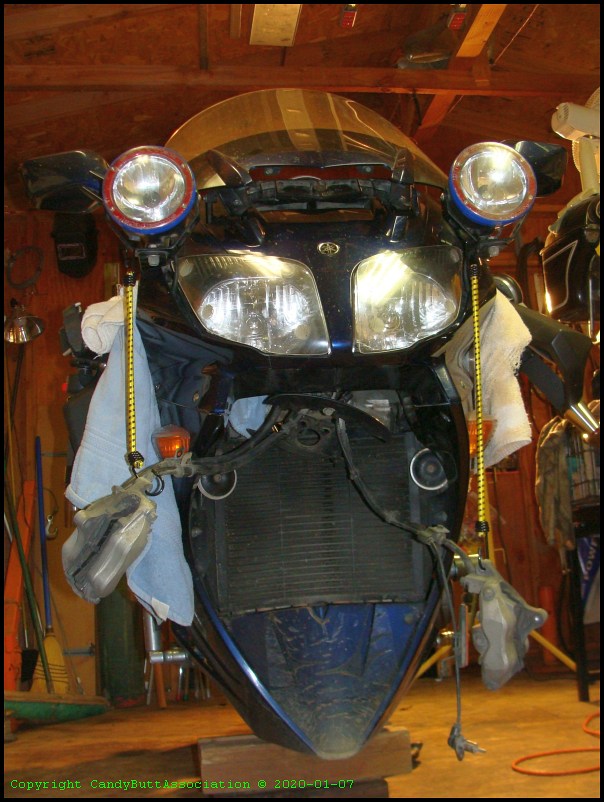
x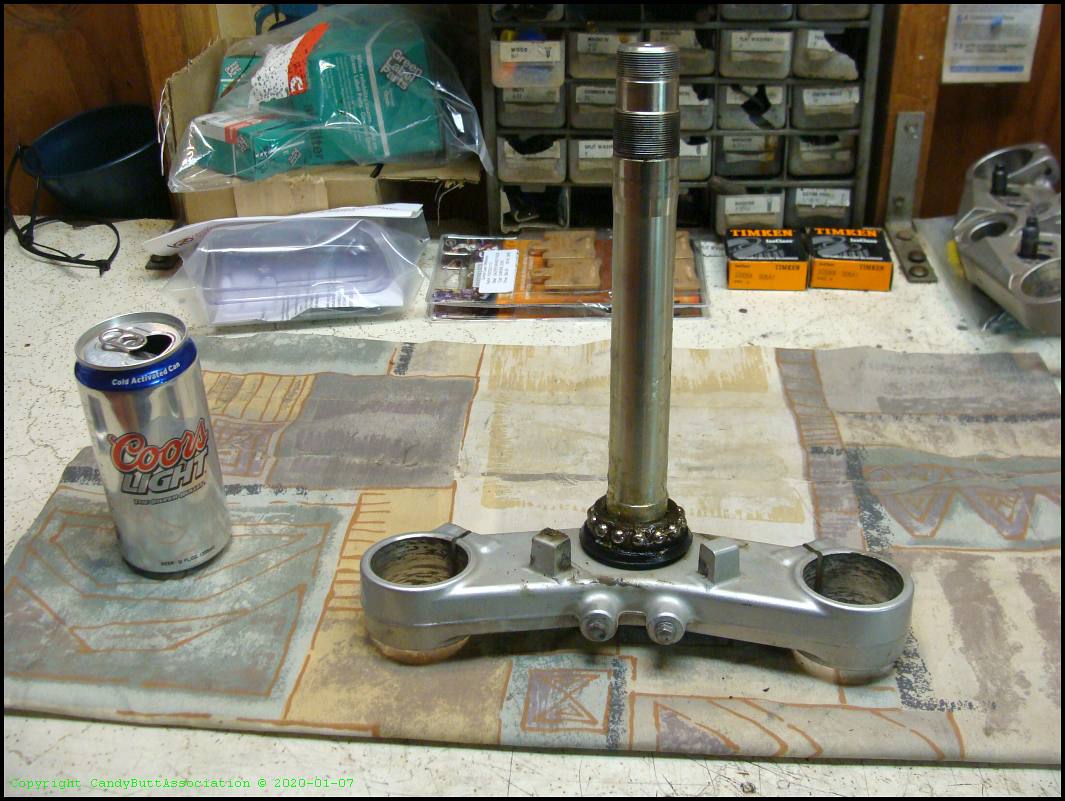
x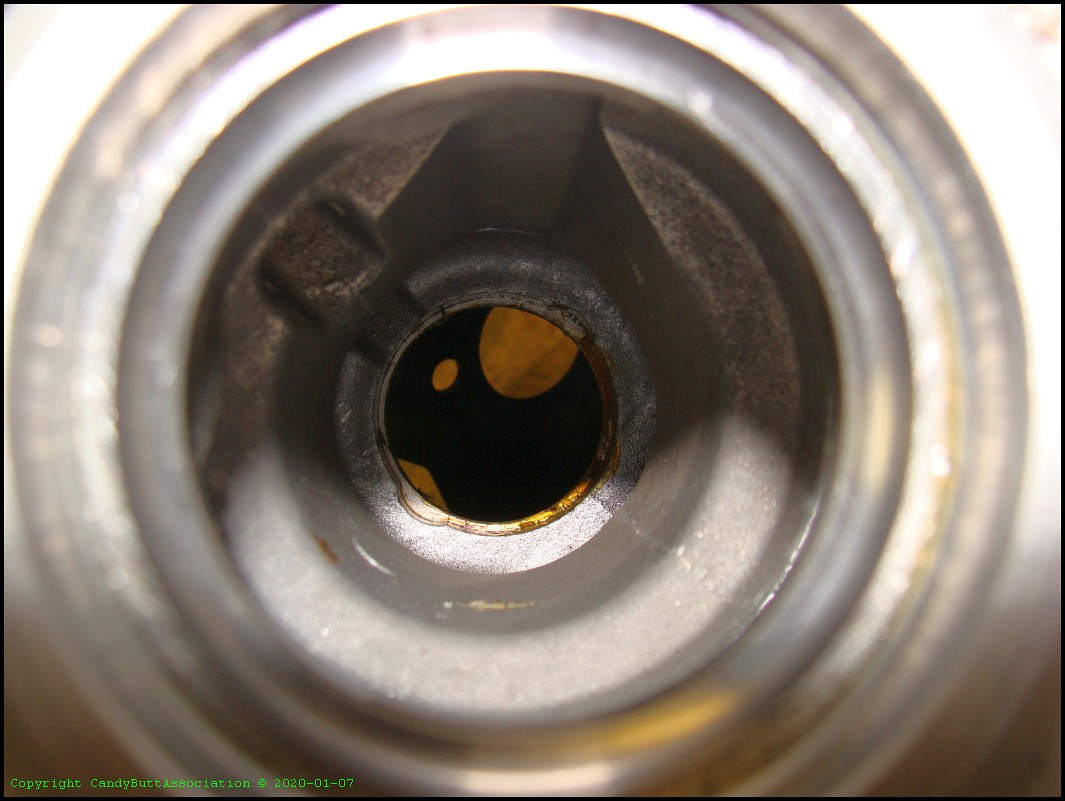
x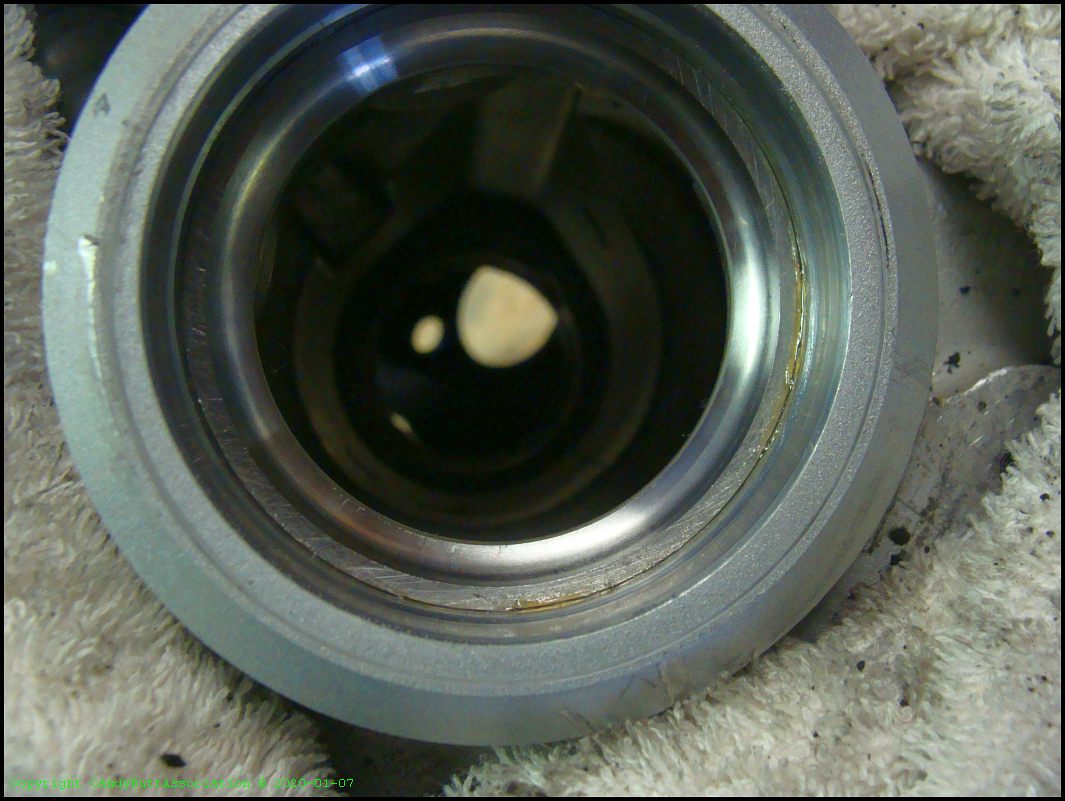
x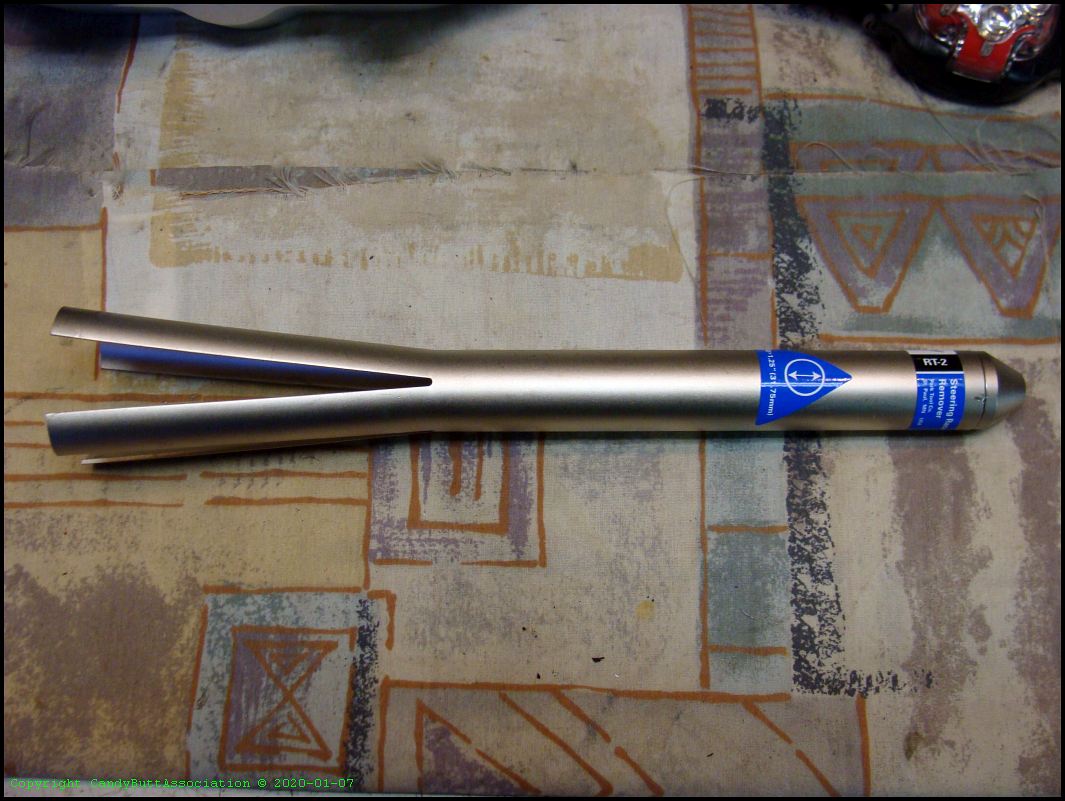
x
x
x
x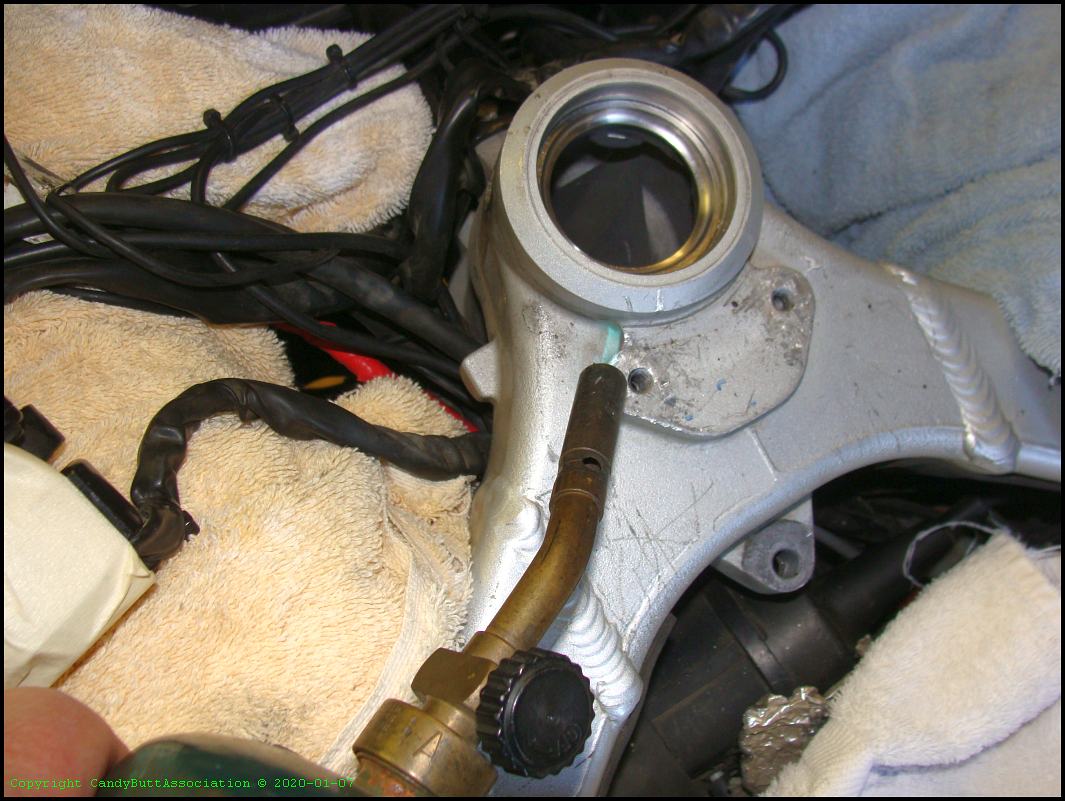
x
x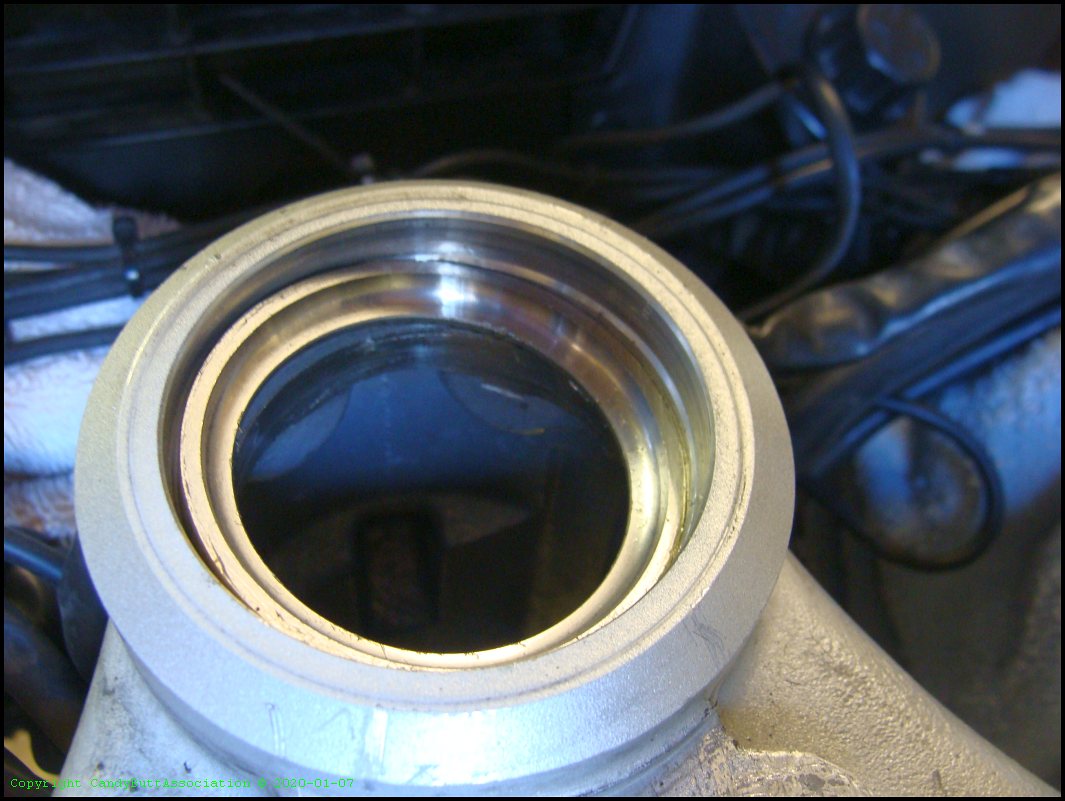
x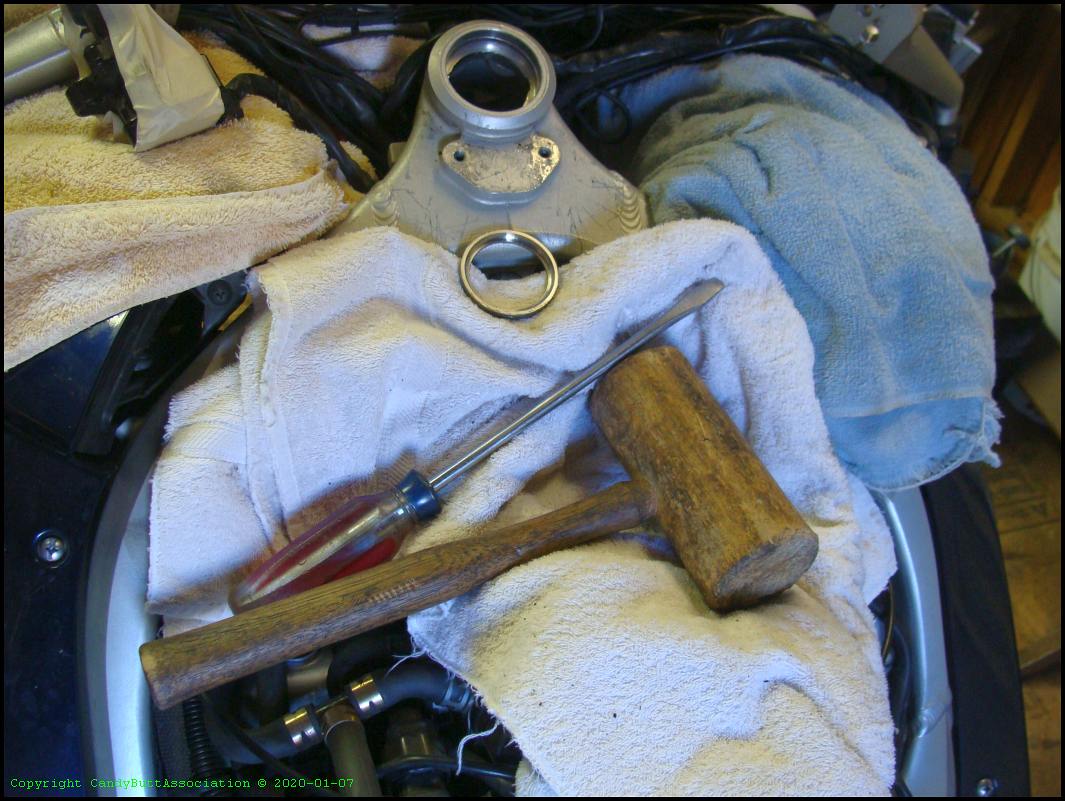
x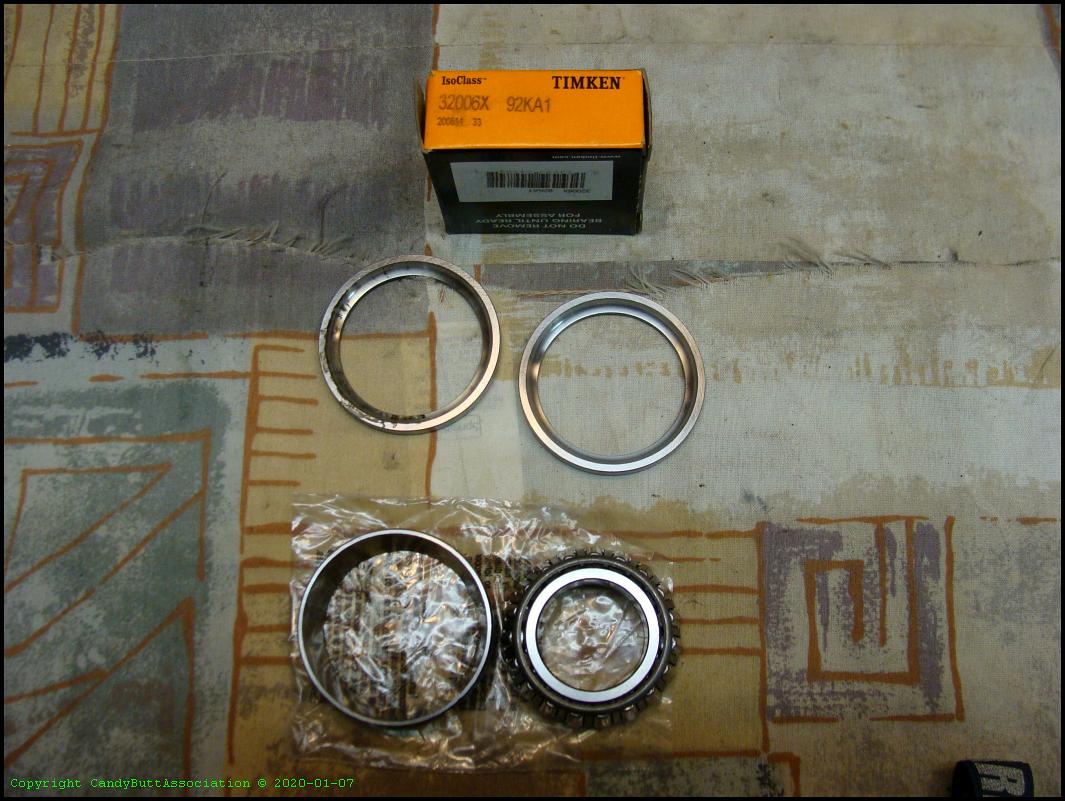
x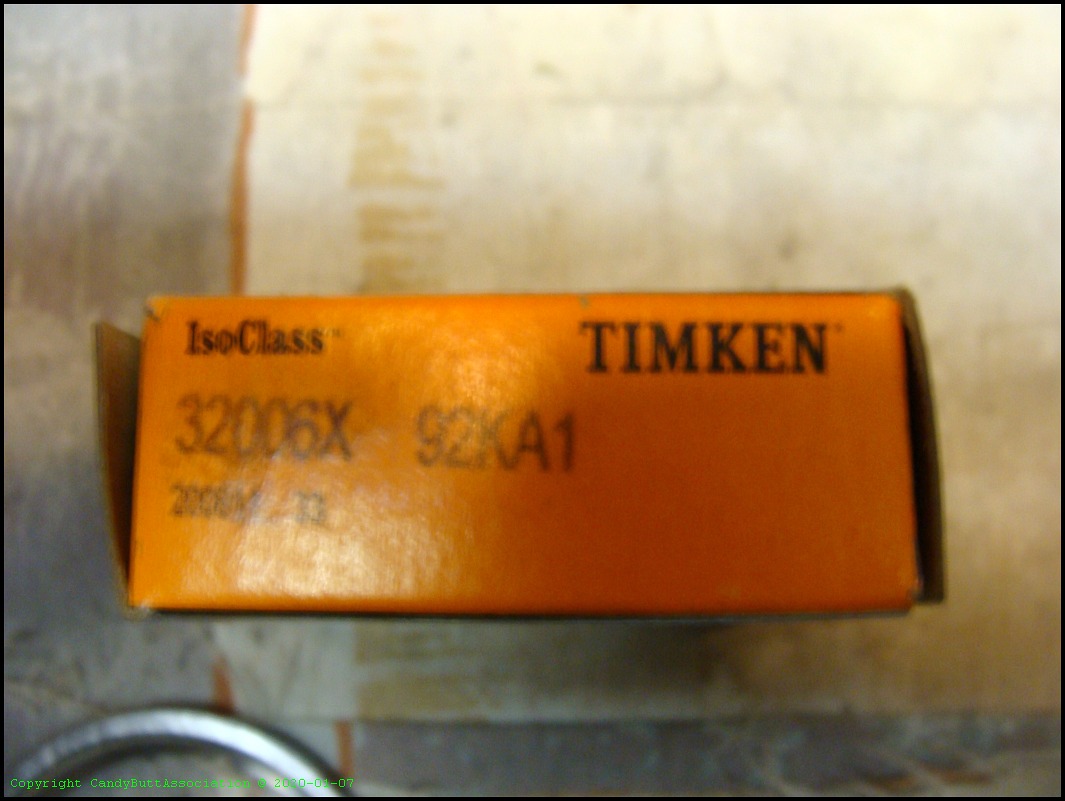
x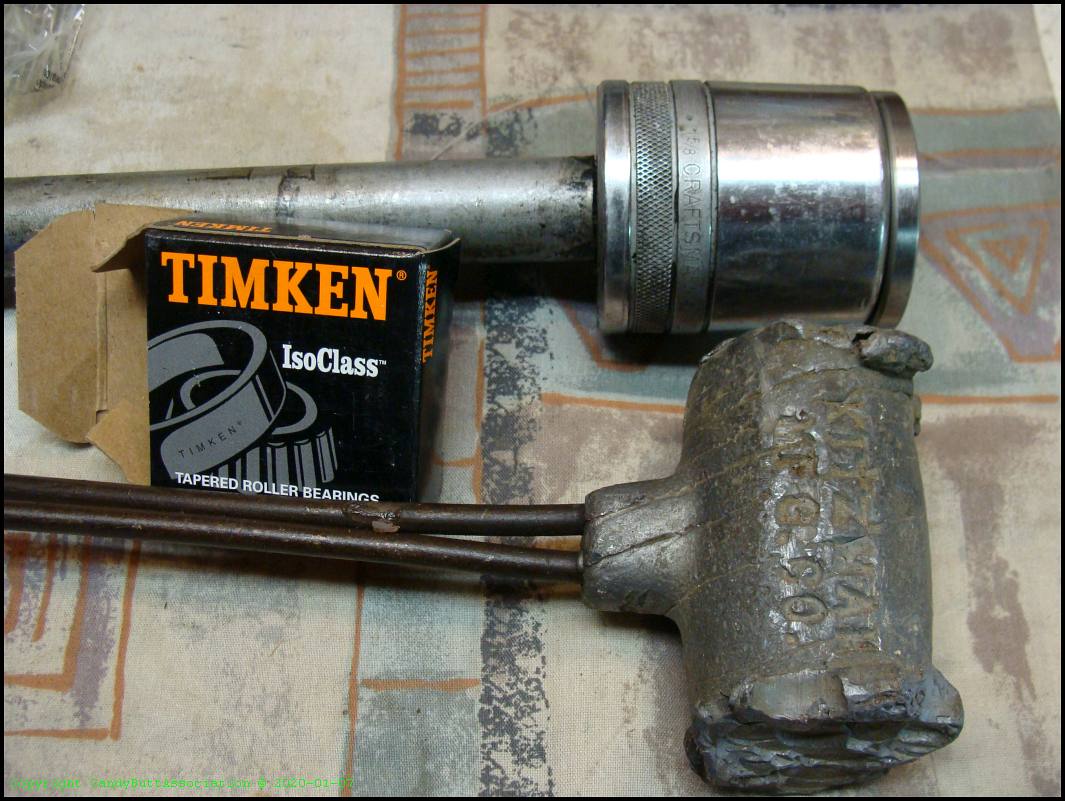
x
x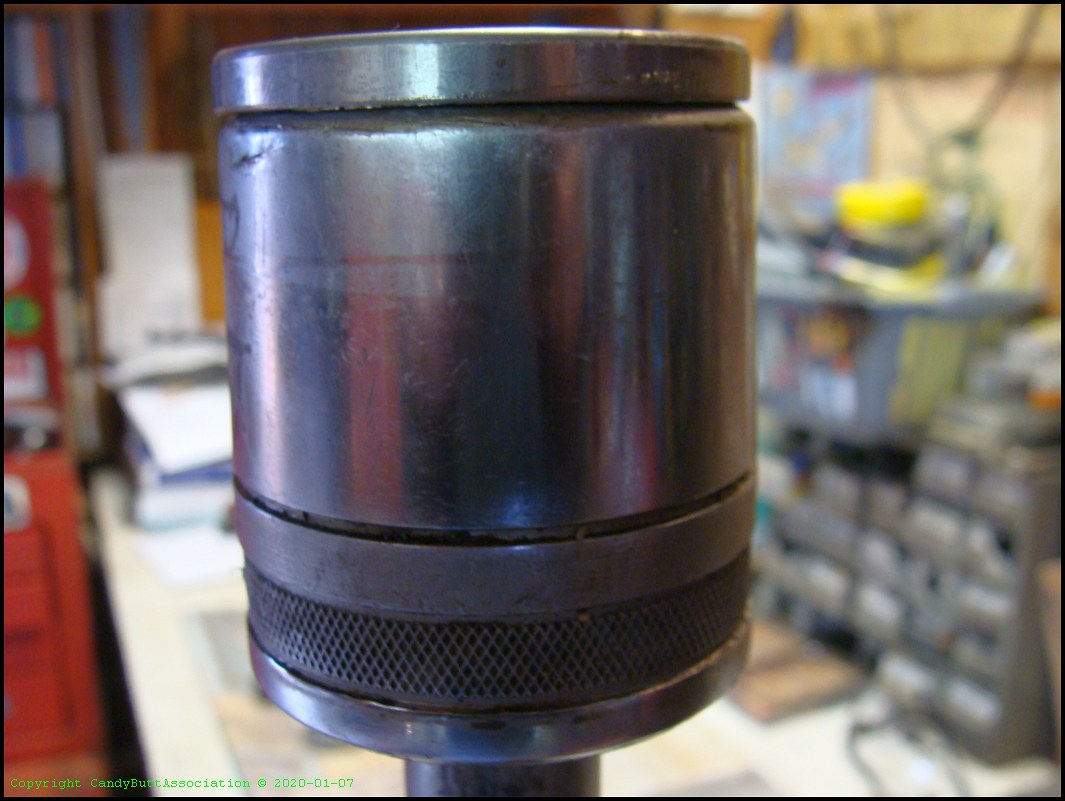
x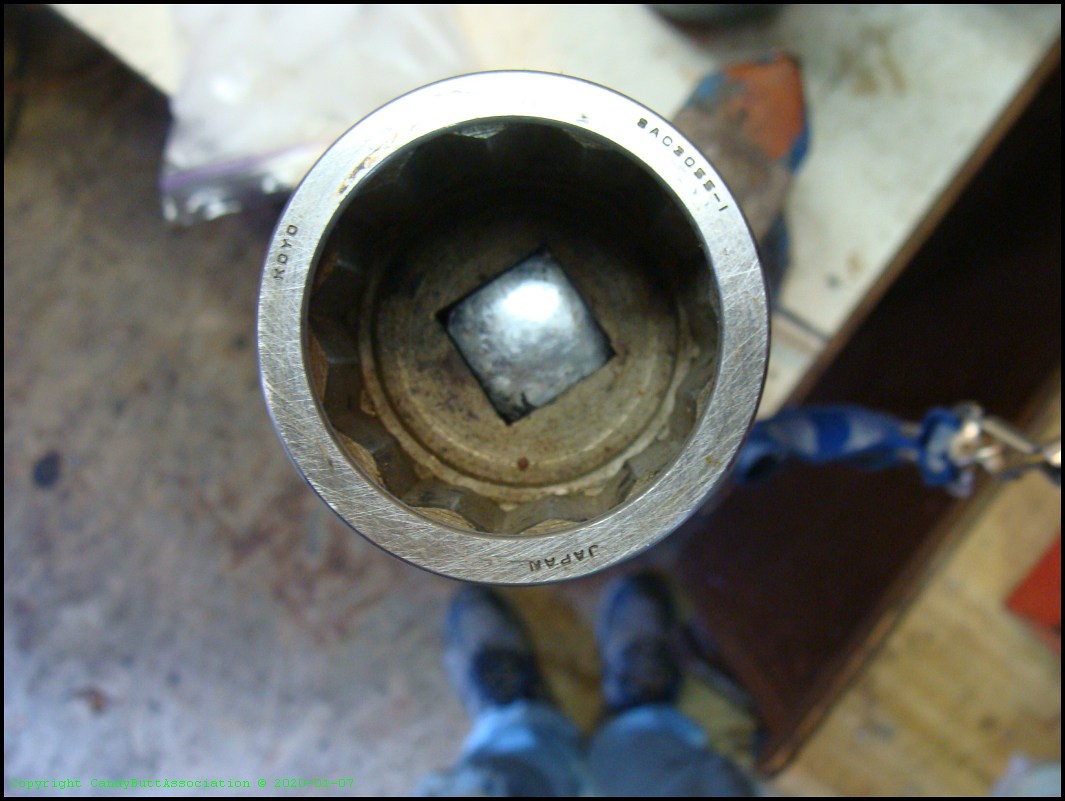
x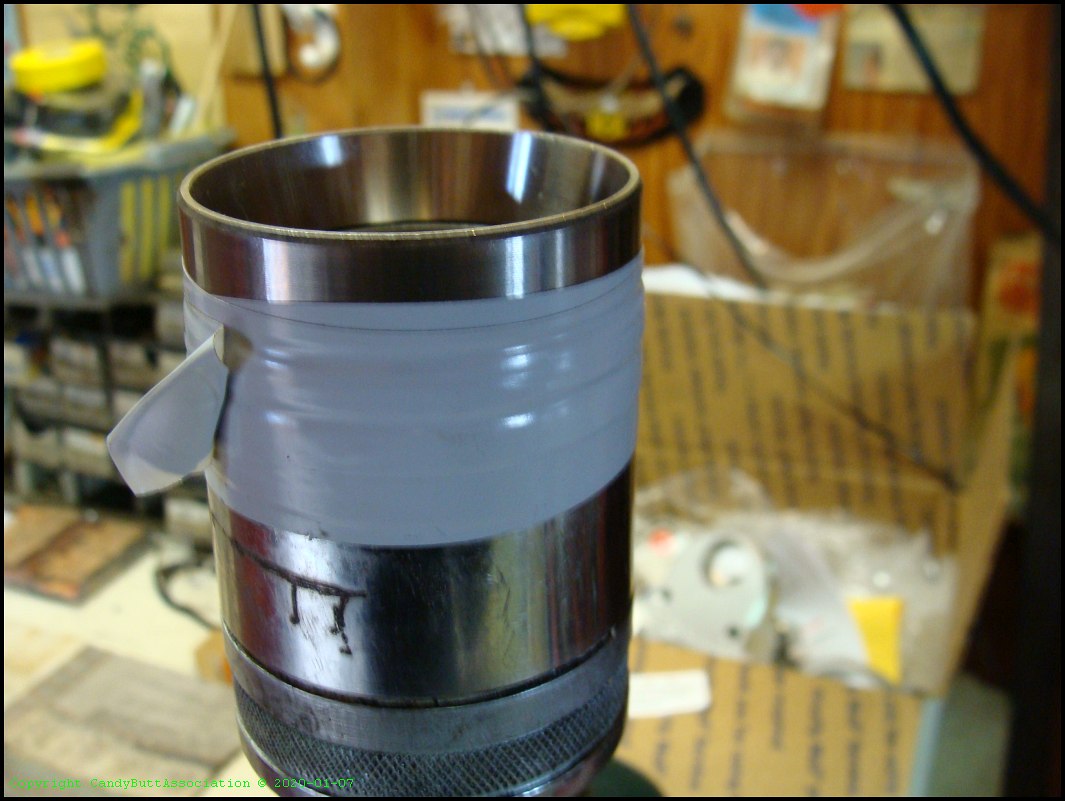
x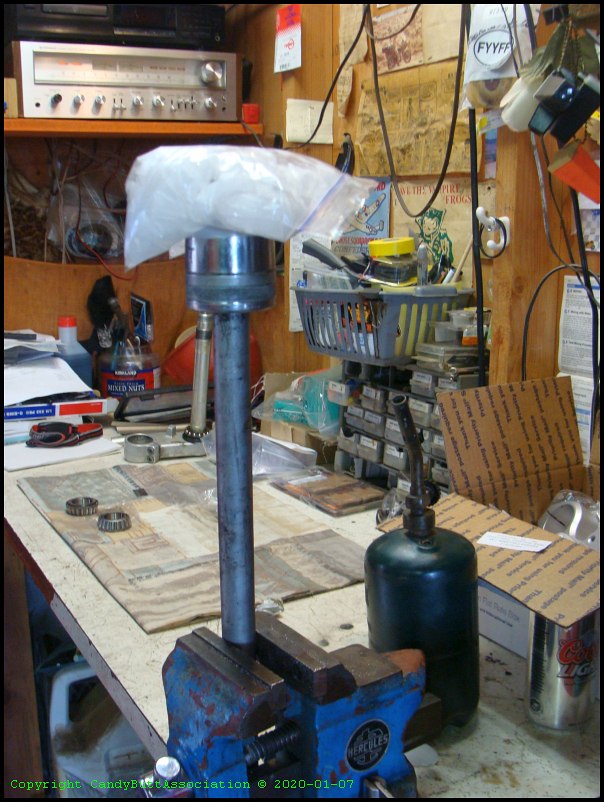
x
x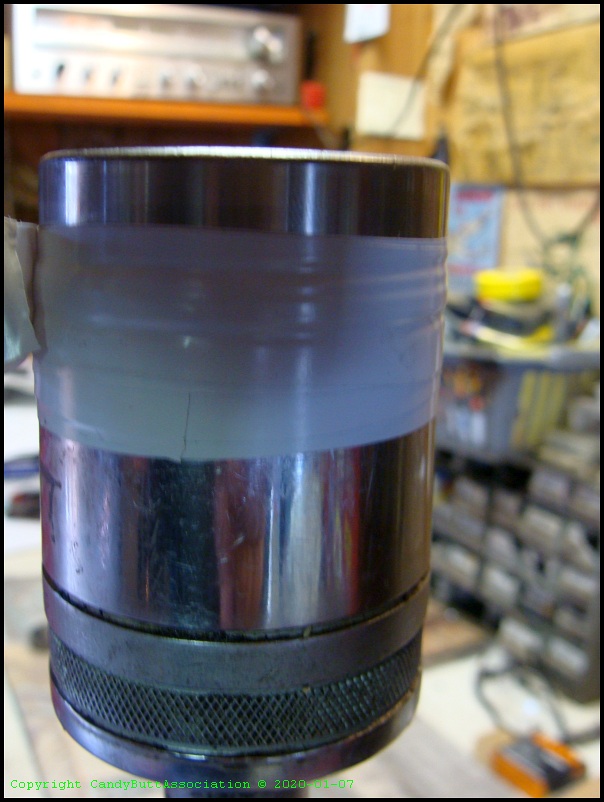
x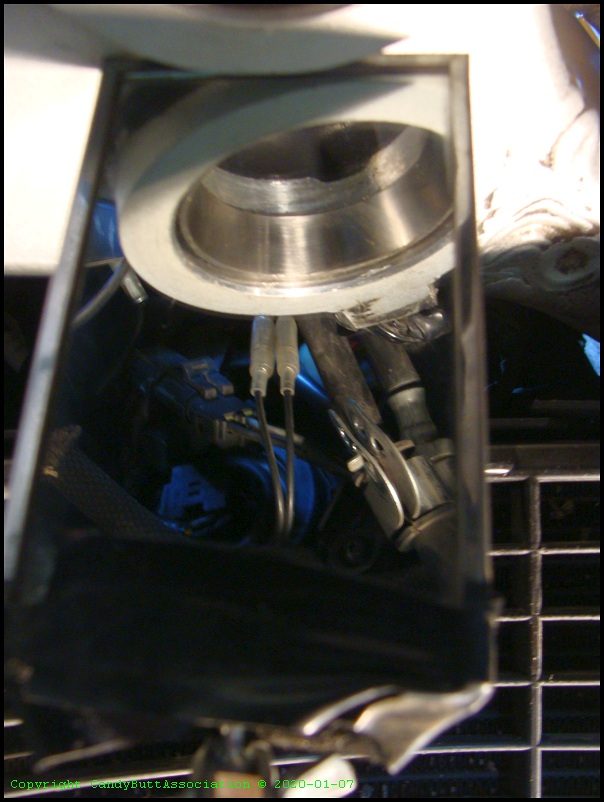
x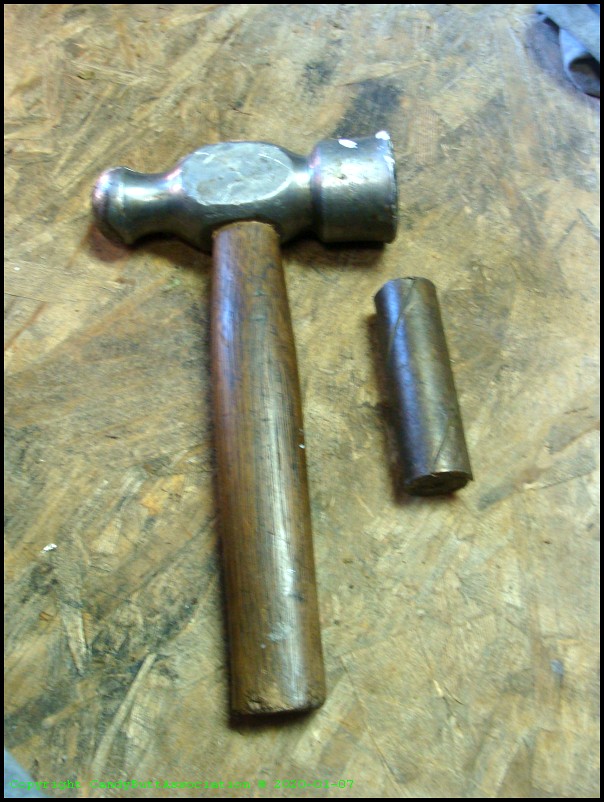
x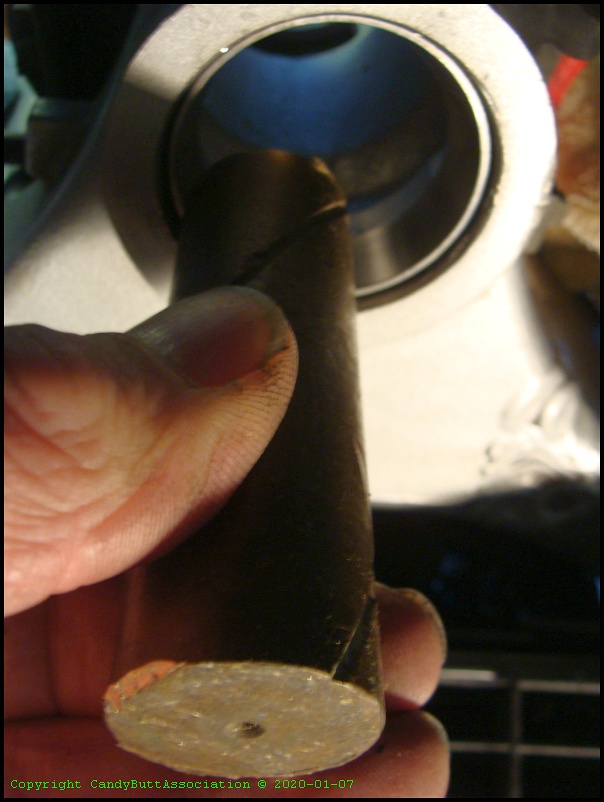
x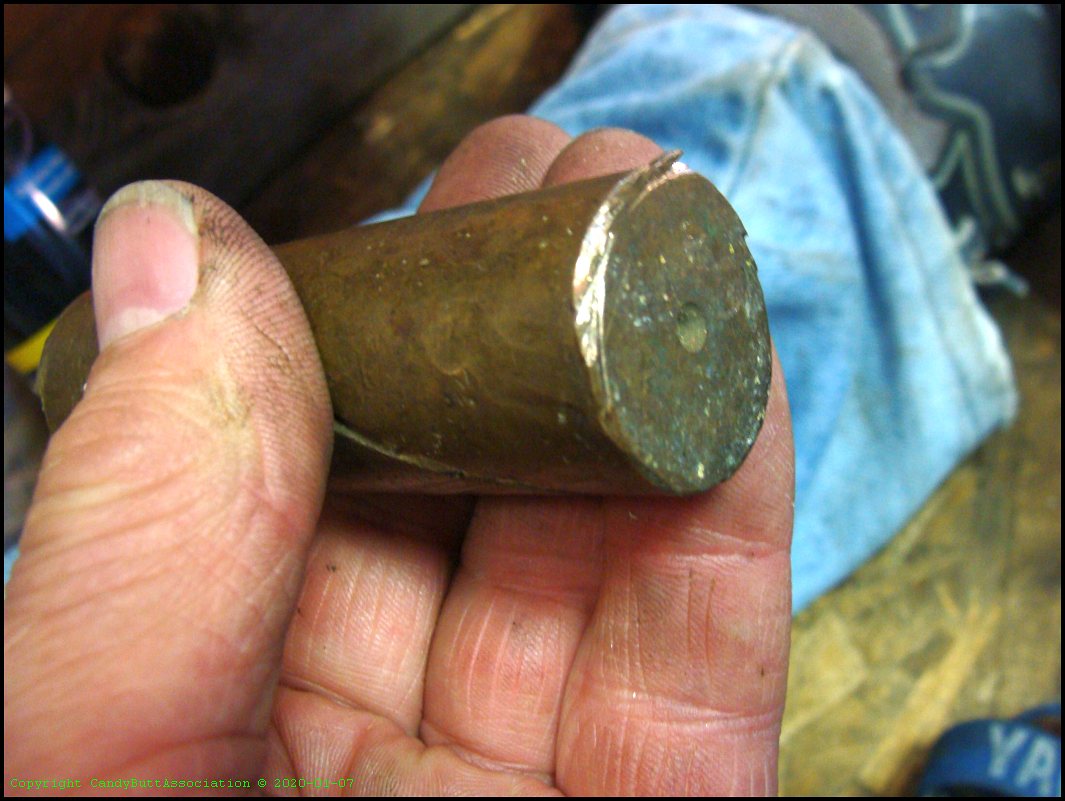
x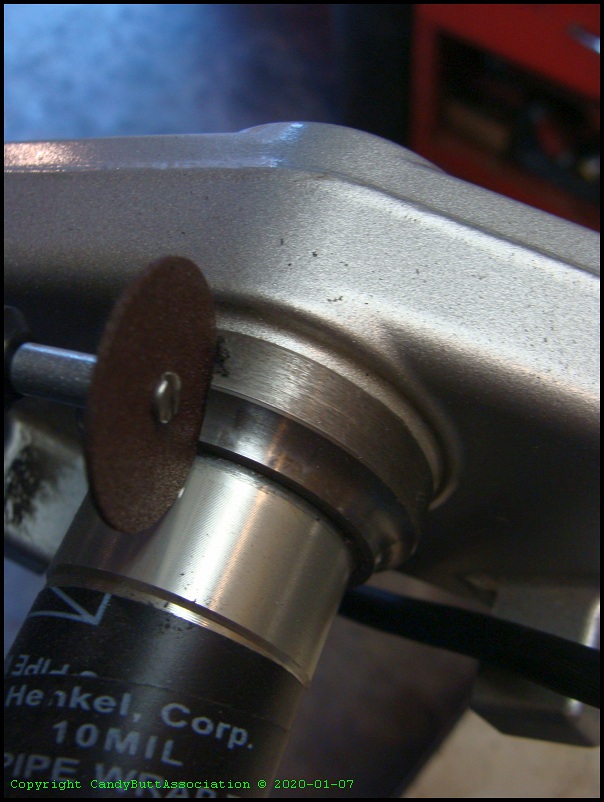
x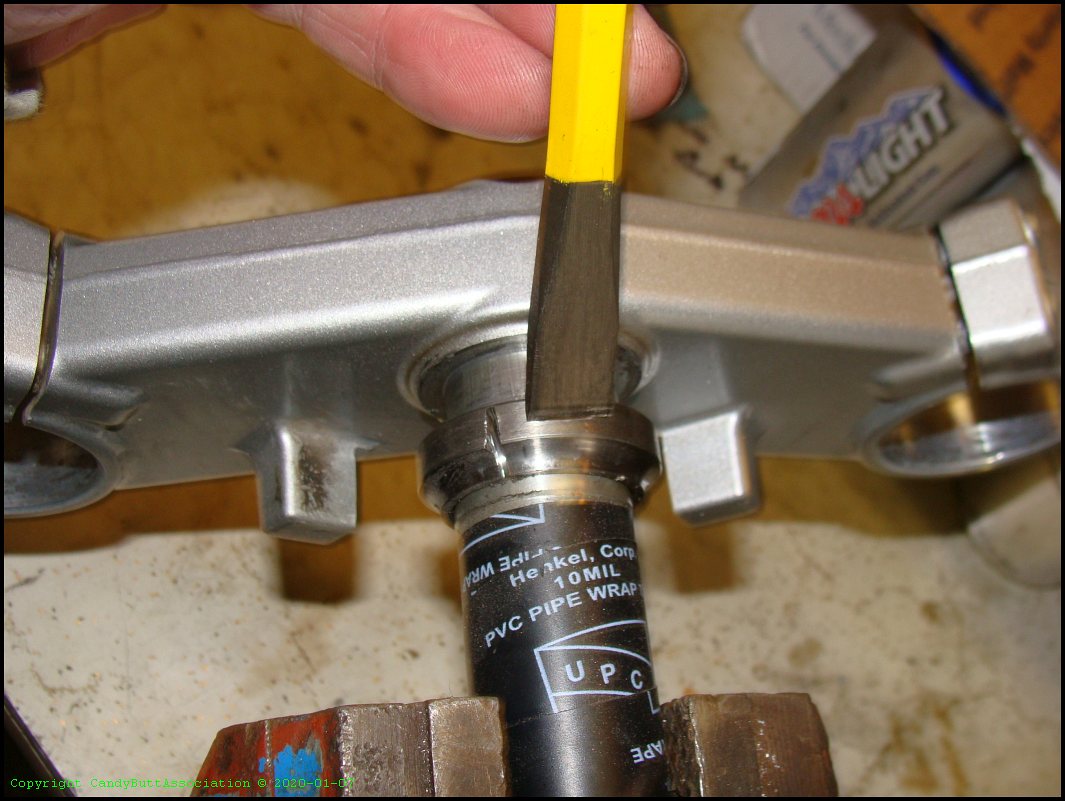
x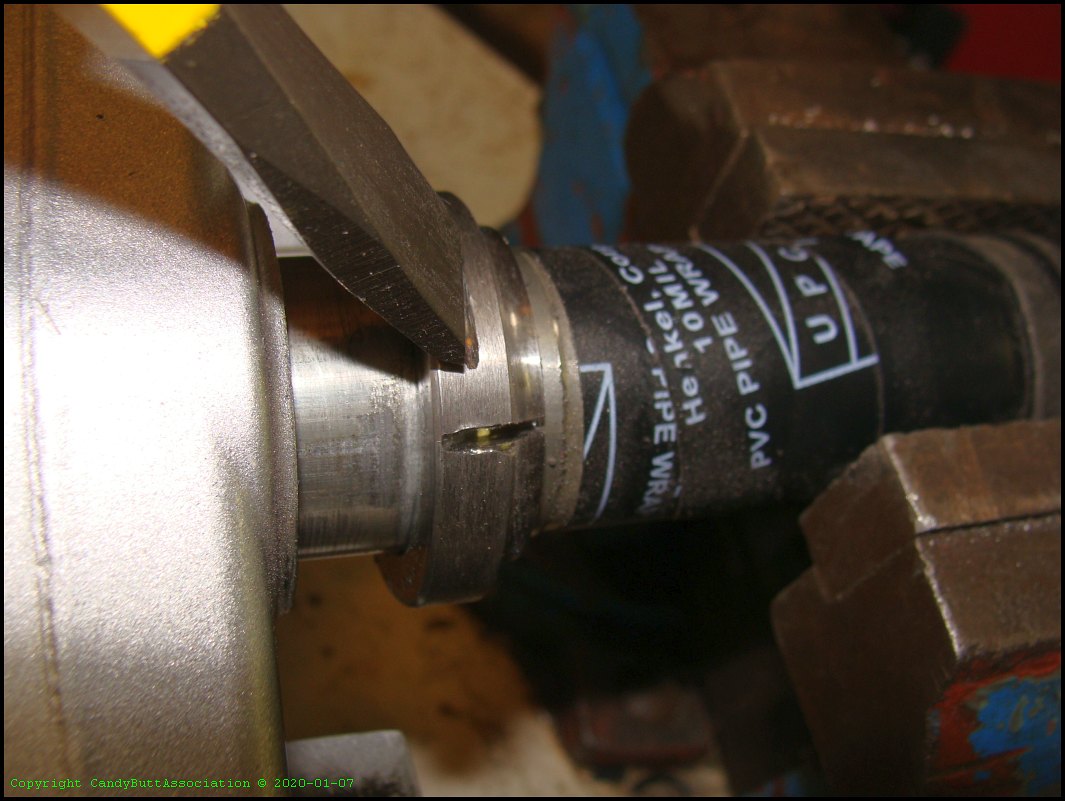
x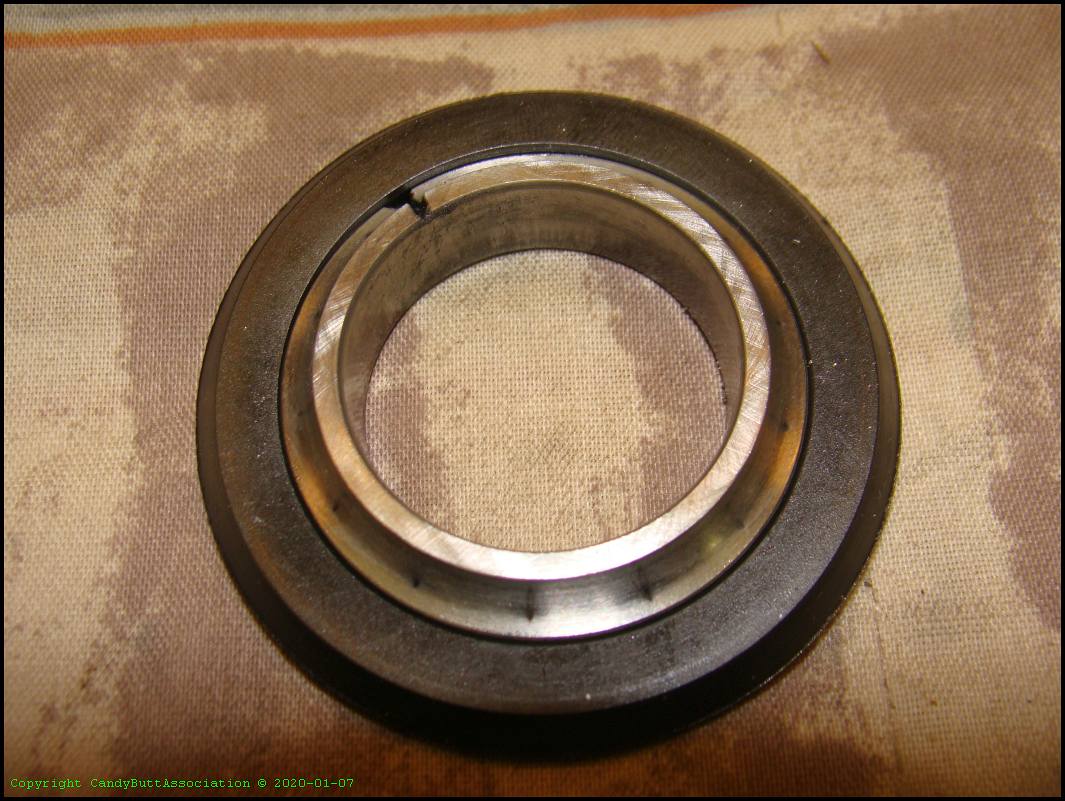
x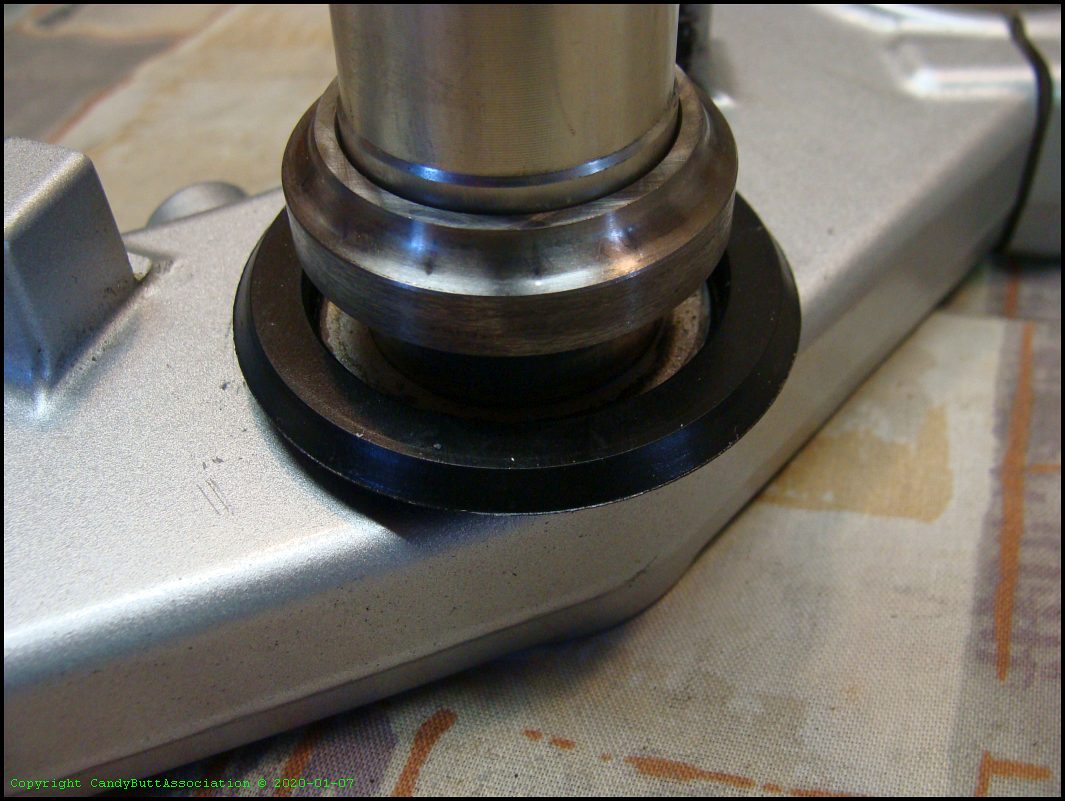
x
x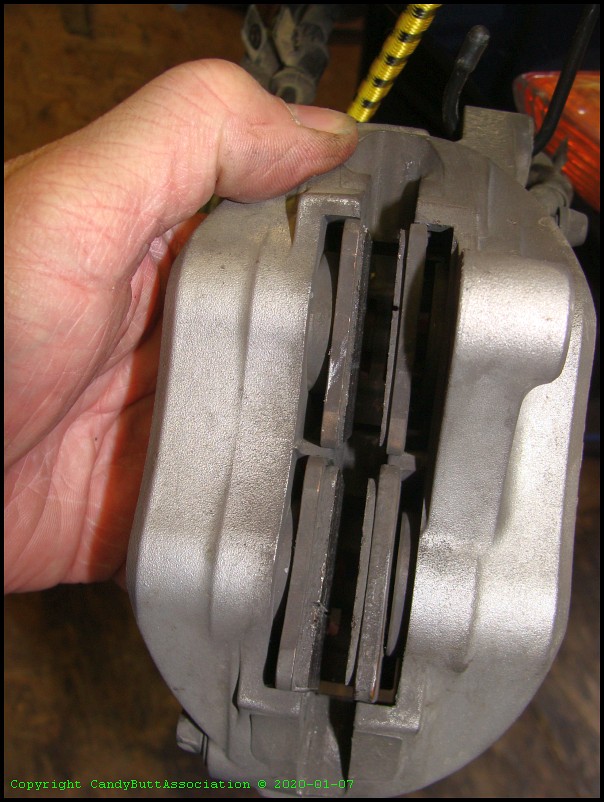
x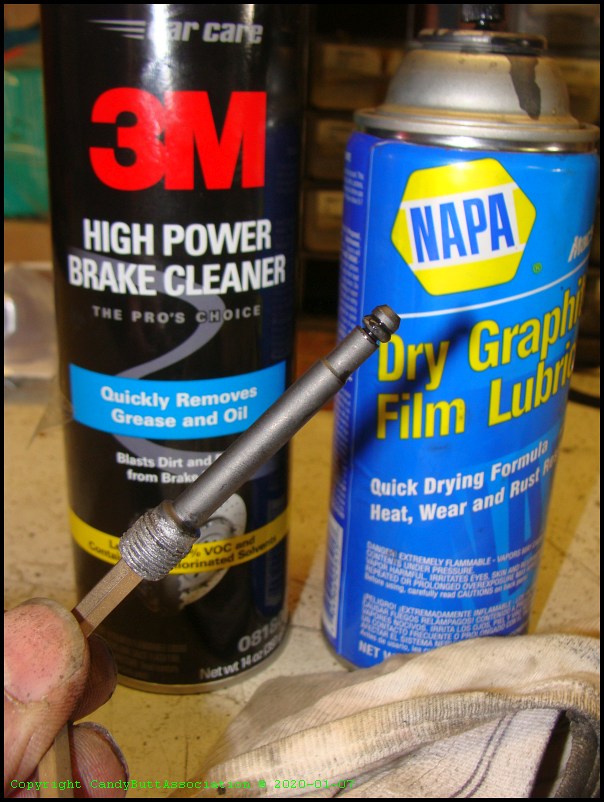
x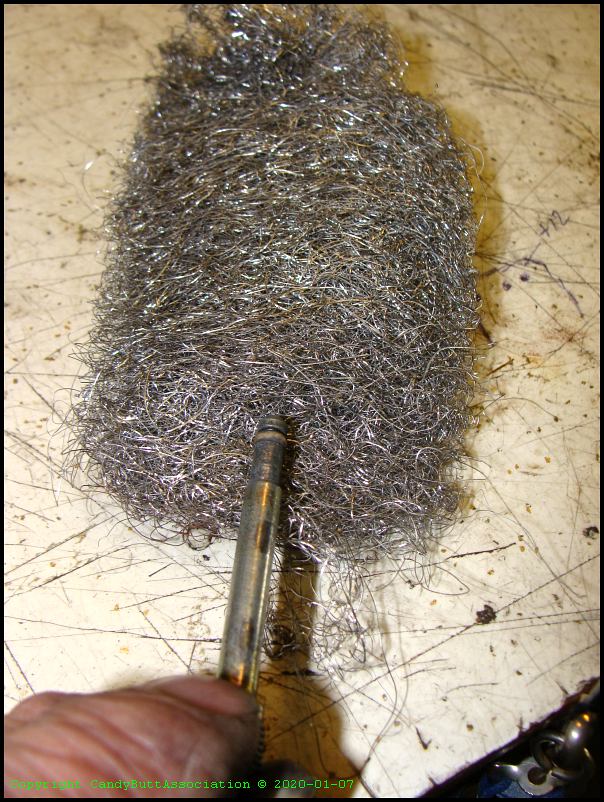
x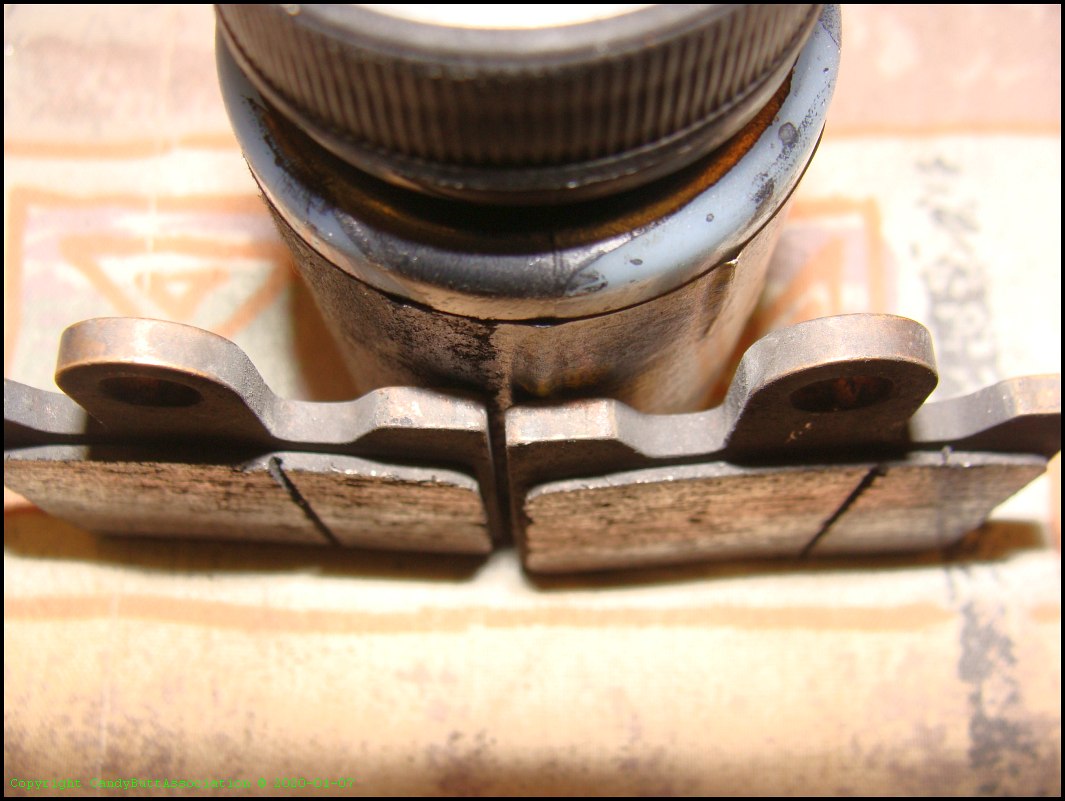
x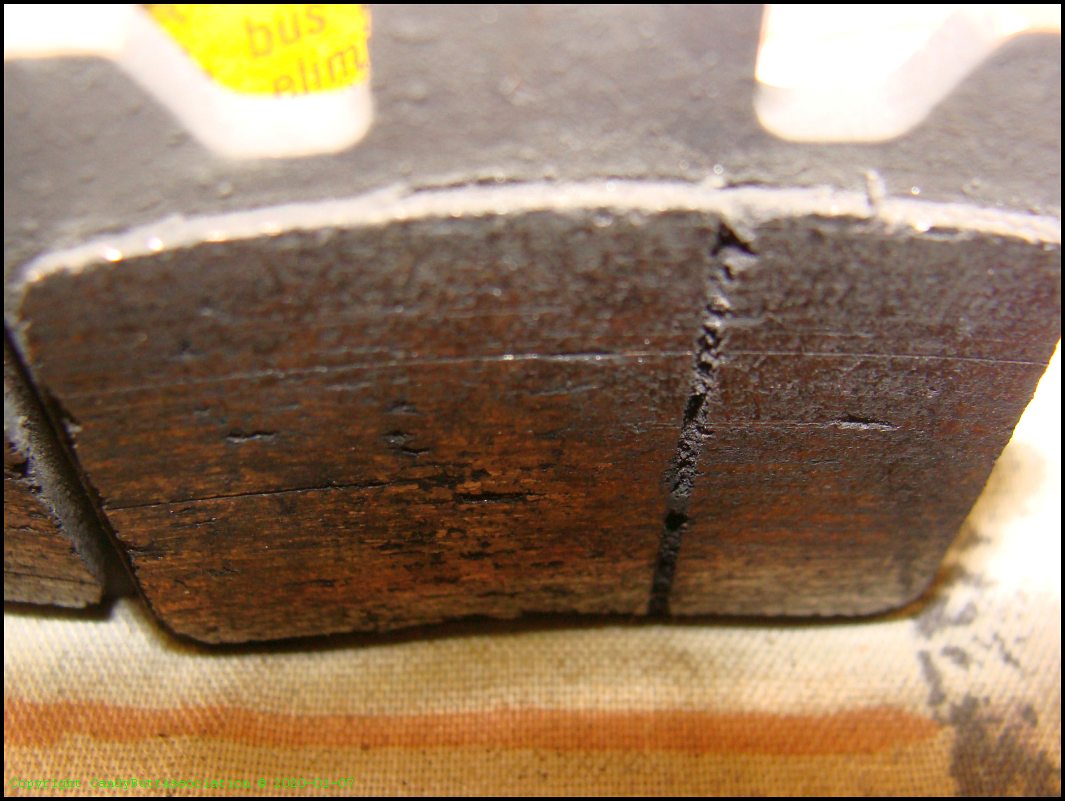
----------
x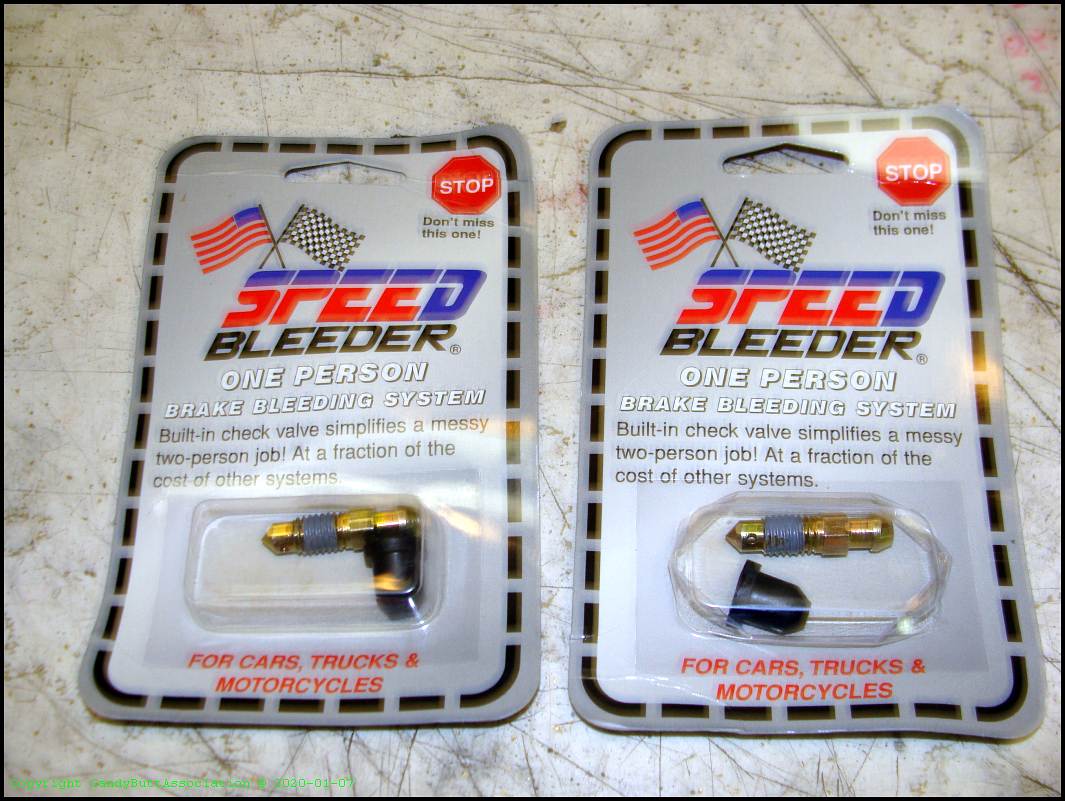
x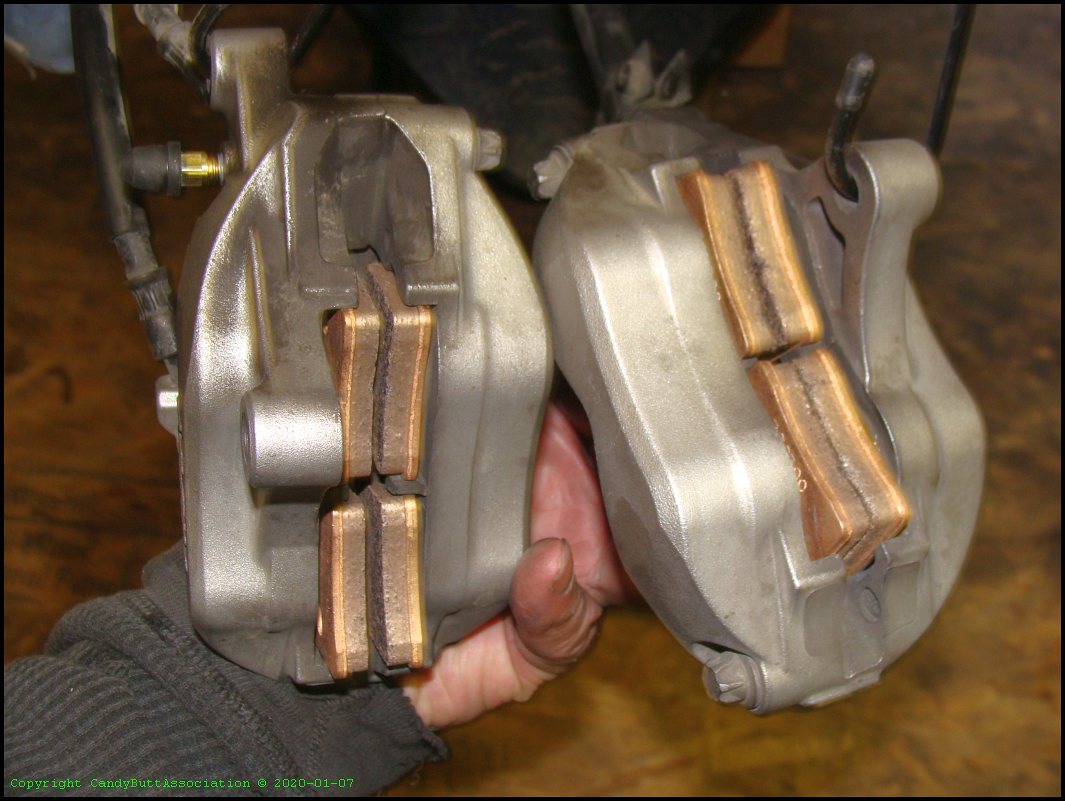
x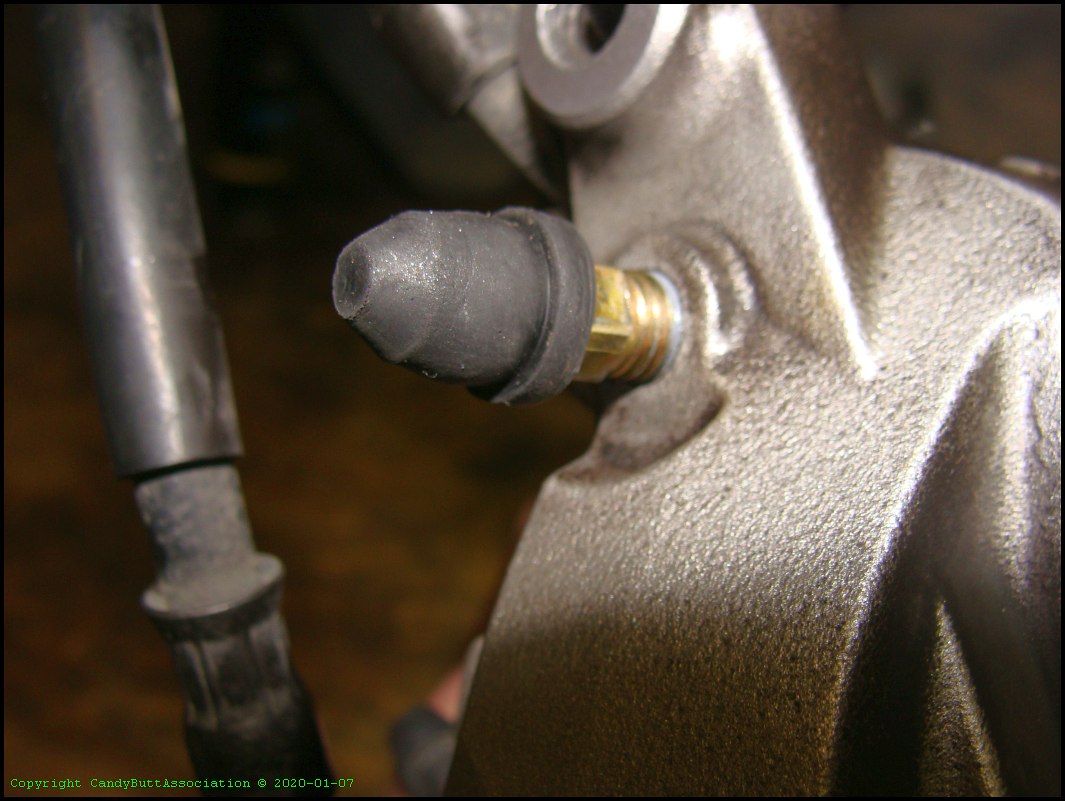
x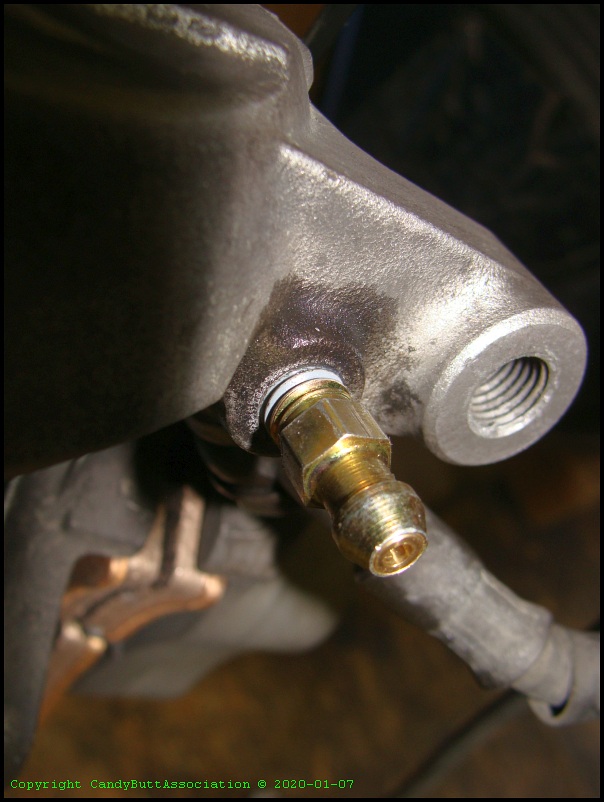
x
x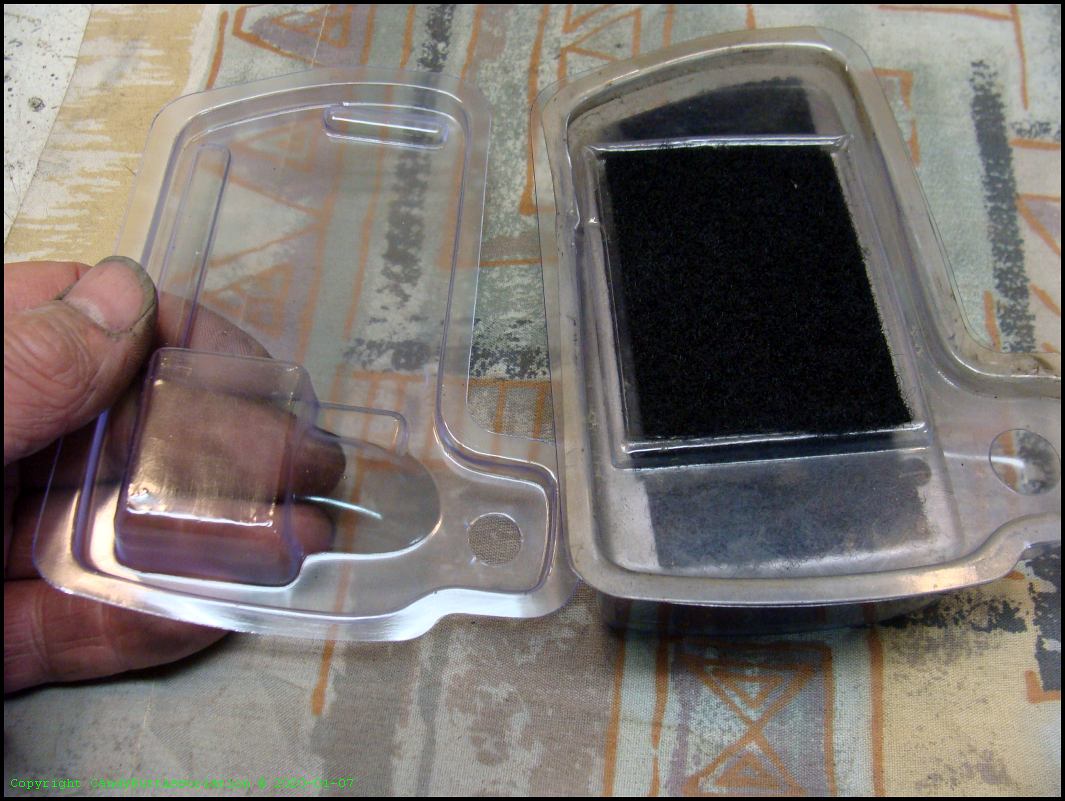
x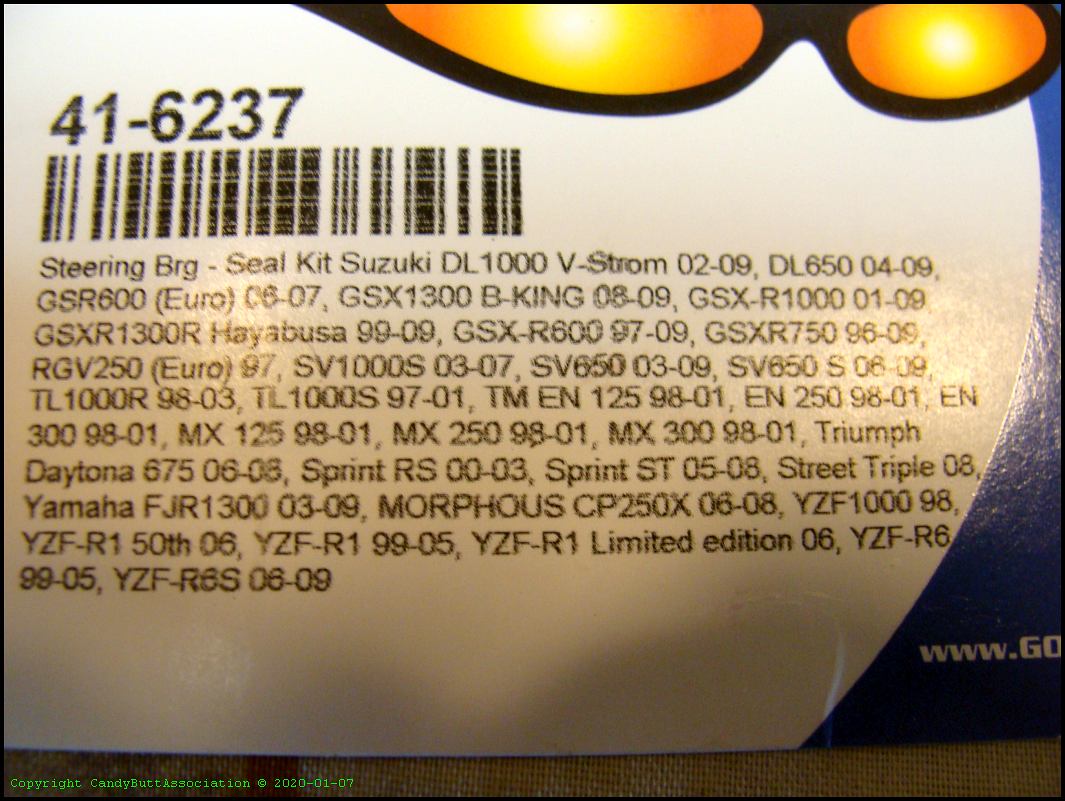
x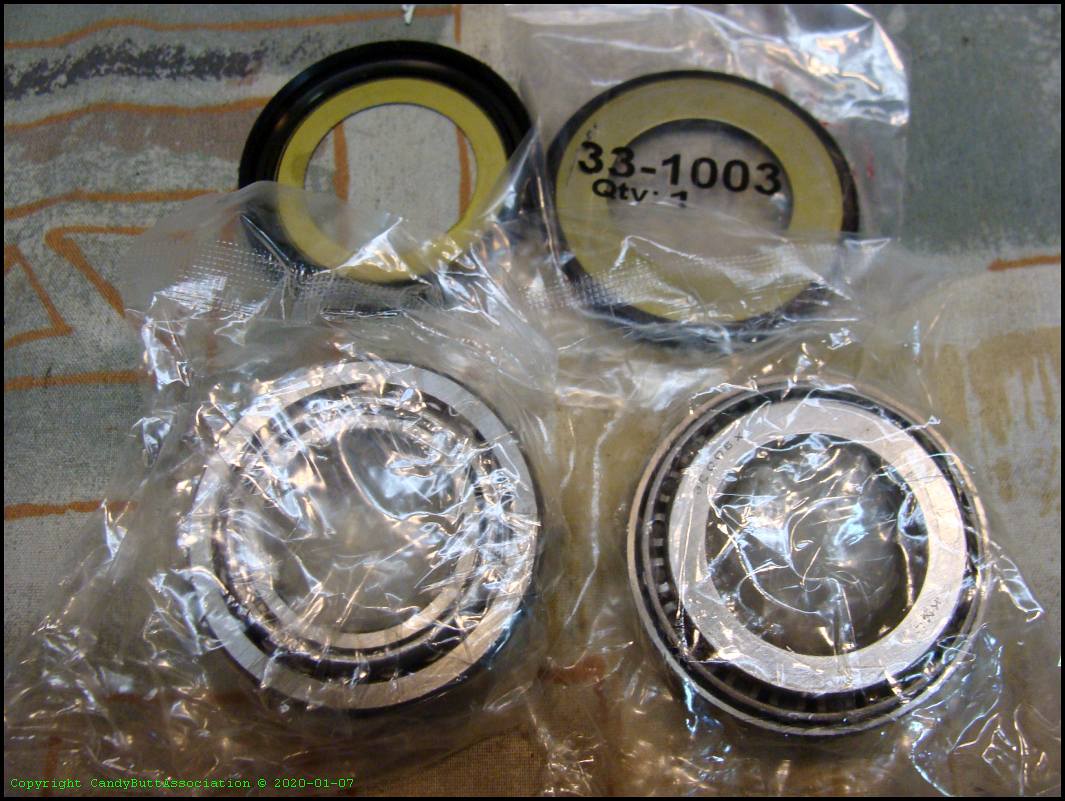
x
x
x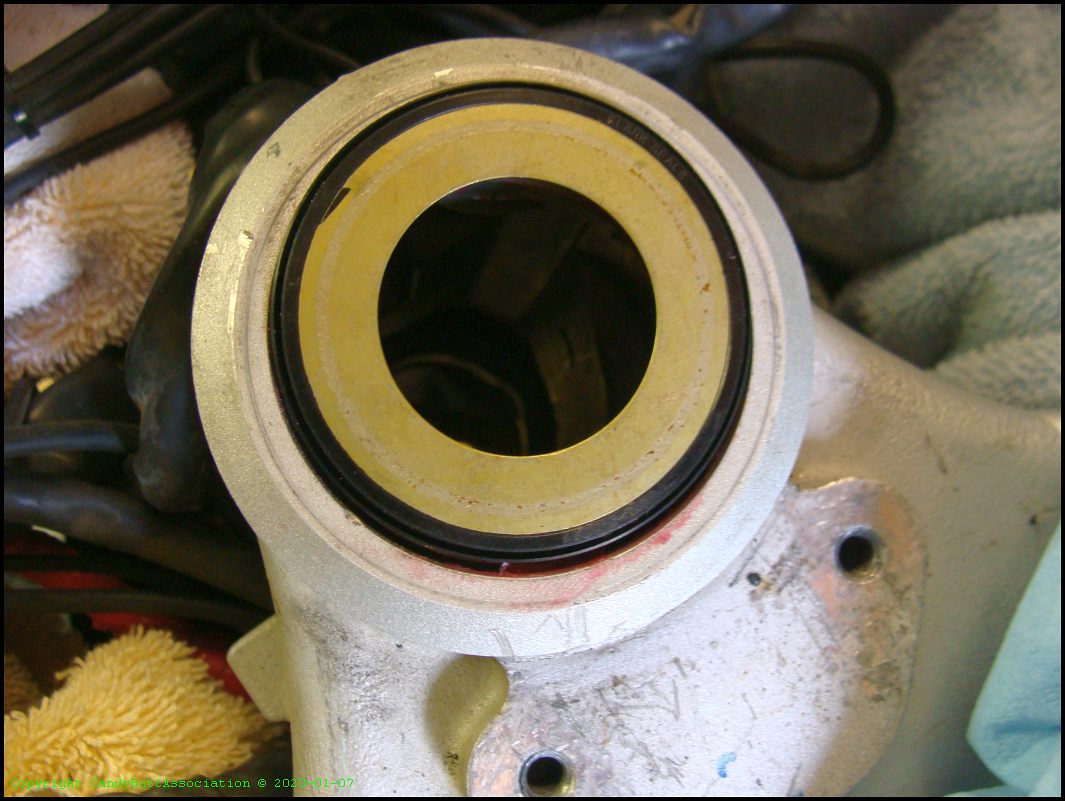
x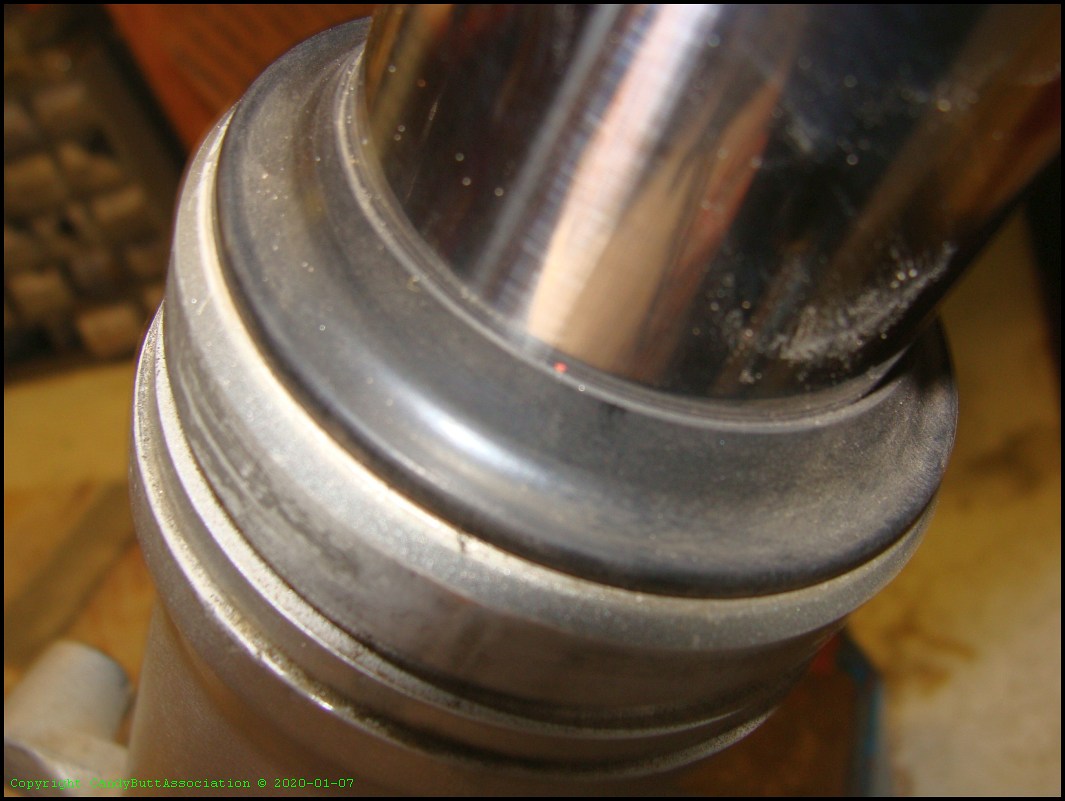
x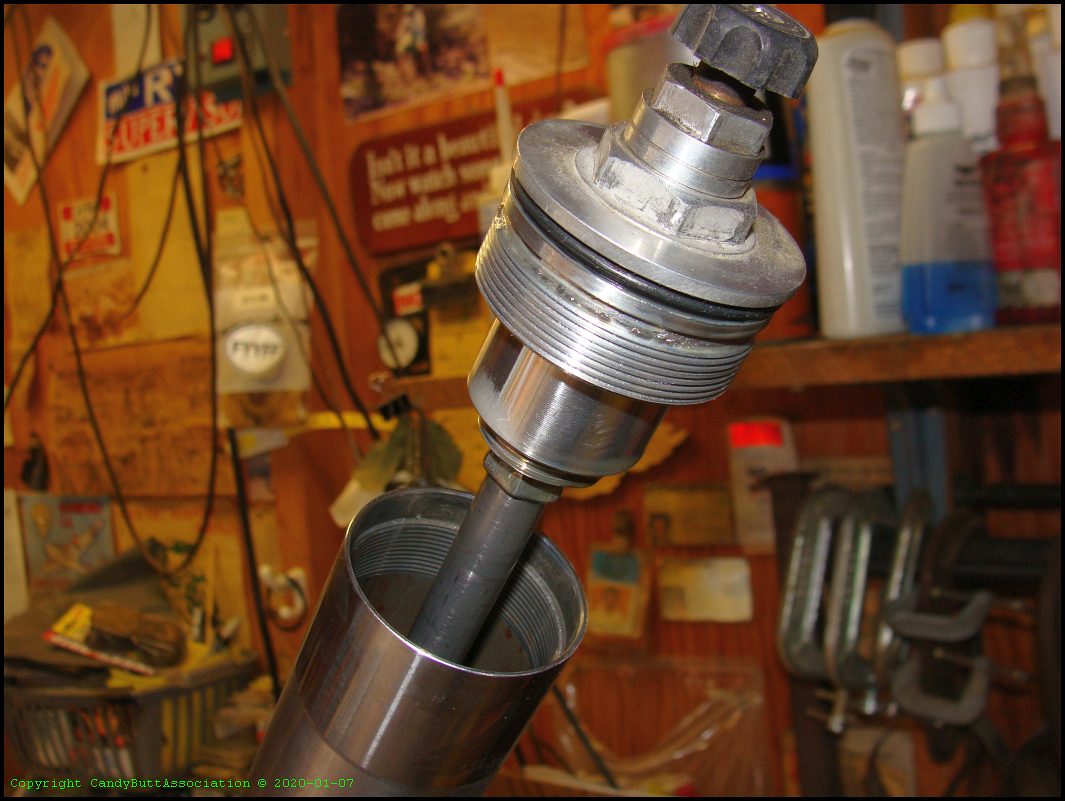
x
x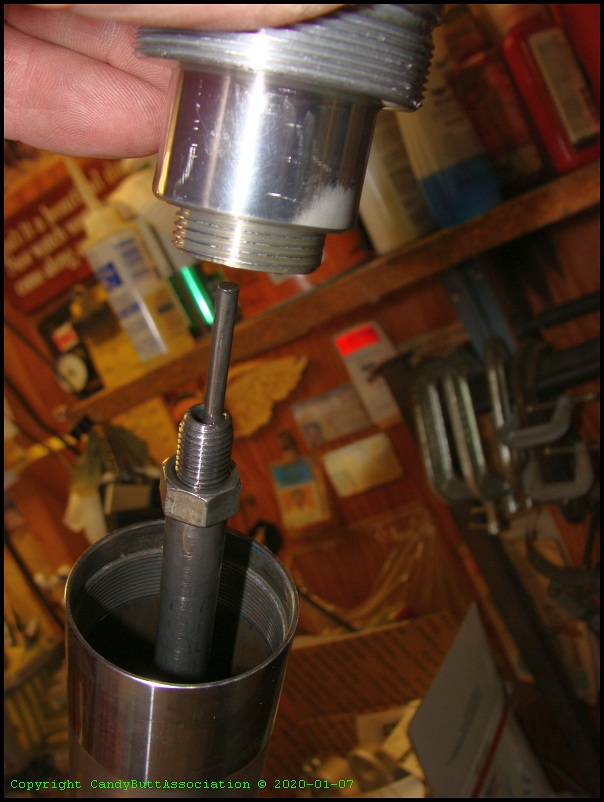
x
x
x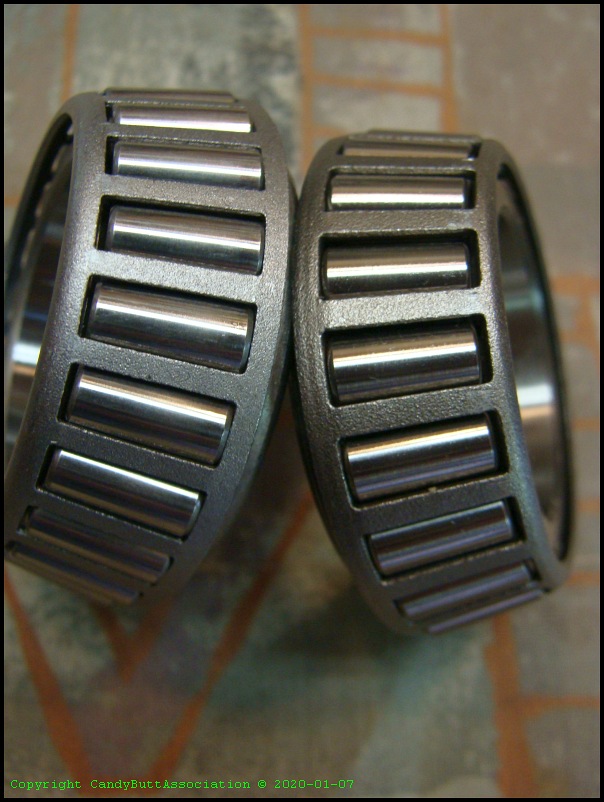
x
x
x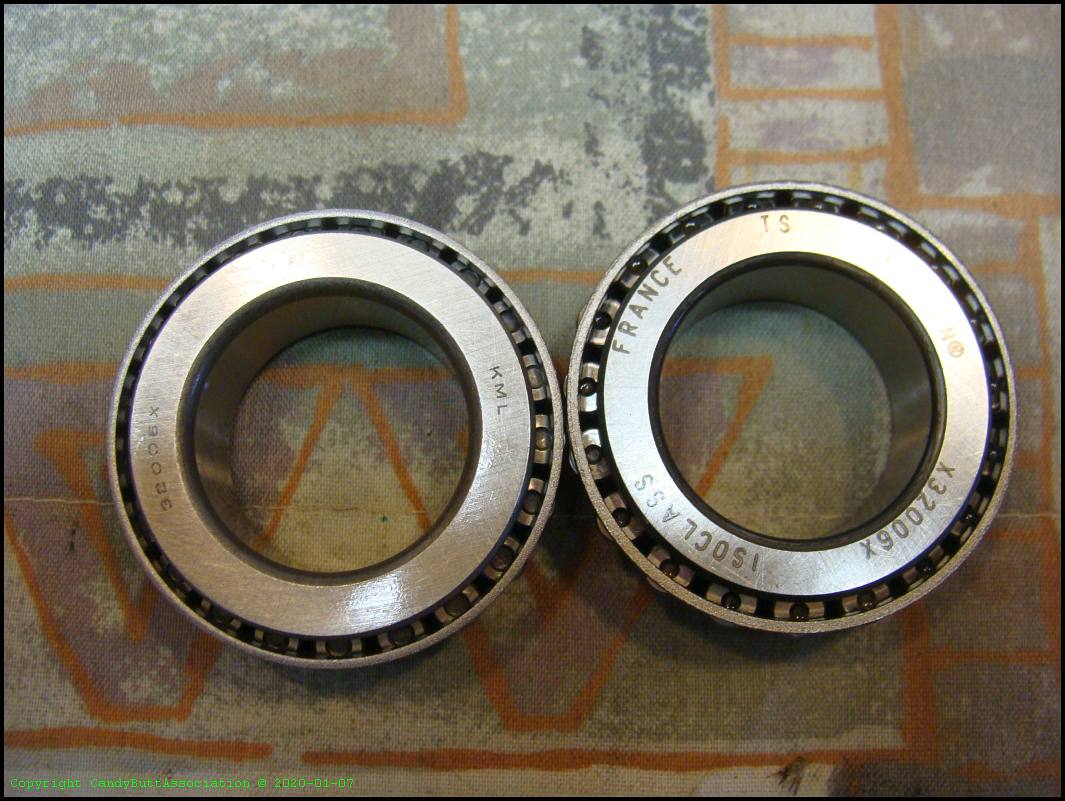
x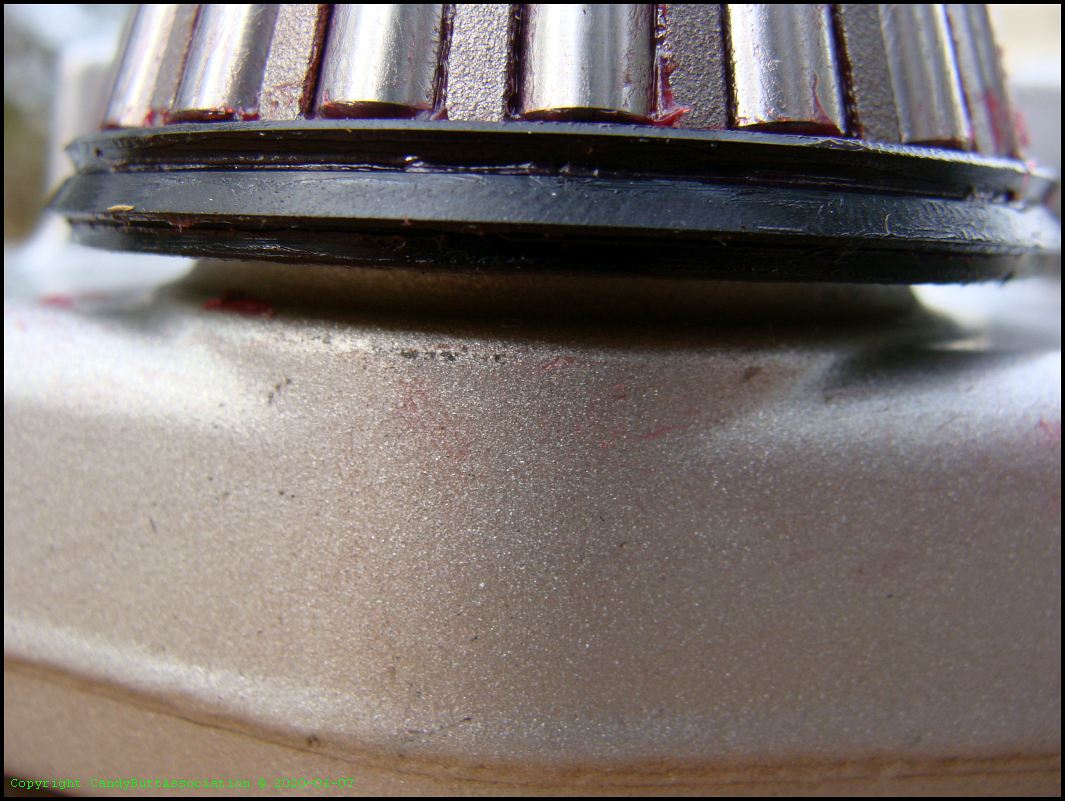
x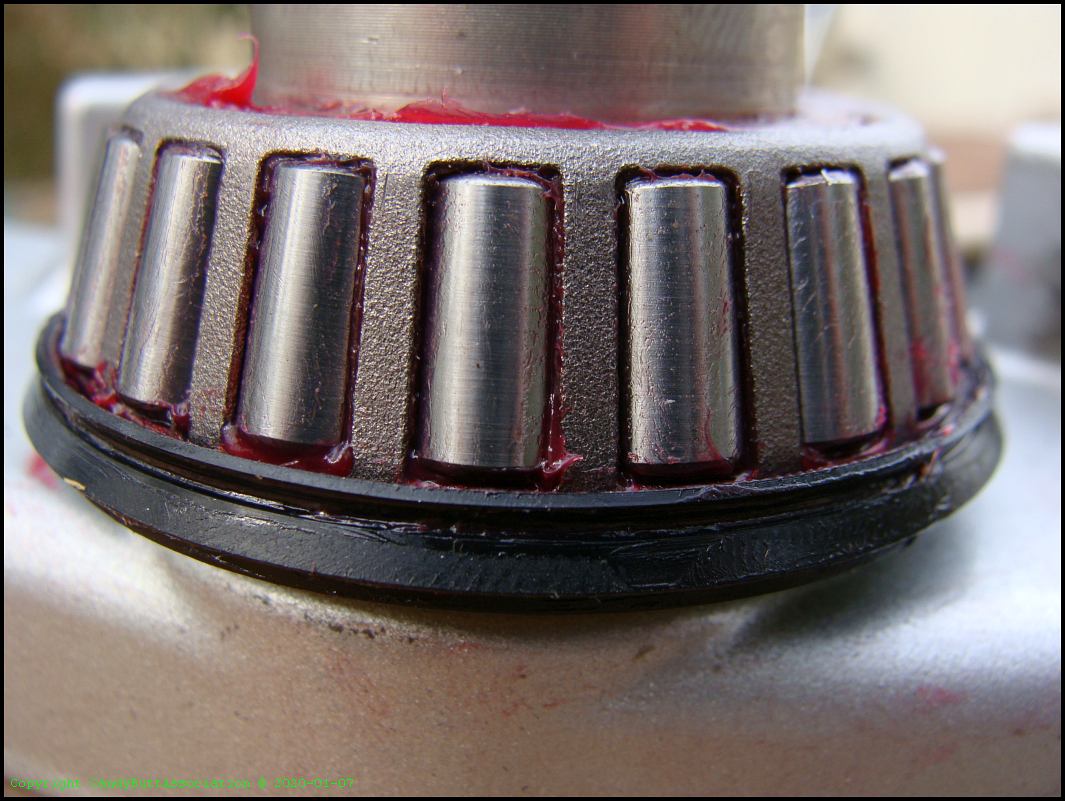
x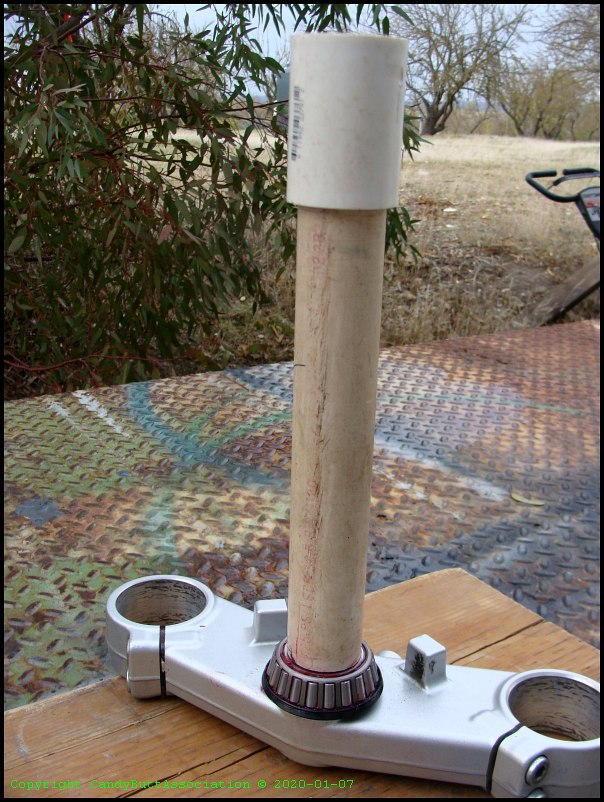
x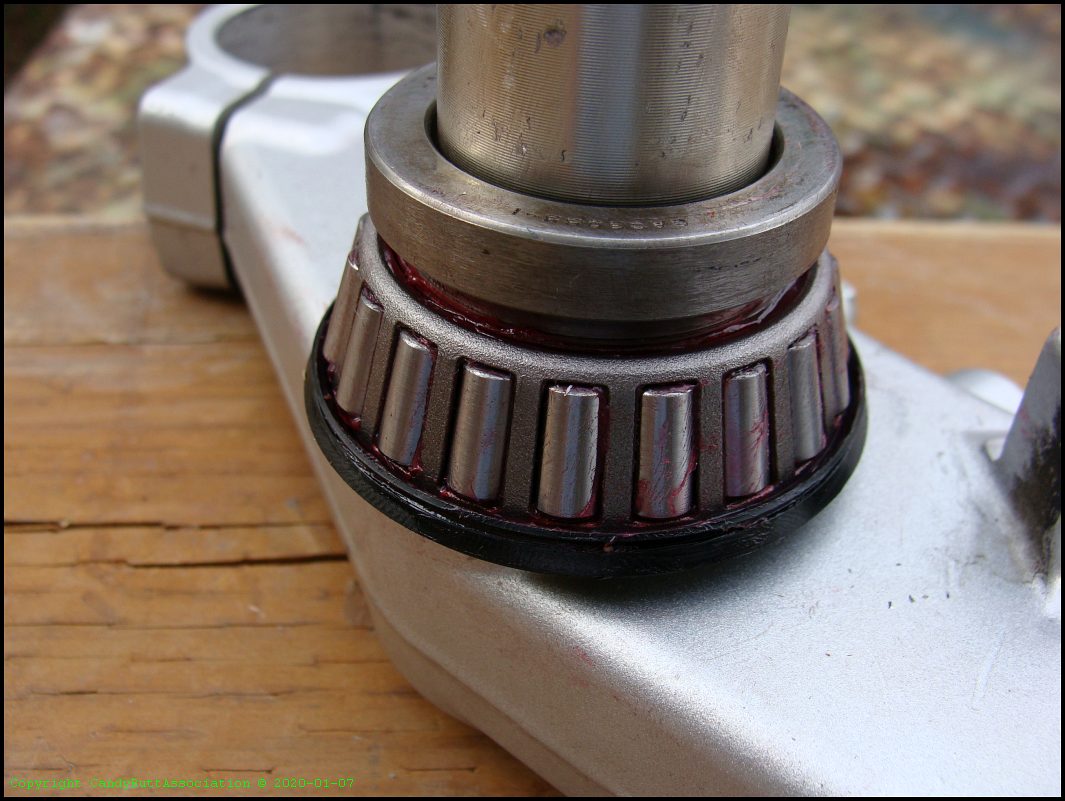
x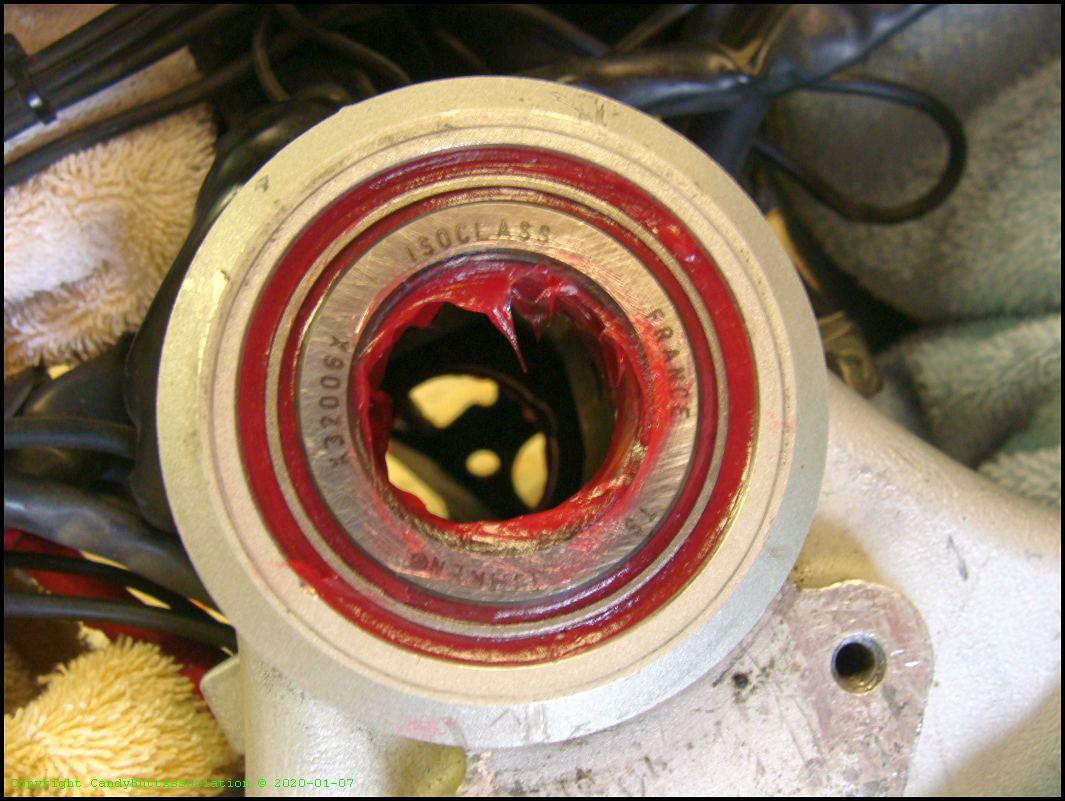
x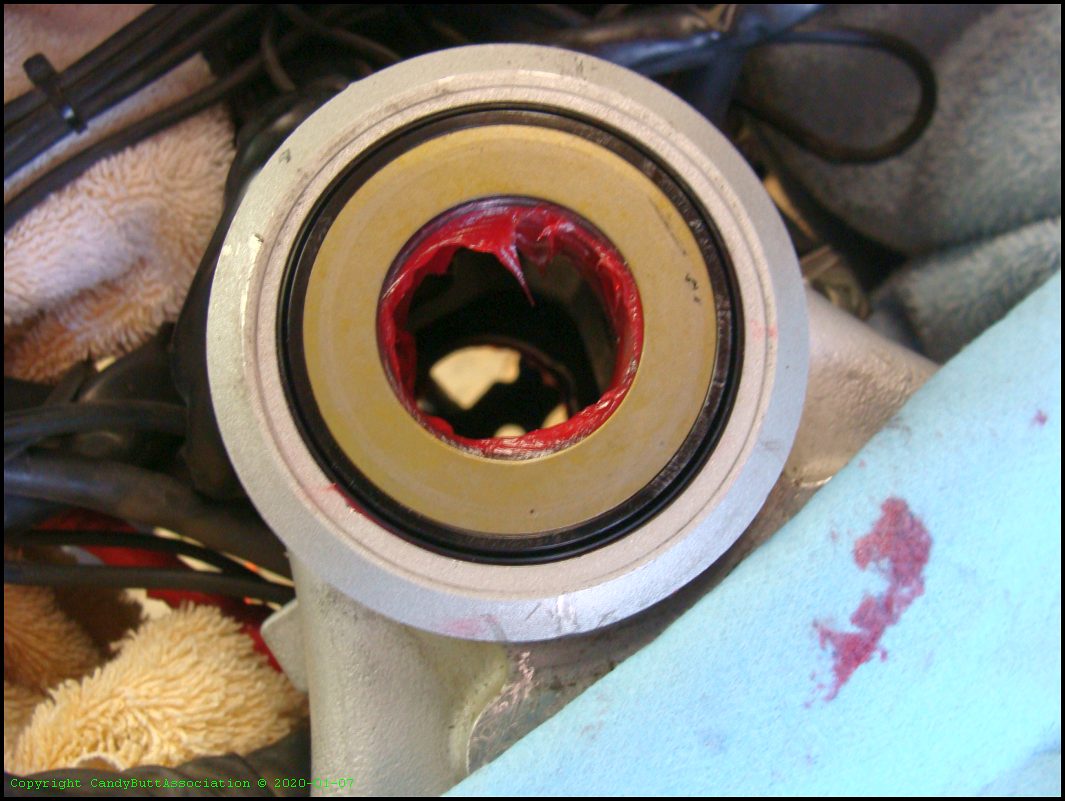
x
x
x
x