Photo's of how to get under the tank to do the TBS (Throttle Body Sync), and/or Throttle Return Spring, and other things (plugs etc.)
Documented for Gen II (2006 and 2007)
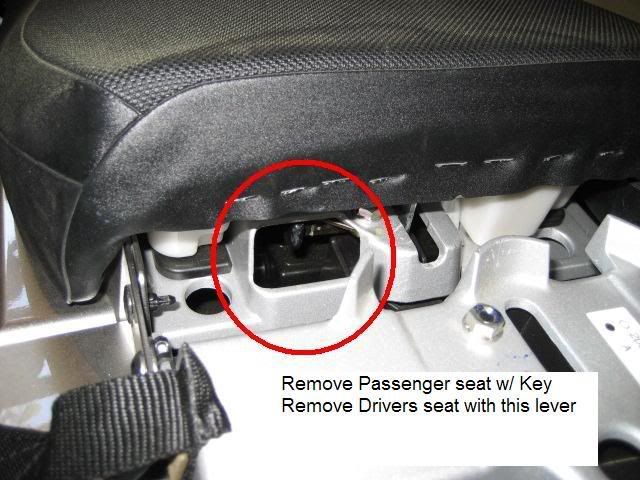
(1) Remove passenger saddle using the key, and drivers saddle. To remove the driver's saddle, there is a lever to the aft of the seat
Remove the screw (4mm hex key), and plastic rivet
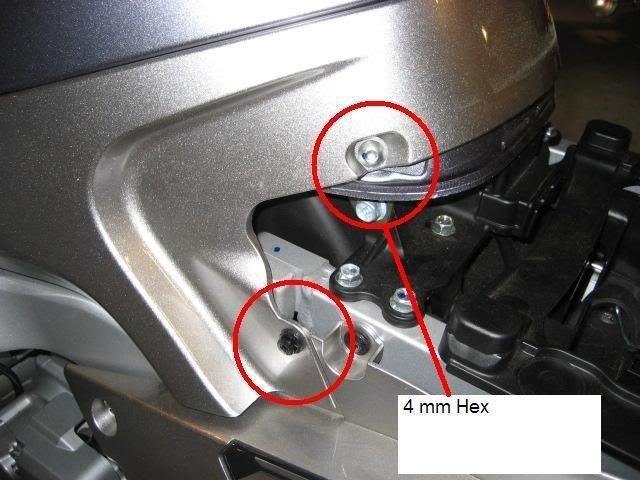
Remove the plastic tank cover by pulling out on the forward edges, then slide back
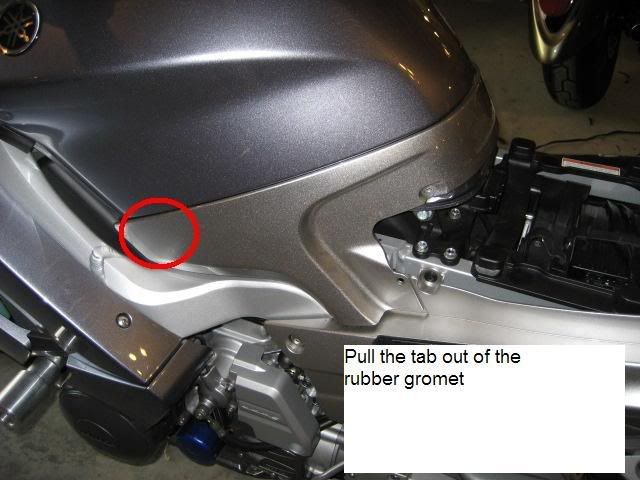
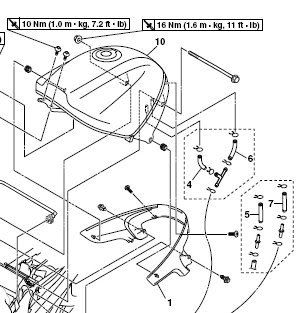
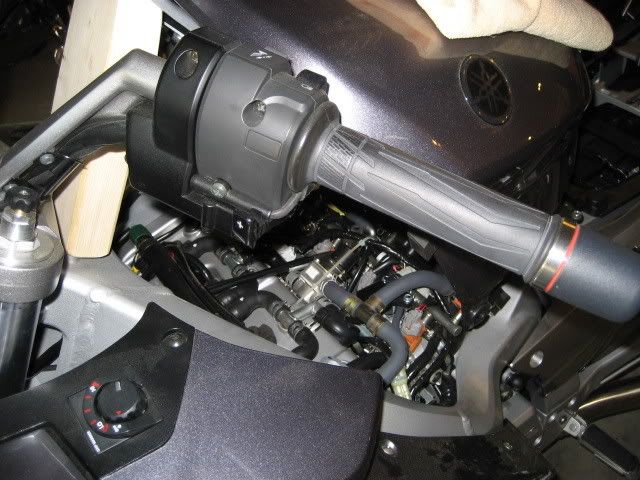
Top view of what you're pulling out of what:
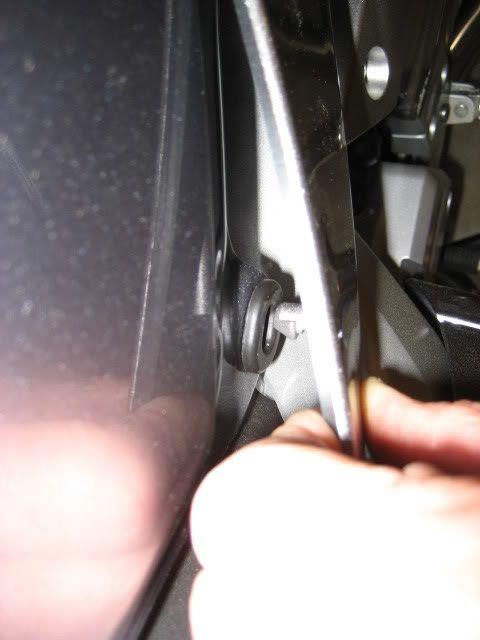
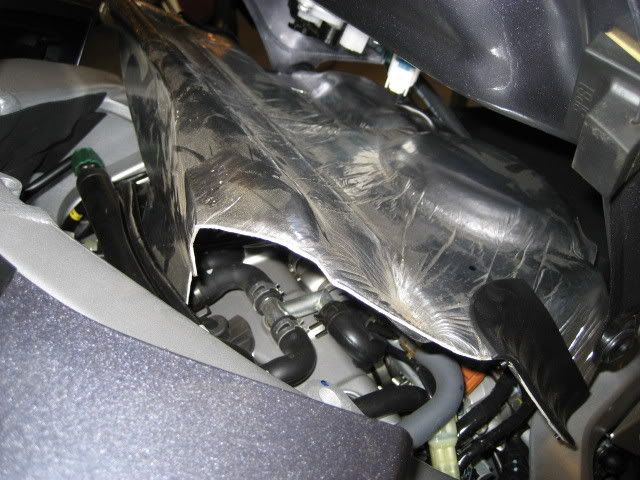
This is what's under there -- you have to slide the cover AFT to remove it.
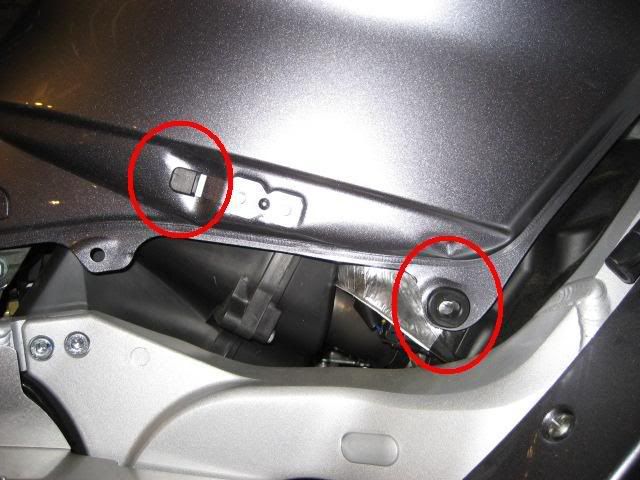
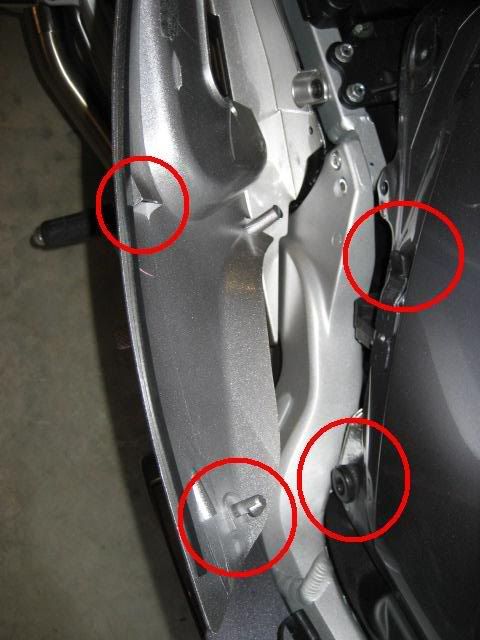
Picture of both the plastic tank cover and where it mates:
Remove the 2 bolts holding the tank on. Cover the tank with a rag to keep from chafing or chipping the paint
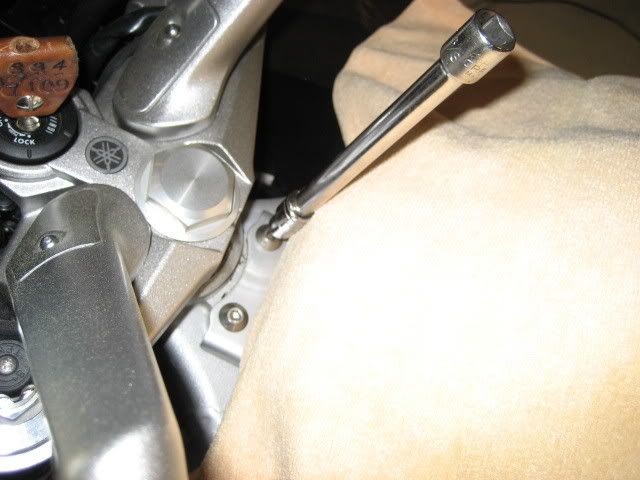
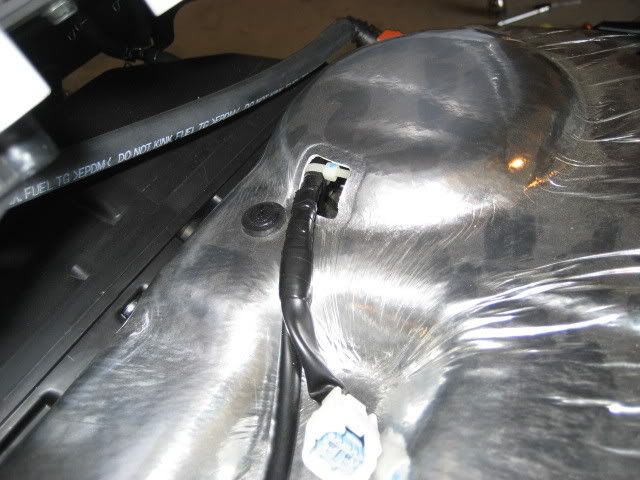
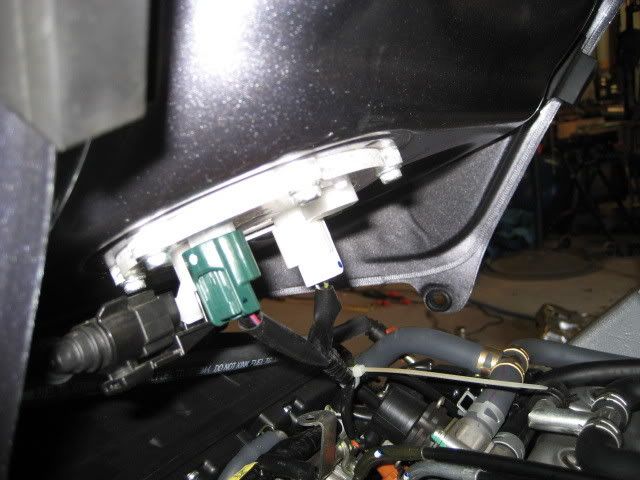
Next, prop the tank up slightly, and disconnect the 2 electrical connectors on the bottom of the tank (circled in the photo below)
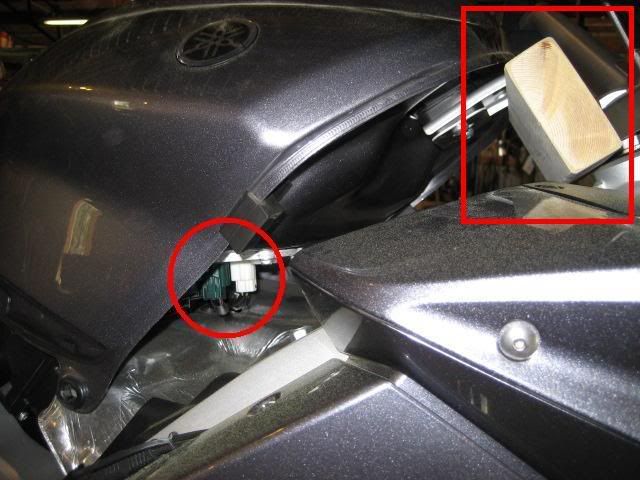
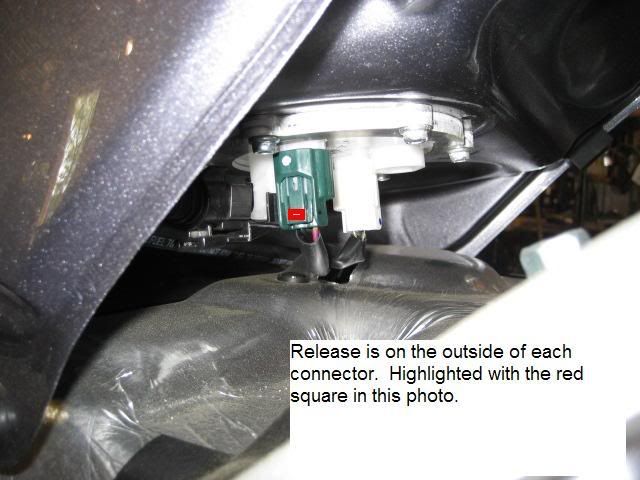
The release is on the outside of each connector (right side on the green connector, left side on the white connector viewed as you would be sitting on the motorcycle):
Push where highlighted to release the connector locking mechanism:
Now that the connectors are loose, you can raise the tank higher:
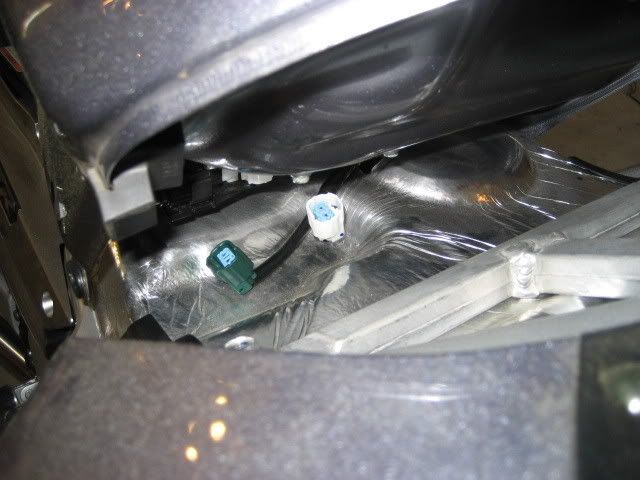
Tank raised higher (2X4 trimmed to hold up the tank. Also I've used a bungee cord from the holes back to the passenger grab rail -- just use something to hold the tank up and that is stable.)
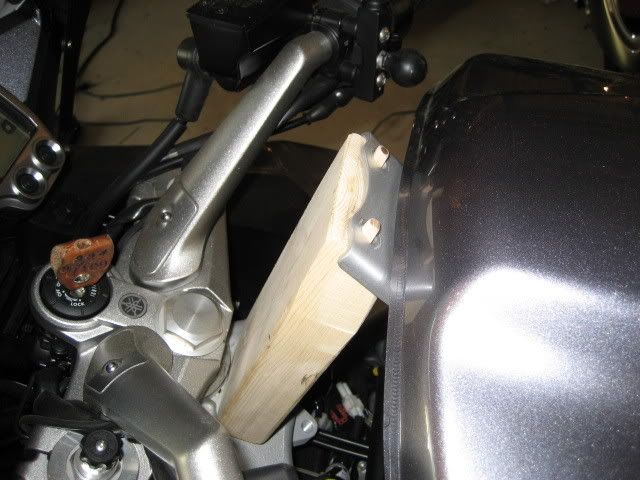
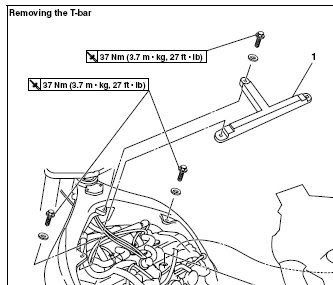
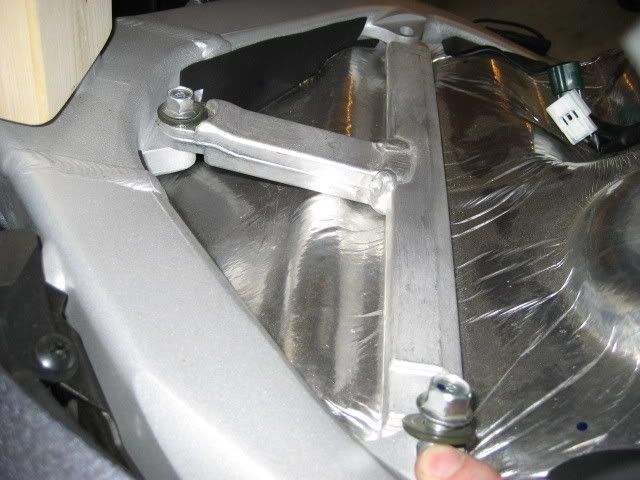
Viewing under the tank -- next step -- remove the T-Bar

Note that the washers are not captive -- make sure you don't loose them:
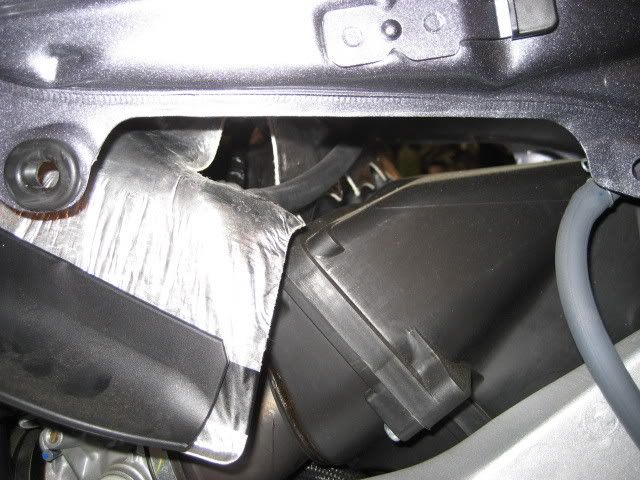
Once the T-Bar is removed, remove the heat shield. Note the plastic rivet just to the left of where the harness exits -- remove that, and the heat shield can be removed.
Remove the aft side by lifting it up to clear:
Then, fold the forward edge under, and remove by pulling it out forward:
Removed view:
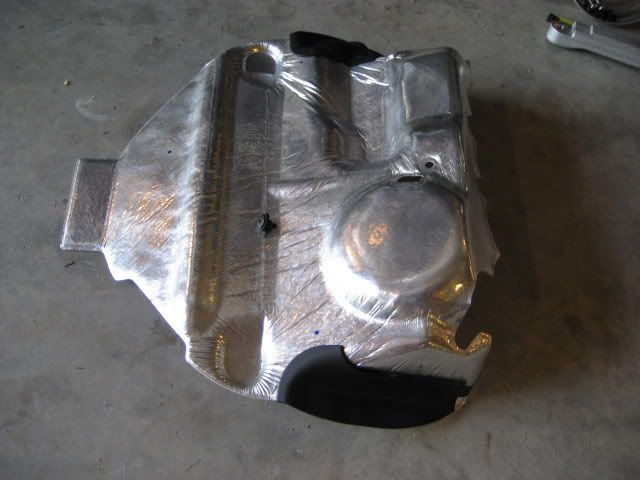
Orientation view (heat shield removed):
To do the Throttle Body Sync, you will have to connect the 2 electrical connectors removed to facilitate removal of the heat shield:
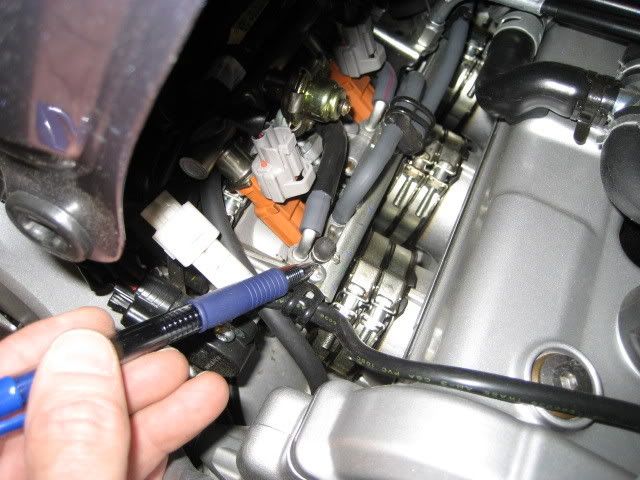
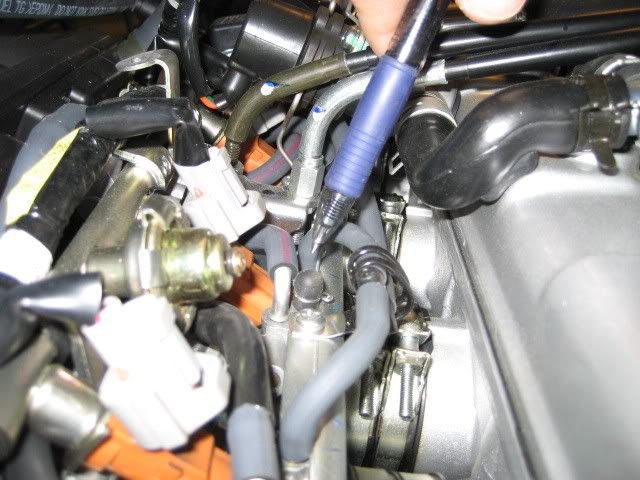
The following 4 pictures show the location of the cap that must be removed to connect your vacuum gage (carb stick, etc.)
Pictures are the rightmost first as you sit on the motorcycle:
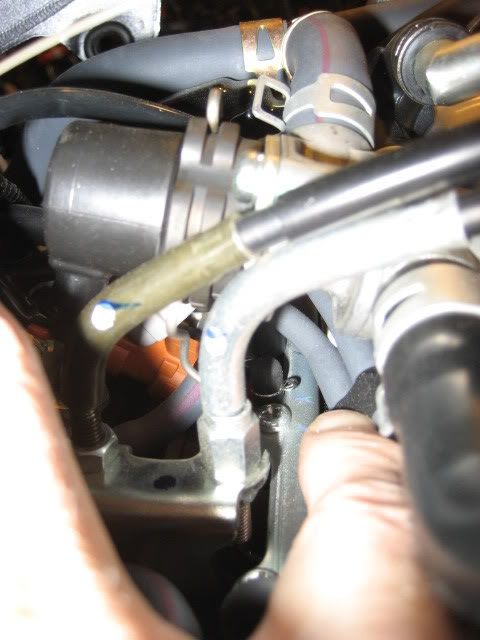
and lastly the one on the left:
----------------------------------------------------------
There are numerous posts on great techniques to do the actual TBS -- so I'll skip repeating the adjustment.
----------------------------------------------------------
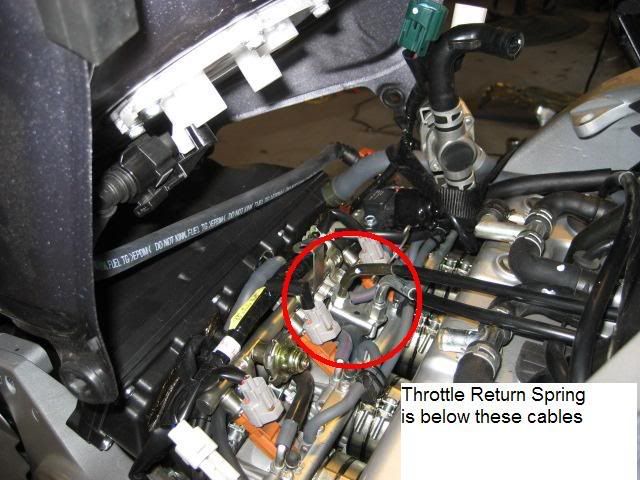
If you want to get the Throttle Return Spring released -- continue to read...
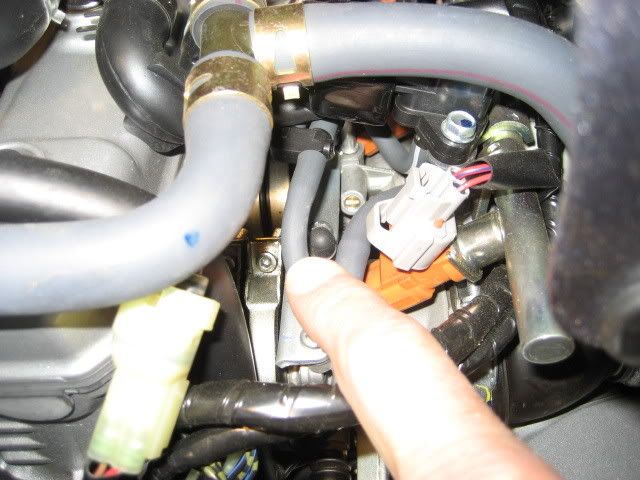
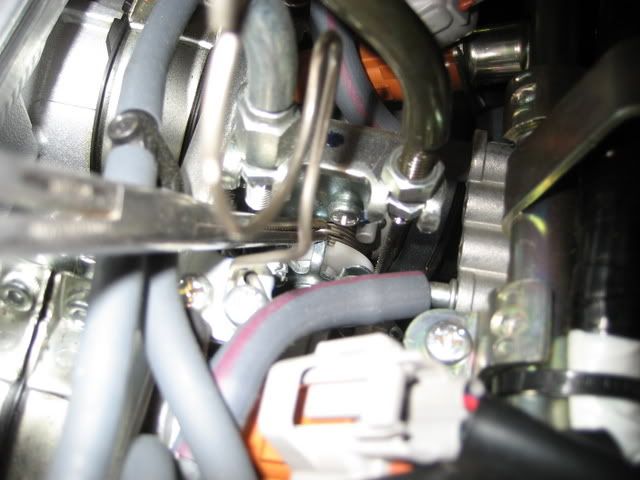
The TRS is in this area:
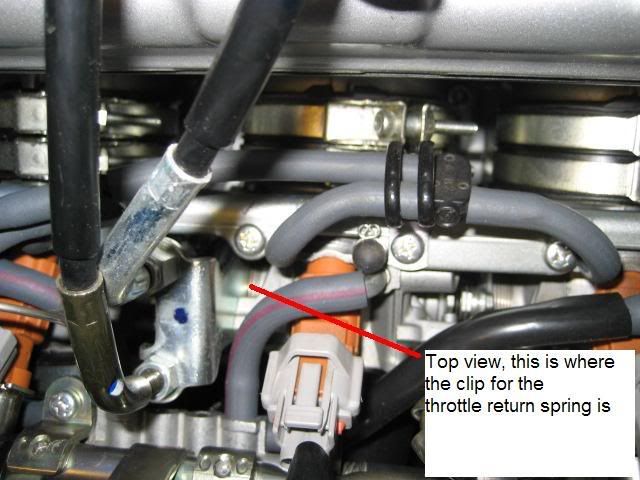
Top View:
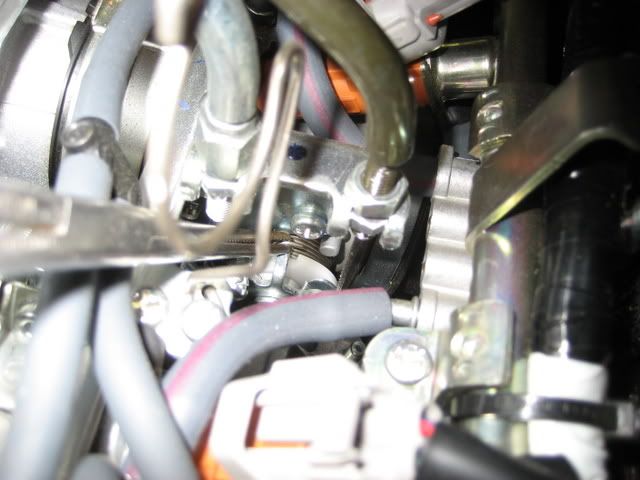
Close up view -- note that the throttle is completely closed -- it makes it difficult to see in this shot.
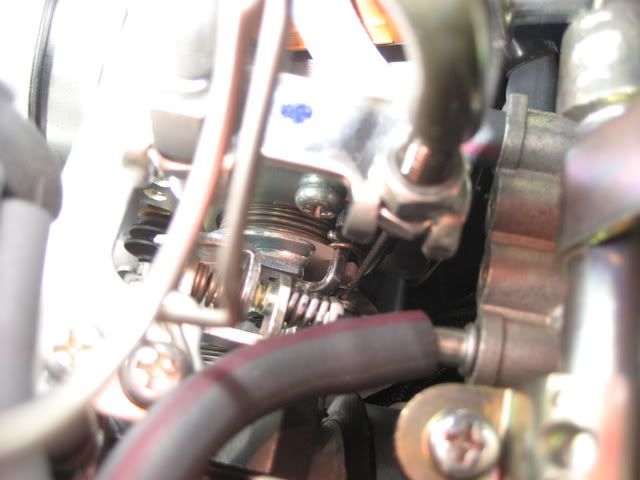
If you move the throttle with the grip just a little, it is easier to see and get the spring tang from the hook.
You can see the spring tang just below the phililps head screw you see in the photo.
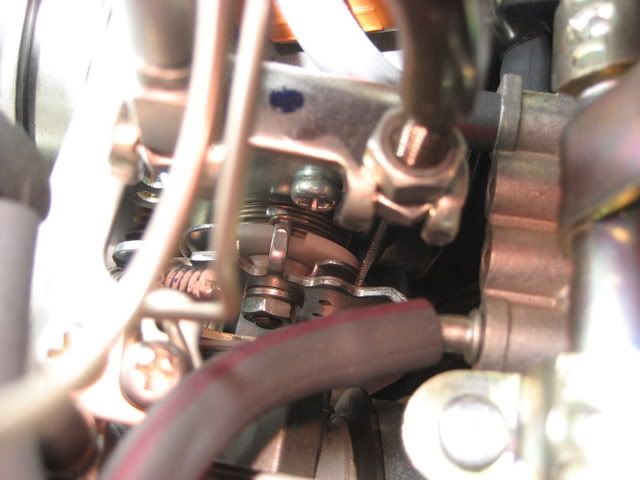
Get the edge (I used a hemostat), and remove it from the holding point.
As you slide it off the hook, it should unwind 1 revolution, and catch on the same hook that you removed it from:
Put everything back in reverse order,
and torque per your owners manual. 7.2 Ft-LB for the 2 forward tank fasteners that hold the tank to the frame.
Torque T-Bar bolts to 27 Ft-LB.