- Home
- Forums
- Ride Reports
- MotoBikes
- Restorations
- Wrenching
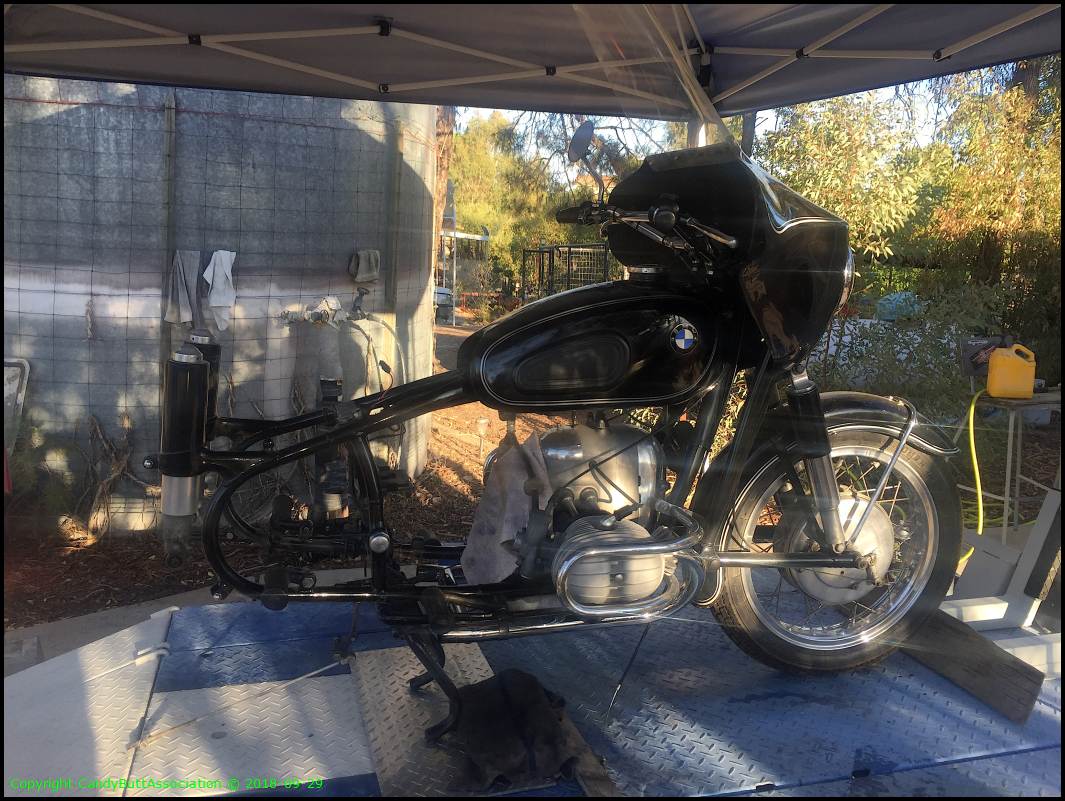
- 1963 BMW R69s
- 1969 BMW R60/2
- 1978 Yamaha 125
- 1979 KZ1300
- 1979 Kz1300 - Bob's Beauty
- 1981 CBX SuperSport
- 1981 Kz1300 Model A3 - Chocolatie
- 1984 Ford F250 XL
- 1987 ATK
- 1987 MowieMowie
- 1987 RotoTiller
- 1988 Honda Accord Lxi
- 1990 BMW RT100 - Barrie
- 1991 Harley Davidson FLHTCU
- 1992 Johnnie Deere
- 2000 YZ426
- 2002 Dodge Ram
- 2006 Carson RacerX Trailer
- 2006 Host Camper
- 2006 KrZy8
- 2007 Wabs
- 2012 KTM 690R
- 2013 Naomi - FJR 1300
- 2014-08-01 Air Compressor - Sears
- 2017 Kioti
- 2018 Toy Hauler
- 2020 Honda Fit
- 2021 Miscellaneous
- 2024 Log Splitter
- 2024 NeoDyne MC Lift
- 2050 test
- Lil Trlr
- Eats
- RIP
- PC Not
- Cages
- Test
- FJRF Best
- For Sale
Candy Butt Association
World's Wimpiest Riders
You are here
2018-09-28 FinalDrive and Tranny Leak

Forums:
2018-09-28 Final Drive and Tranny Leak
I should have known better than to put a 'rebuilt' transmission, rebuilt over, what, 20 years ago, into Uncle Dutch. Yep. She's leaking onto the 'shelf' below the rear engine / tranny input interface.
Making things worse, UncleDutch also has a final drive (FD) leak that is filling the Akront 'shouldered' rim.
So this this thread is about fixing both issues.
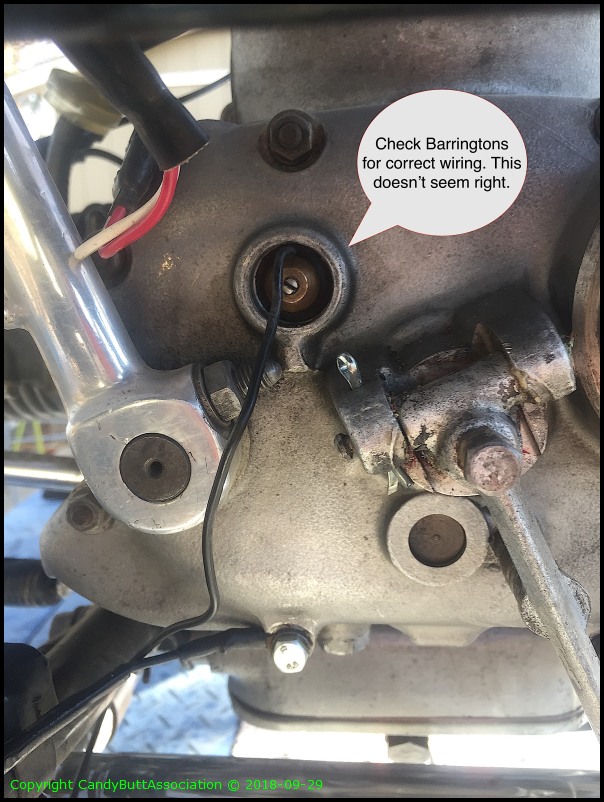
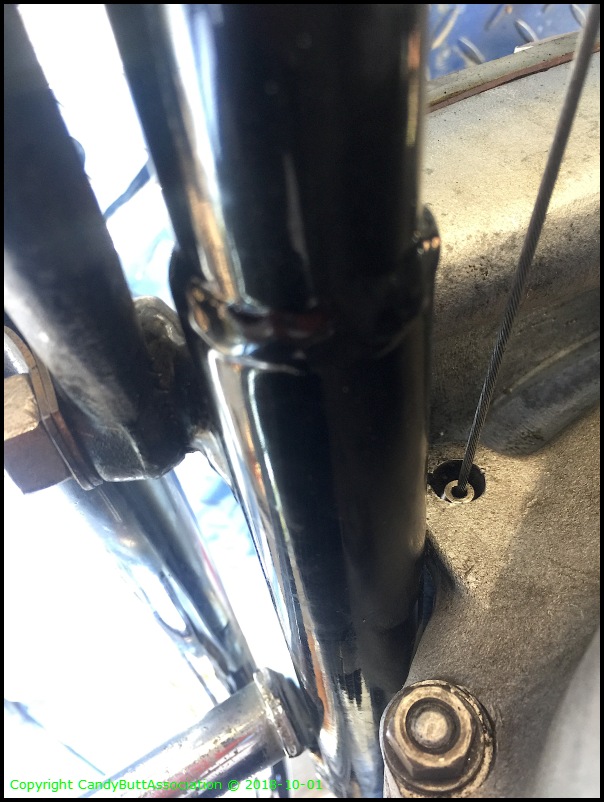
Leaking through the vent hole. This vent hole goes into the final drive hub, splined area that connects the drive line to the rear wheel. This area should be grease only. Meaning the leak is coming past the input pinion seal, or through the splines, or through the seal thread backer upper thingie-a-ma-bob.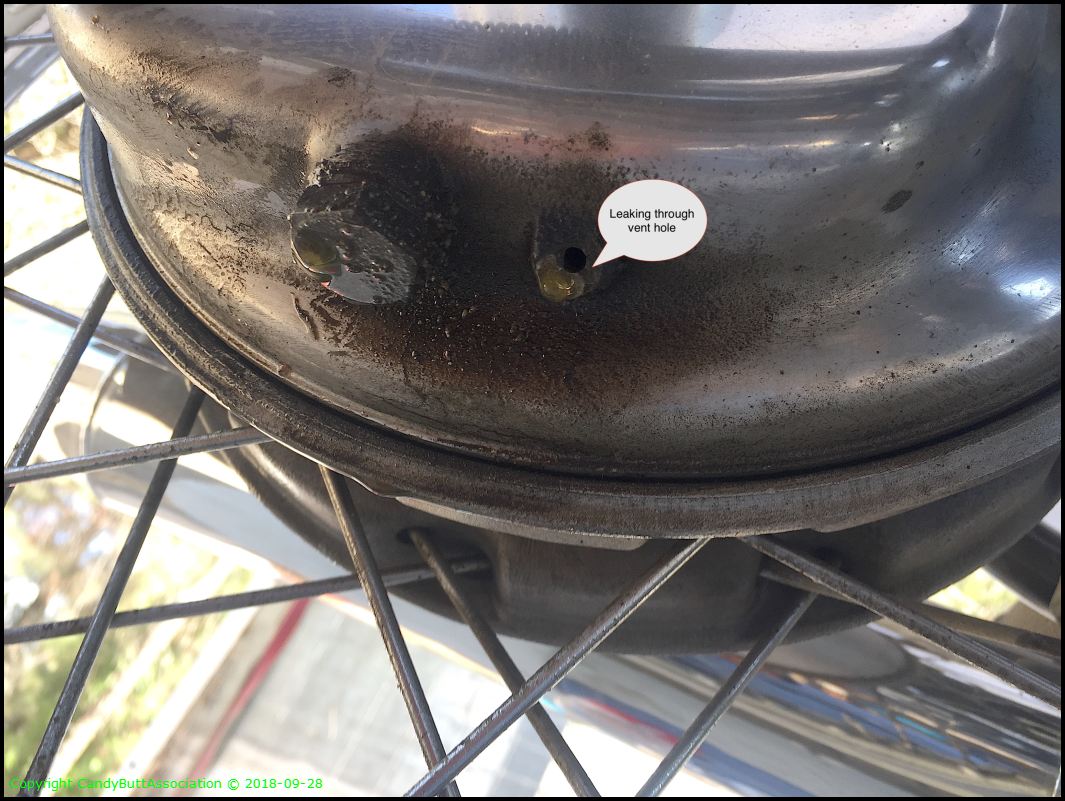
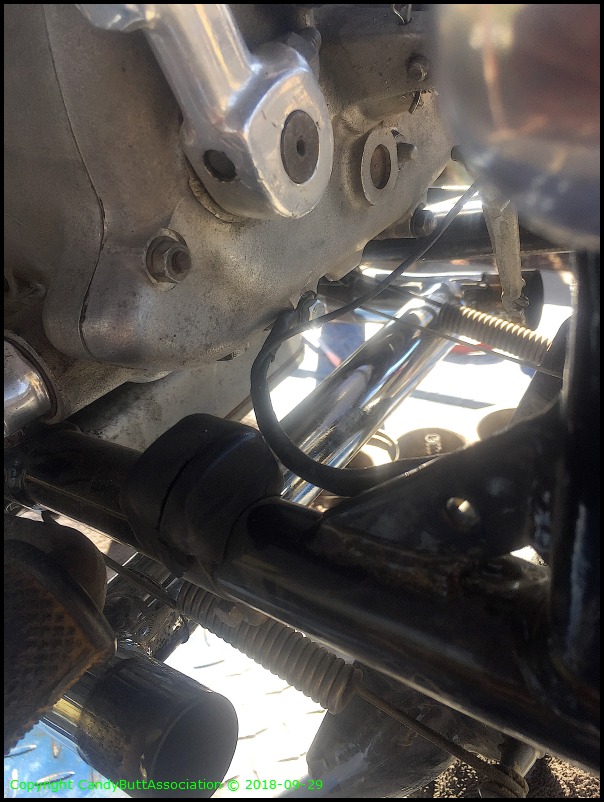
To pull the tranny, the rear wheel, seat, rear fender must be removed. This is the wiring for the rear brake and tail light. Must be disconnected before fender can be removed.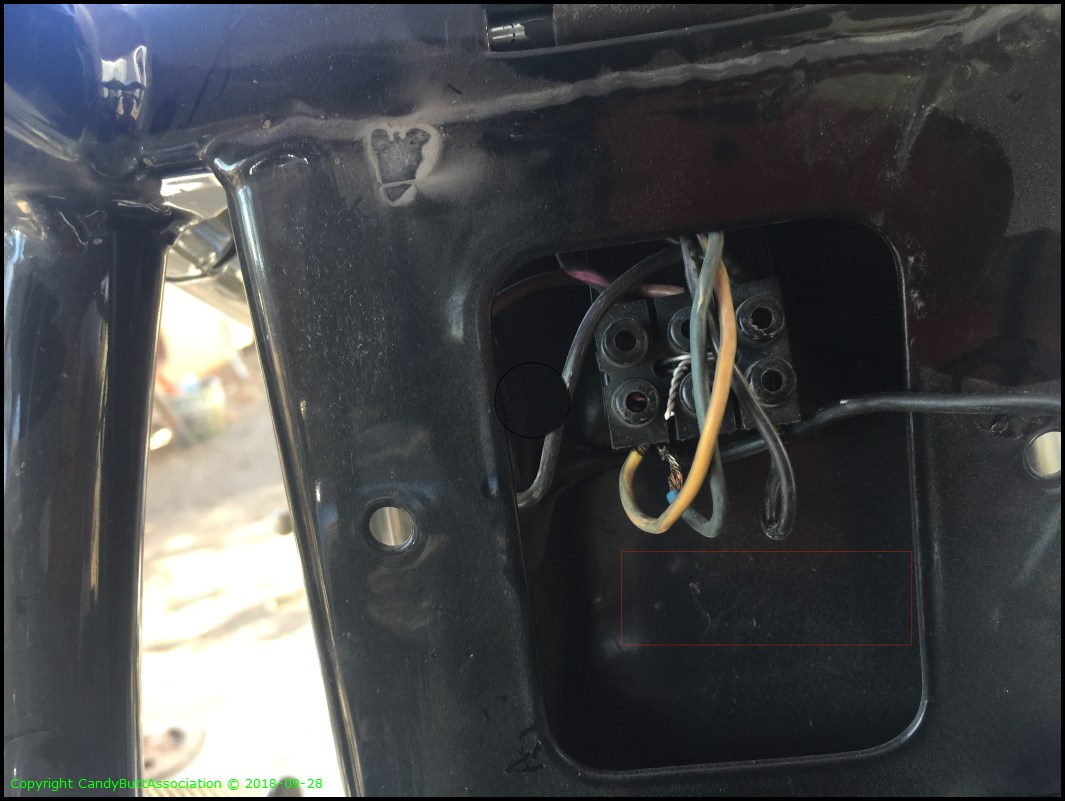
Finally getting somewhat less than stupid and documenting before removing...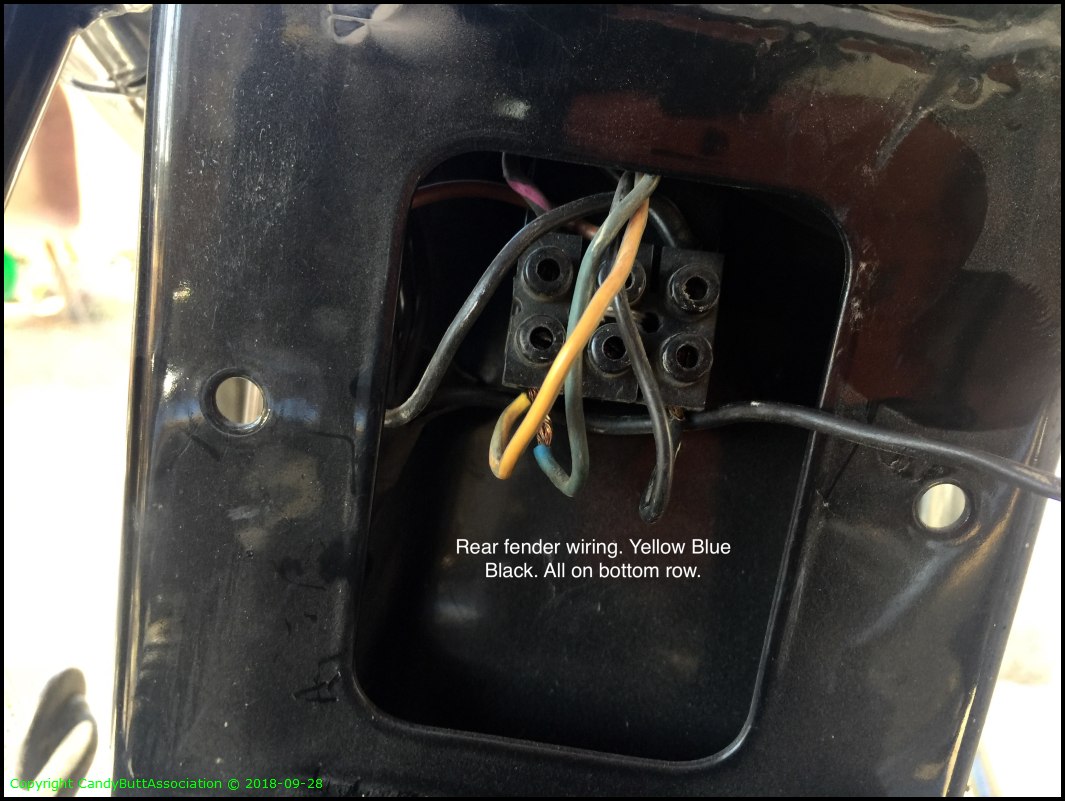
Getting closer, sweet Miss Molly Dog supervises.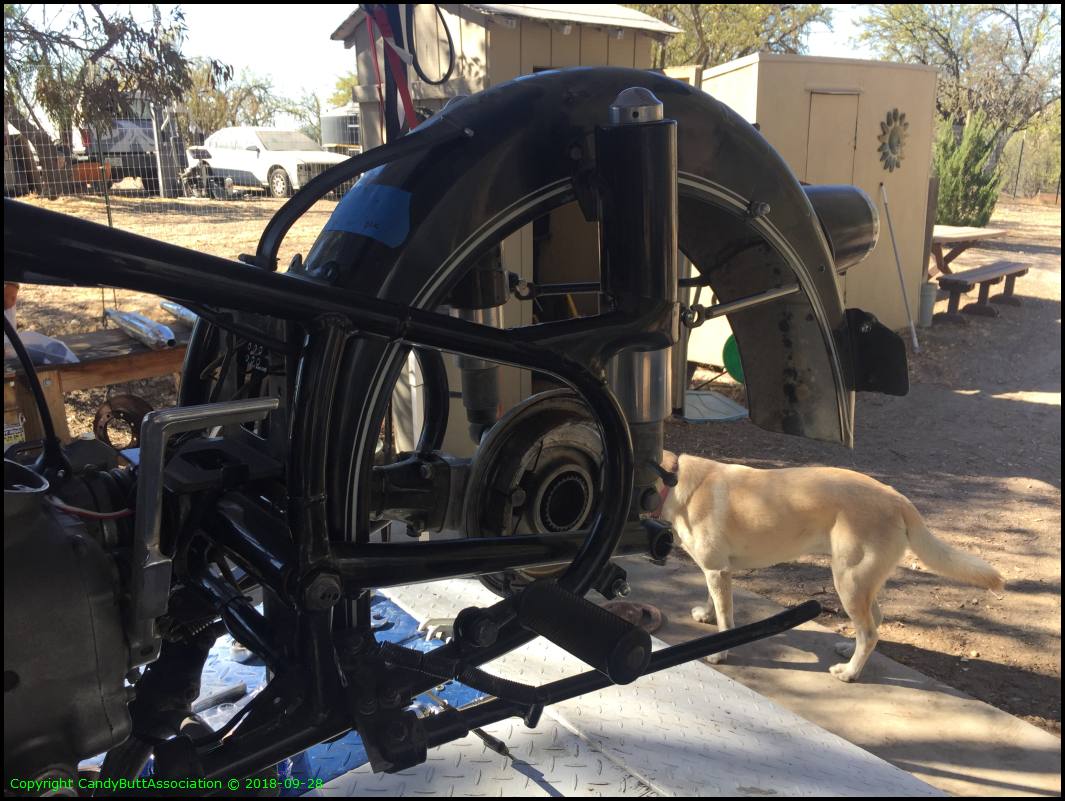
Next step, remove the swing arm. That will be tomorrow. Need to measure the clearances as the swing arm must be centered to prevent pre-load on the front u-joint.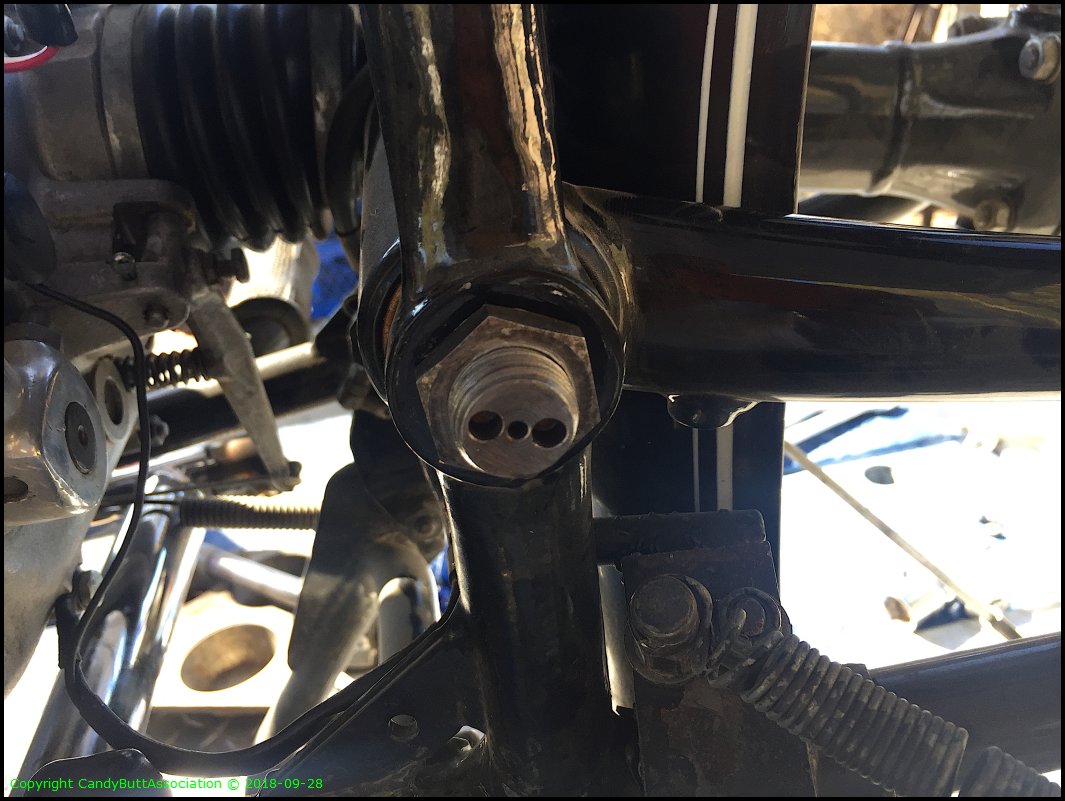
Pic to document the wiring, rear fender into terminal block.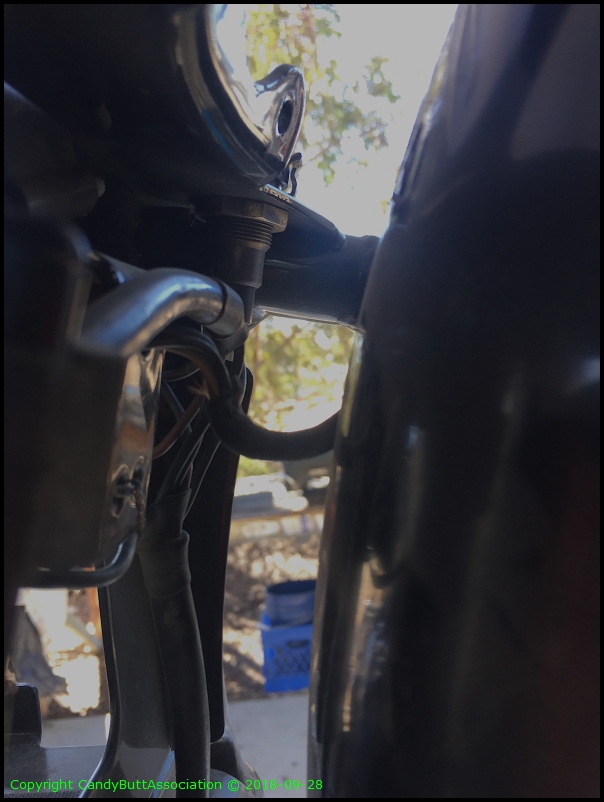
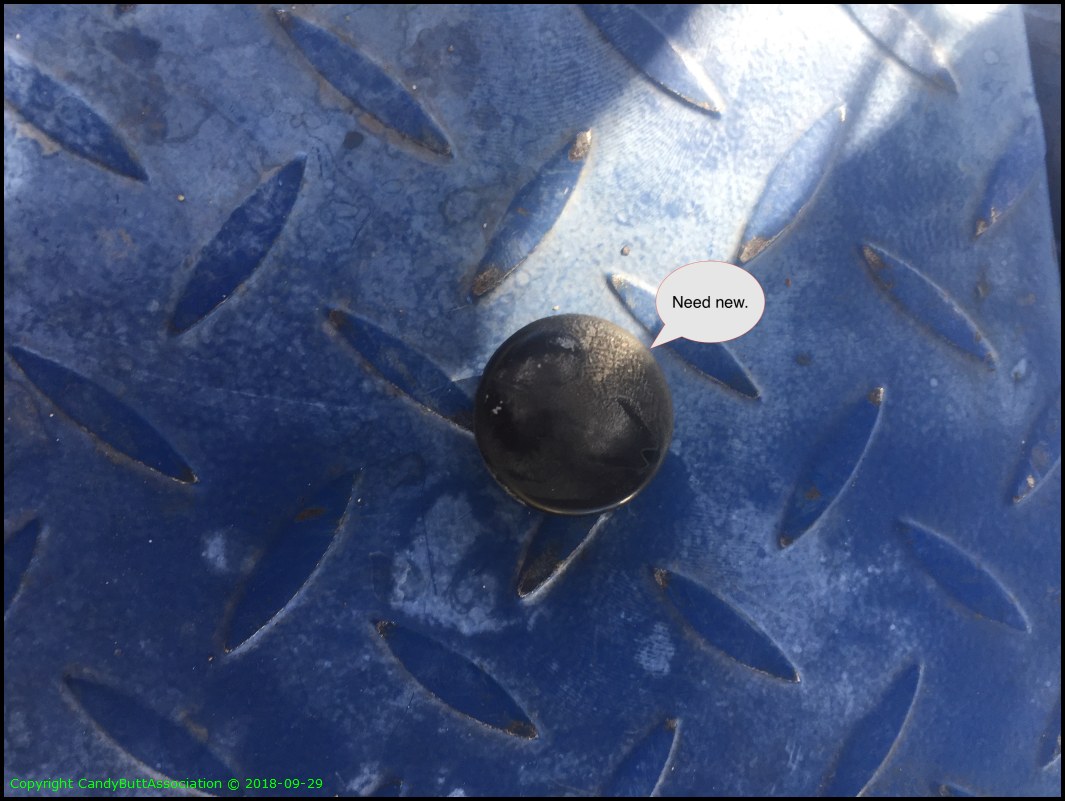
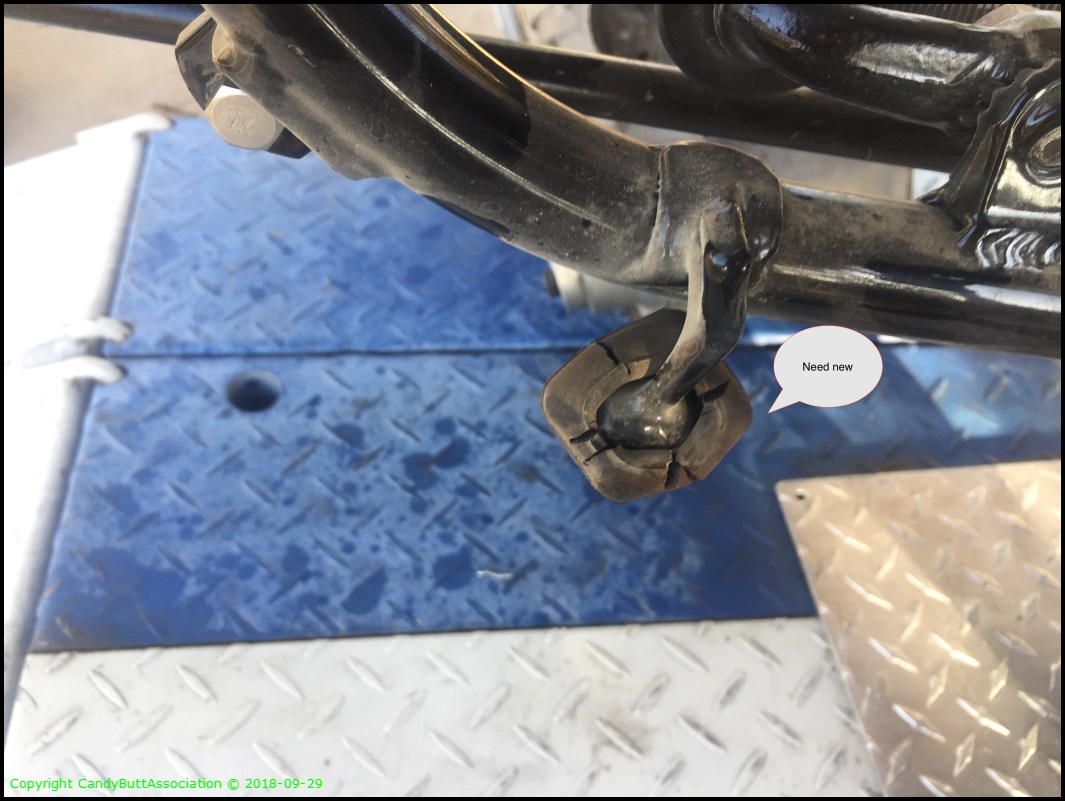
Going to replace the boot too. It's *already* cracked and was new not too long ago.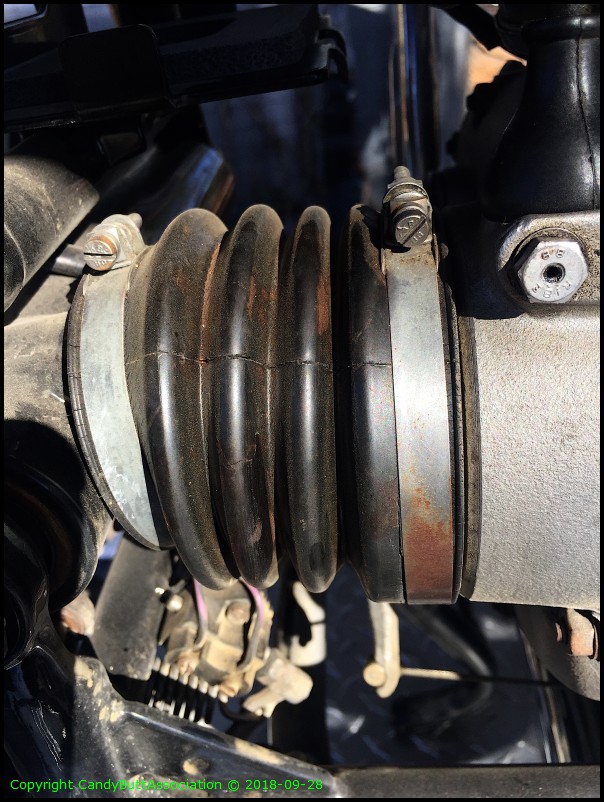
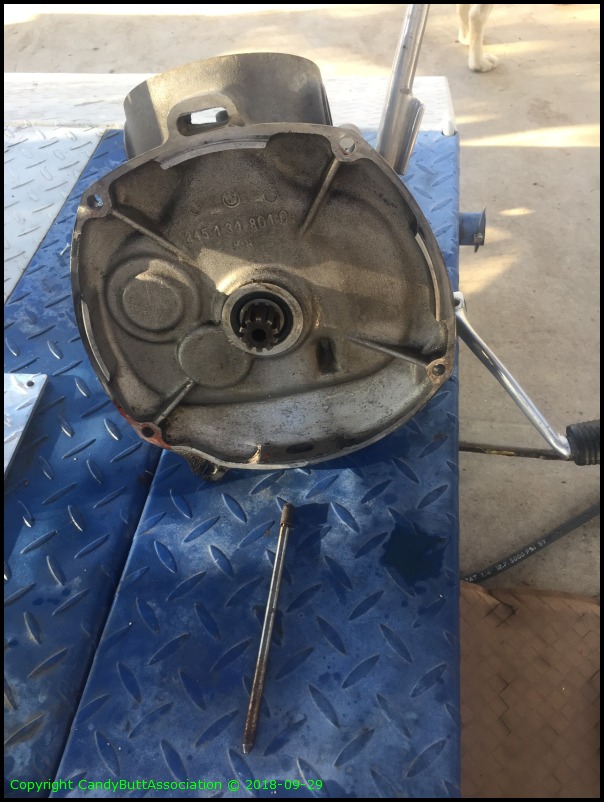
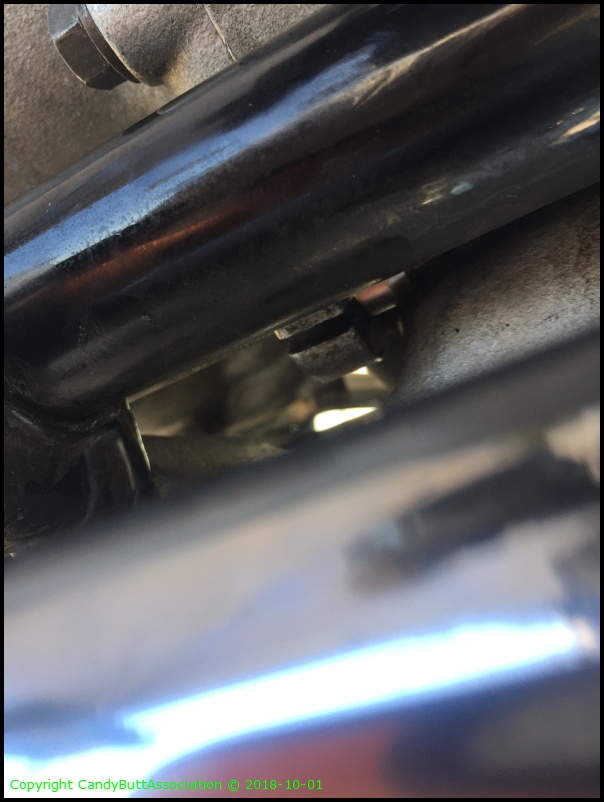
Looking into the final drive input. I think this is where the leak is.
I poured 30 wt oil into the splined area and it immediately ran out the weep hole..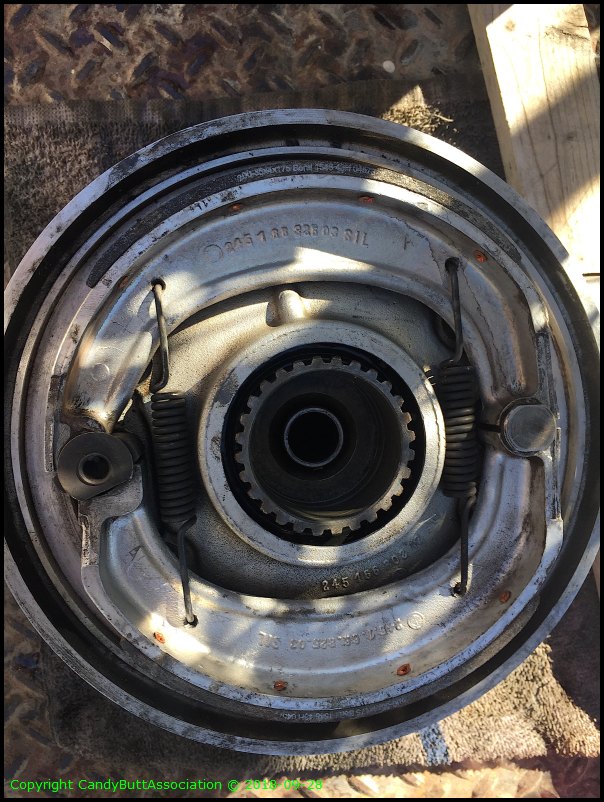
Theme by Danetsoft and Danang Probo Sayekti inspired by Maksimer
2018-09-28 From Scotties Workshop
BMW /2 Swing arm leaks, final drive leaks
From Duane Asherman's most excellent site!
The three paths for oil leaking into the final drive are:
delete me
delete me
2018-09-29 Swingarm and Transmission Removal
edit
2018-09-29 Swingarm and Transmission removal
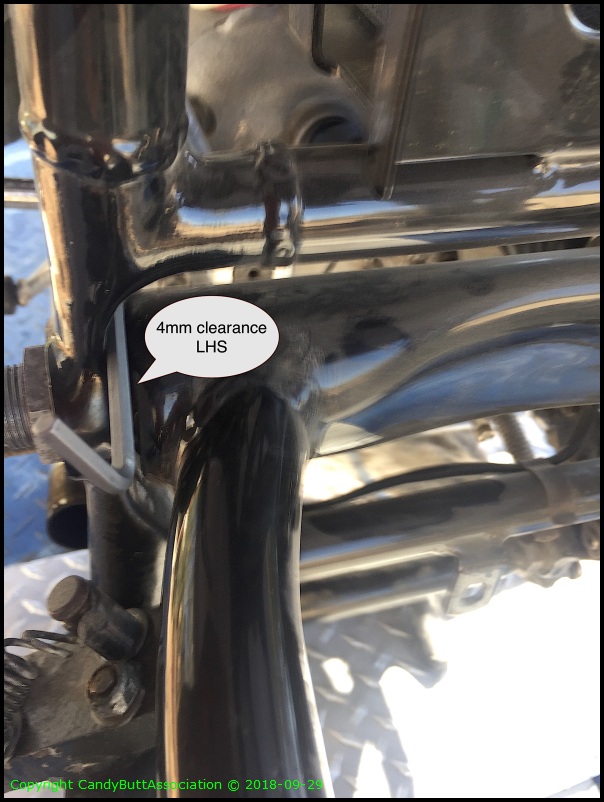
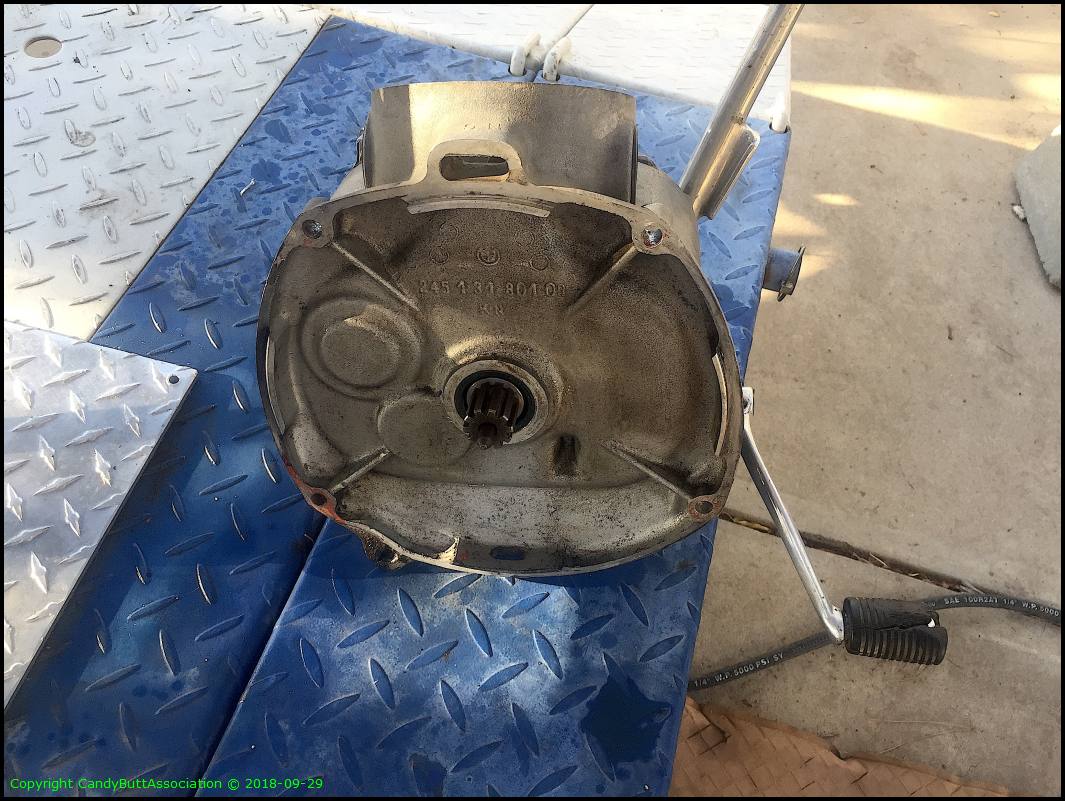
Ray Slocomb, my restorer tech, let me know that the swingarm rotates on two tapered needle bearings, and that the swingarm must be adjusted to sit equidistant in the frame to prevent front u-joint loading.
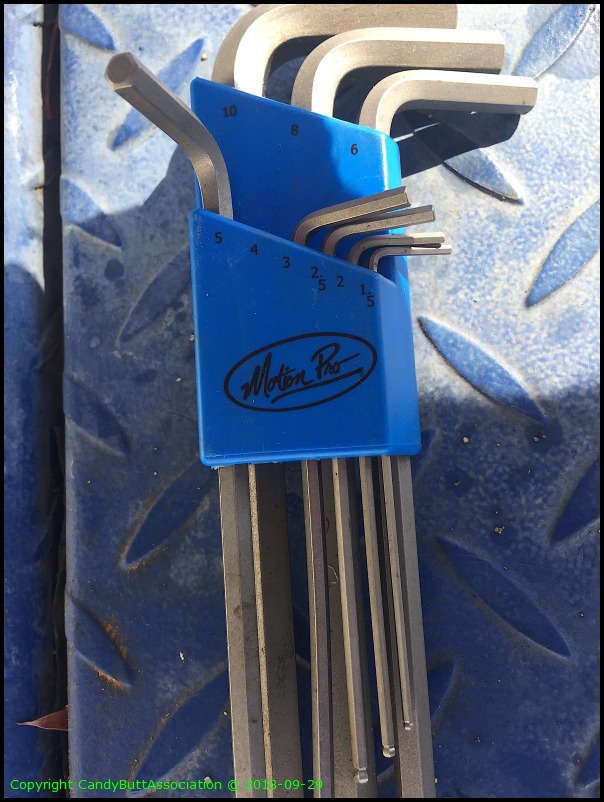
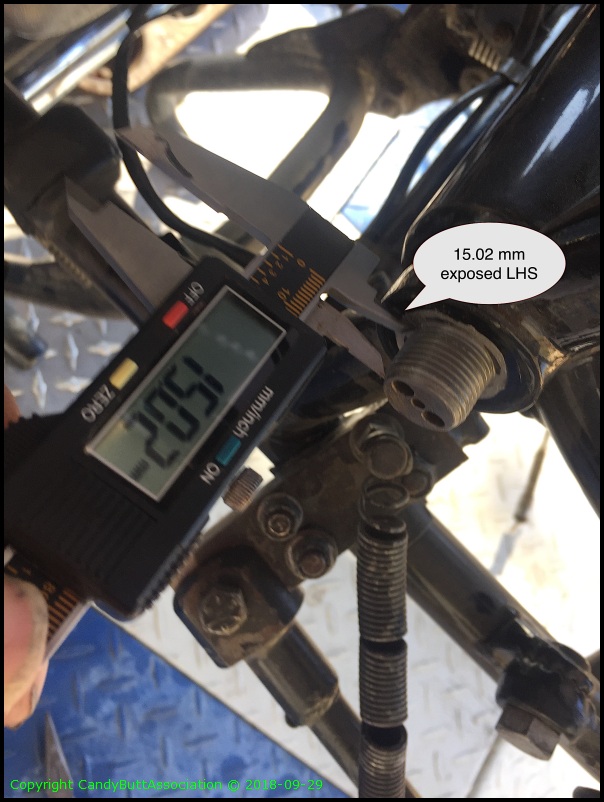
So thought I'd measure the distance from frame to swing arm on both sides. I used my precicely machined allan key set for this job.
.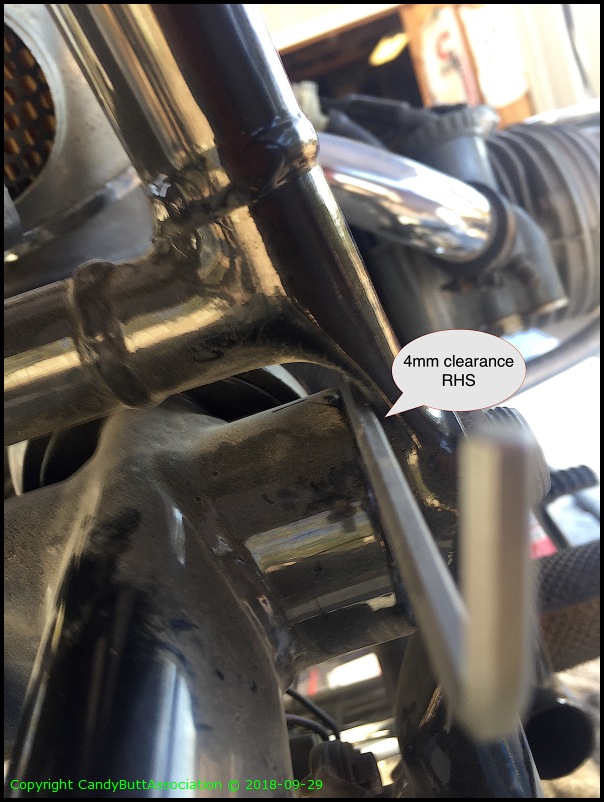
The left side was a weeee bit closer, but this is an eyeball measurement, not all that critical.
Exposed threads for reassembly start point. 15.02 mm.
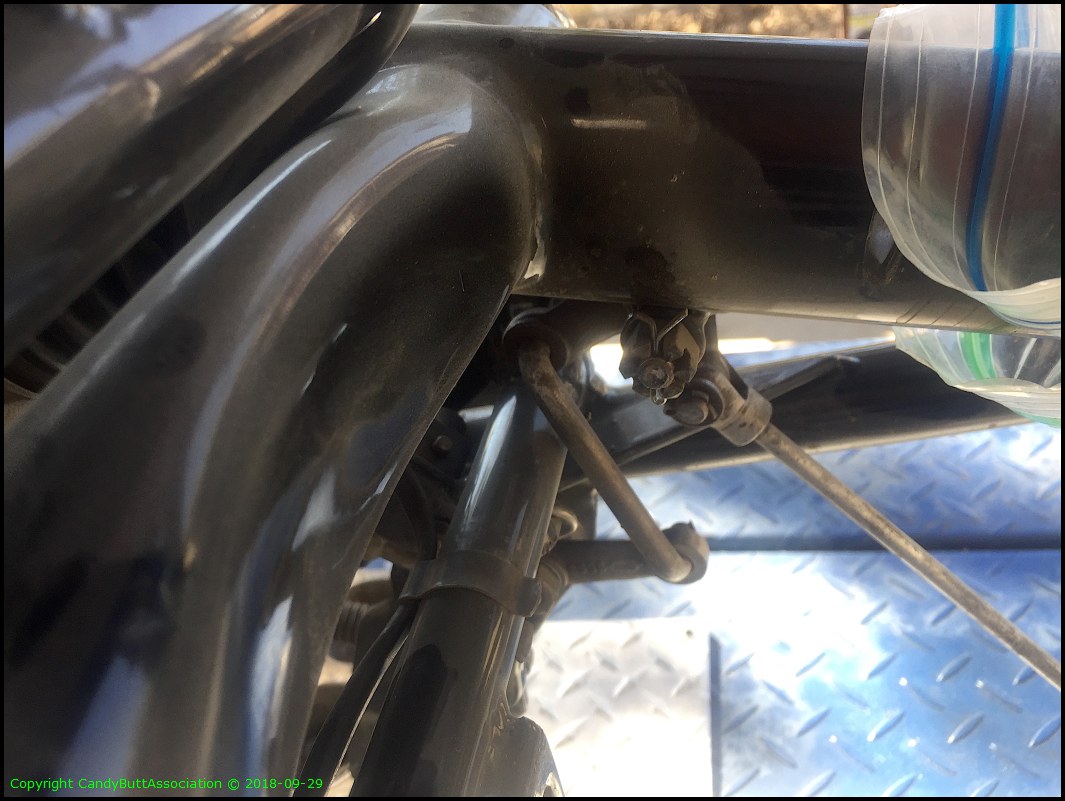
Brake pivot point attached to swing arm. This is a 'loose' joint so the arm can rotate.
.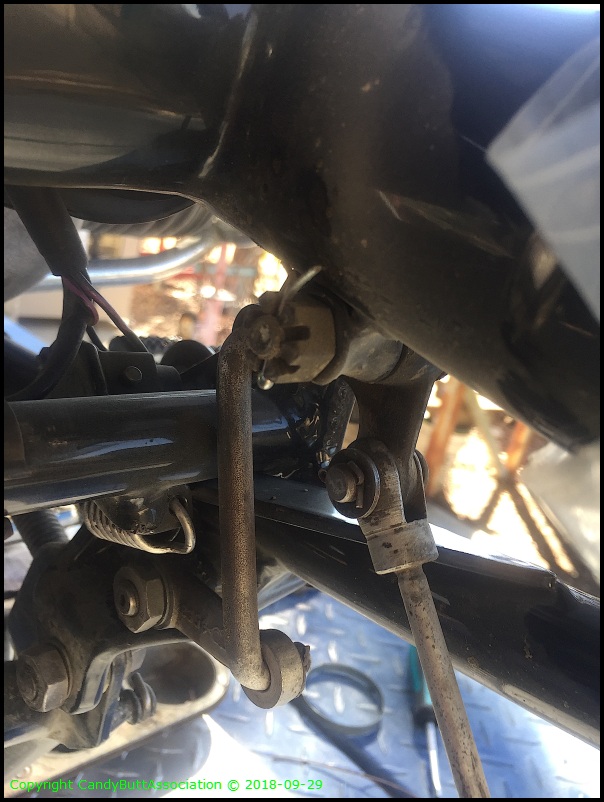
Speedo drive cable. It has a notch for the retaining bolt. Make sure to align correctly on reassembly.
Note to self.

I think the wire is supposed to enter at bottom, wrap around the side, then attach at top. I had trouble routing it after the wire broke.
.
Originally, only one slot. I made the other.
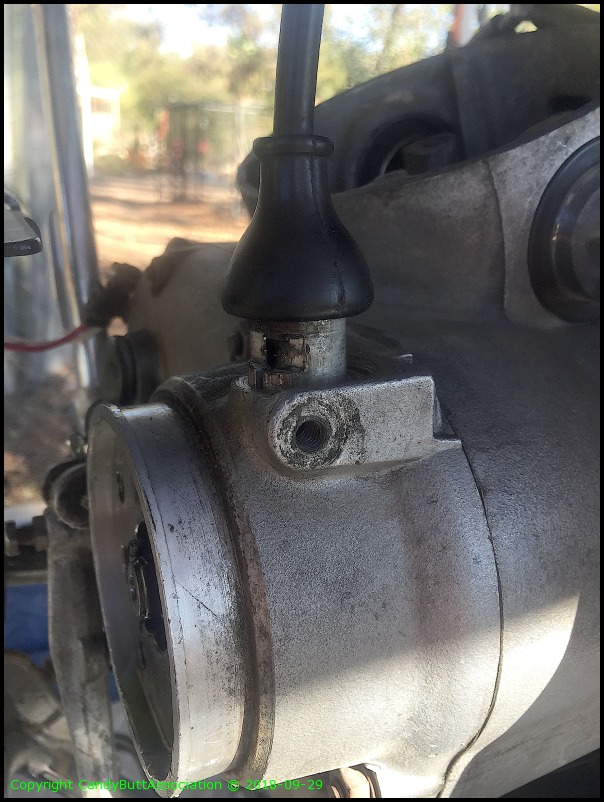
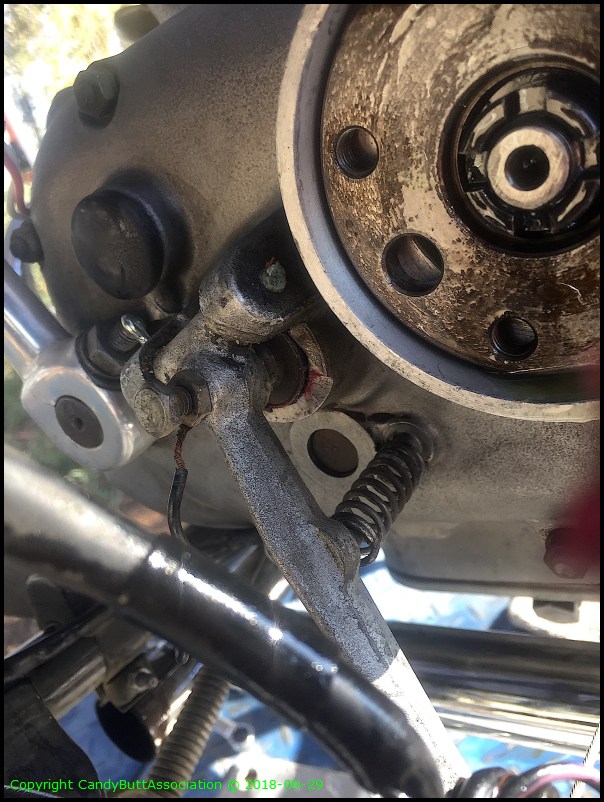
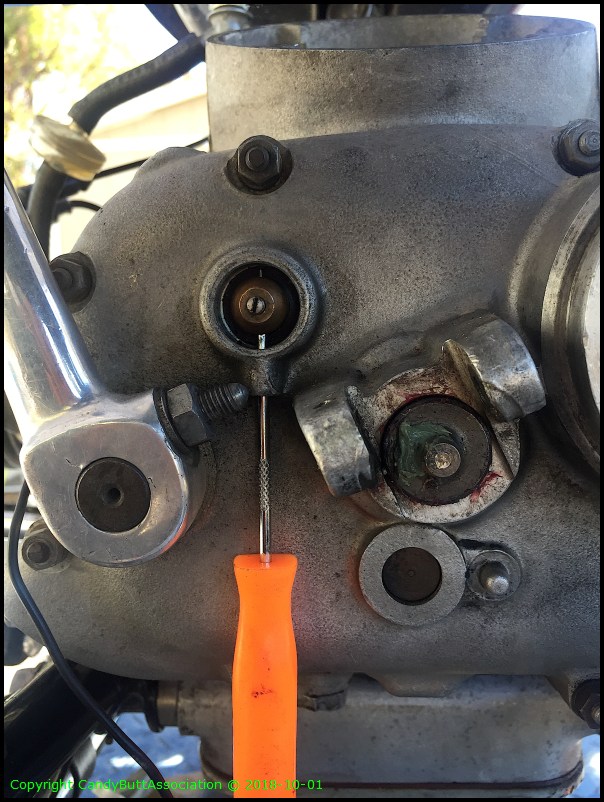
Clutch throw out mechanism. Pic for future reference.

.
.
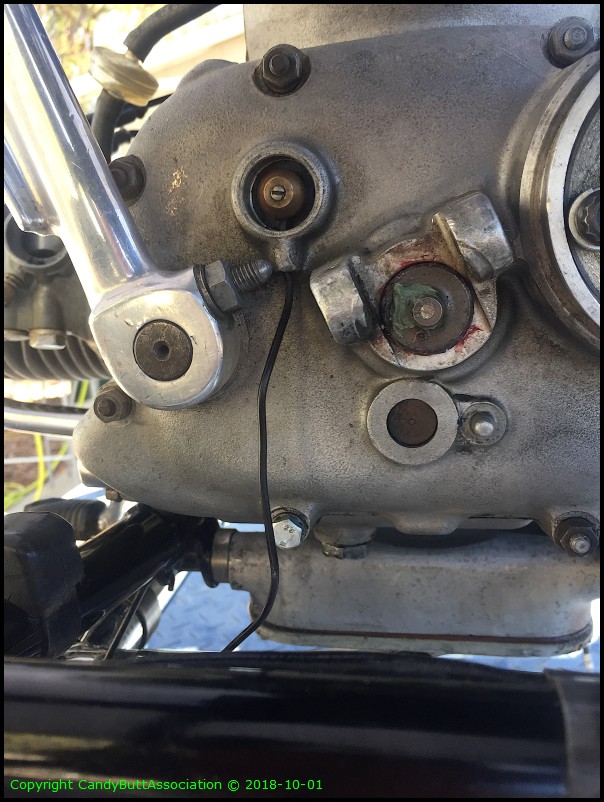
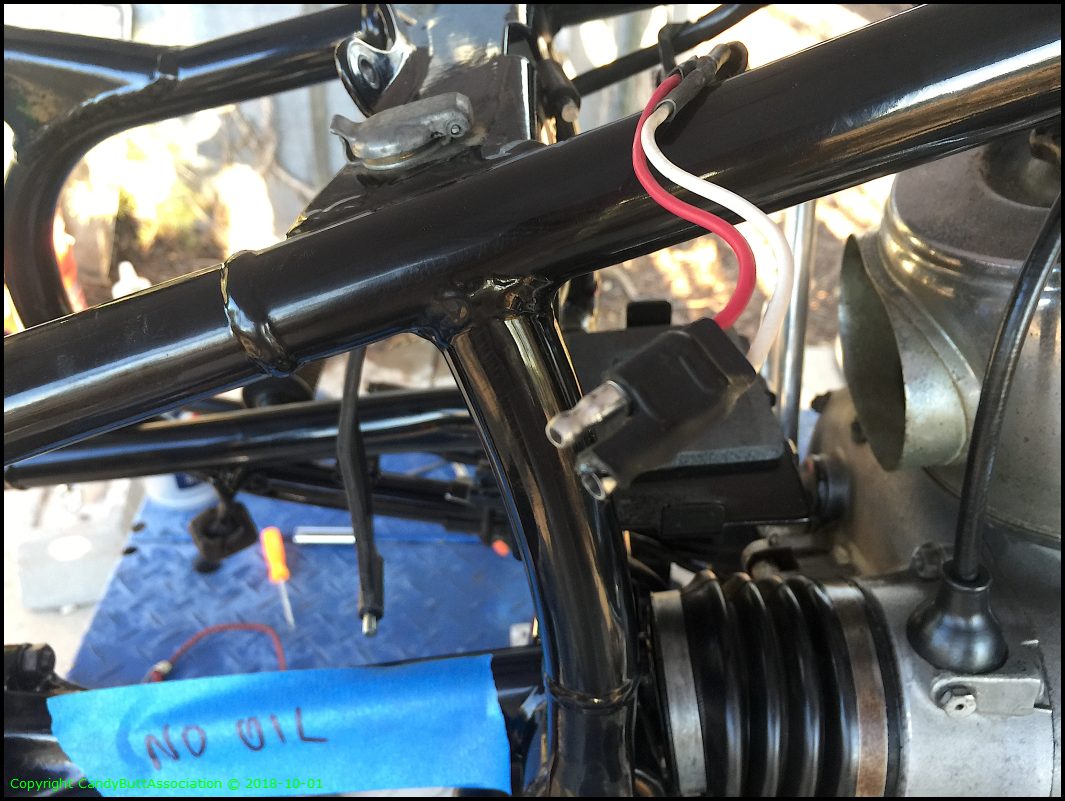
Ground wire location.
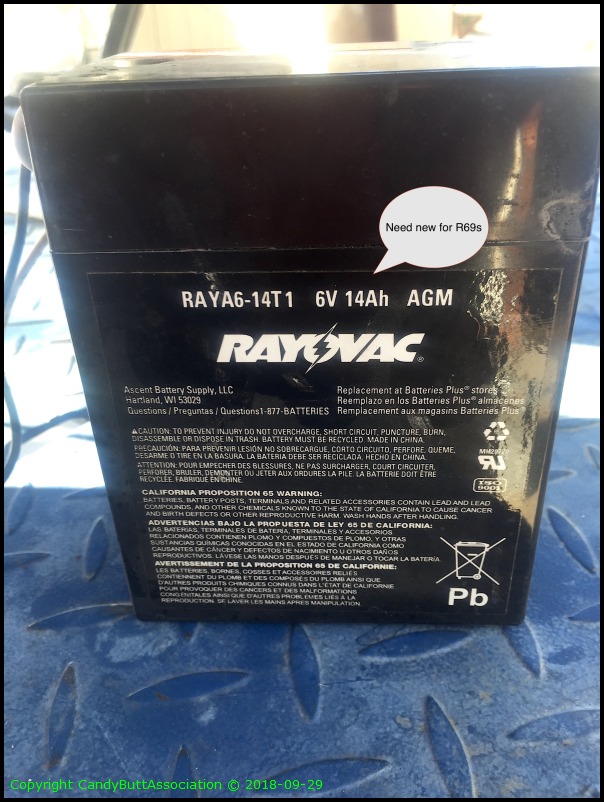
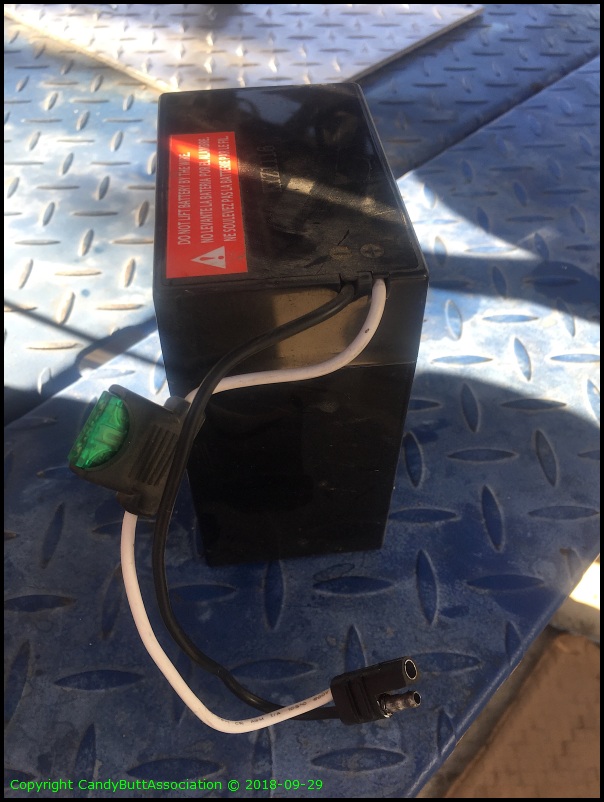
Need new battery for the project, a 1963 R69s.
.
Had a neighbor help me remove the transmission so as to not scratch powder coat frame.
Need to check throw out rod. It might be bent. NOTE to self - buy new felt for internal rod end.
I had alot of 90 wt in the groove of the rim, between the two shoulders. It appeared to be coming from the weep hole. So this is my test stand. I filled the pinion area with 30wt motor oil and will let it sit. If it weeps, I have the smoking gun. So far, no weeping so I'm not sure if this is the problem or not.
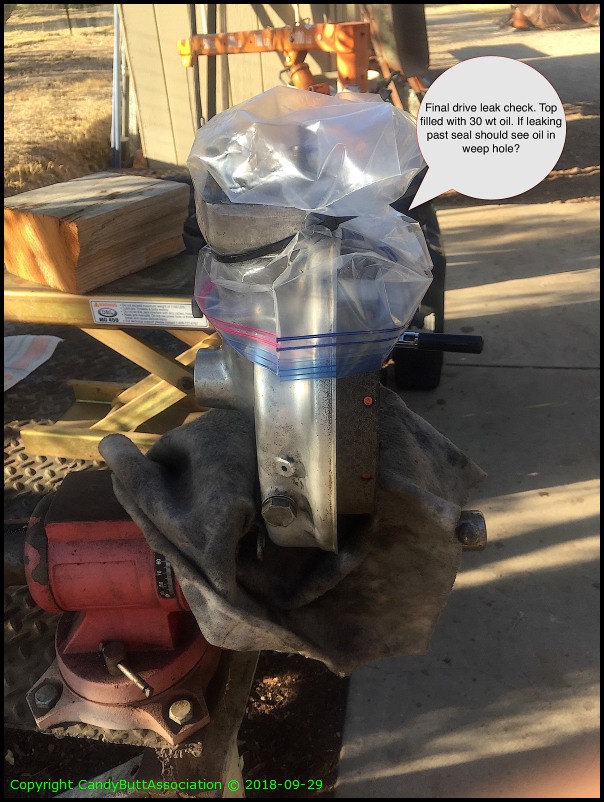
After 4 hours, dry as a bone. Of course, this isn't the correct orientation so this test might be inconclusive.

Need new rubber thingie.
I have no clue why I took this picture..
I was getting some 90 wt on the shelf under the rear engine / trans input area. It looks like it's this seal based on the oil still there. The big question is does this seal remove externally or does it require tranny disassembly?
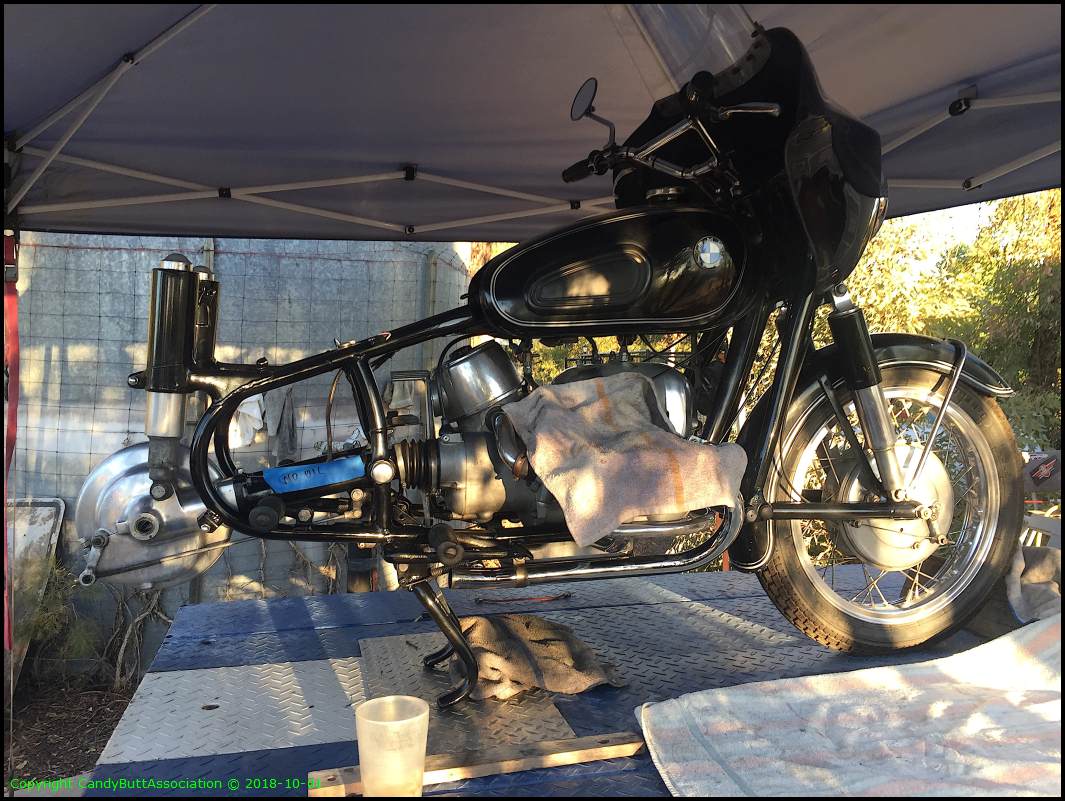
As she sits at end of day 2.
Thanks for reading, more to come.
2018-10-02 ReAssembly
Well OK then:
So, it's time for reassembly.
Found the proper wire routing for neutral indicator light. Simple!
Much better than what I had done before... (routing wire through slot in protective cap, run up the side to then terminate at the top.
Here's how I previously had it routed.

Lesson Learned. Clutch cable front ferrule can't be inserted into case slot with tranny installed! Gasp. Had to loosen trans, move it back about 1/2" then route cable.
There it is, correctly installed.
Noticed heat deformation at battery connection. Replaced. Lesson Learned - R60/2 BMW's don't use earth as ground! Wired it like a conventional bike, negative to frame, hot to battery. At first start up the red discharge light was b r i g h t. Not good. Reversed the leads and all is good now. I was wondering why SuperTech Ray had the exposed male as the hot lead... Now I know why.
Per the factory OEM manual, (yes I have the original OEM stuff) both the Final Drive and Shaft Drive require 150cc. I drained the FD, it was at 110cc. So added correct amount to both locations using StaLube GL4 as GL5 contains materials that eat at the so-called yellow metals that the /2 transmissions have. Think bronze bushings.
Making progress. Lesson Learned:
1. Place rear wheel in position but don't place onto final drive hub until *after* rear fender is installed. Not much room under fender for the various fasteners.
2. Installing the rear rack and top case is a true PITA. Holes don't want to line up, making starting the bolt through the top case mounts and rear fender difficult.
There sits Uncle Dutch, Hopefully the new trans input seal will seal. For the Final Drive, I may just have to give up on the custom CircleSeal RV and plug it like it came from the factory, not vented.
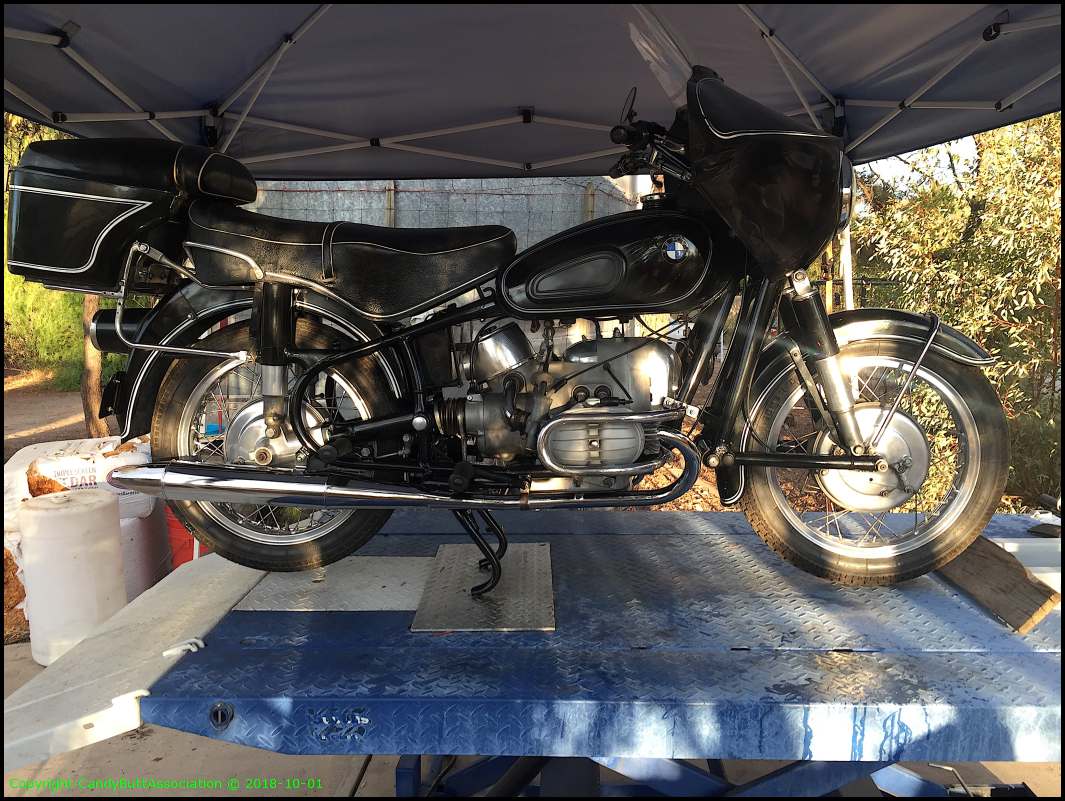
While Uncle Dutch was in pieces, I cleaned and waxed all the areas one normally can't get to.
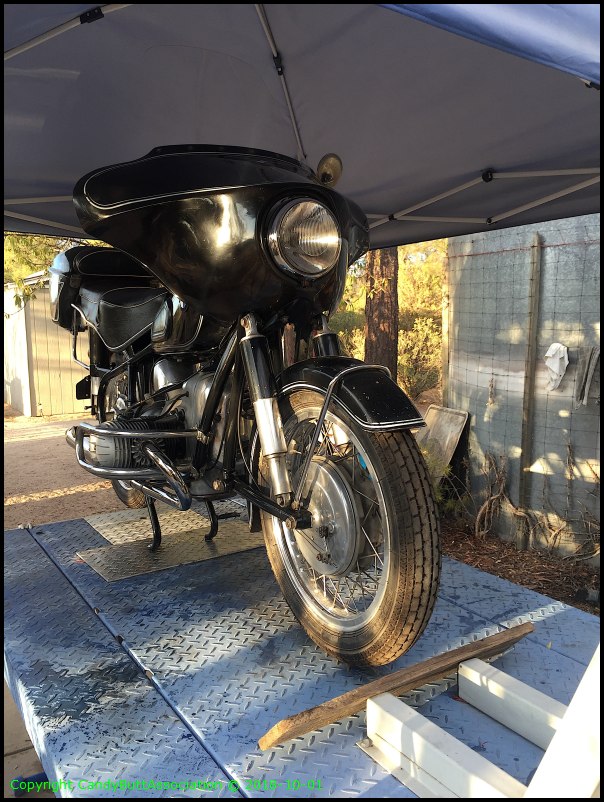
And, Uncle Dutch is now a trailer queen. No more dirt roads.
Thanks for reading, fini!
Thank You's to Folks who Helped
Wanted to say Thank You to Don W and Mark M for replying to my BMW questions during this project. Much Appreciated guys! Here's some of the email that went back and forth..
-------------------
Hi Guys,
The reply -
The felt "seal" is the same thing they used up until 2015, when they did the complete redesign. There should be no way for gear oil to get into the center of that shaft... the front end is the clutch, and the back end is the actuator mechanism.
Special SnapOn tool for torquing final drive
Snap On Part is: FRDHM10 https://store.snapon.com/Product-Details-FRDHM10-P631799.aspx