- Home
- Forums
- Ride Reports
- MotoBikes
- Restorations
- Wrenching
- 1963 BMW R69s
- 1969 BMW R60/2
- 1978 Yamaha 125
- 1979 KZ1300
- 1979 Kz1300 - Bob's Beauty
- 1981 CBX SuperSport
- 1981 Kz1300 Model A3 - Chocolatie
- 1984 Ford F250 XL
- 1987 ATK
- 1987 MowieMowie
- 1987 RotoTiller
- 1988 Honda Accord Lxi
- 1990 BMW RT100 - Barrie
- 1991 Harley Davidson FLHTCU
- 1992 Johnnie Deere
- 2000 YZ426
- 2002 Dodge Ram
- 2006 Carson RacerX Trailer
- 2006 Host Camper
- 2006 KrZy8
- 2007 Wabs
- 2012 KTM 690R
- 2013 Naomi - FJR 1300
- 2014-08-01 Air Compressor - Sears
- 2017 Kioti
- 2018 Toy Hauler
- 2020 Honda Fit
- 2021 Miscellaneous
- 2024 Log Splitter
- 2024 NeoDyne MC Lift
- 2050 test
- Lil Trlr
- Eats
- RIP
- PC Not
- Cages
- Test
- FJRF Best
- For Sale
Candy Butt Association
World's Wimpiest Riders
You are here
2019-08-10 Ignition Coils

Forums:
2019-08-10 Ignition Coils
KrZy8, 2006 Yamaha FJR 1300 with nearly 250k, had developed a stumble off idle. Problem identified as corroded spark plug wire inside cap. Each cap is $50 so $200 for caps? El Toro Poo-Poo! Additionally, over the years have trimmed the wires to maintain good connection so now too short. eBay to rescue. New-to-Me coils, wires, caps from a 17k mile 2006 FJR delivered to to door, $75.
Coil location. They can be removed with front center cowling in place.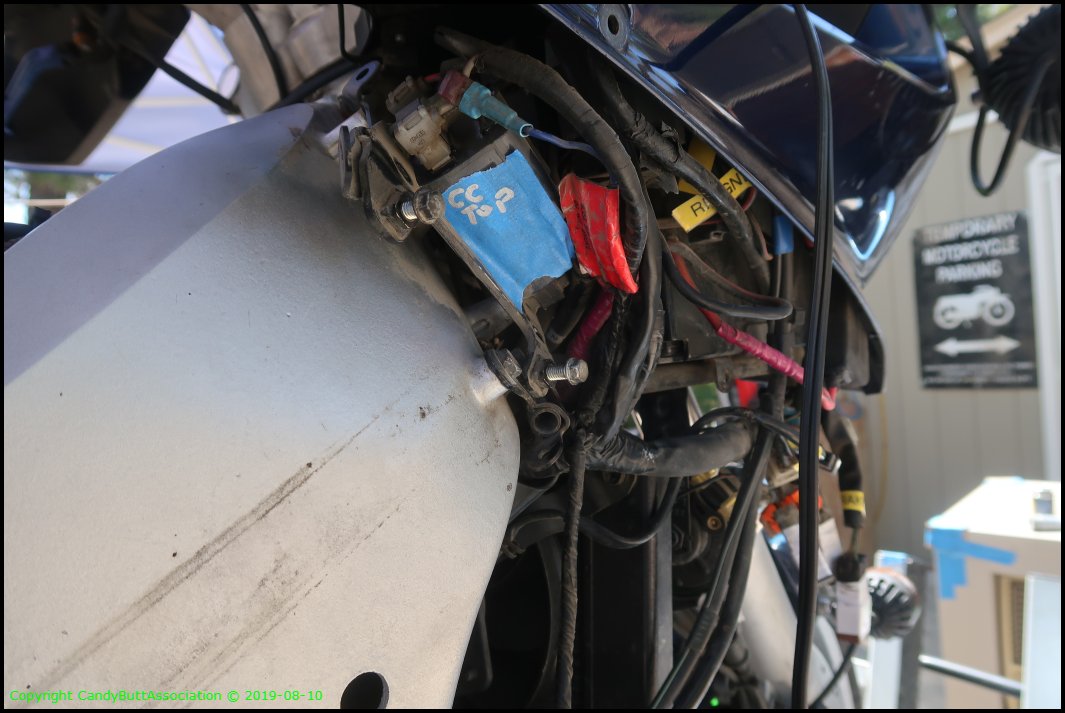
Cruise control signal wire (blue).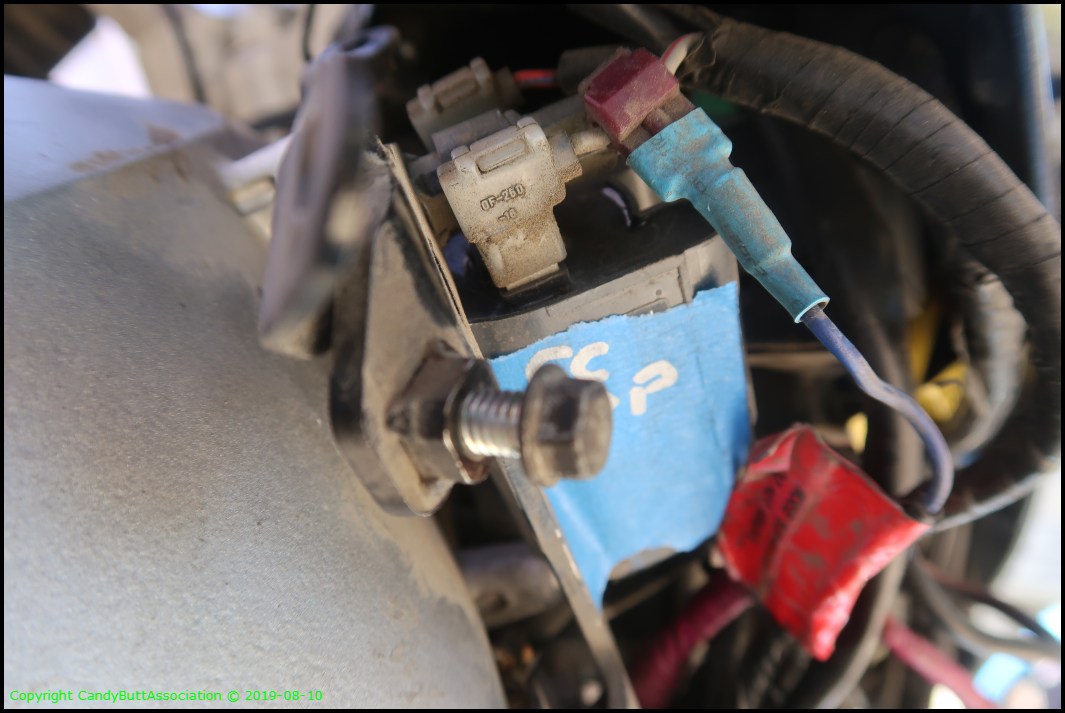
The hard part is wiring routing. Tight fit. Caps must come off.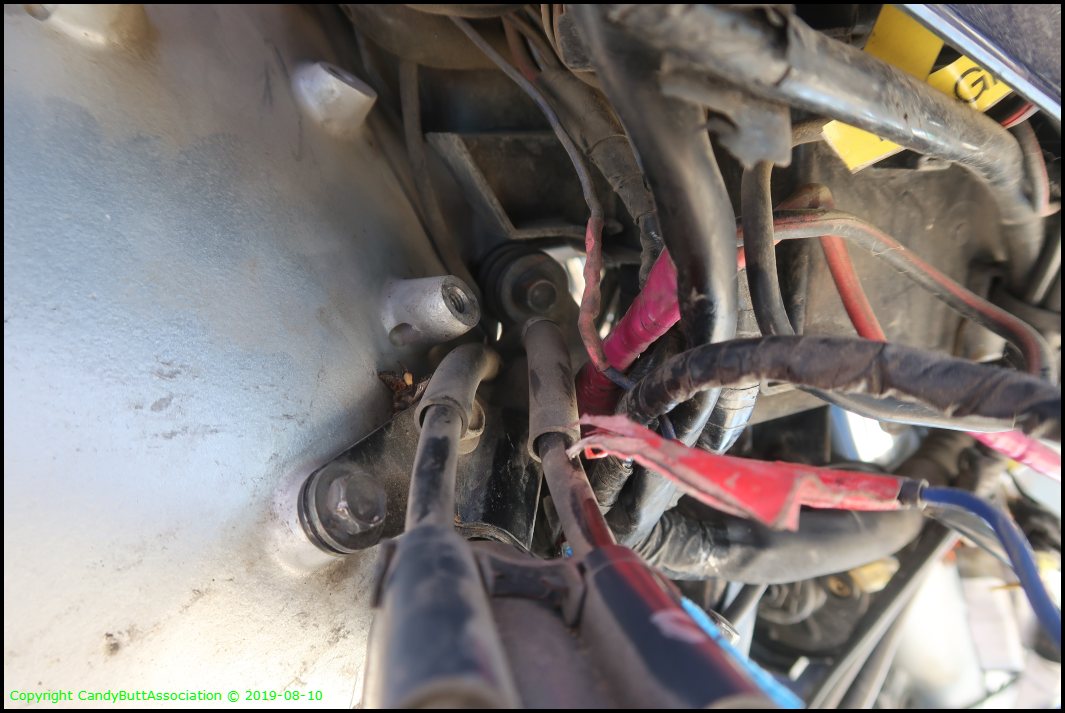
Connector locations.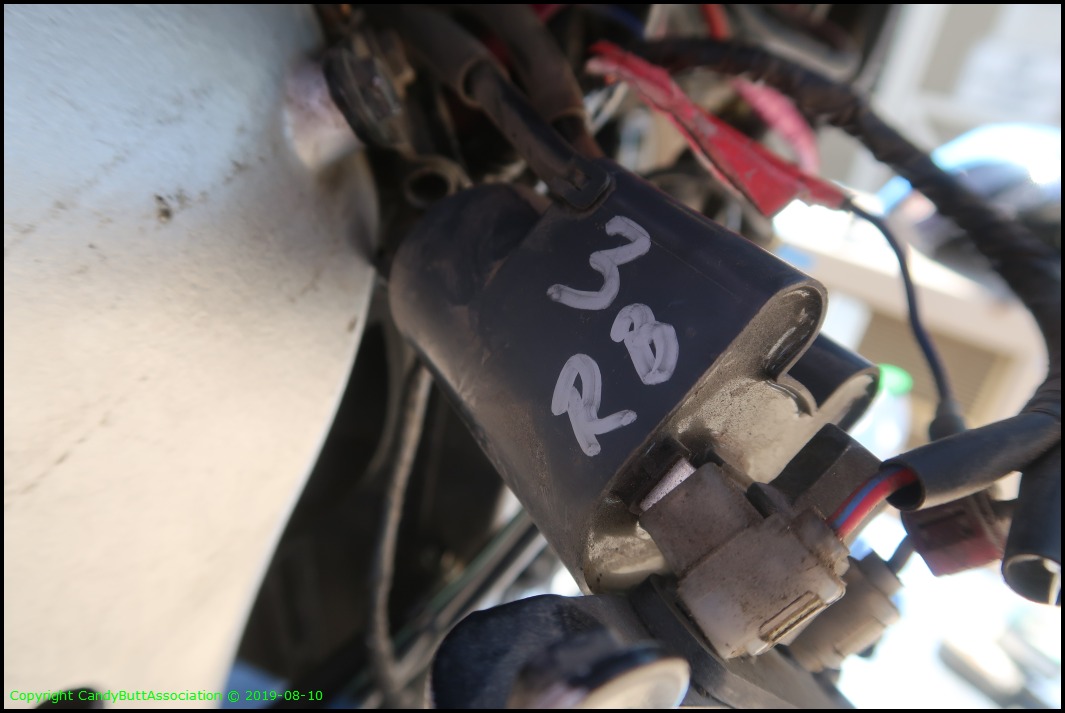
Pulling old wires out was tough, tight fit. No way to install new wires unless loosen radiator mounts and plastic guard from frame.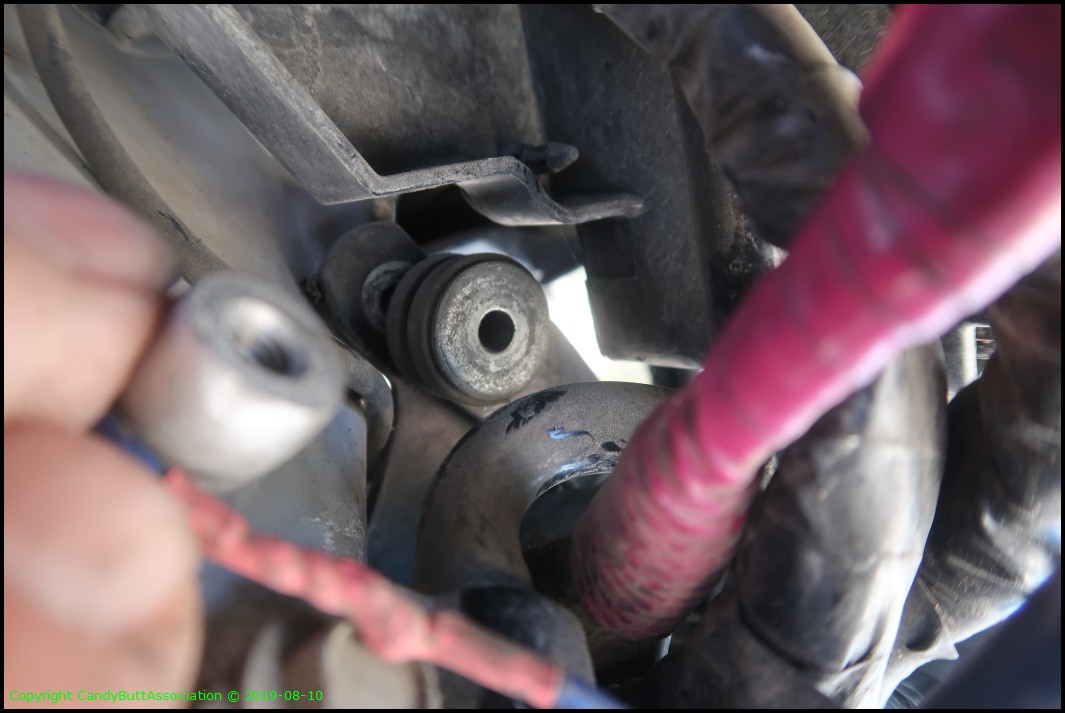
Hard to see, but this is radiator mount to frame.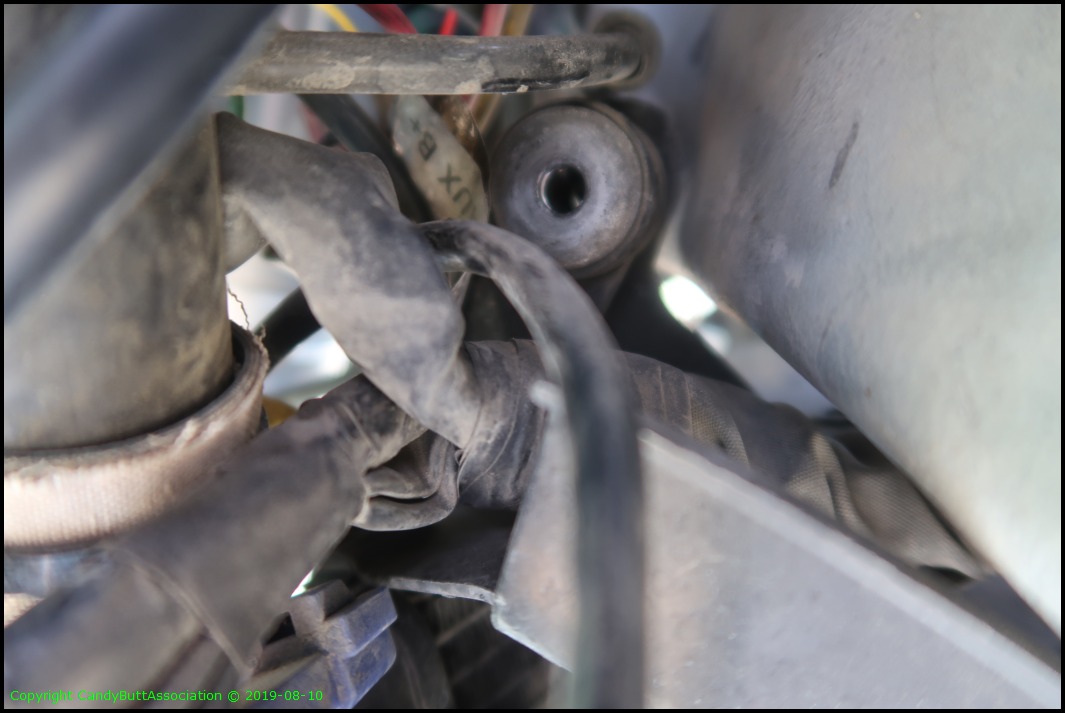
Old and New-to-Me. New wires supple and flexible. Old wires hard and brittle.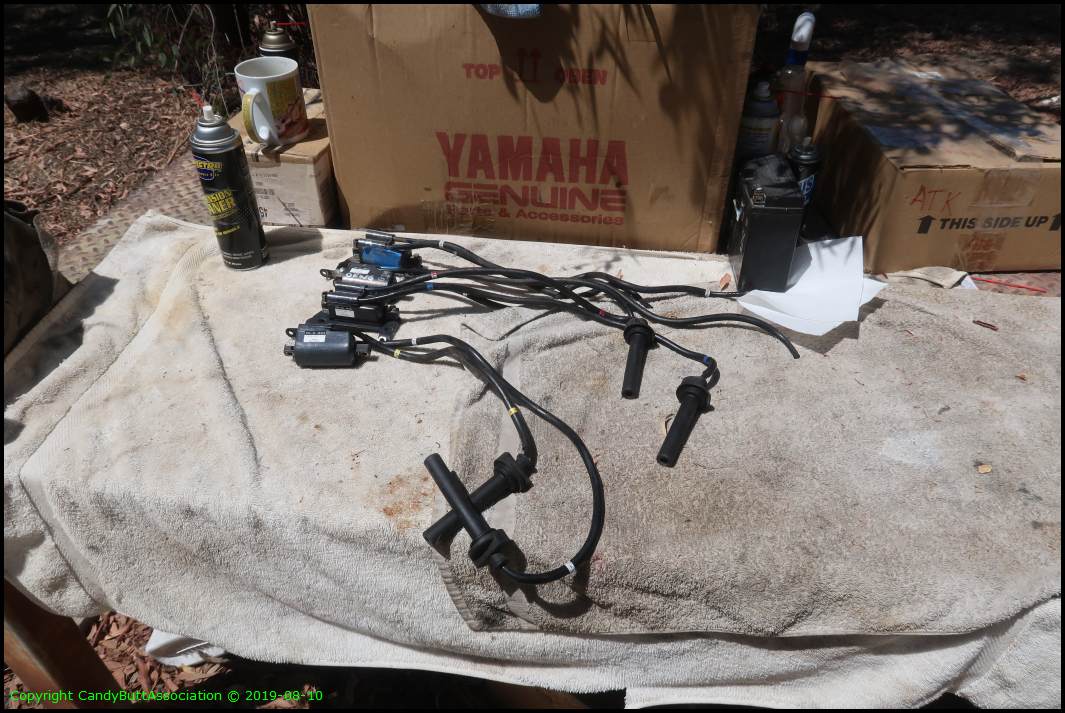
Turns out one could remove old wires by breaking the plastic retainer keeper then pulling hard on wire.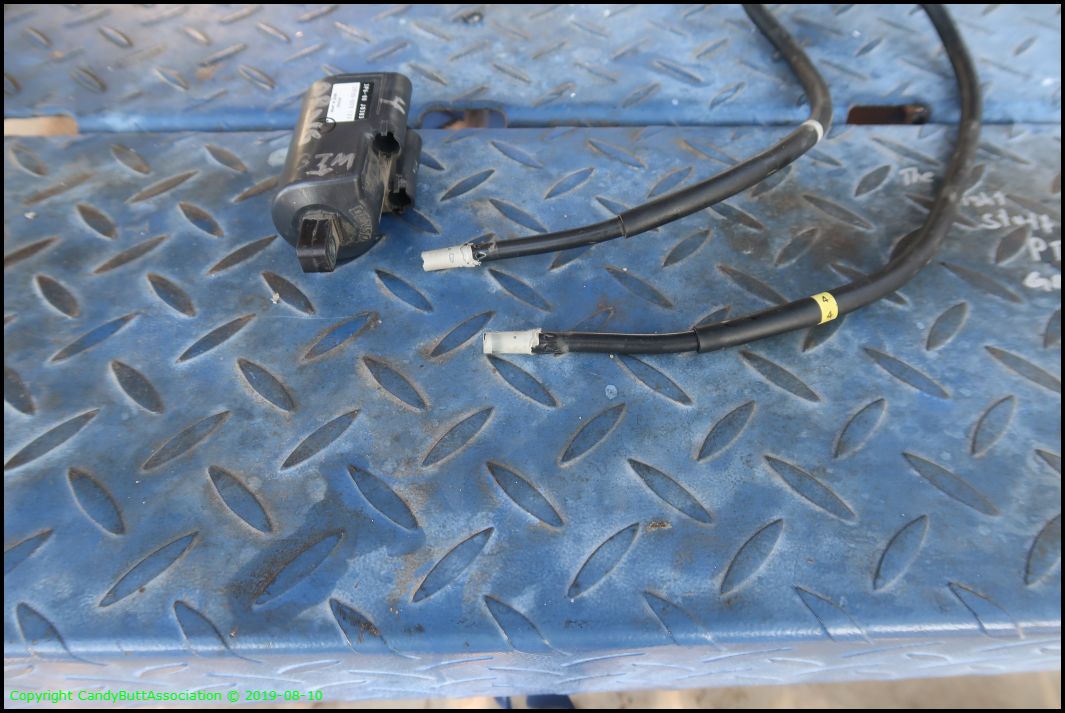
Just like a spark plug cap.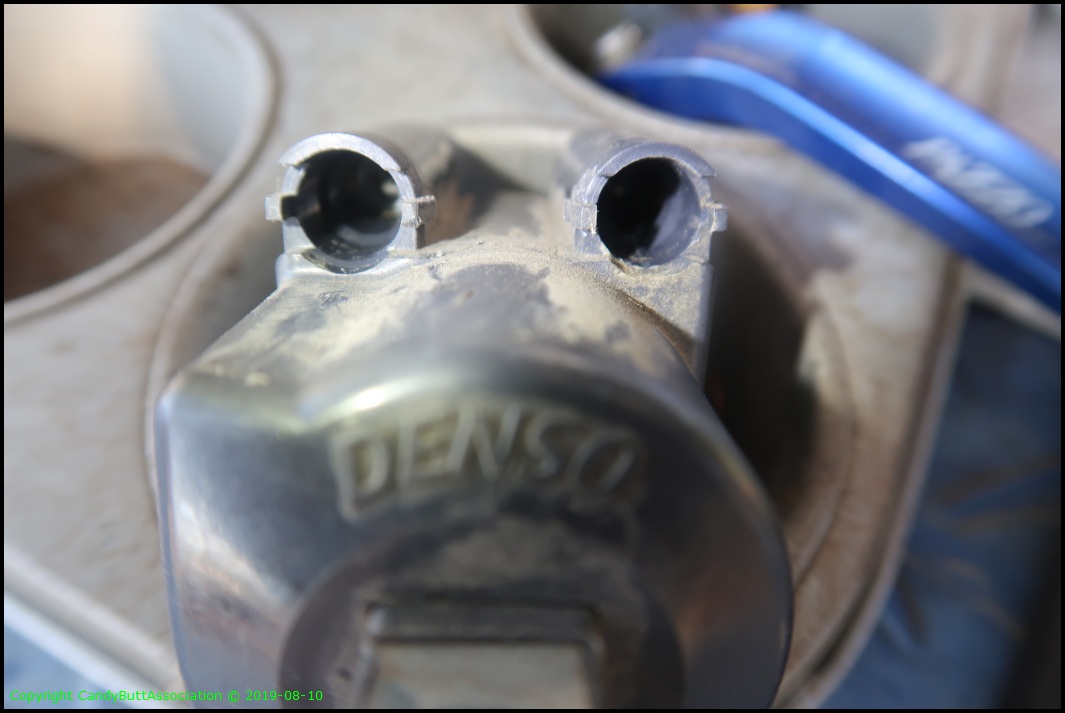
Clean everything up, use a little 3M 'Right Stuff' and one could re-use existing coils if $$ supply is short.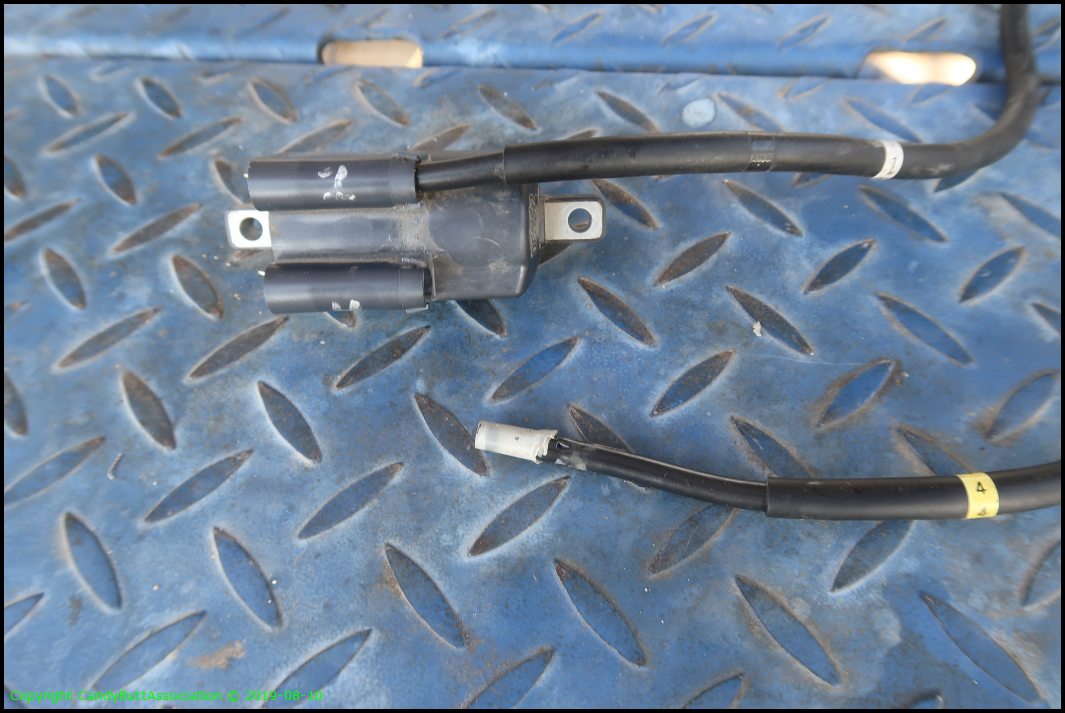
Continuity! We have ohmages coming out!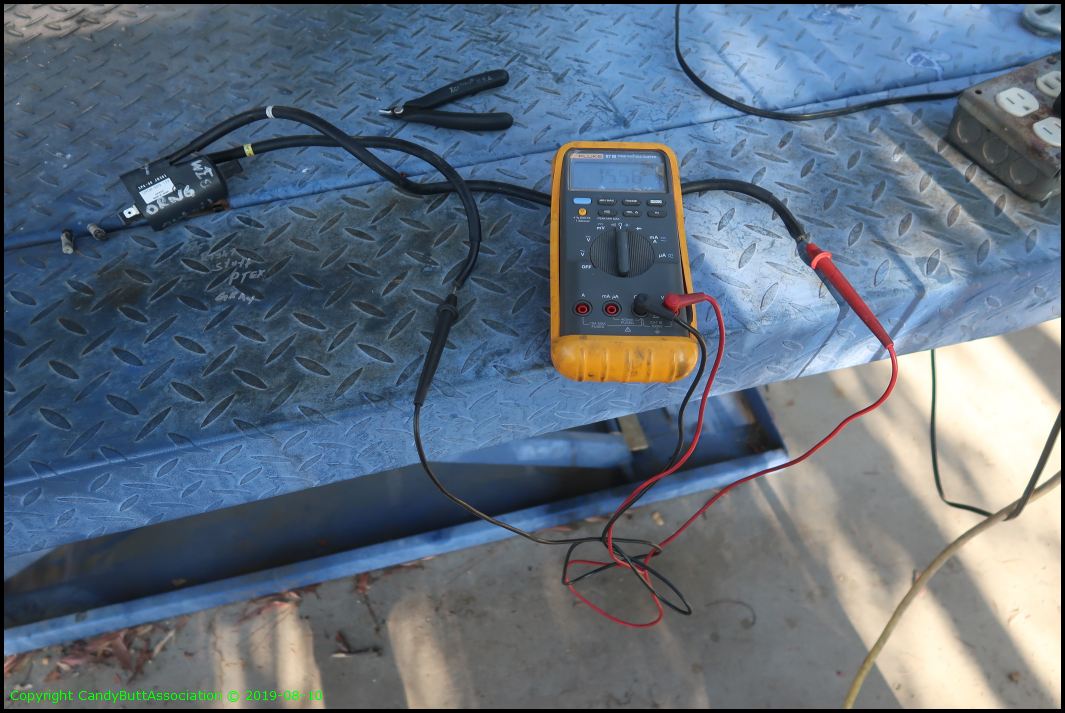
Out of order. Shoot me. Wire routing.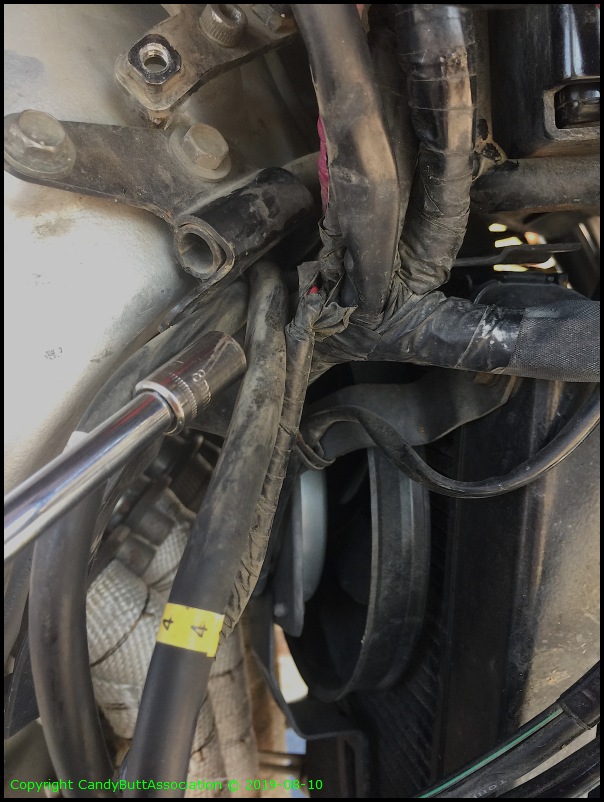
Plastic keeper talked about above.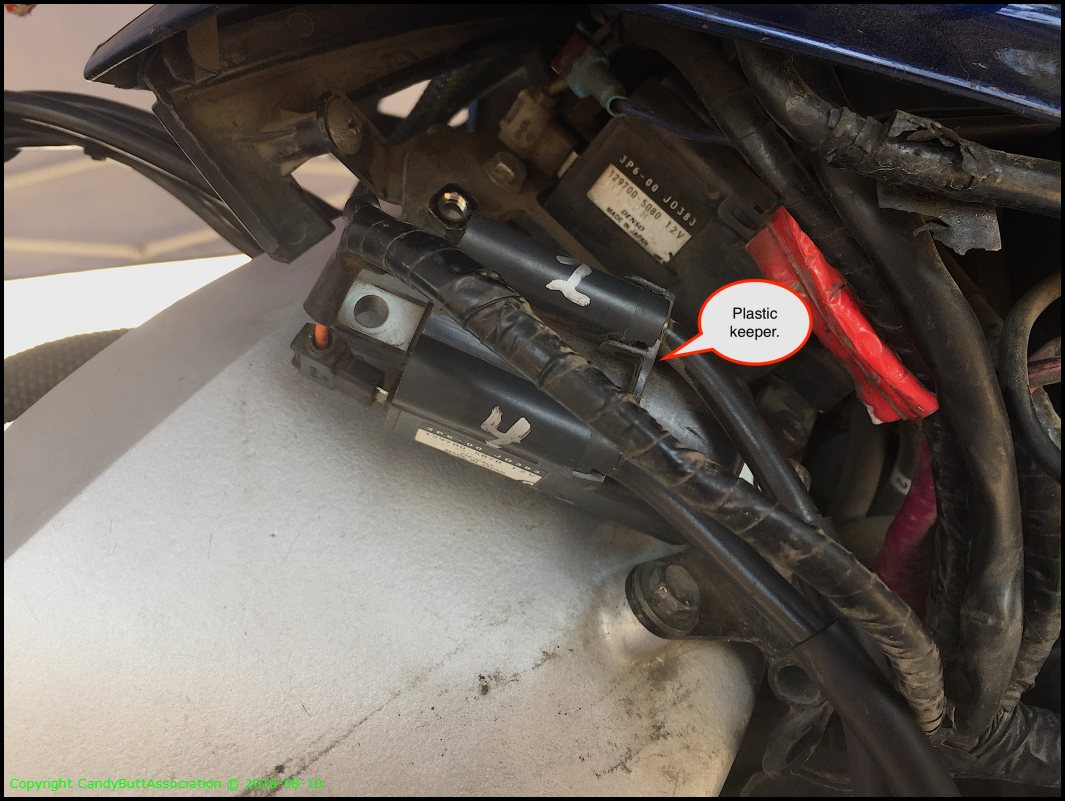
Used a shortened Allen wrench for lower bolt.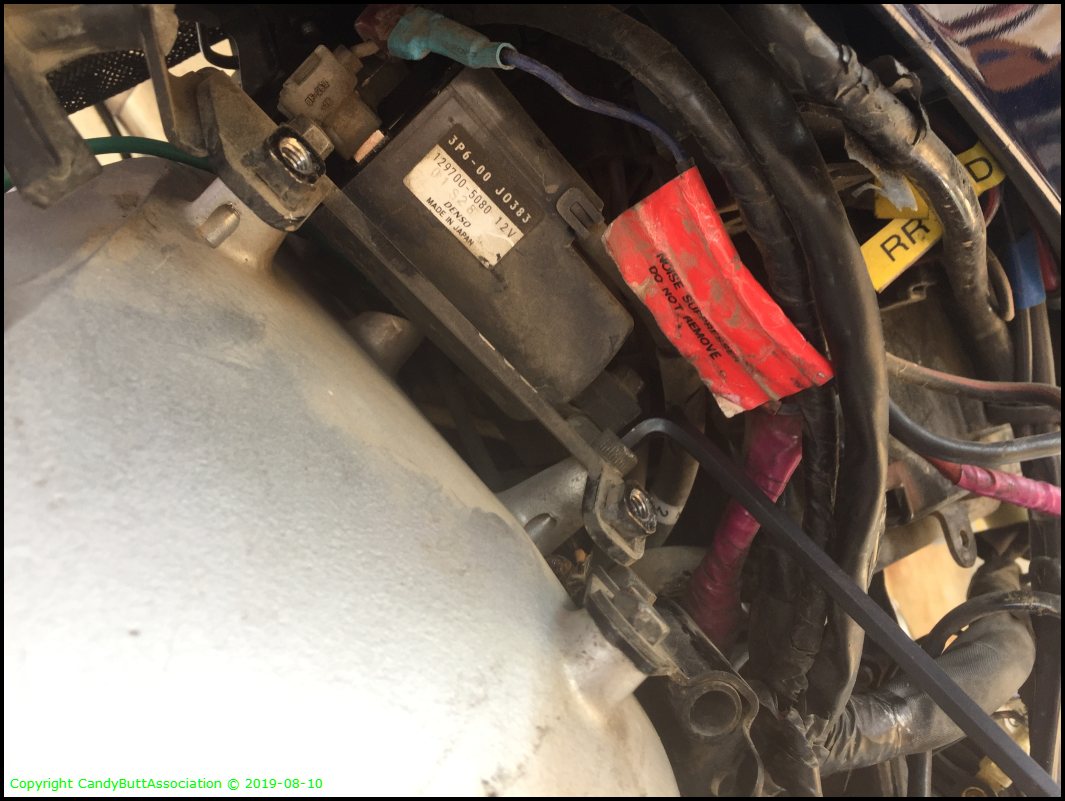
Button hed screw to left of connector has to be removed too.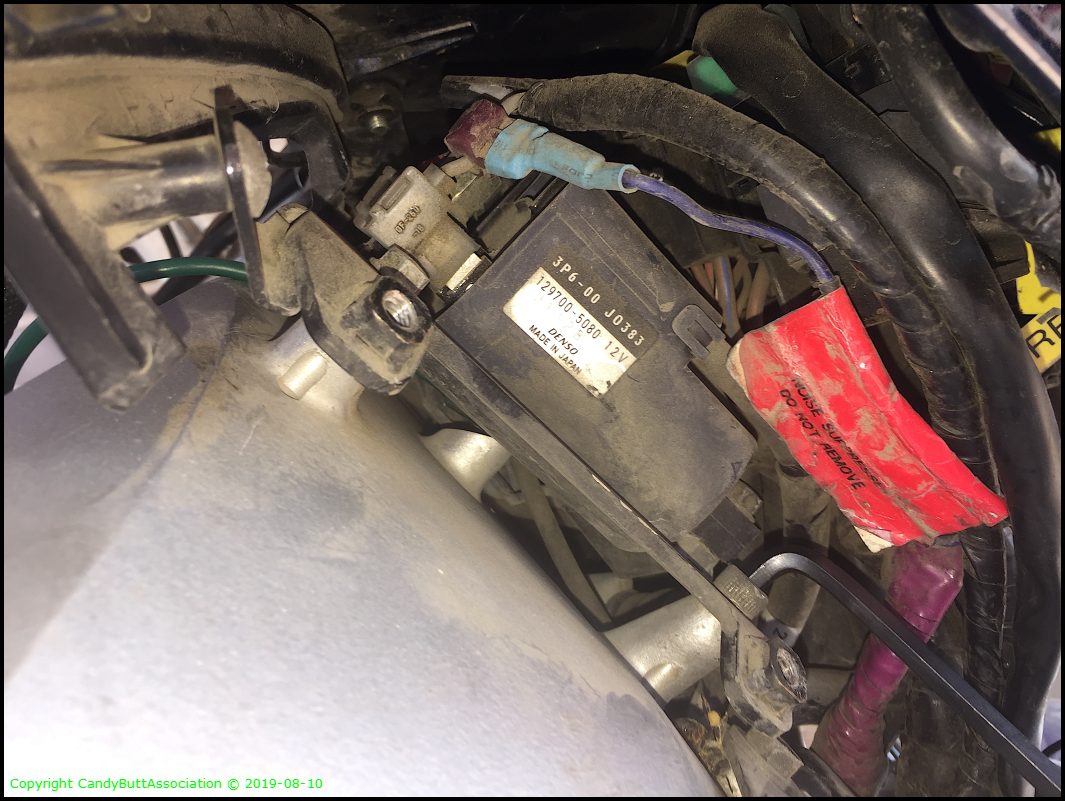
There it is. You are now certified FJR 1300 Coilologist.
Theme by Danetsoft and Danang Probo Sayekti inspired by Maksimer