- Home
- Forums
- Ride Reports
- MotoBikes
- Restorations
- Wrenching
- 1963 BMW R69s
- 1969 BMW R60/2
- 1978 Yamaha 125
- 1979 KZ1300
- 1979 Kz1300 - Bob's Beauty
- 1981 CBX SuperSport
- 1981 Kz1300 Model A3 - Chocolatie
- 1984 Ford F250 XL
- 1987 ATK
- 1987 MowieMowie
- 1987 RotoTiller
- 1988 Honda Accord Lxi
- 1990 BMW RT100 - Barrie
- 1991 Harley Davidson FLHTCU
- 1992 Johnnie Deere
- 2000 YZ426
- 2002 Dodge Ram
- 2006 Carson RacerX Trailer
- 2006 Host Camper
- 2006 KrZy8
- 2007 Wabs
- 2012 KTM 690R
- 2013 Naomi - FJR 1300
- 2014-08-01 Air Compressor - Sears
- 2017 Kioti
- 2018 Toy Hauler
- 2020 Honda Fit
- 2021 Miscellaneous
- 2024 Log Splitter
- 2024 NeoDyne MC Lift
- 2050 test
- Lil Trlr
- Eats
- RIP
- PC Not
- Cages
- Test
- FJRF Best
- For Sale
Candy Butt Association
World's Wimpiest Riders

Theme by Danetsoft and Danang Probo Sayekti inspired by Maksimer
2016-12-17
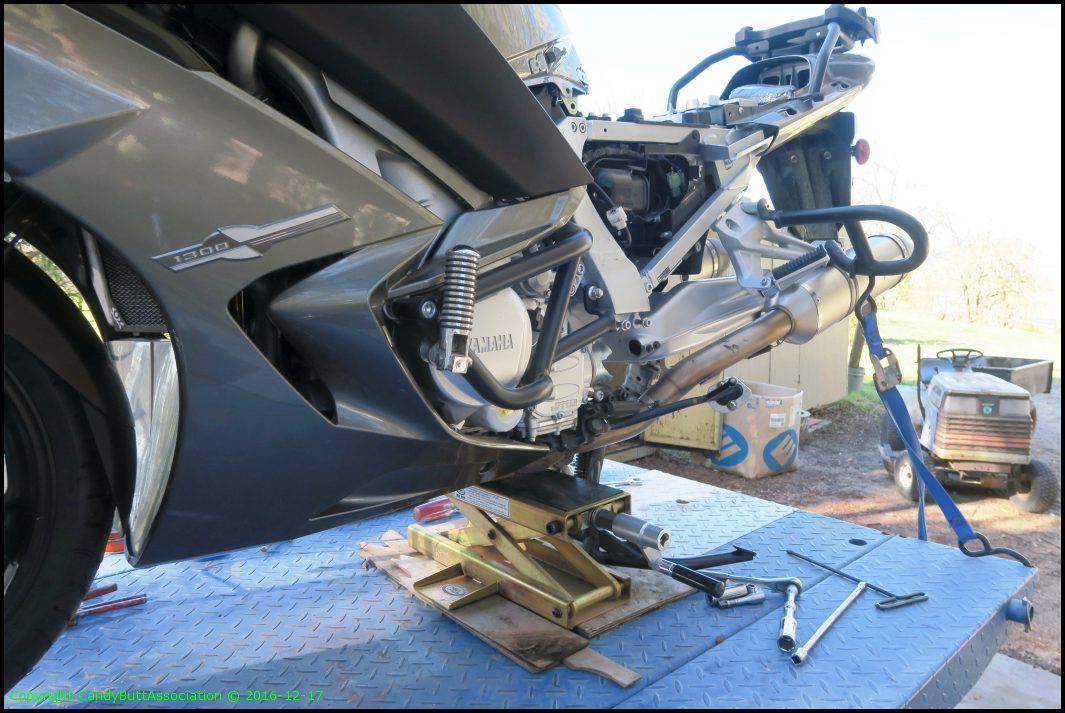
OK then, off to the backside. In the wings waiting is a new Penske 5-way, relay arm lube, swing arm lube too?
On the lift, ready for a probe. Yes, the battery Don S had replaced is already dead due to inactivity.
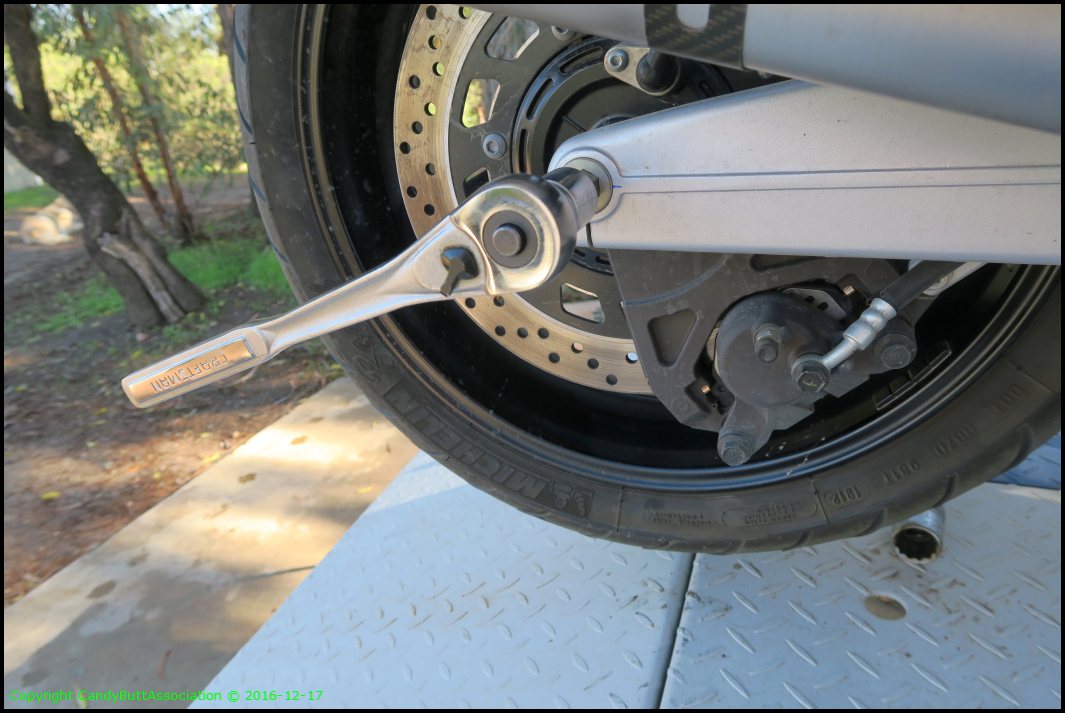
Simple enough, pull the rear tire. Wait. Why two 1/2" air impact guns? Because the 1" drive socket would NOT break free the nut. Ridiculous. Really? I know Don used dealerships..

I win. But at what cost? Stun gun at 145 PSI. Rotating the axle through the right hand side clamps.
Just happened to have the right size hex to keep the axle from rotating. This is freaking riduculous. No rear axle nut needs be clamped down this tight.
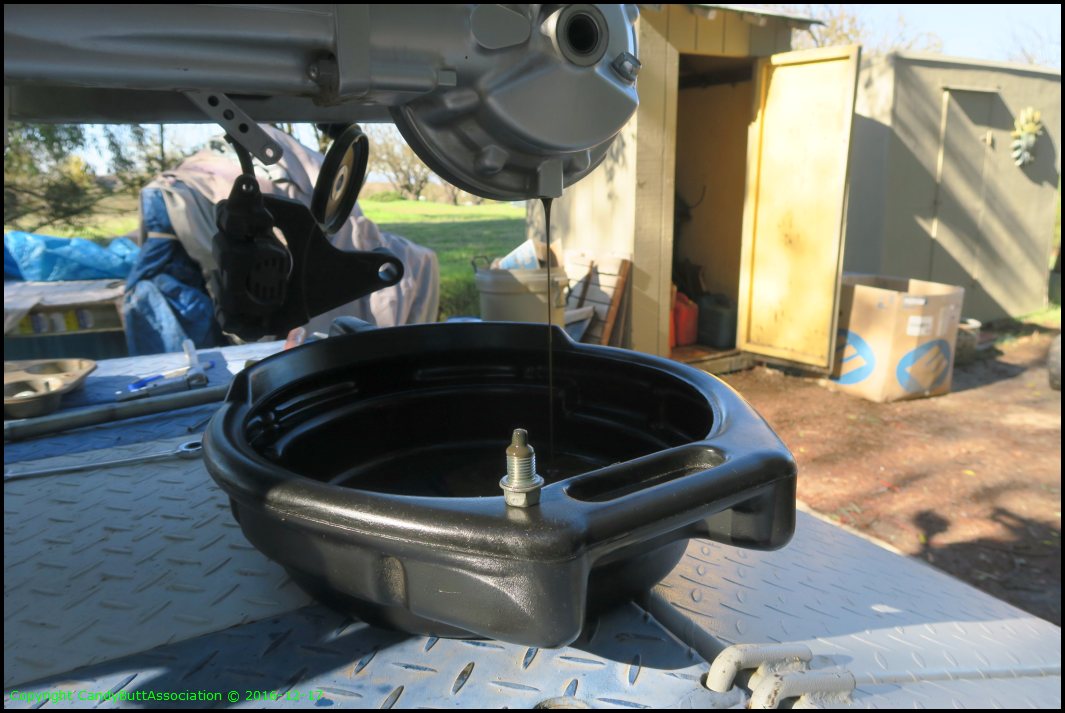
Drained the final drive oil. Yes. It was cold and you can see I do NOT have an indoor working space.
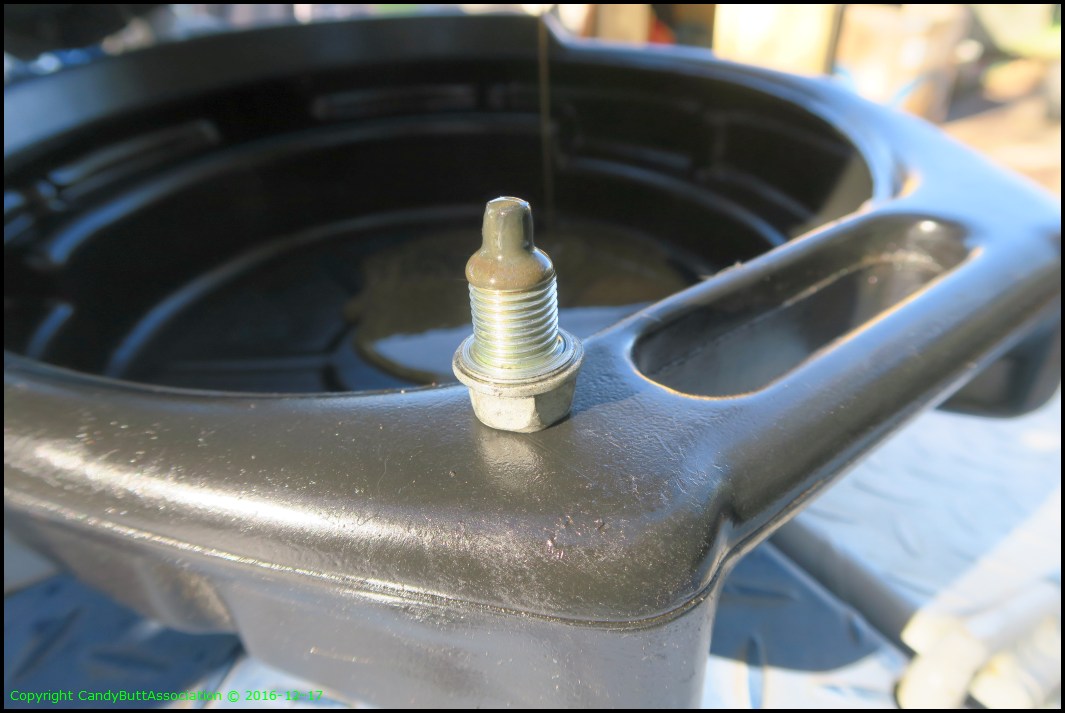
Looking at the gook on the magnetic plug. I wonder if this 13 will match the miles of my 06 that much more tender care early on.
Less than 12k miles. On an Arizona bike. Almost sad to see lack of grease from MamaYama. Really? How much would 1 extra squirt cost?
Final drive hub looks well greased. The dealership did Ok here.
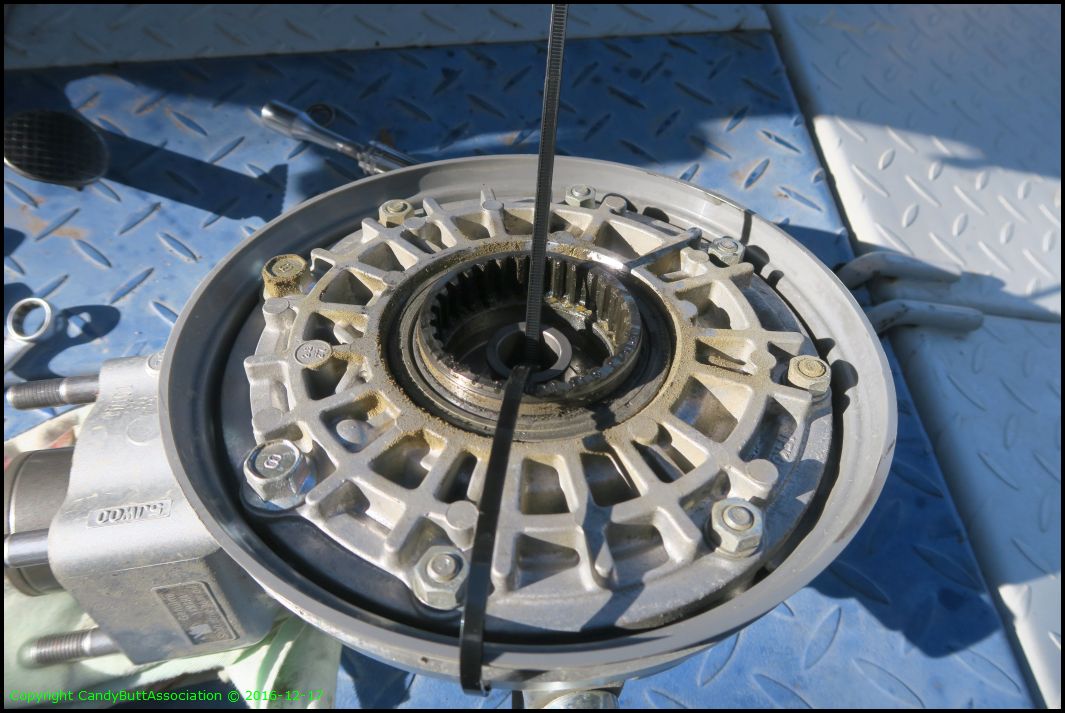
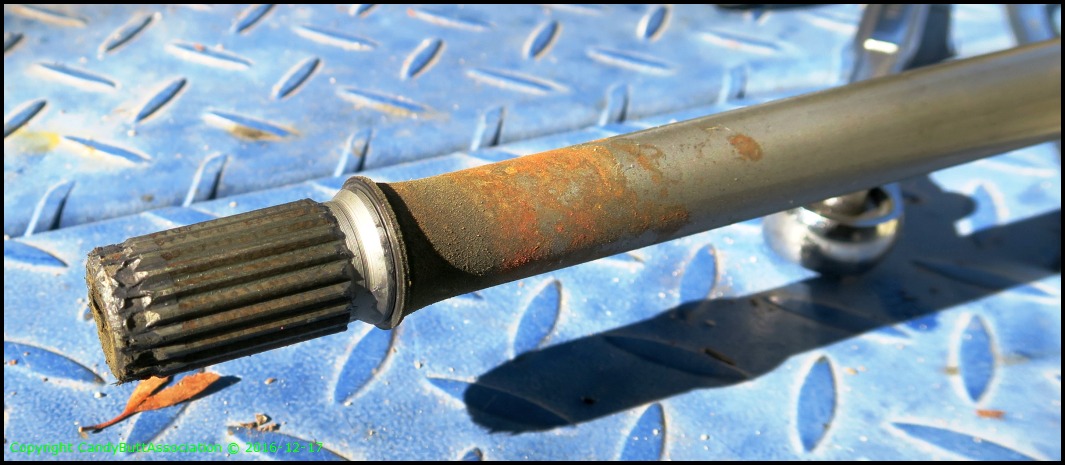
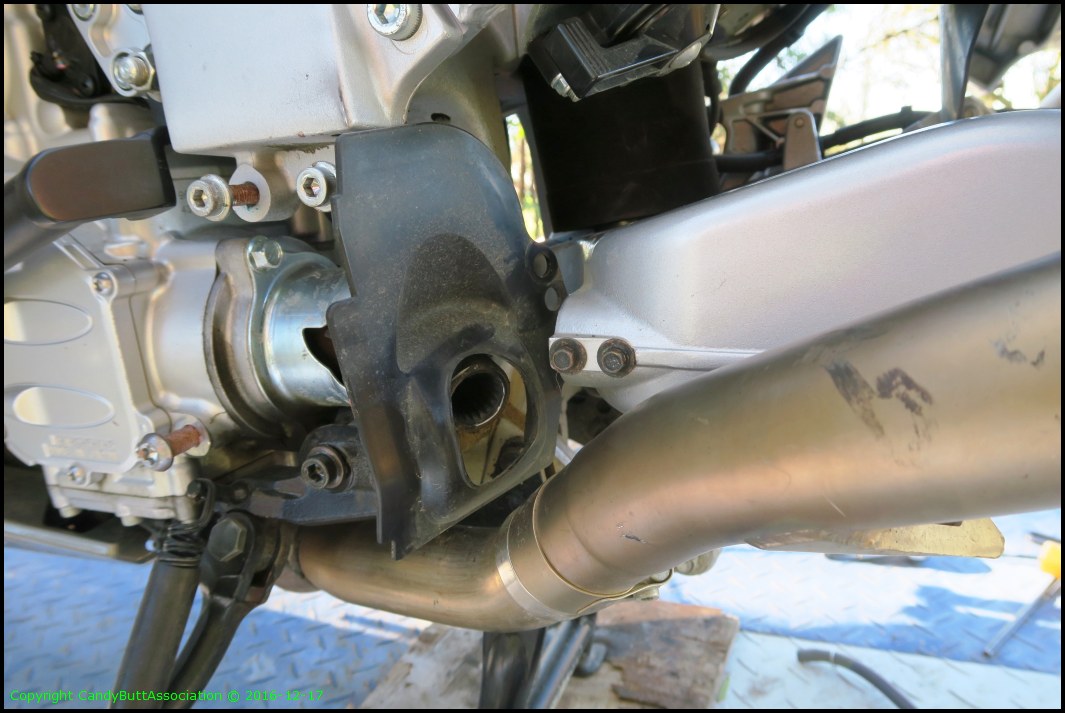
CloseUp of final drive that interfaces with the U-joint. No grease/protection.

Hmmm. How aboot the shift mechanism? Pix to show 'dot' alignment.
Alot of grunge, for an Az bike.. I expect this from my bikes as I live on a long dirt road.. But for an Az bike?
Let's talk about U-Joints.
Plastic cover orientation. The plastic quick release pin confused me for a bit. It would NOT push in.
U-Joint orientation for removal.

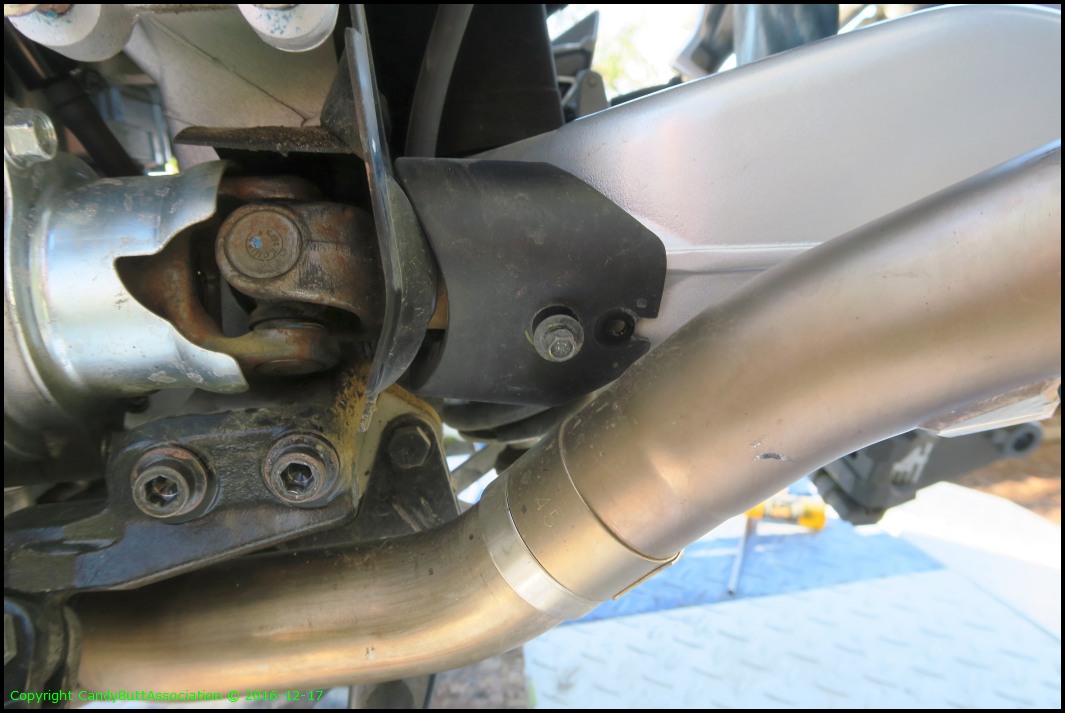
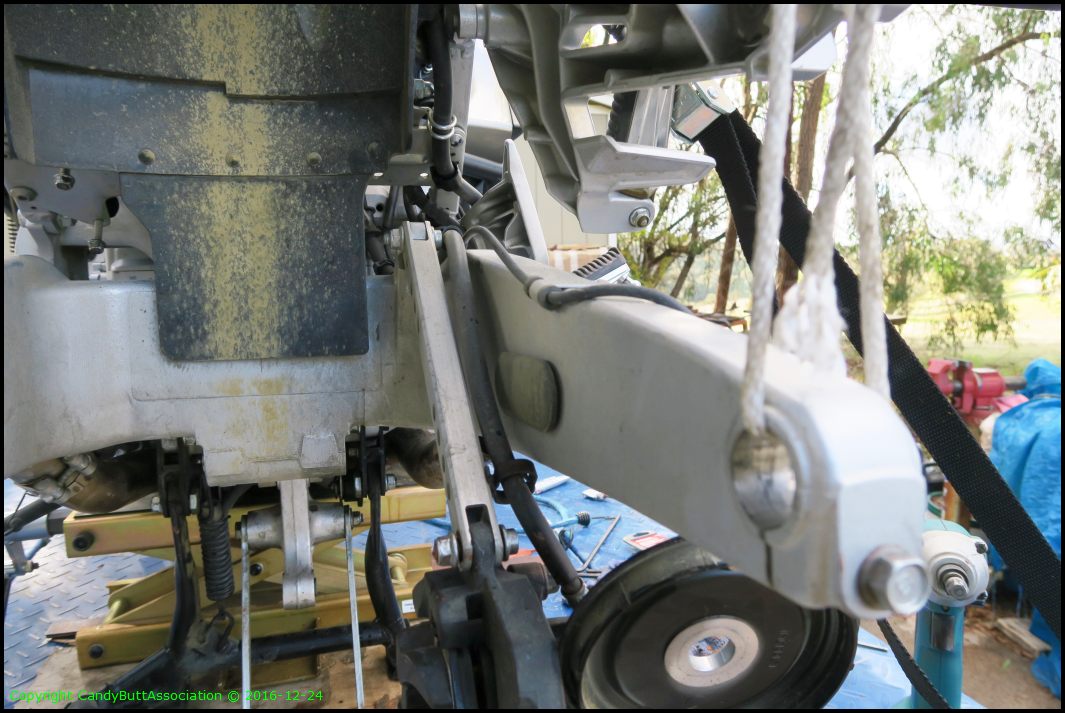
Time to remove the shock. The ABS brake line is in the way. Had to remove two brake line holders to allow hose movement to gain access the freaking bolt head.
The upper relay arm is easy..
Once again, an Arizona bike. Dry. And look at this corrosion.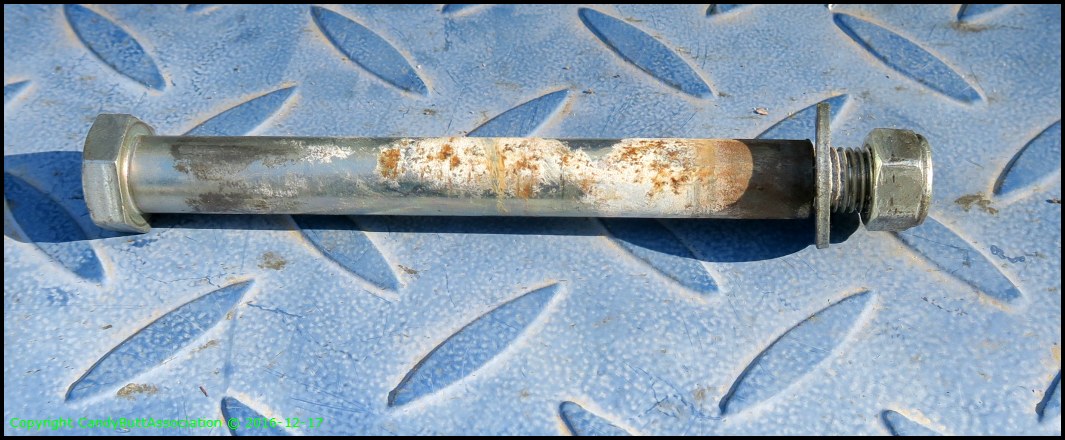
A pix for me remember what it looked like. What, do you think I do all this for YOU?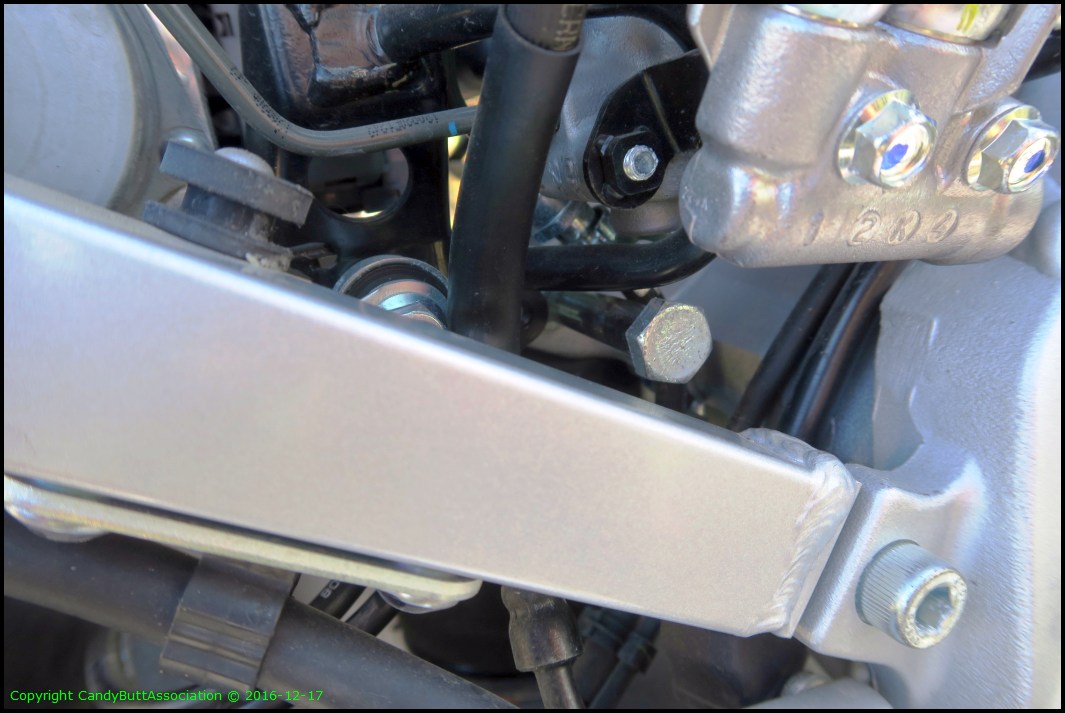
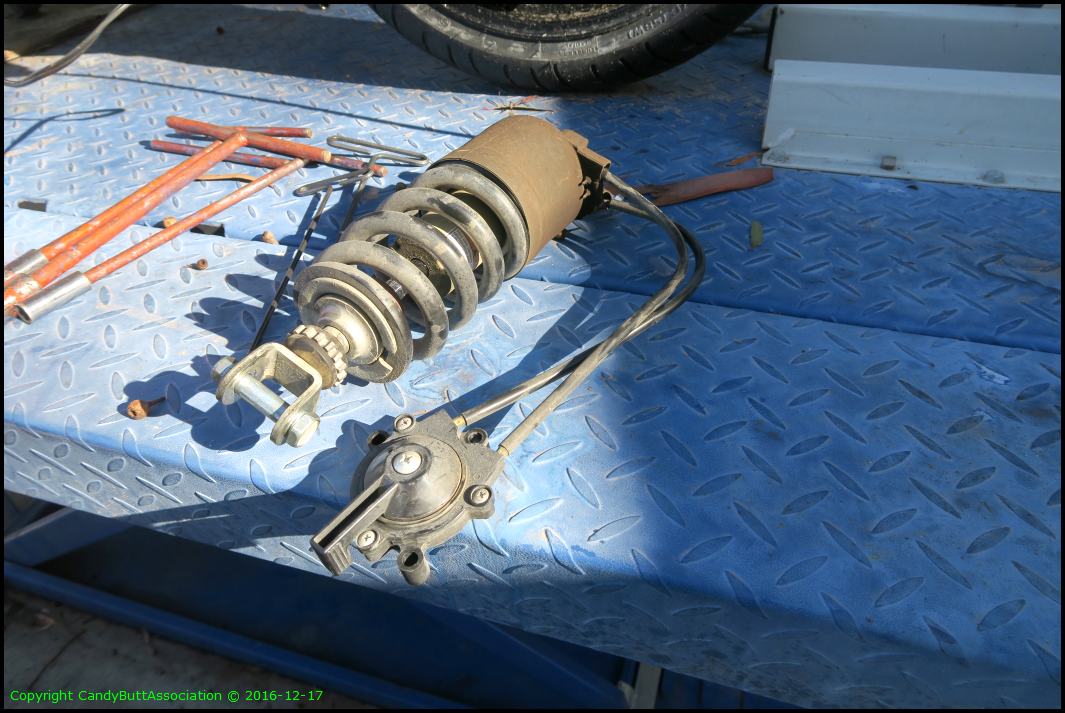
The stock shock. Some say it is truly a work of engineering masterpiece. Make me an offer.
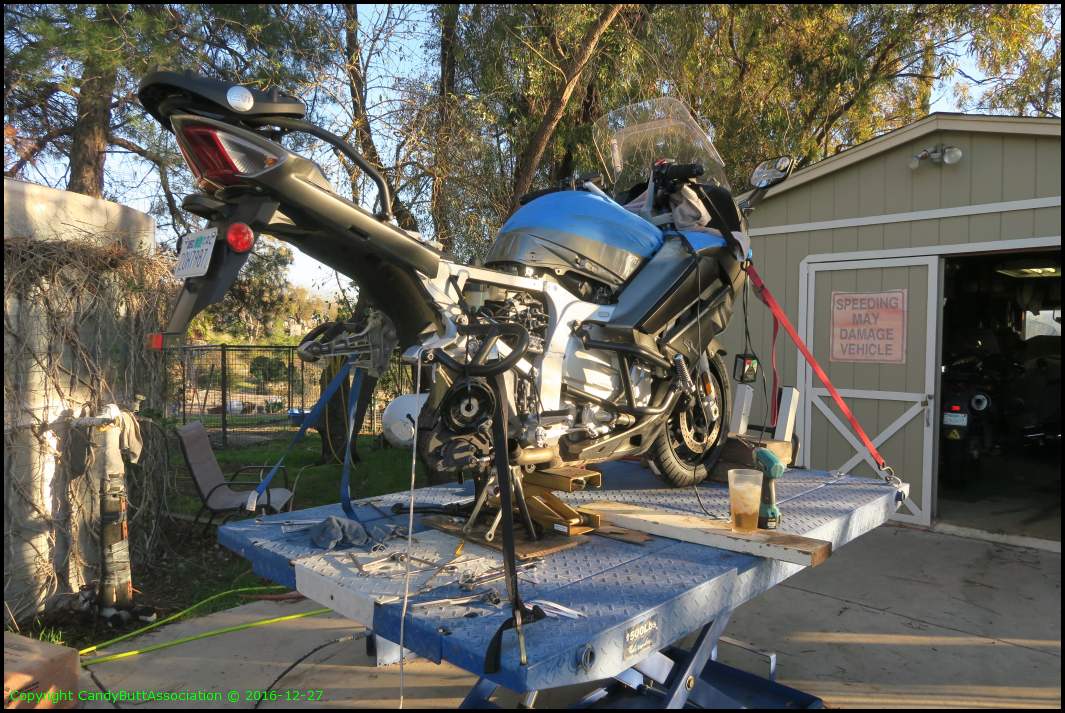
So let's set he picture. It's 39F outside. I can't figure out how to get relay arm off without first removing the center stand. And lifting the bike up without support is really sketchy. The problem is, I didn't roll Naomi far enough forward into the wheel chock. So CRAP.

Tilt your monitor sideways, left, you DOOFUS!.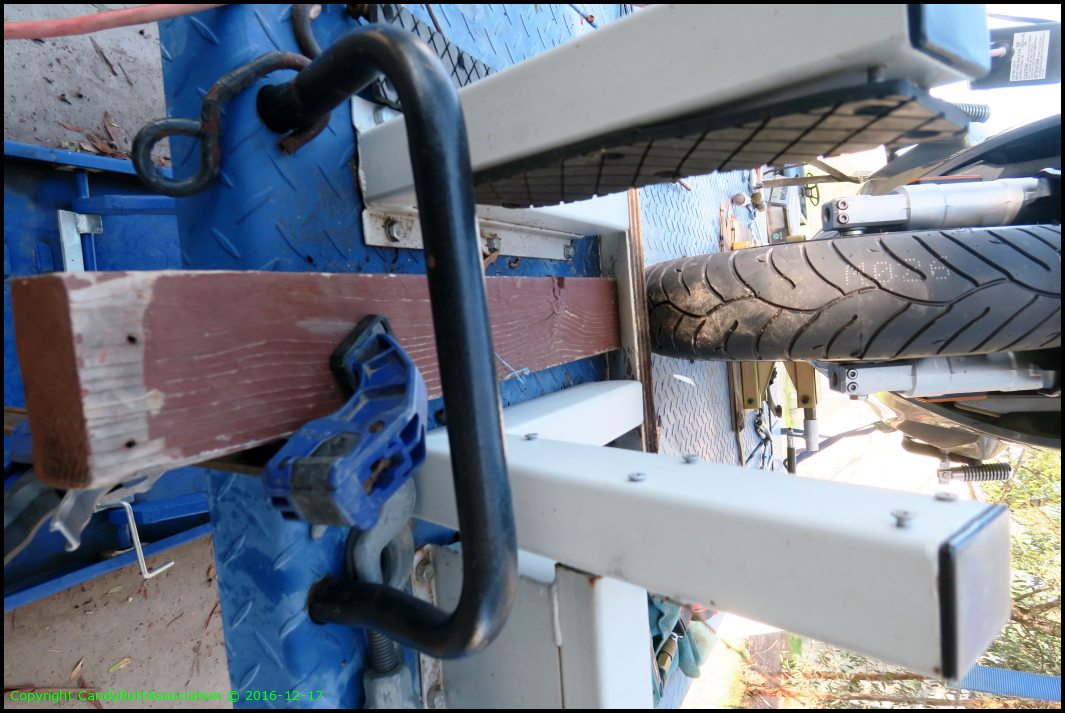
So here we are.. Ass-End in the air. Kind of sort of locked down to the lift.
Just exactly where to go from here?
Searching previous FJR forum posts... Cut the two bolts securing center stand. Order new. Put in backwards for installation. Center stand removal not needed. Just remove 'forward' bolts, rotate, and you have clearance to remove top linkage bolt. OR!~ Just remove swing arm.
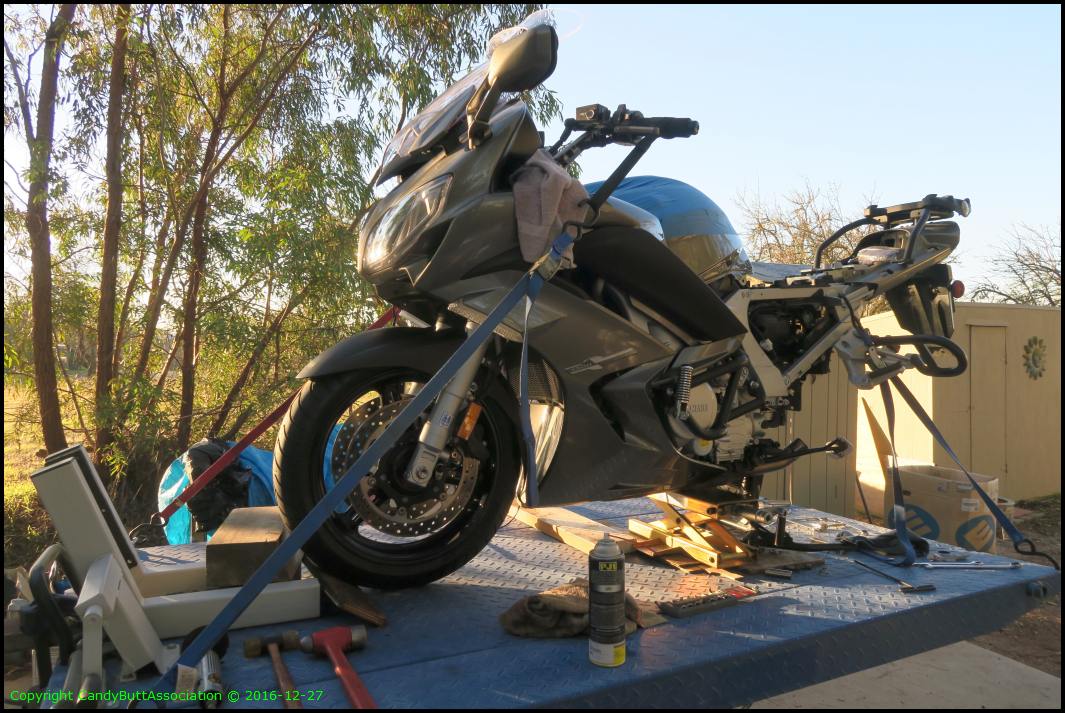
So here is where Naomi sits..
That's it for now. Work gets in the way..
Looseness?
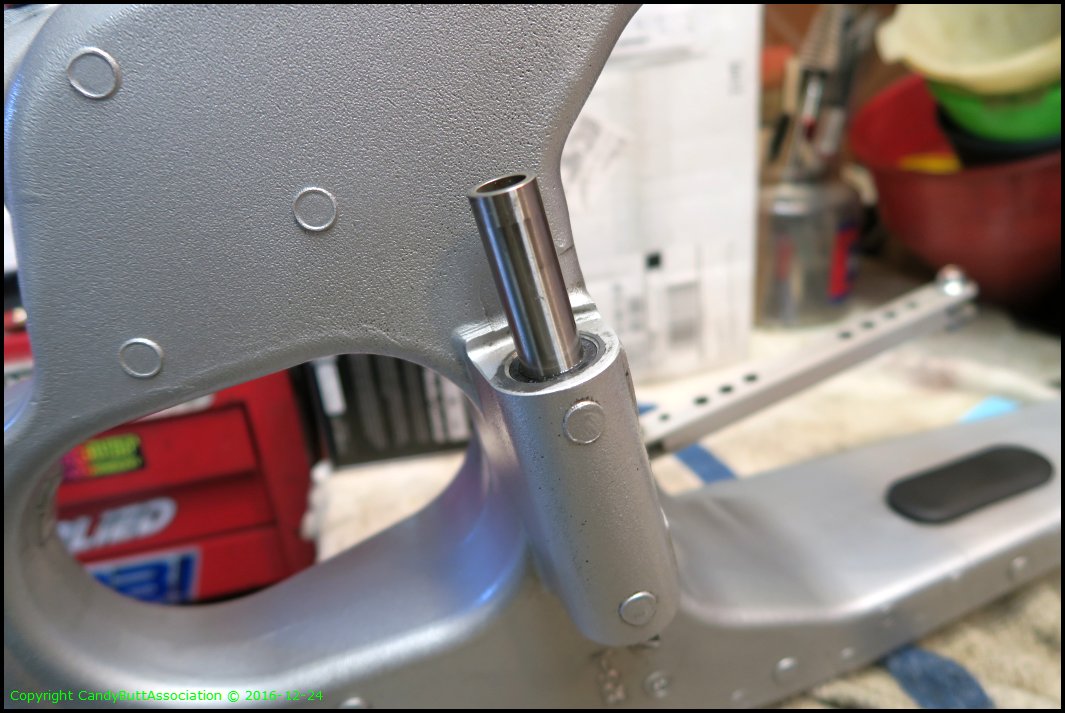
2016-12-24 Swing Arm
2016-12-24 Christmas Eve, Swing Arm Removal
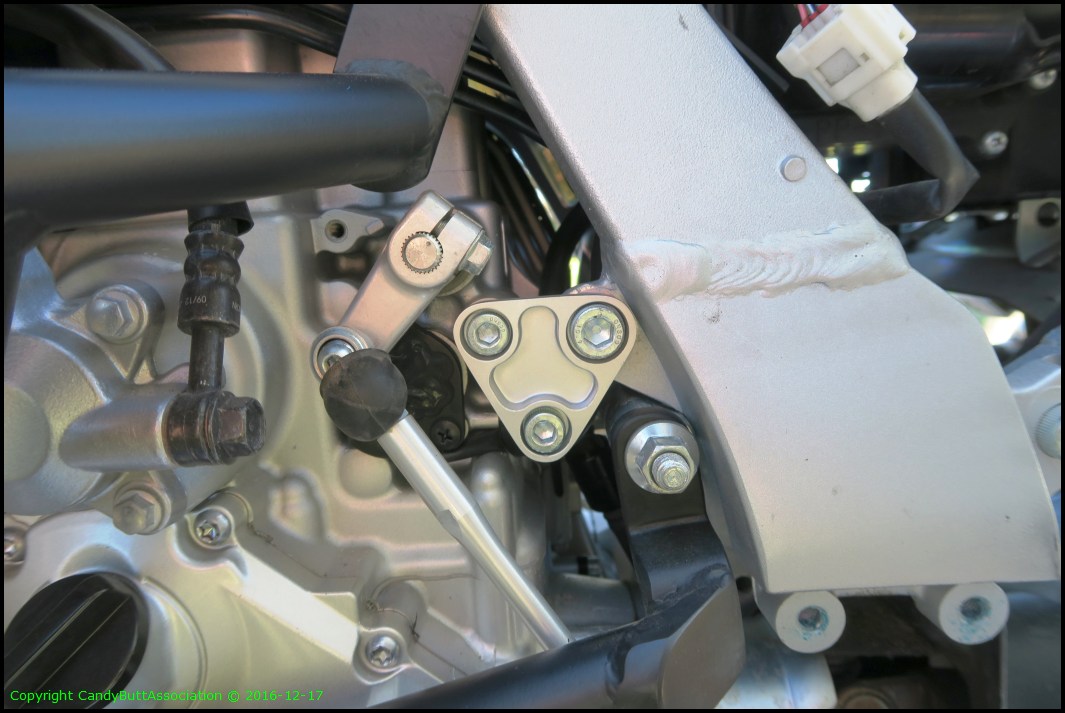
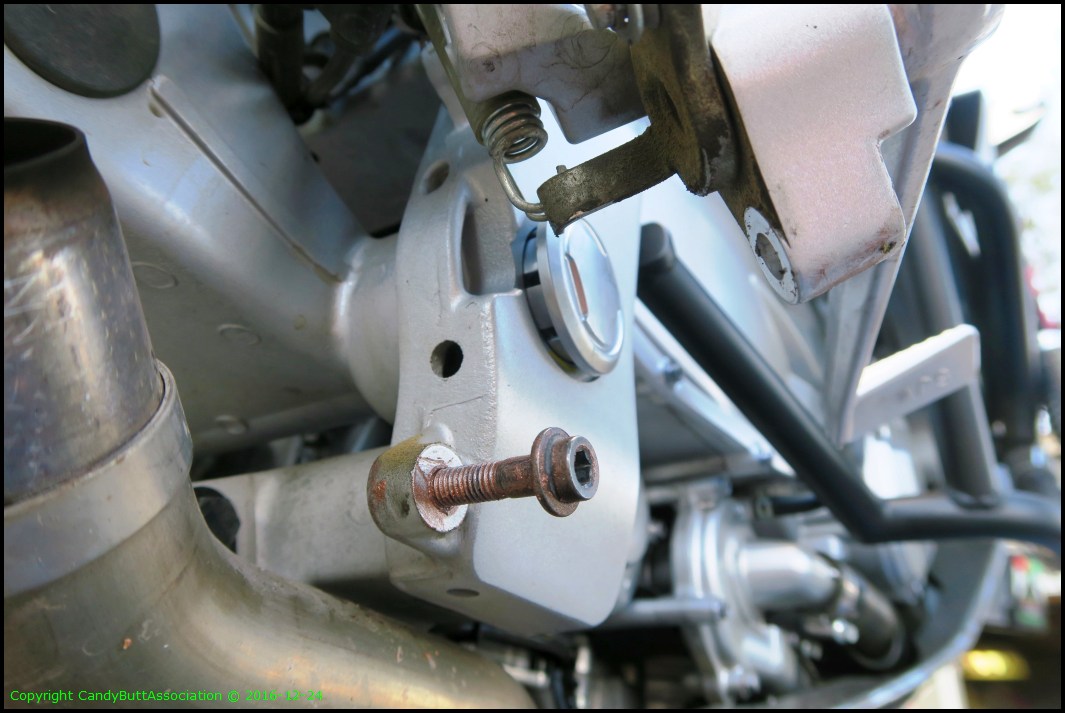
FSM says right hand peg has to come off. Two bolts. One where the hex/socket is..

One under the brake lever. Black in color, below silver colored one.
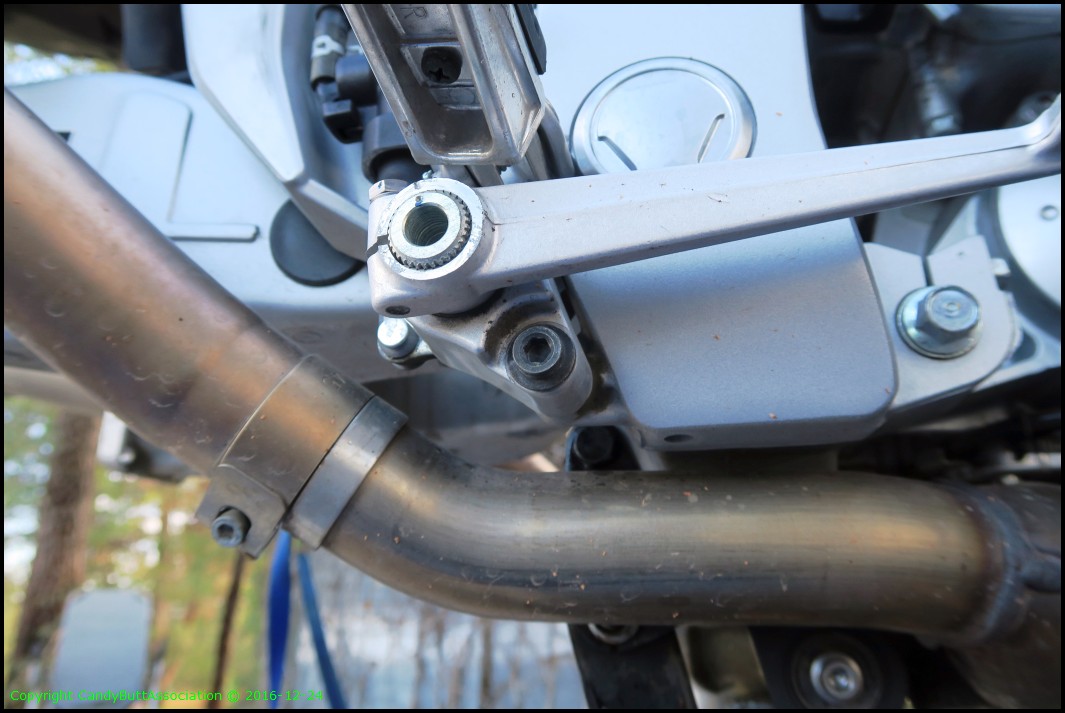
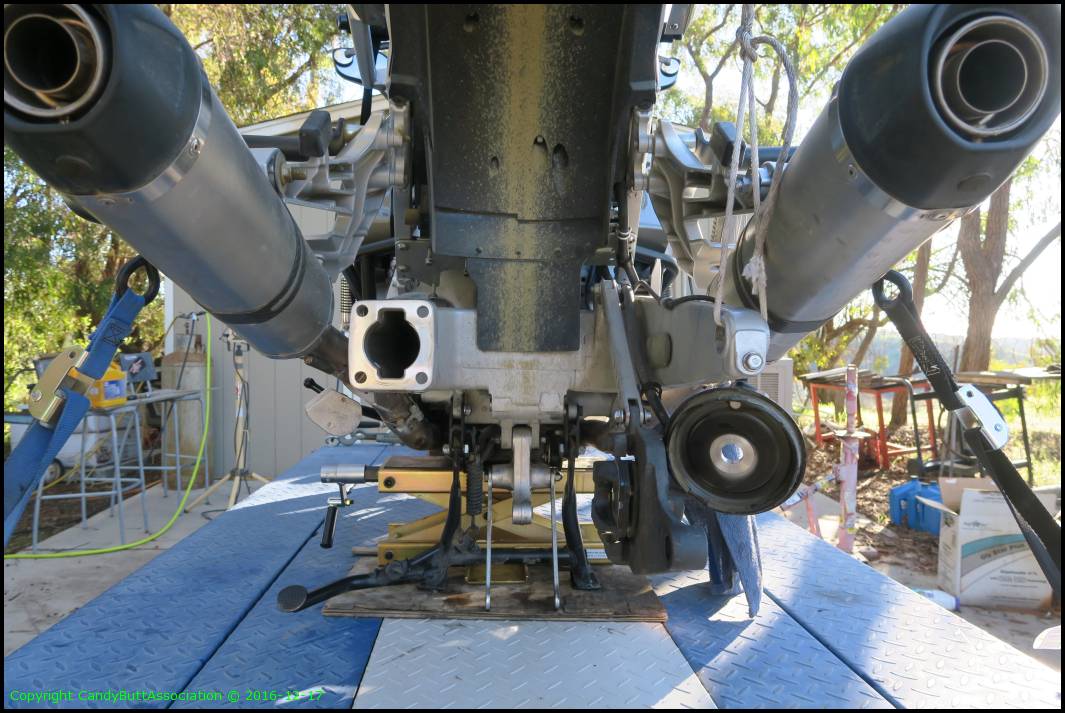
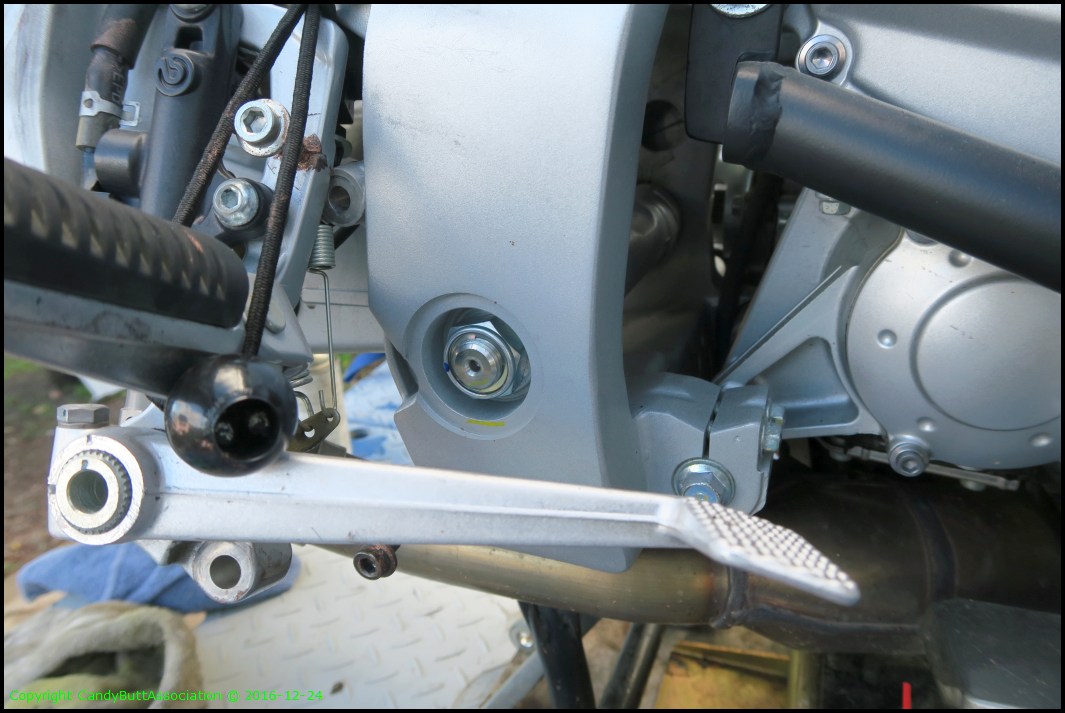
Mufflers off. Had to loosen crash guards.
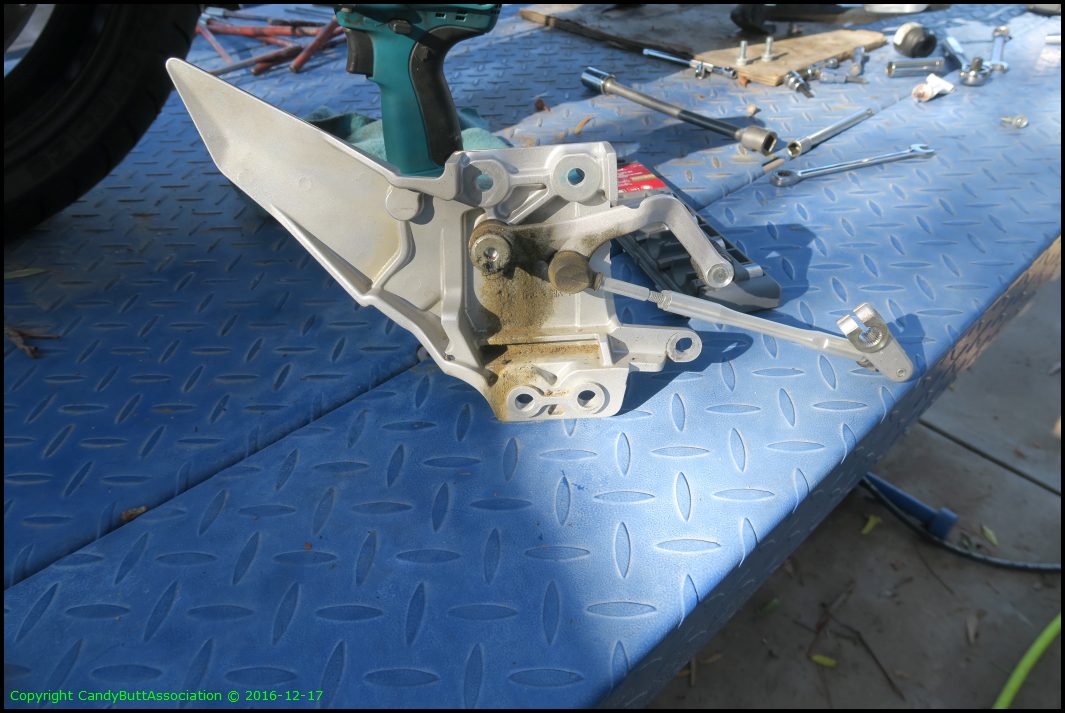
With RHS foot peg/brake assembly out of the way, the swing arm cover cap can be pried free.
On the LHS, the locking nut tab has to be removed.
..and the hold down for ABS cable.

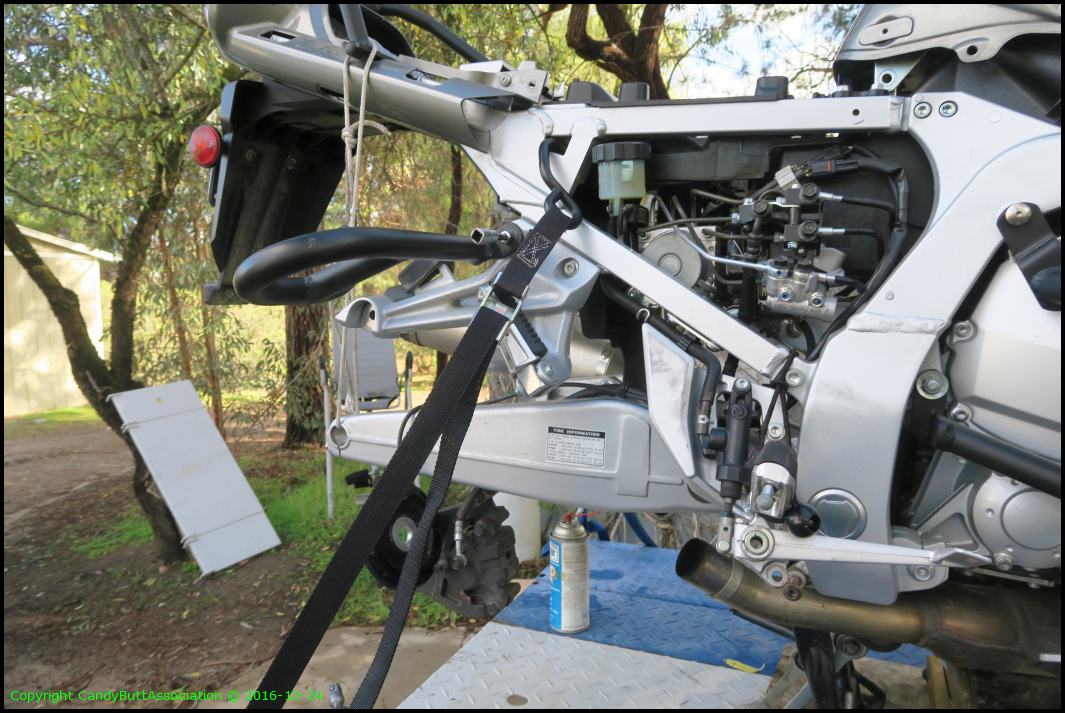
Orientation picture. Rope holding swing arm up.
Cover cap coming out.
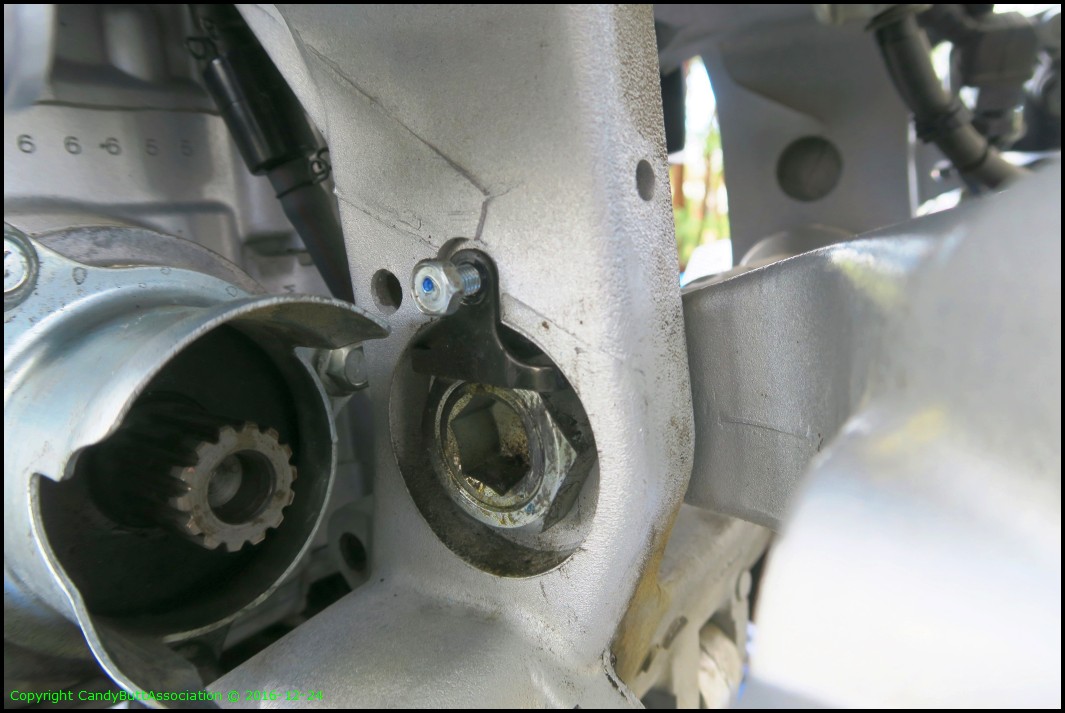
Revealing the nut behind.
I'm not understanding the assembly. Does this nut have to come off? YES. But later. First the other side, RHS.
KROIL, 1/2" drive air impact at 145 psig and the nuts off.

Ditto for the other side. Then, I used PanMan's suggestion.. A spark plug socket, with 3/4" hex to spin the swing out. Interesting arrangement. Unlike any other swing arm I've worked on..
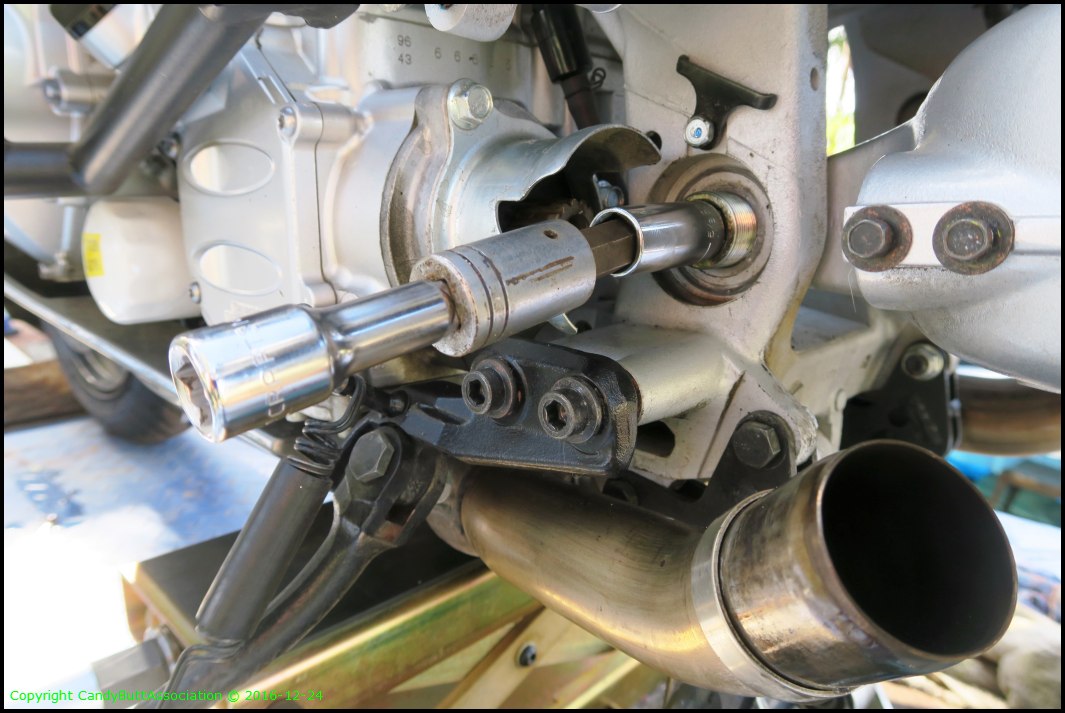
Coming out of the hole. Minimal grease.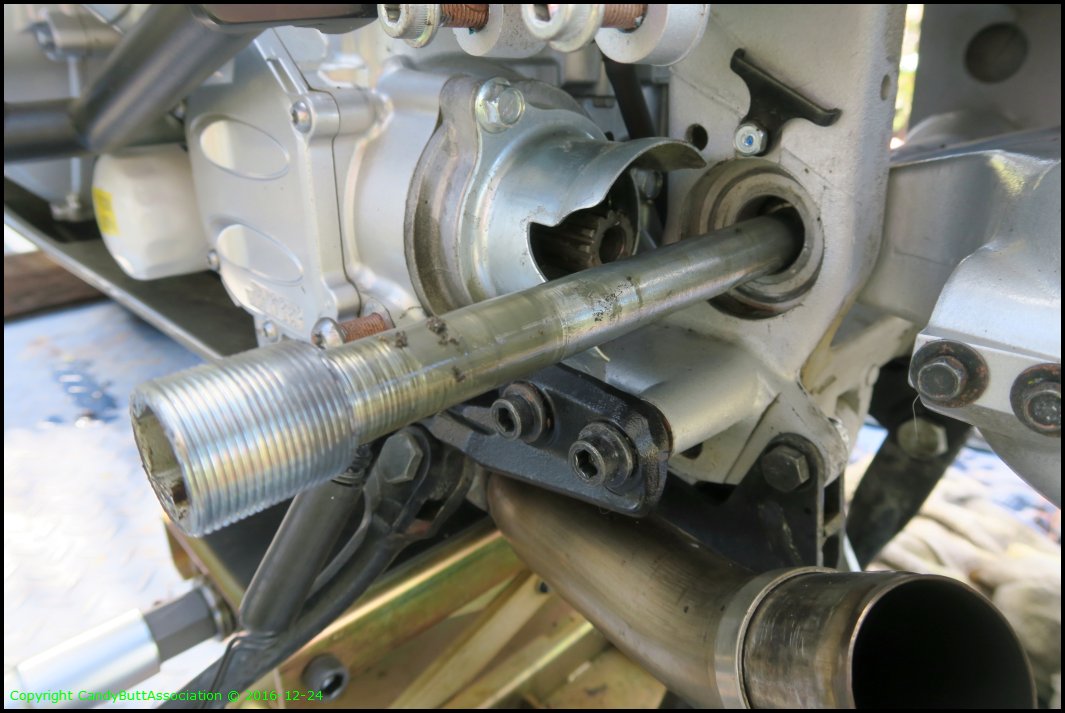
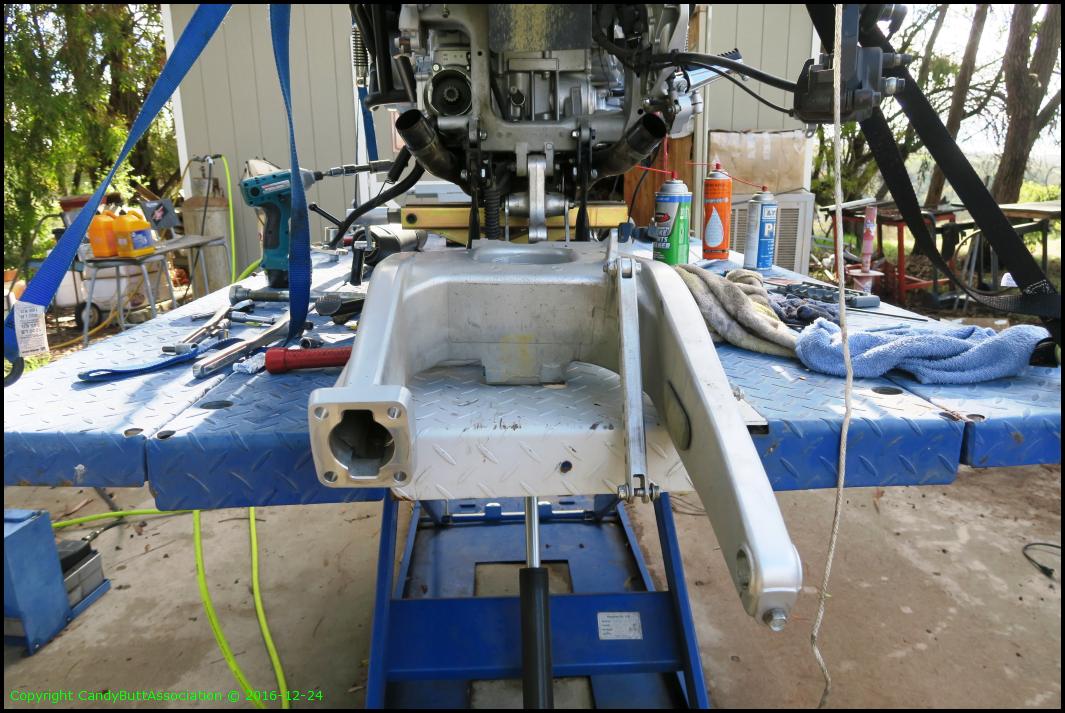
Money shot. Swing arm is off. And it is butt cold out here. 42 degrees F.
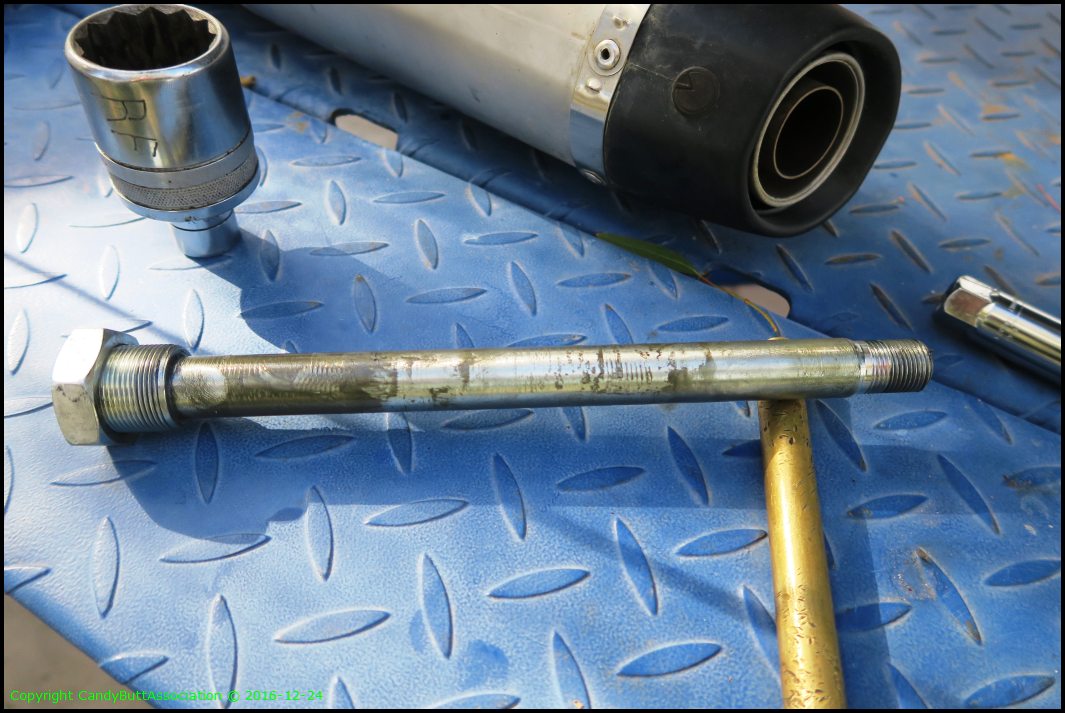
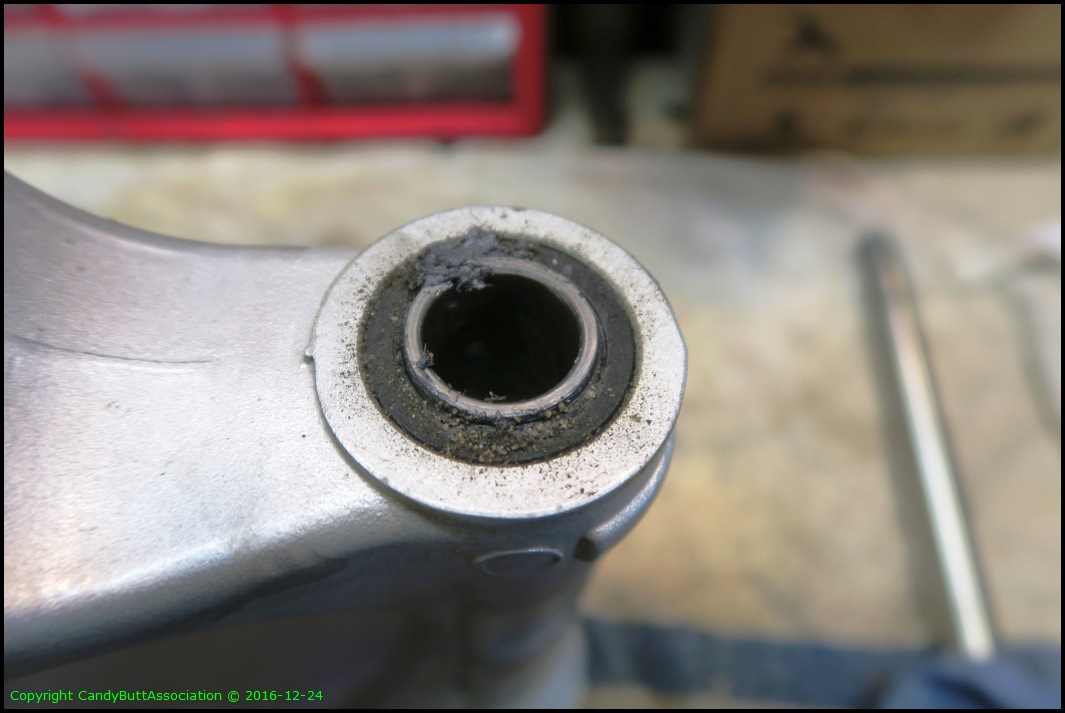
Swing arm pivot shaft.

Not horrible on grease content, but not great either.
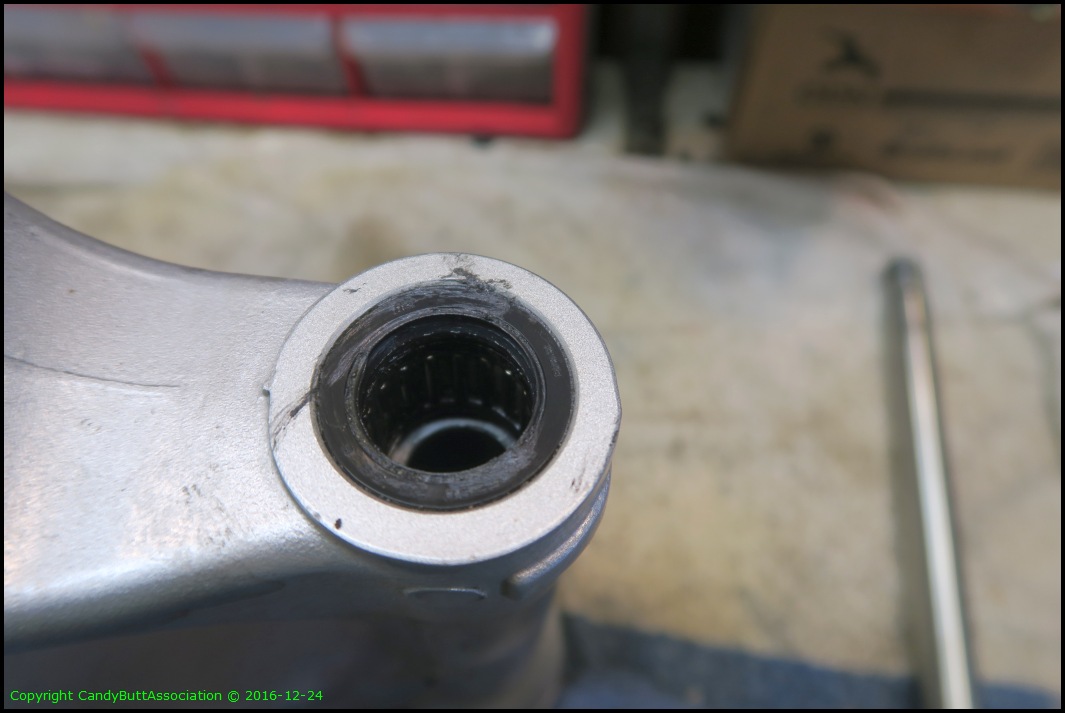
This side has a seal with a sealed bearing behind it.
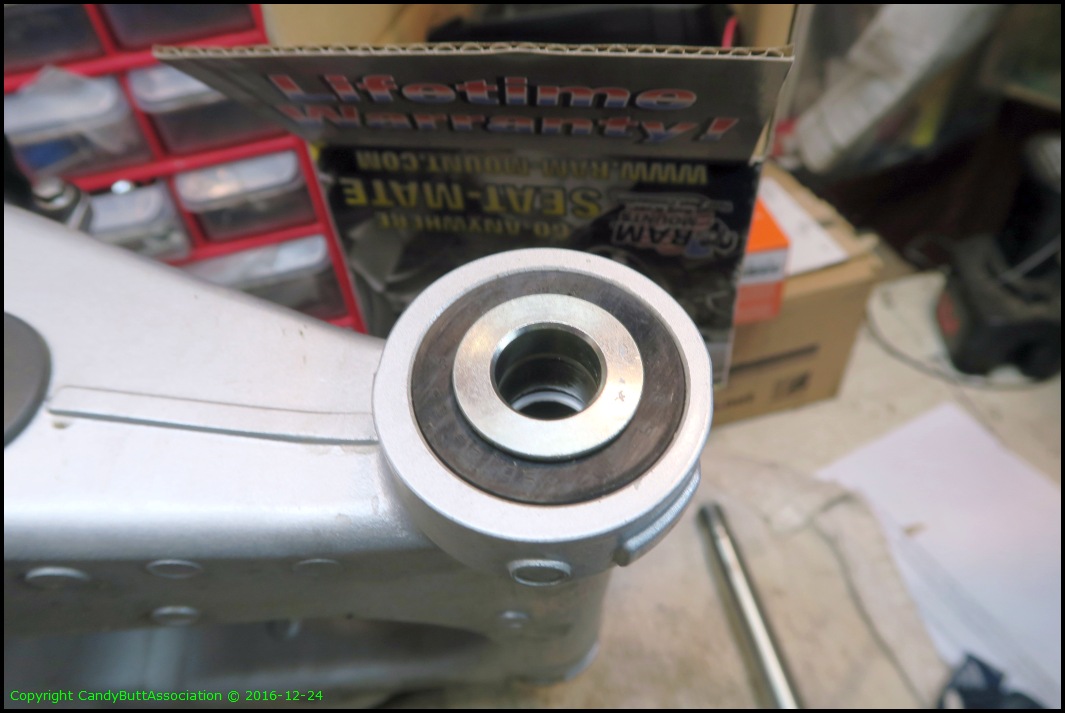
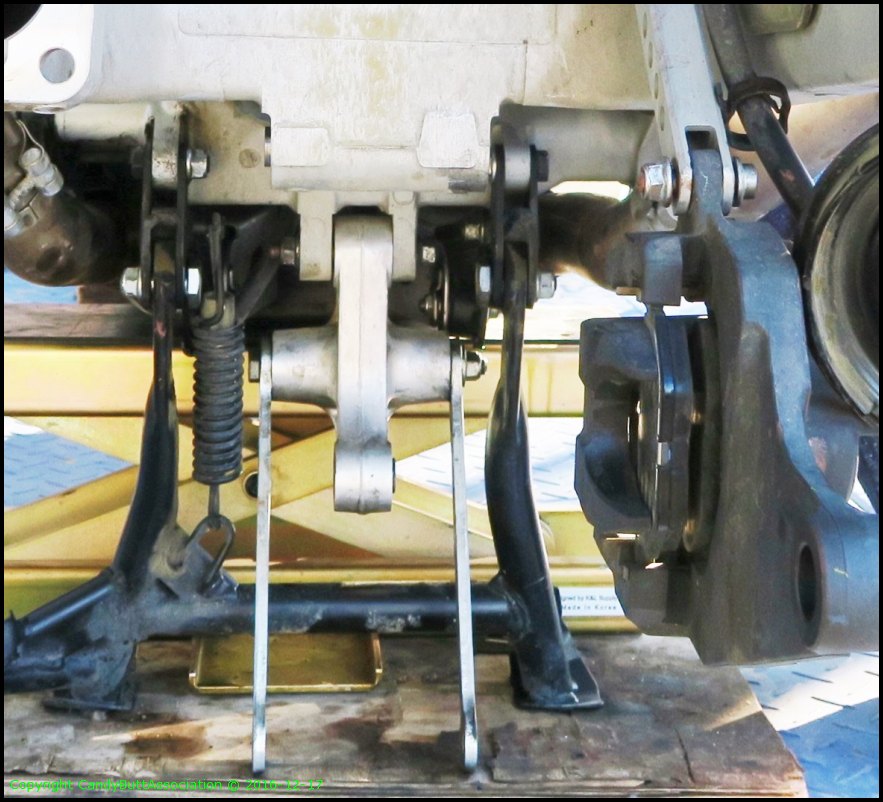
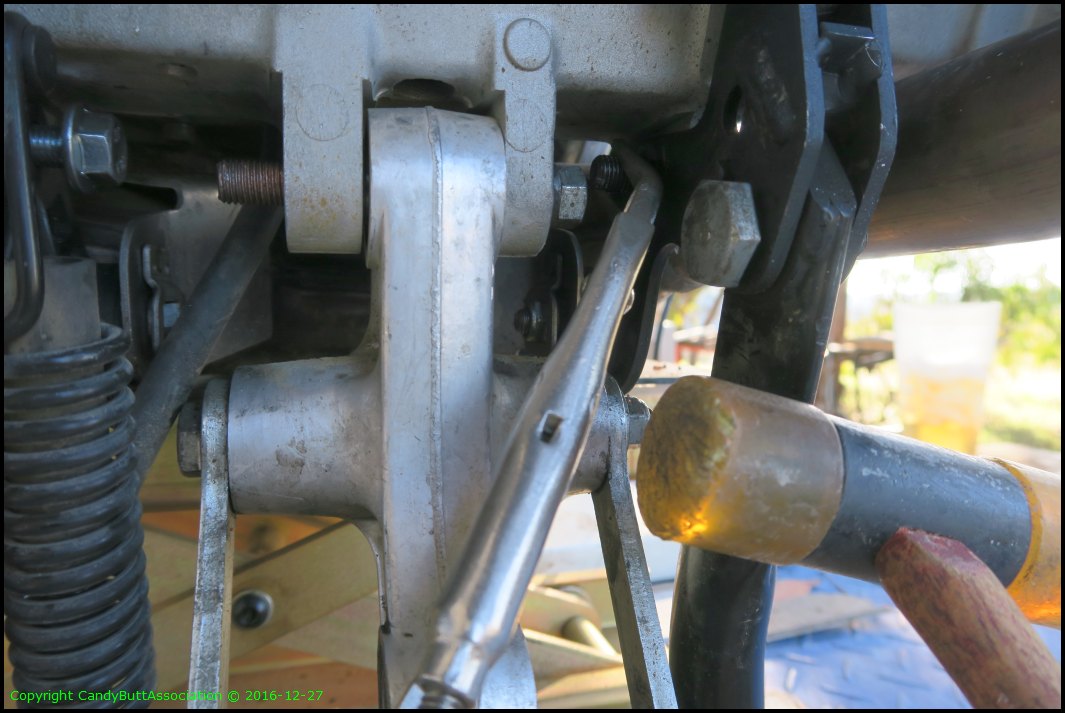
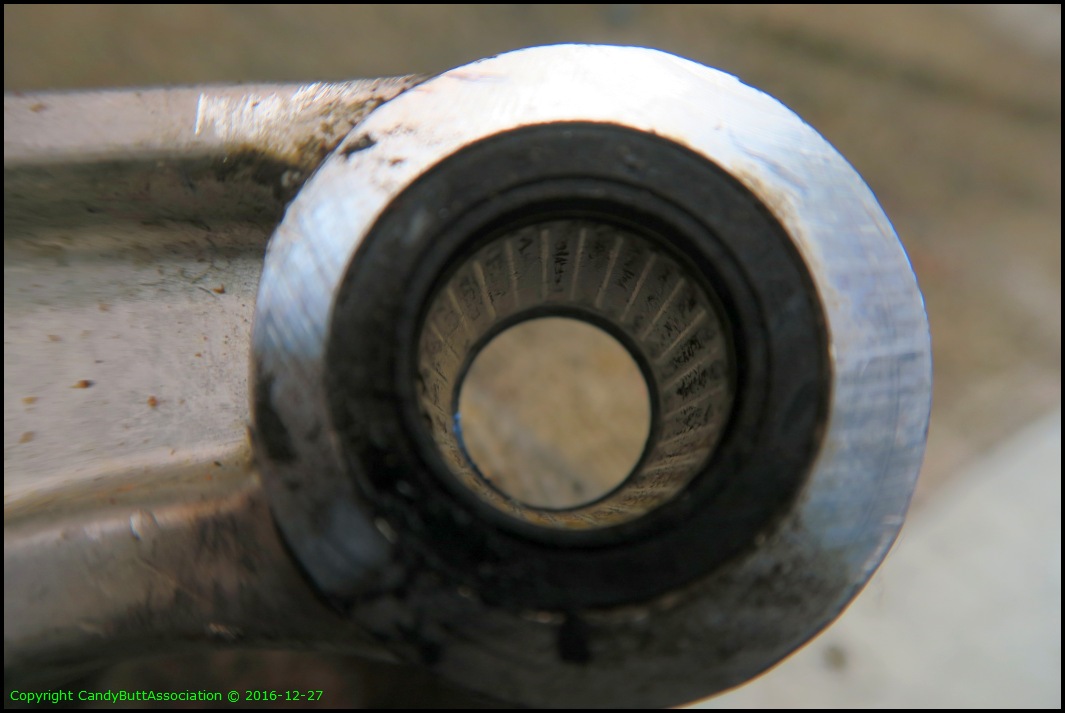
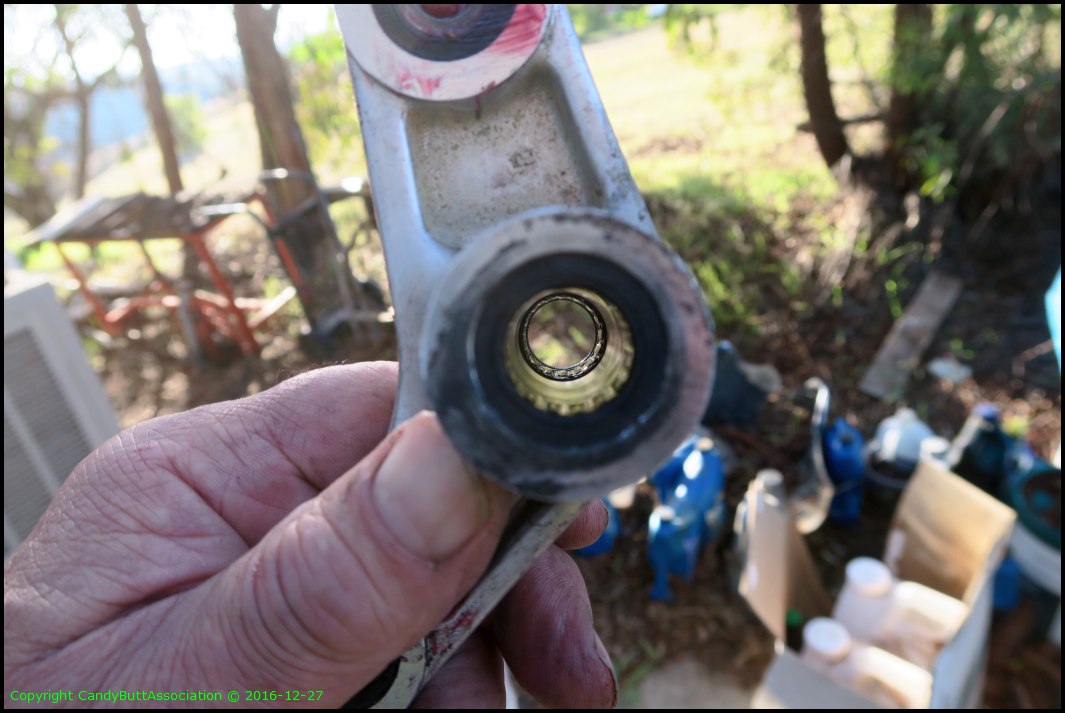
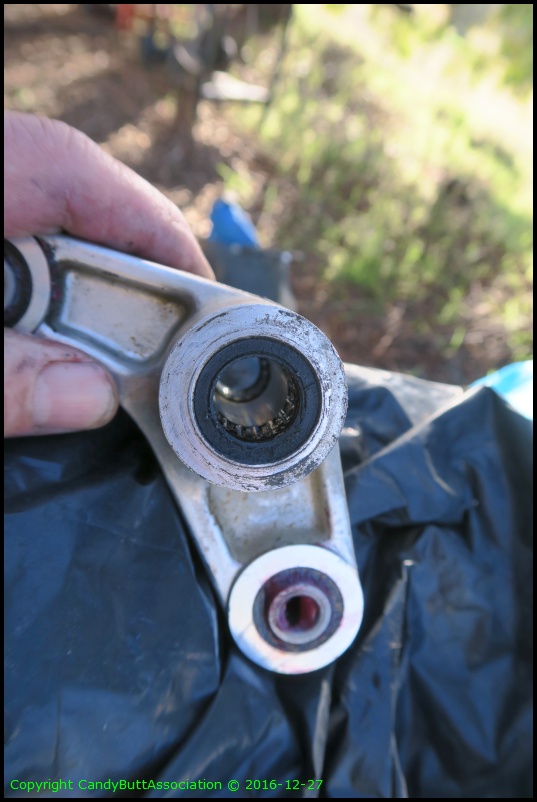
Relay arm linkage.
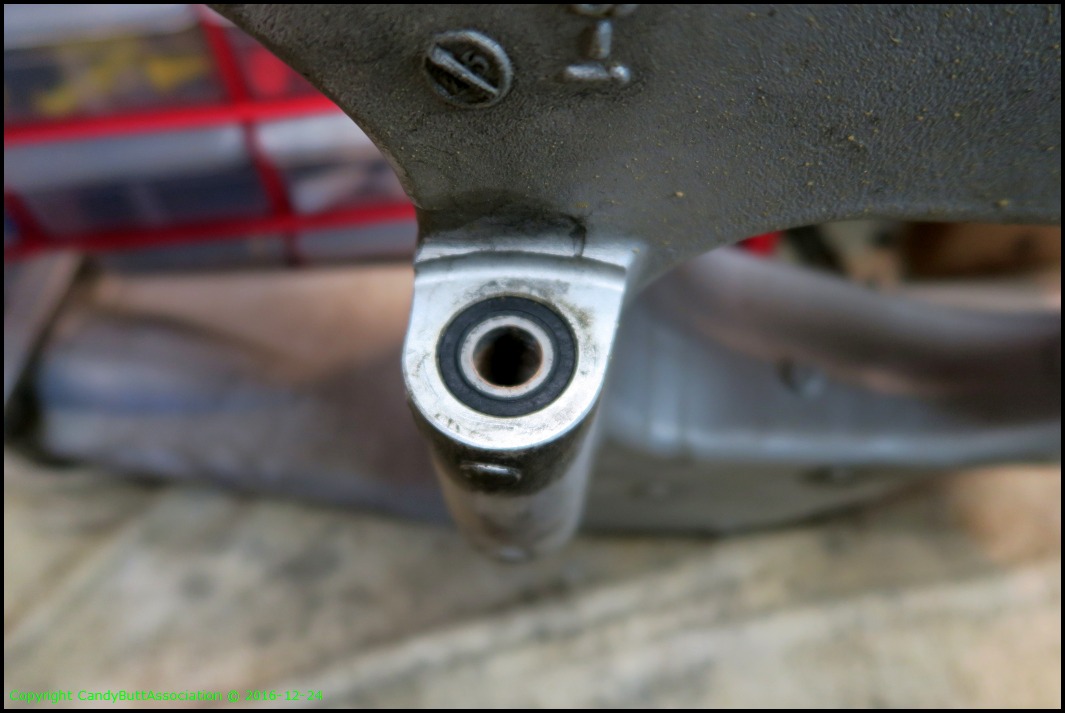
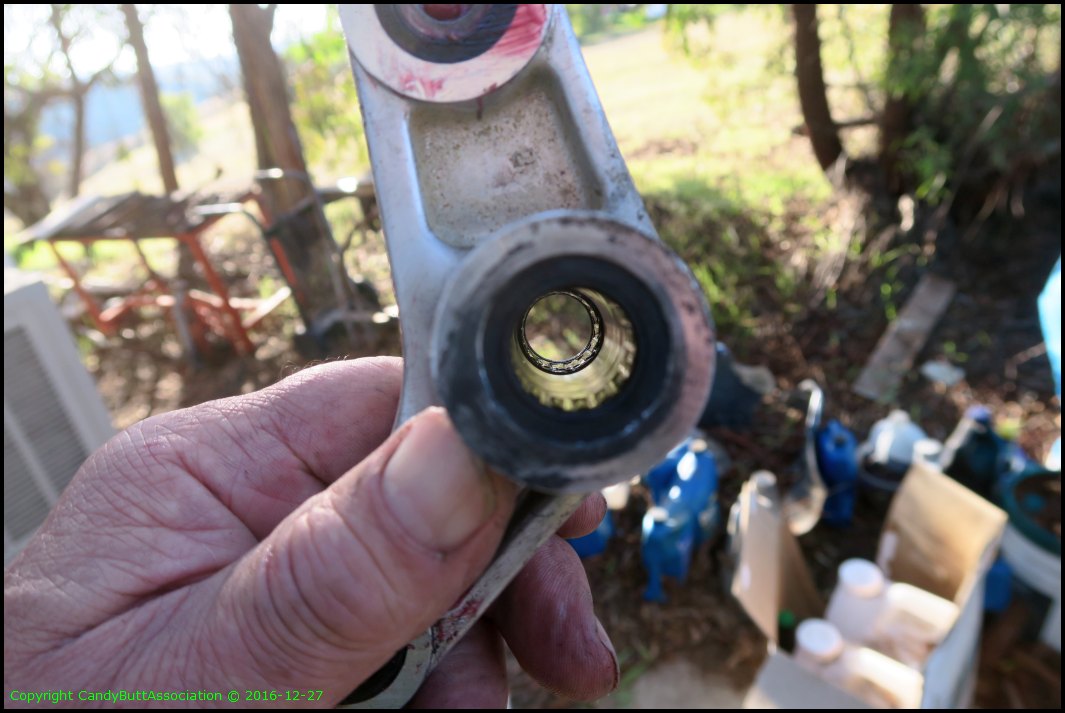
Other side of the swing arm. As you can see, dirt is trying hard to get to the bearing.
As found greasage.
The relay linkage came out dry, but no harm yet. Unlike KrZy8, where the needles were falling out of the cage and pin was rusted.
The swing arm has been cleaned using a Citrix based liquid I got from Napa Auto. It works better than the California numbed-down BrakeKleen.

All pivot points inspected, cleaned, and re-lubed using Mobil 1 full synthetic.

.
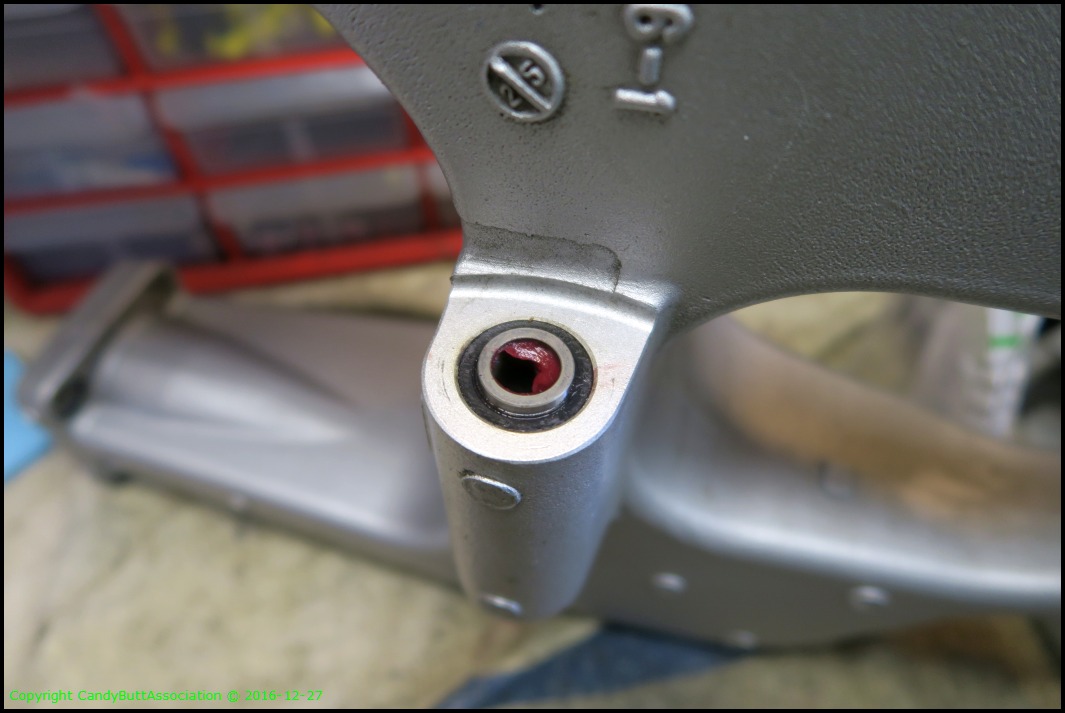
2016-12-27 RelayArm
Starting the day with the swing arm off and needing servicing. The last update is here.
The swing arm has been cleaned using a Citrix based liquid I got from Napa Auto. It works better than the California numbed-down BrakeKleen.
All pivot points inspected, cleaned, and re-lubed using Mobil 1 full synthetic.
.

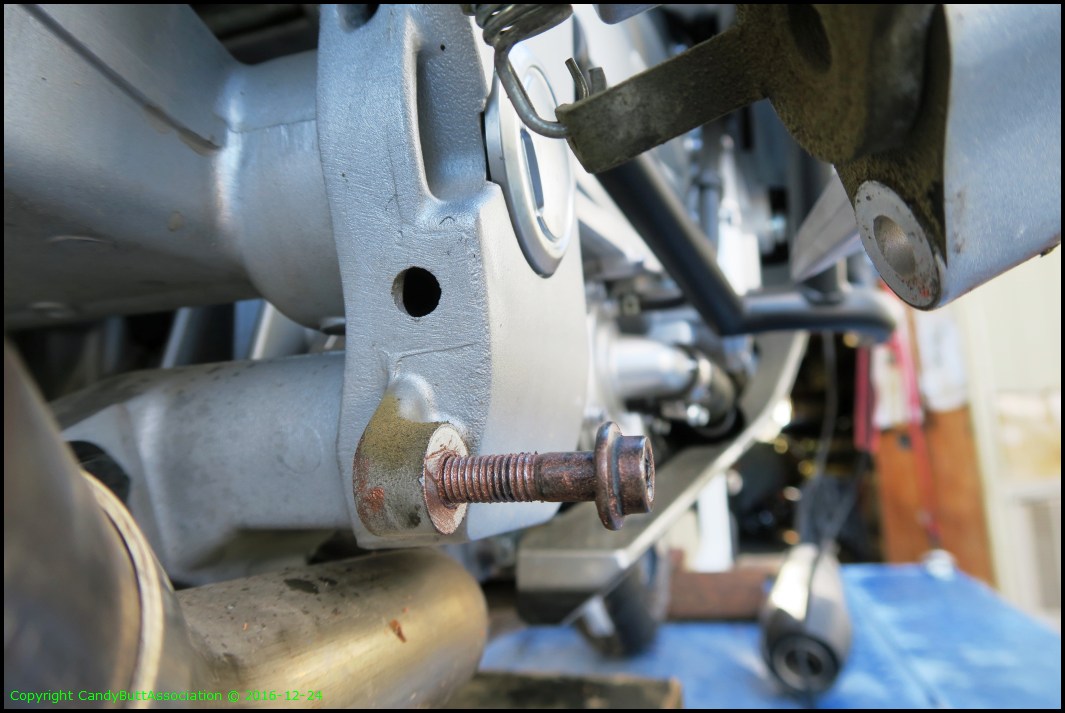
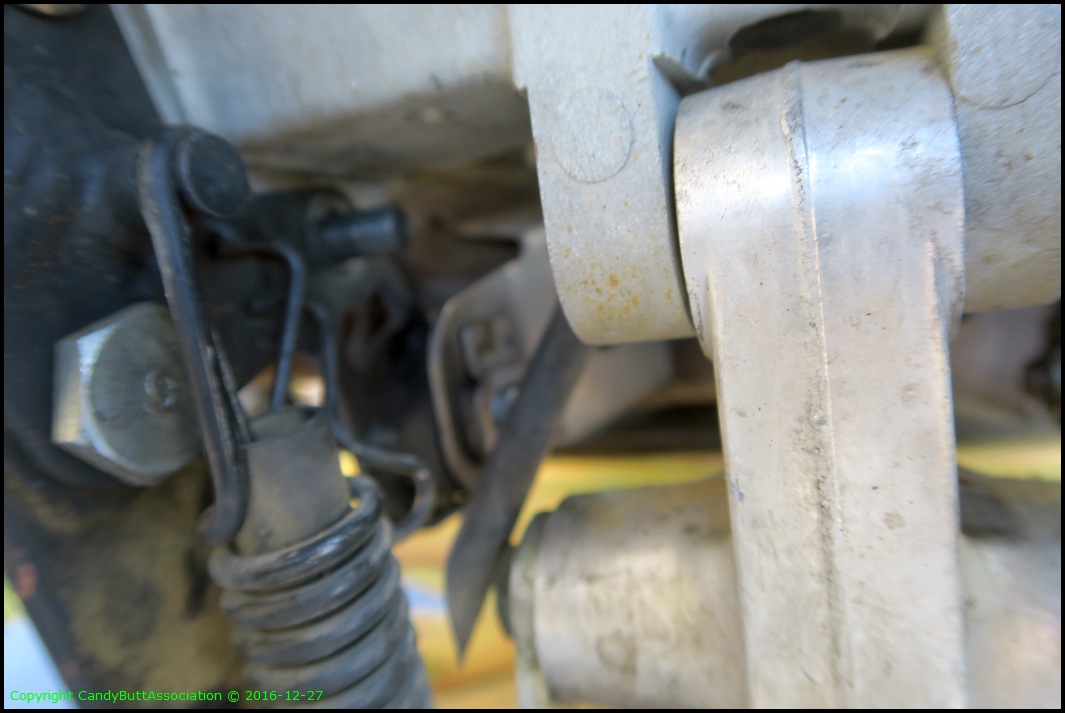
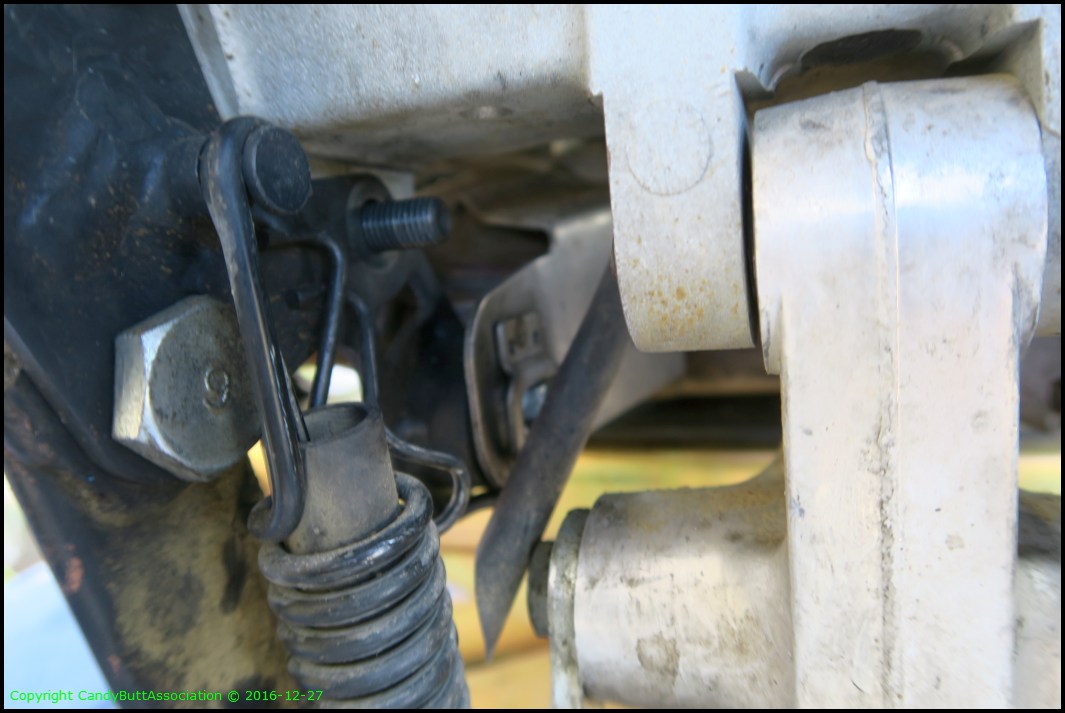
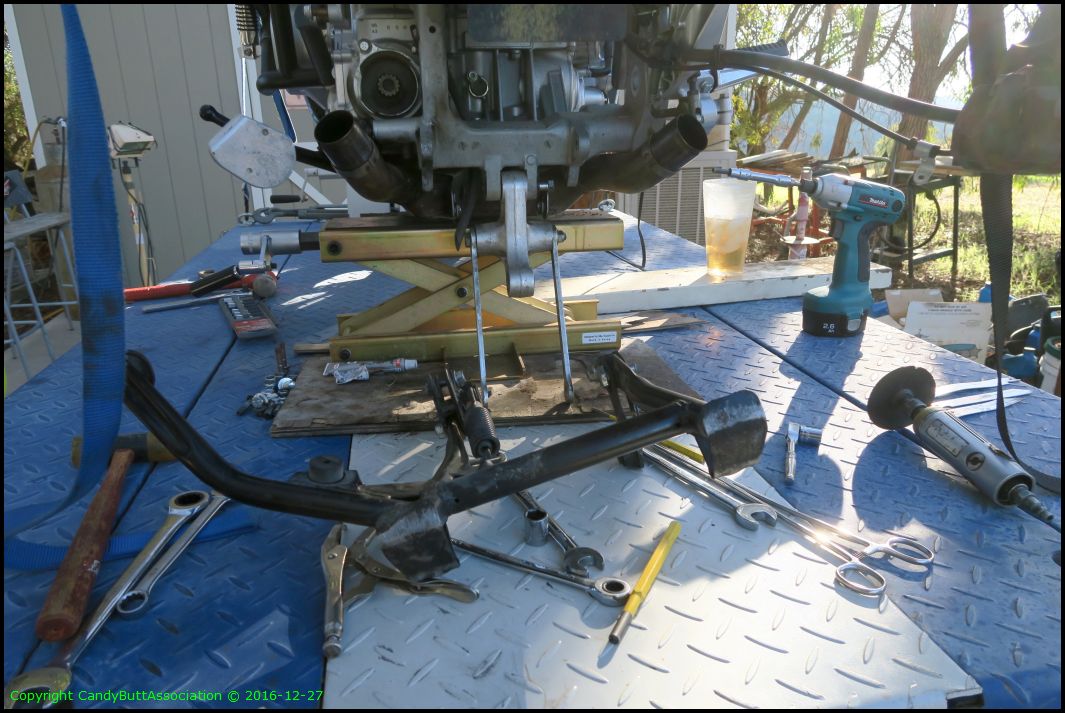
Now onto the relay arm and center stand removal. Here are my replacement bolts from Miner's hardware. We'll talk more about using shouldered vs non-shouldered bolts later.
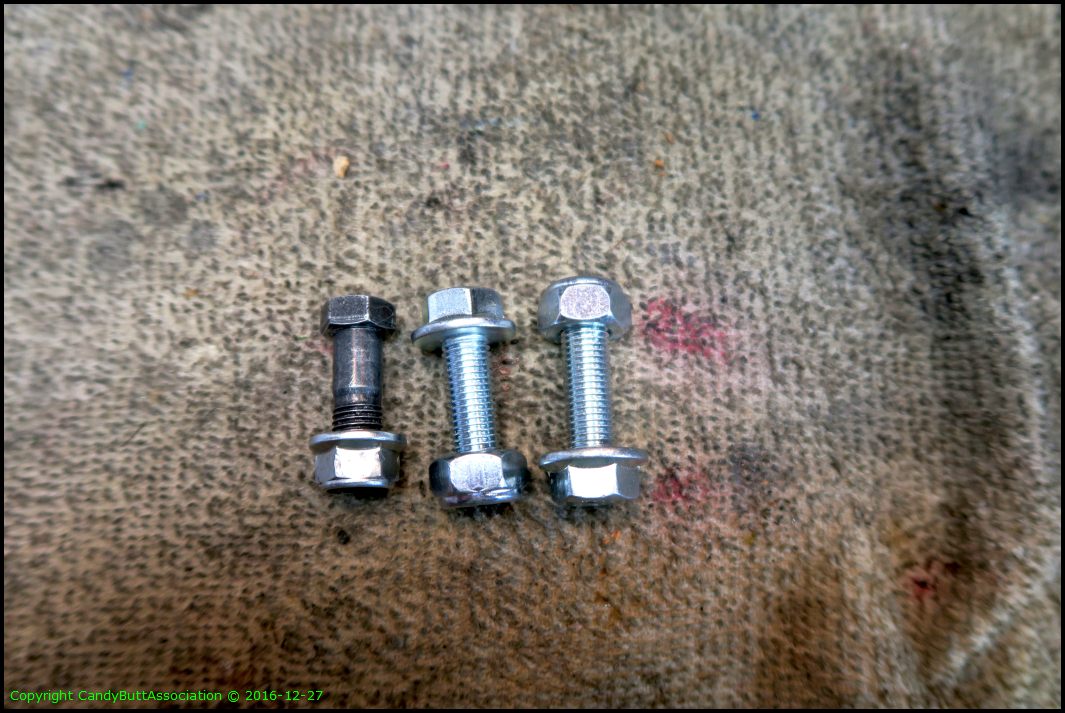
Test run of new bolt fitment. See right side, upper.
Loosen the relay upper bolt, slide it out of the way so you can get a clean shot with a socket on the upper left forward bolt.
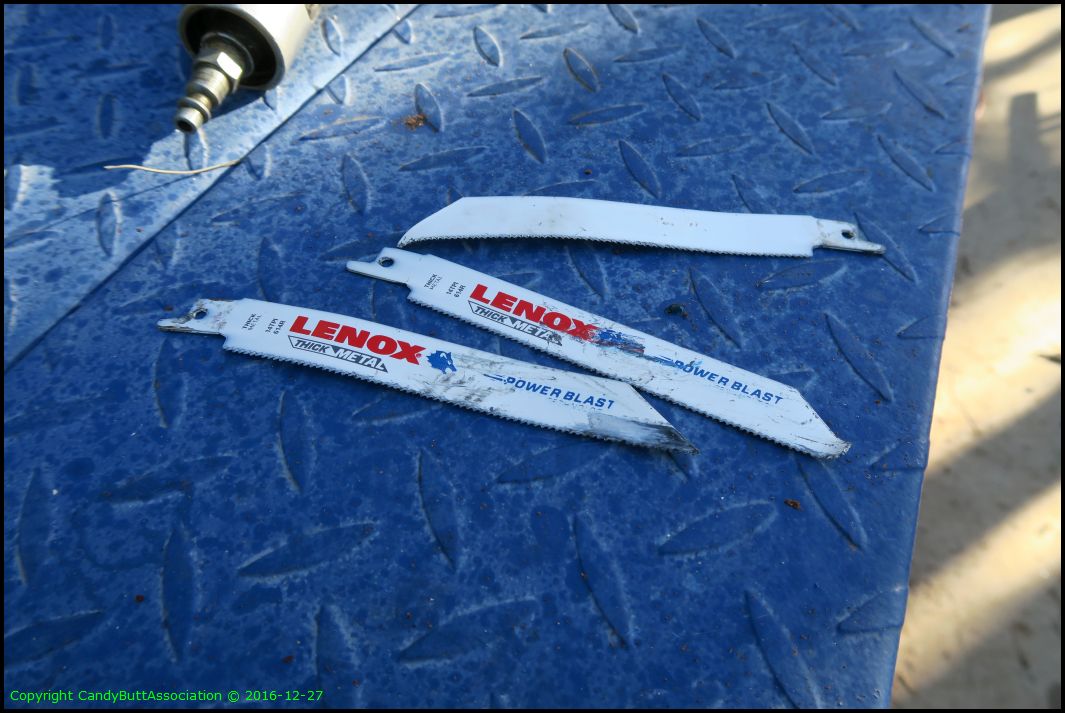
I'm a bit out of sequence here. The bolt has already been SazAlld out. I had difficulty with recip saw. Used a punch to drive bolt remainder out.
Hard to see, but the bolt is almost out. Upper left.
A better pix.
This was the problem. Blade too short. I chimped on buying the longer blade. Evidently size DOES matter.
Carnage.
Plan B worked much better.The right hand side has no access for a drift punch so I used a pair of angled vice grips and gently persuaded the bolt out.
 The
The
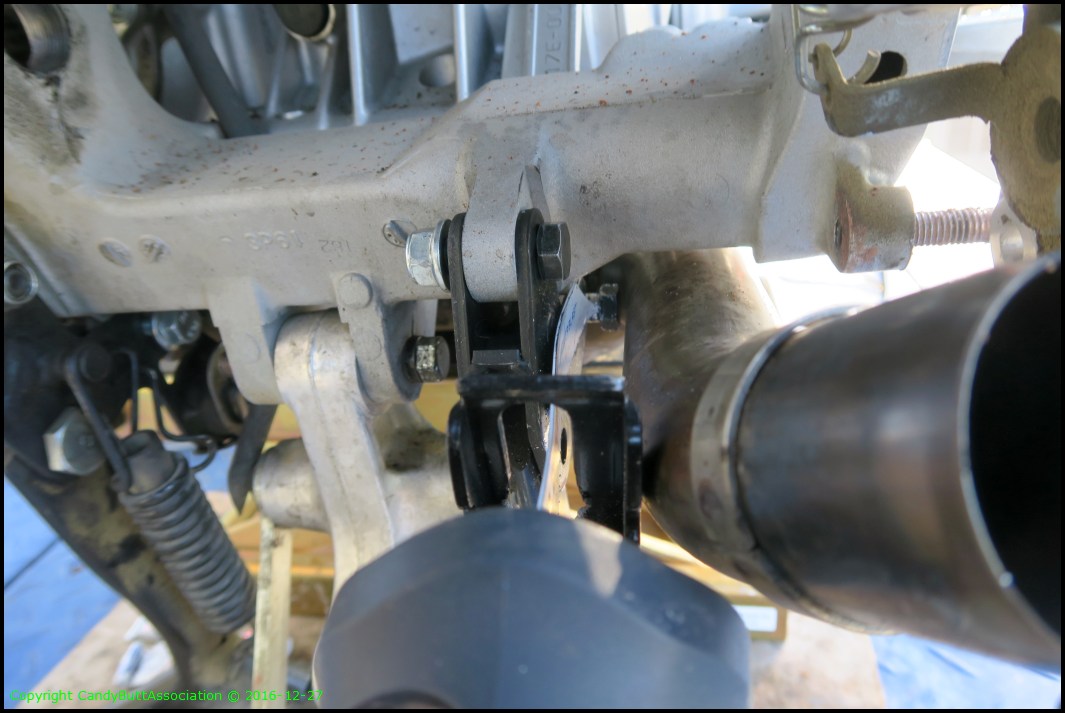
Center stand off!
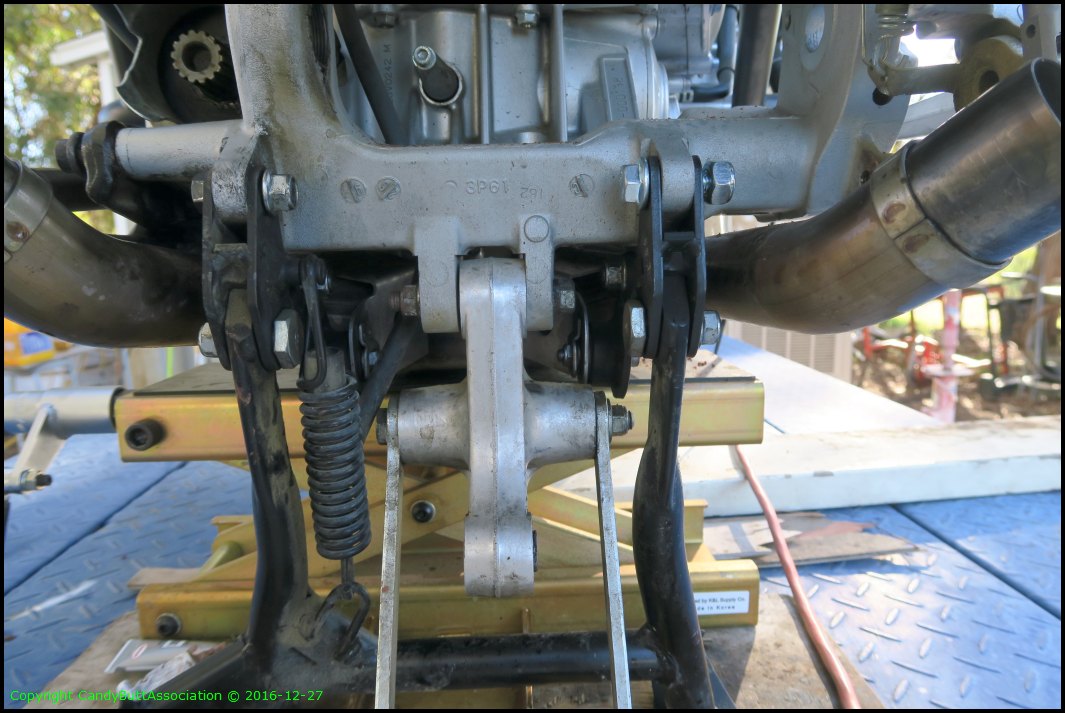
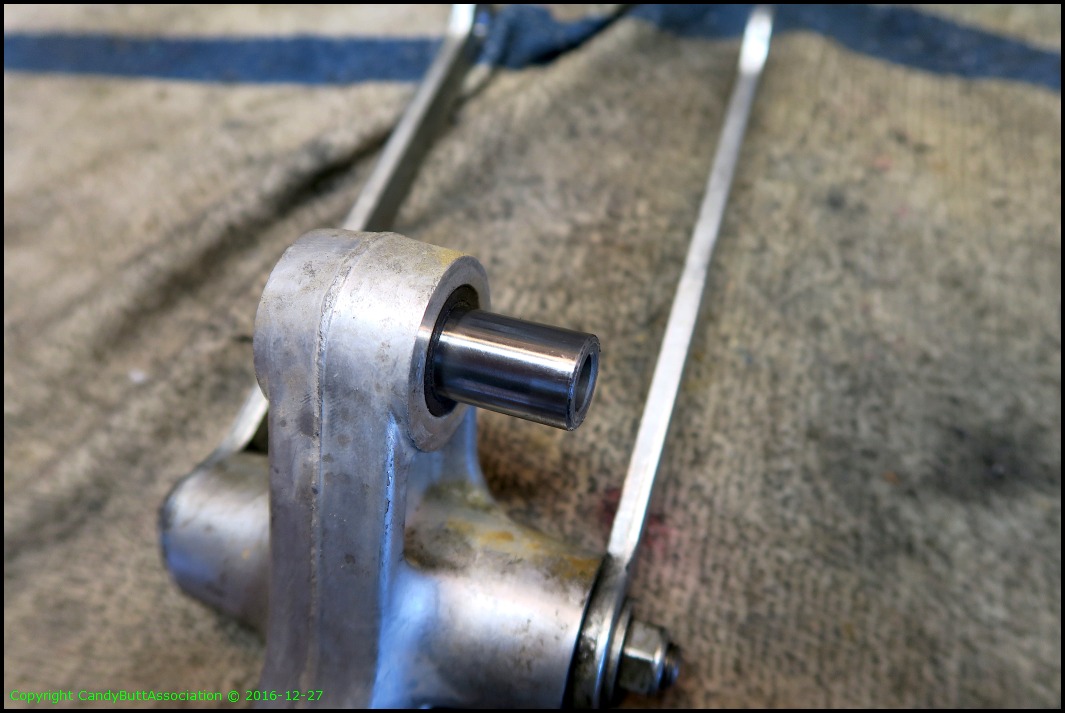
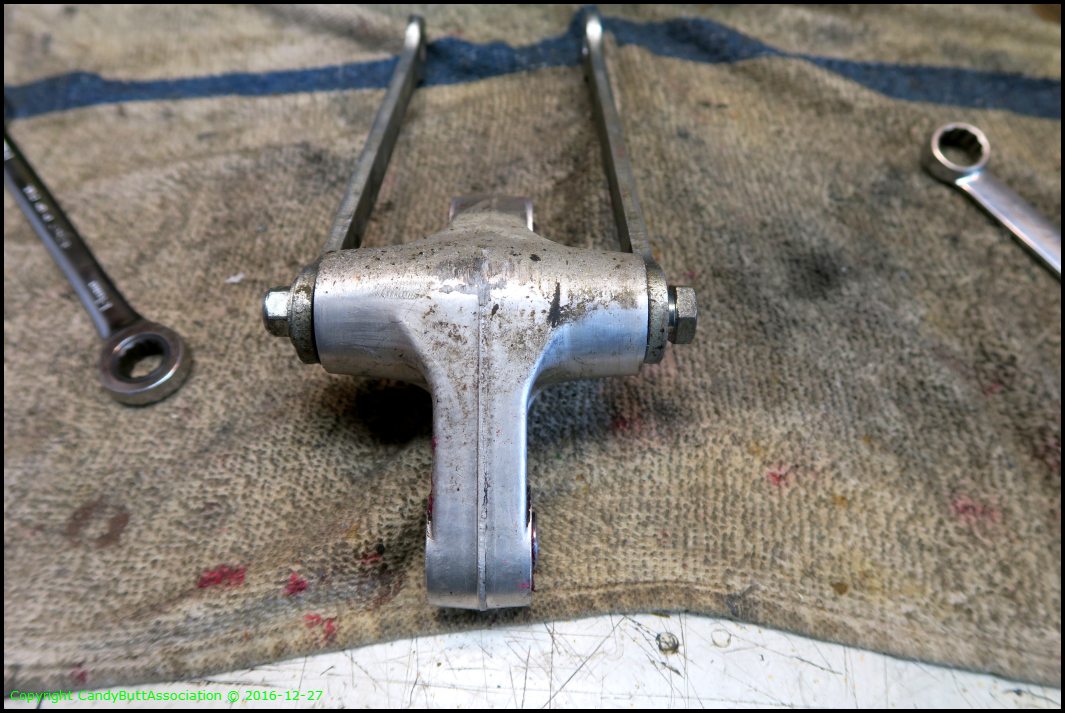
Now for the relay arm.
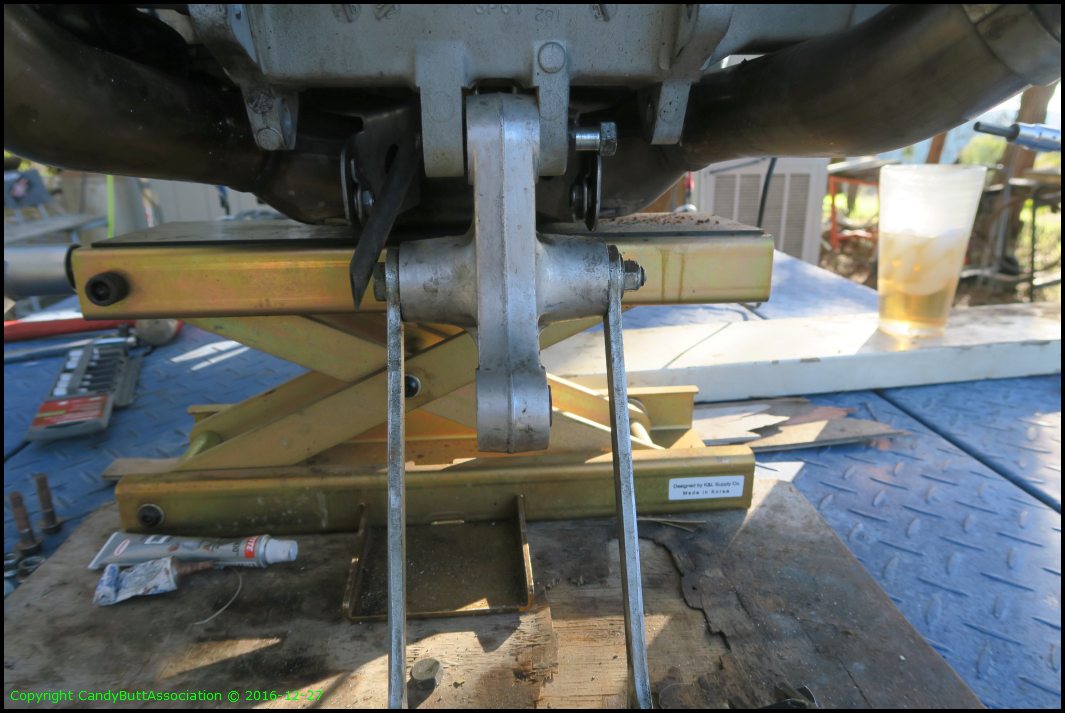
Orientation picture for later. Me loves digital cameras.
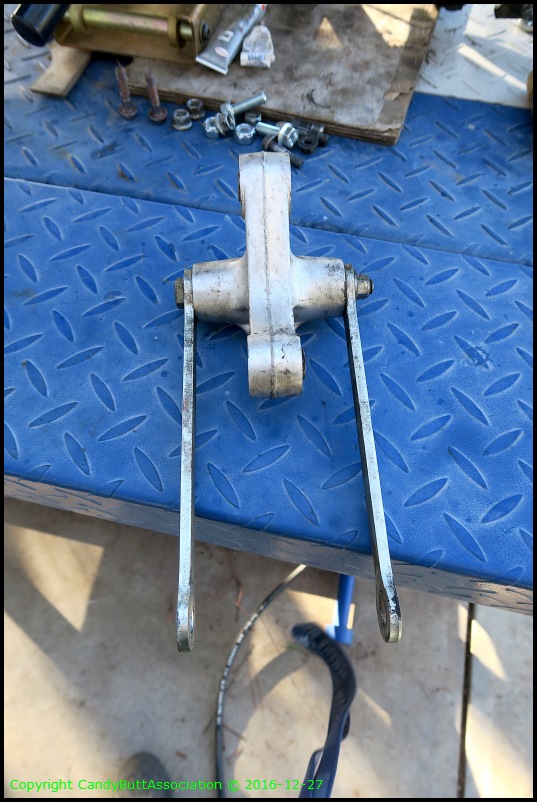
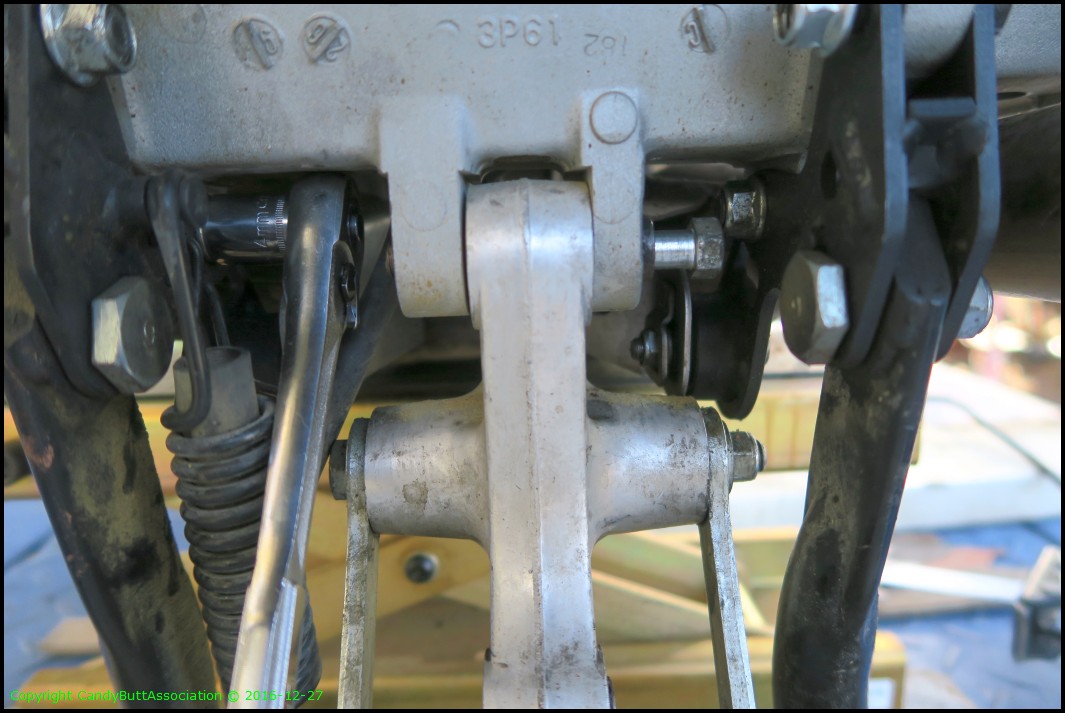
Dry as a bone, as expected.
.
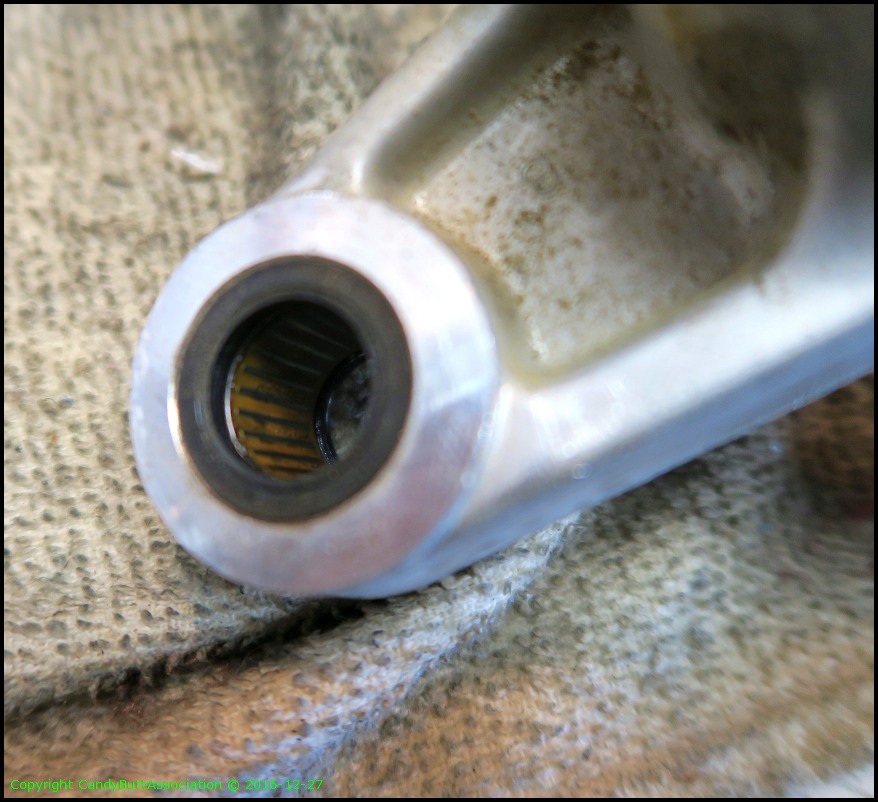
No galling yet.
Hard to get camera focused on the bearings but you get the idea.
Not much 'grease' in there.
 .
.
.
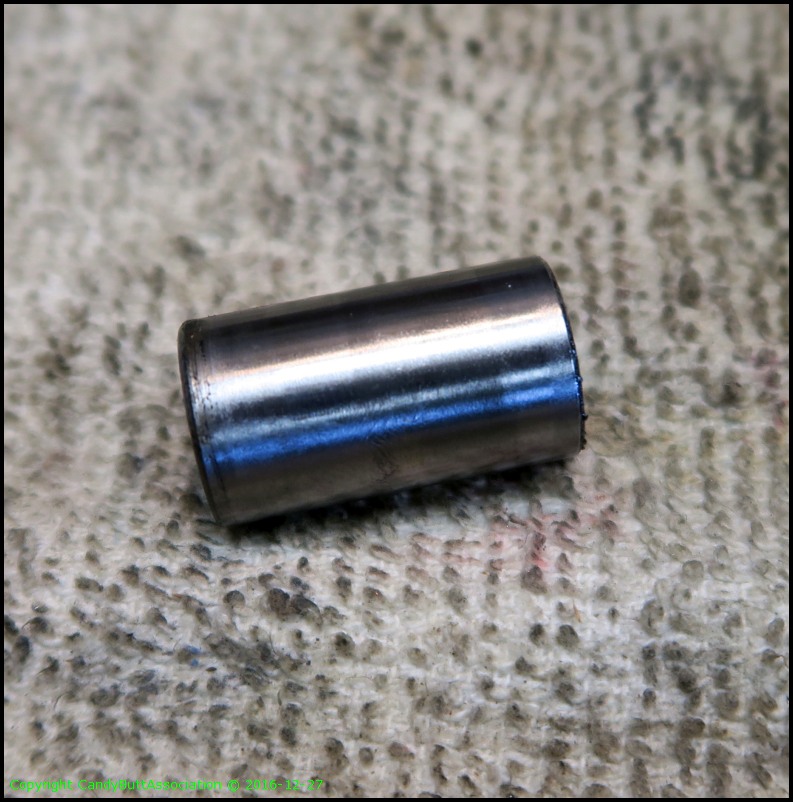
Next pivot point is dry too.
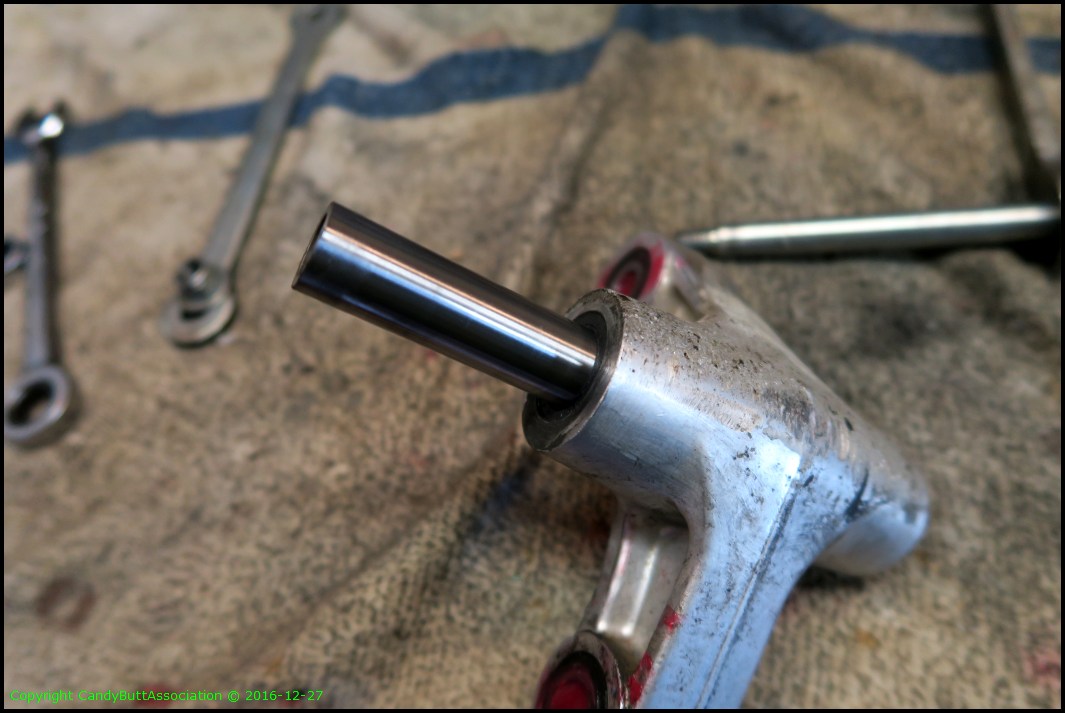
Trying to show inside OEM.
.
.

.
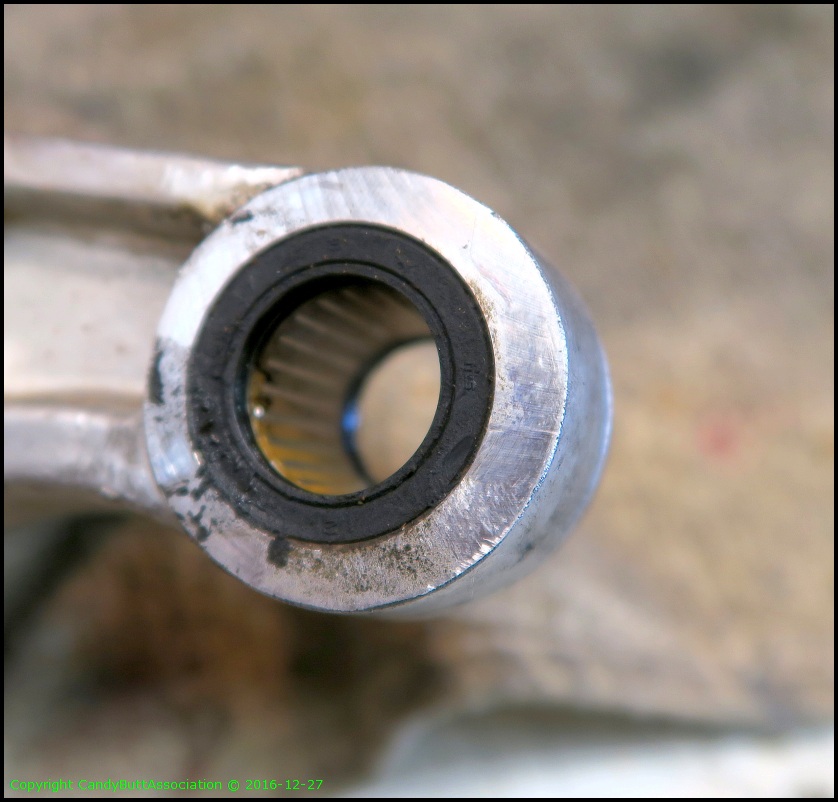
Used my pinkie finger and Mobil 1 red. Hard to get grease into and between the roller and cage with bearings installed. Took some time.
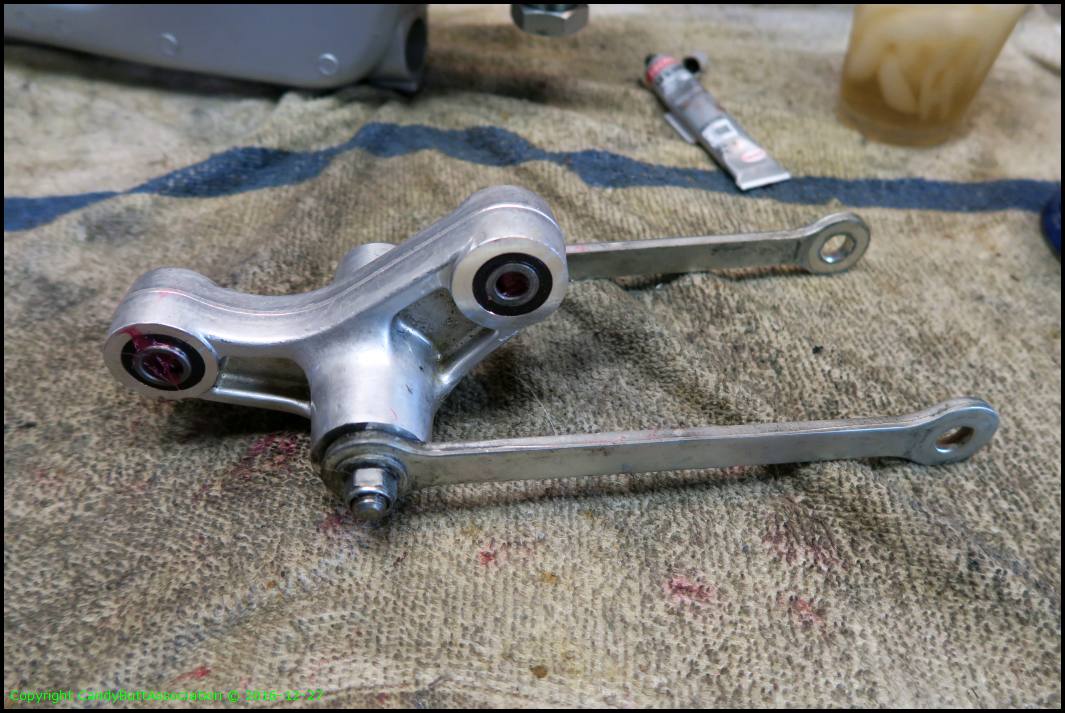
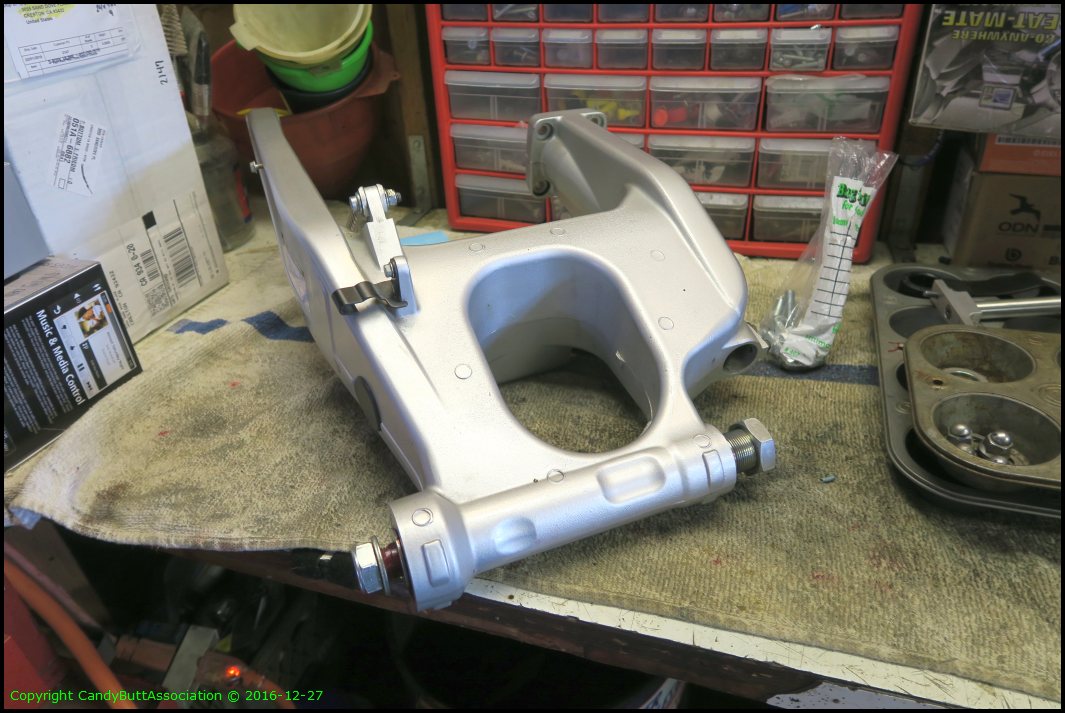
Relay arm and center stand almost installed. Used a long set of roach clips to get the bolt started. OBTW, the shouldered bolts I bought were to wide in diameter to fit so I used the stock bolts from the rear side and put new shouldered bolts at center stand rear. Pic later.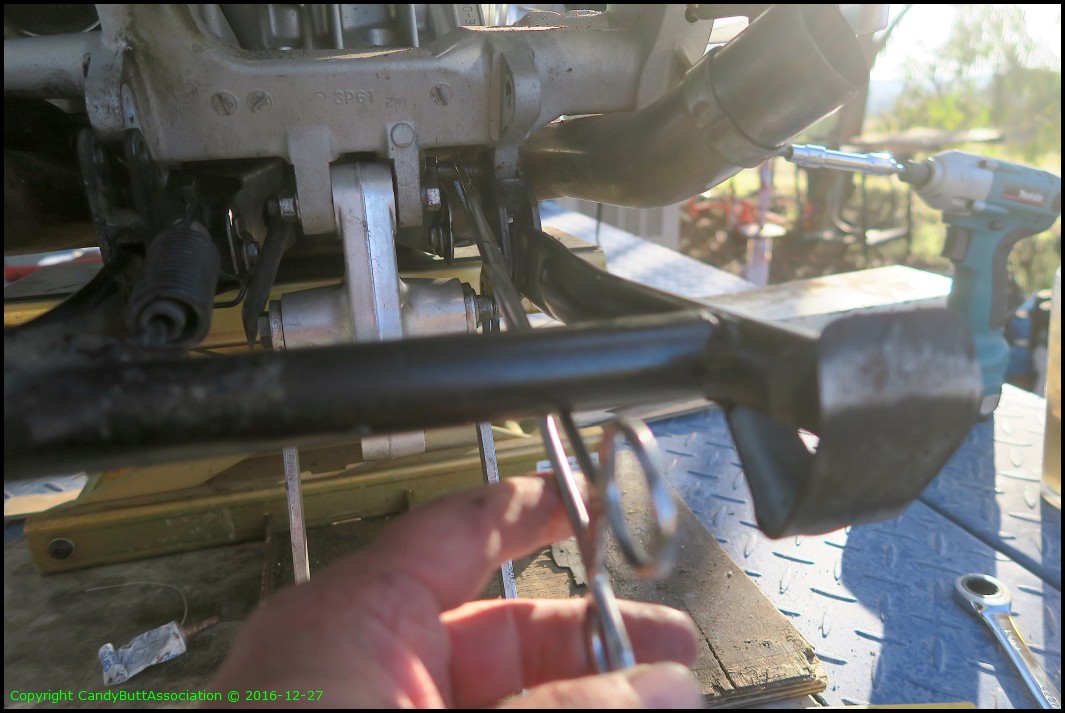
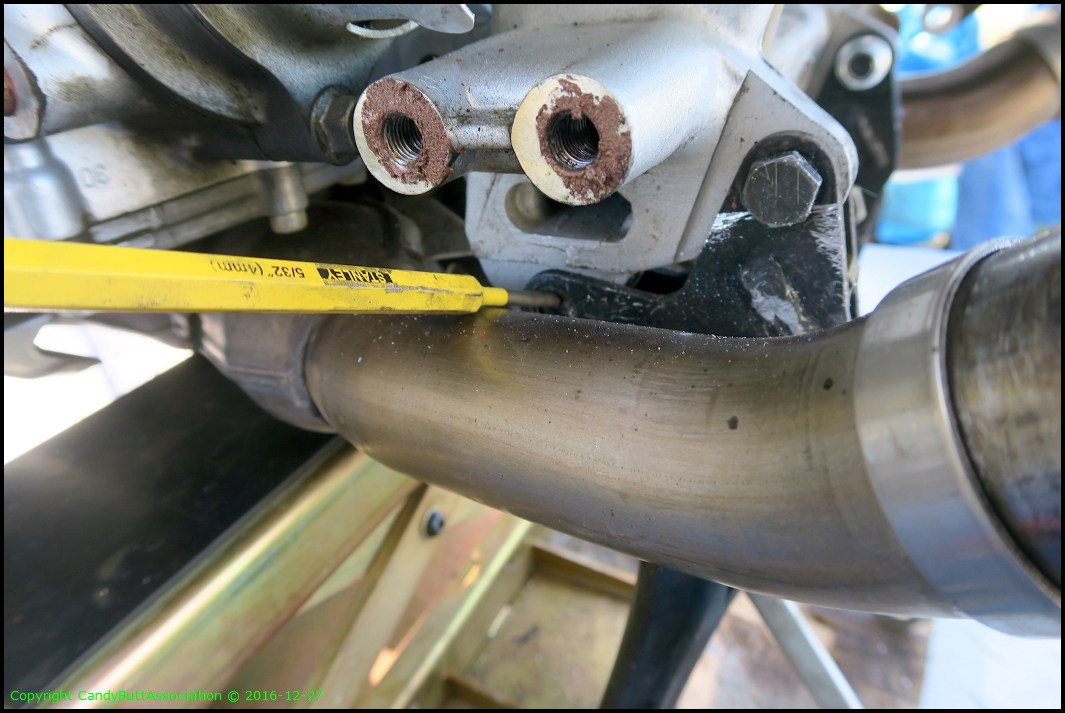
The big picture. I did NOT like having the bike on the gold stand only. Used 4 tie downs and worked gently. Another thing is that the bolts holding catalytic converter to the center stand support bracket have to be removed to get the center stand out. This allows the cat to move upward as the jack stand is under the cats. I didn't like that either, was worried the Cat would somehow bend and not line up when the jack stand was removed. All turned out OK though. Next time I'll have unique A-Frame or something to lift the rear and put undue pressure on the converter.
Sun is going down and it's 40F.
Making progress. Felt good to be assembling..
The two sawed off bolts..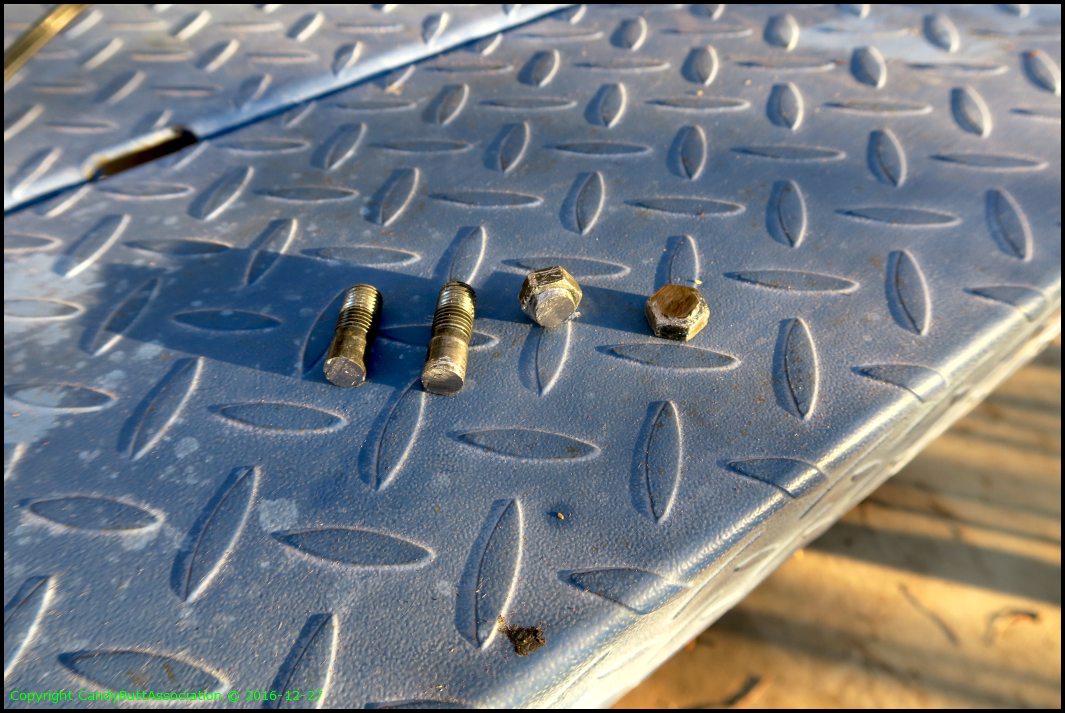
That's it for now. Tomorrow is swing arm reassembly.
Starting the day with the swing arm off and needing servicing. The last update is here.
The swing arm has been cleaned using a Citrix based liquid I got from Napa Auto. It works better than the California numbed-down BrakeKleen.

All pivot points inspected, cleaned, and re-lubed using Mobil 1 full synthetic.

.

Now onto the relay arm and center stand removal. Here are my replacement bolts from Miner's hardware. We'll talk more about using shouldered vs non-shouldered bolts later.

Test run of new bolt fitment. See right side, upper.

Loosen the relay upper bolt, slide it out of the way so you can get a clean shot with a socket on the upper left forward bolt.

I'm a bit out of sequence here. The bolt has already been SazAlld out. I had difficulty with recip saw. Used a punch to drive bolt remainder out.

Hard to see, but the bolt is almost out. Upper left.

A better pix.

This was the problem. Blade too short. I chimped on buying the longer blade. Evidently size DOES matter.

Carnage.

Plan B worked much better.The right hand side has no access for a drift punch so I used a pair of angled vice grips and gently persuaded the bolt out.
 The
The
Center stand off!

Now for the relay arm.

Orientation picture for later. Me loves digital cameras.

Dry as a bone, as expected.

.

No galling yet.

Hard to get camera focused on the bearings but you get the idea.

Not much 'grease' in there.
 .
.
.

Next pivot point is dry too.

Trying to show inside OEM.

.

.

.

Used my pinkie finger and Mobil 1 red. Hard to get grease into and between the roller and cage with bearings installed. Took some time.
Relay arm and center stand almost installed. Used a long set of roach clips to get the bolt started. OBTW, the shouldered bolts I bought were to wide in diameter to fit so I used the stock bolts from the rear side and put new shouldered bolts at center stand rear. Pic later.
x
x
x
x
x
x
x
x
2017-01-02 ReAssembly Rear End
Edit
2017-01-02 ReAssembly Rear End
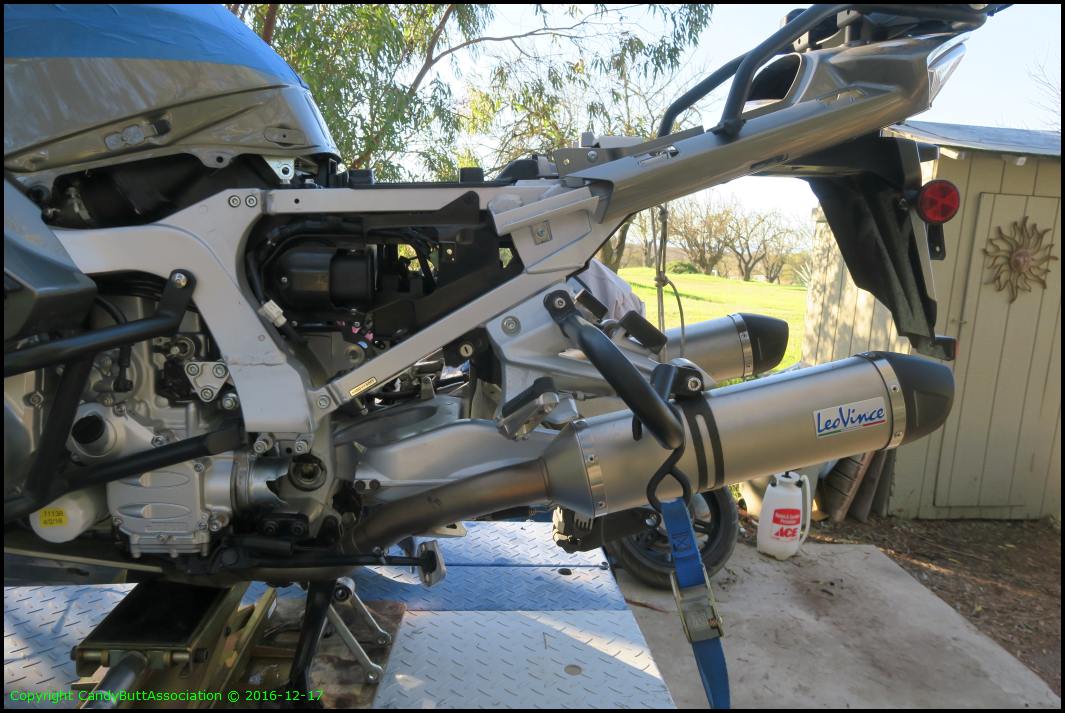
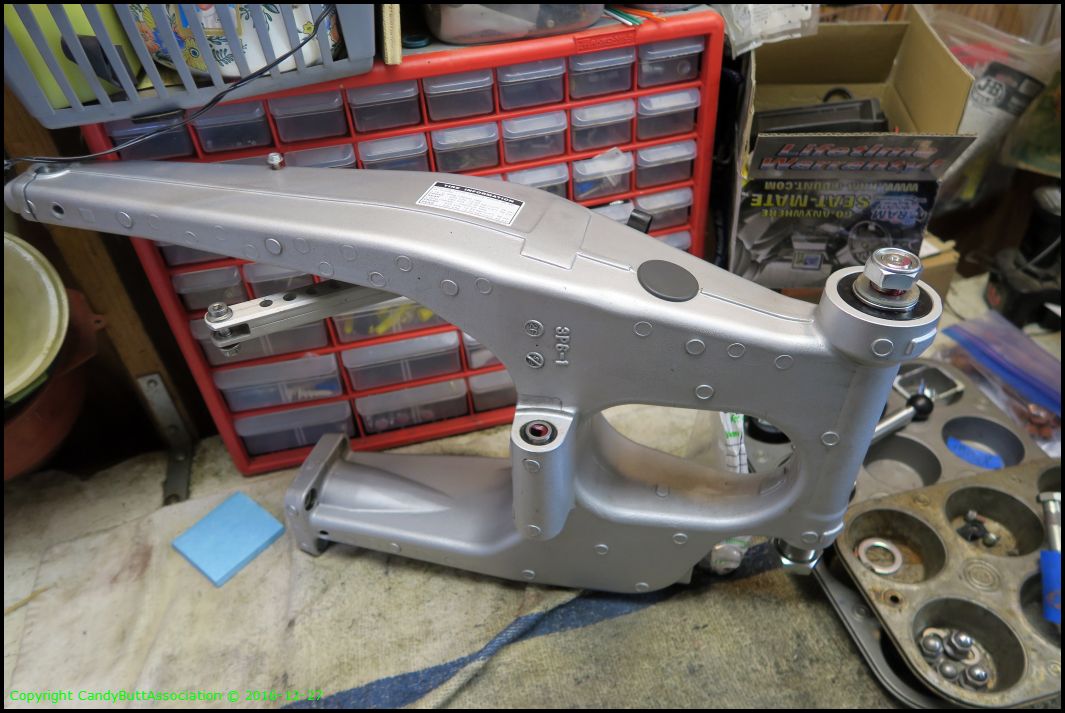
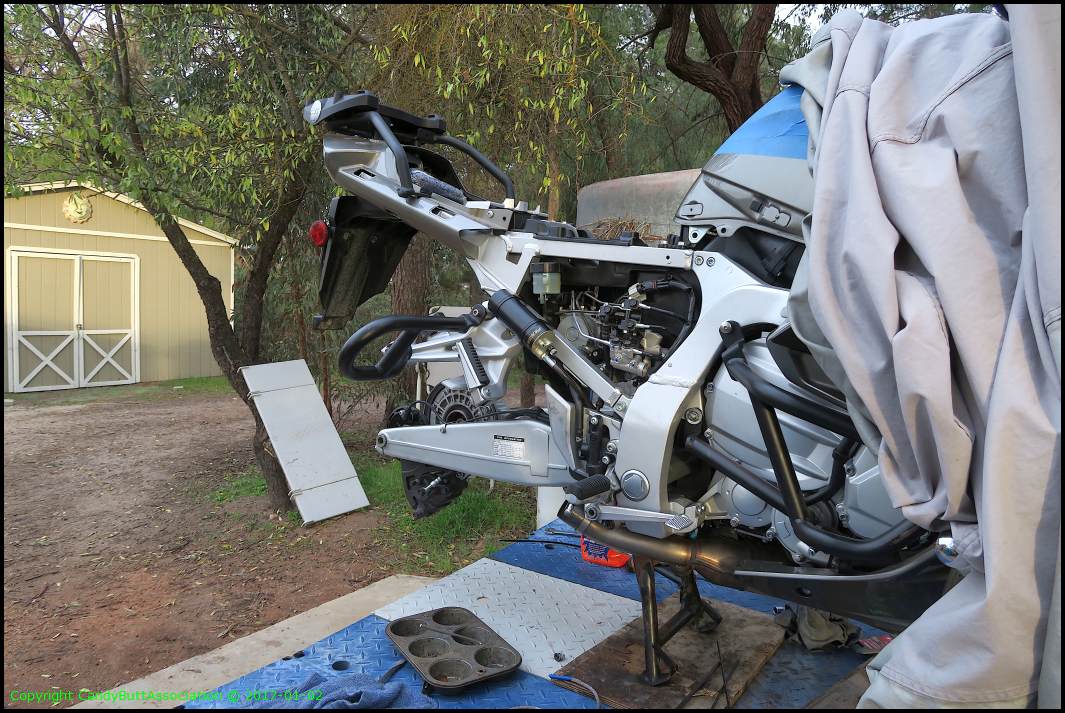
Finally, putting stuff back together...
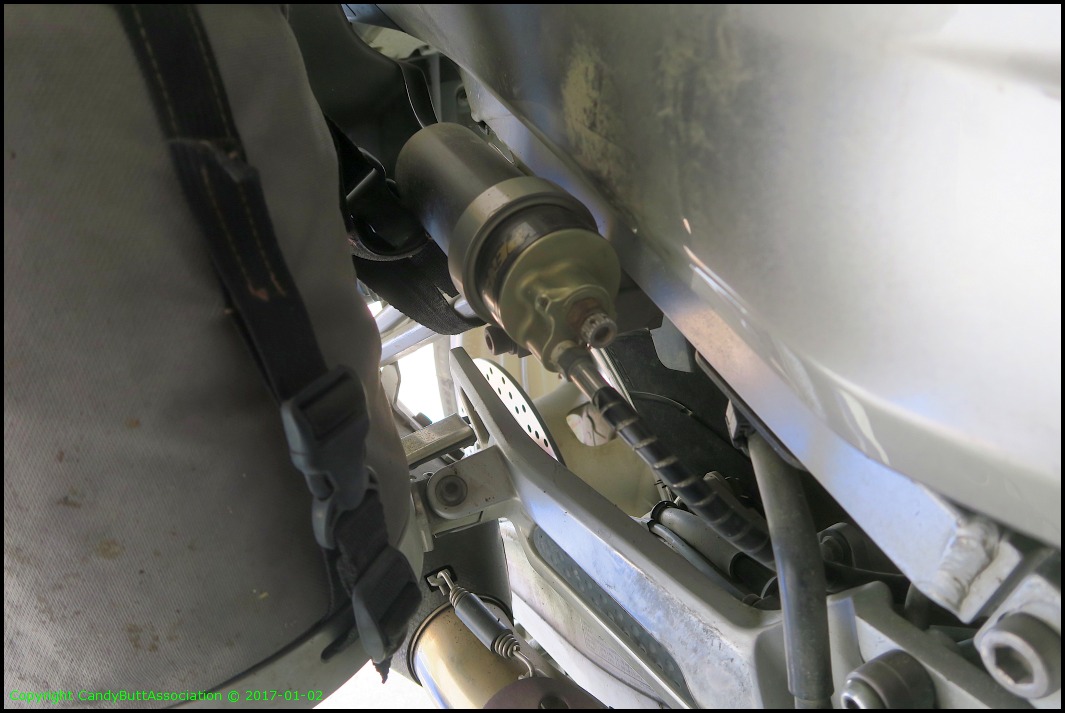
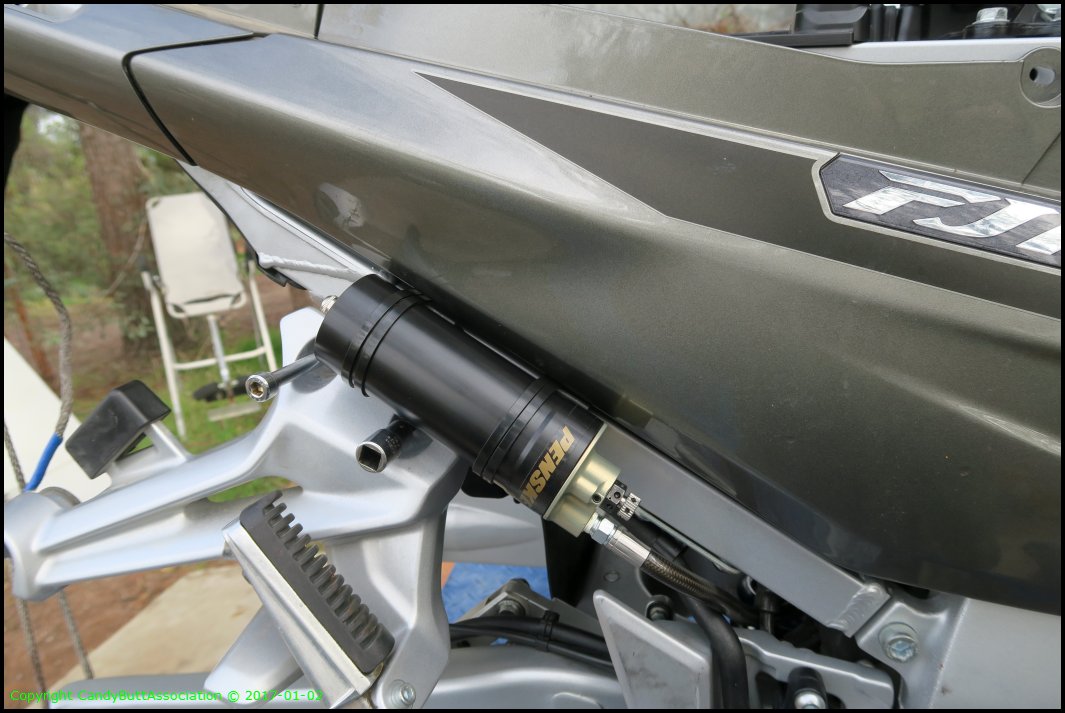
I was curious about mounting the rear shock reservoir so I looked at KrZy8 and found this nice bracket. Where did that come from? SkyWay maybe?
Nice and clean installation. I'm going to see if Garuld from fjrforum.com can make one.
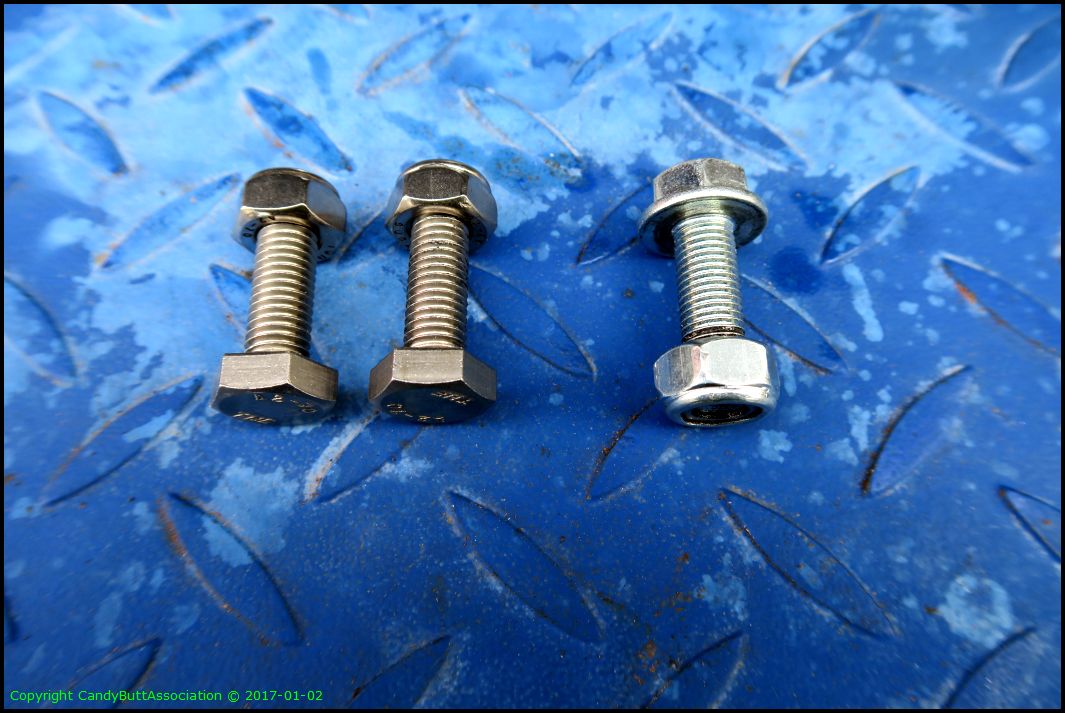
Old Ross Kean got me thinking when he suggested SS bolts for the center stand so I got some.
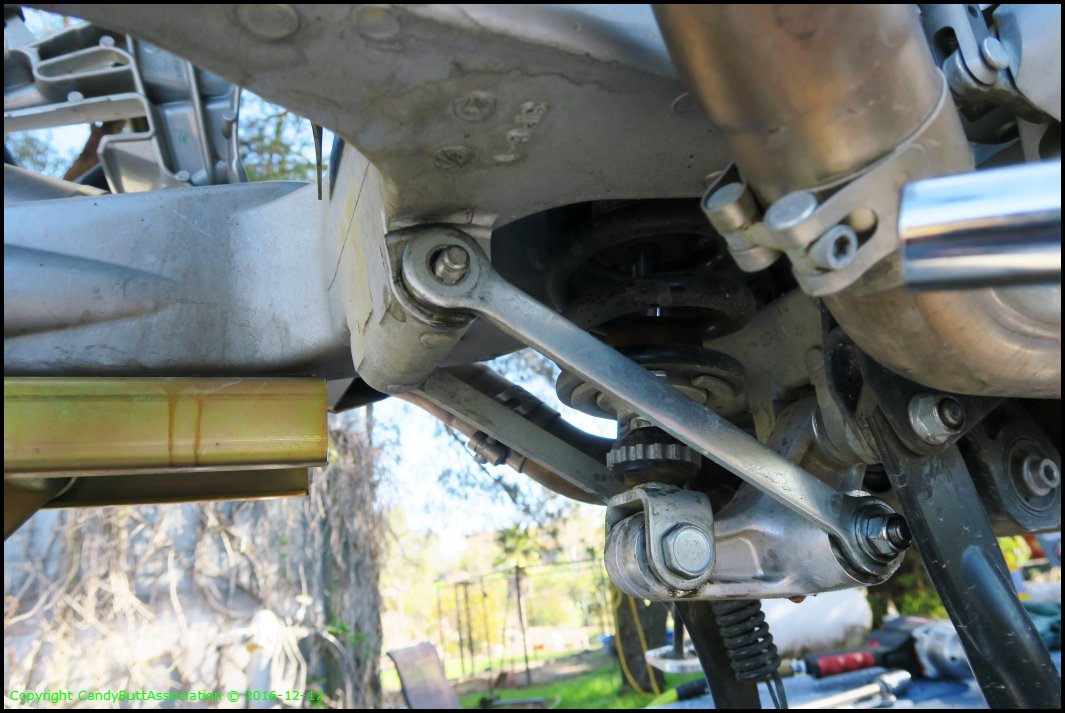
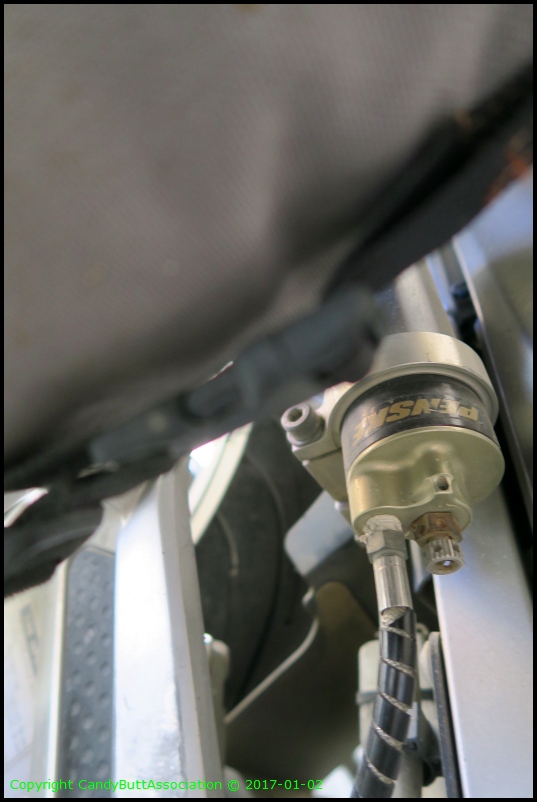
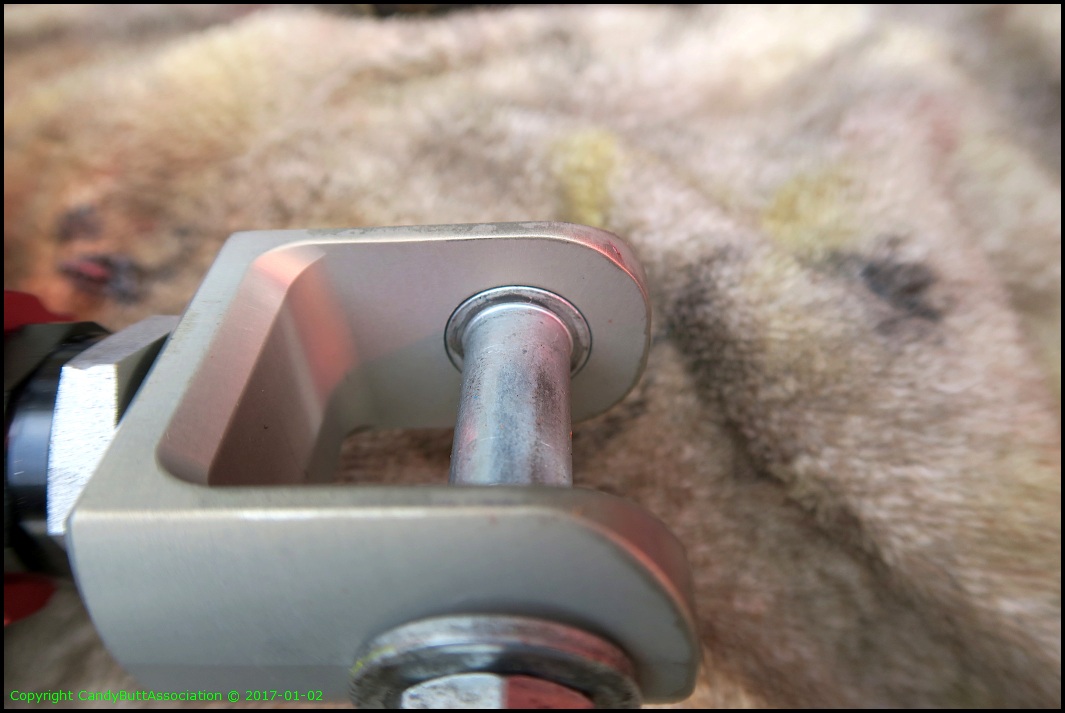
There has been lots of talk on fjrforum.com regarding broken Penske shock clevises. Here is my set up, right or wrong.
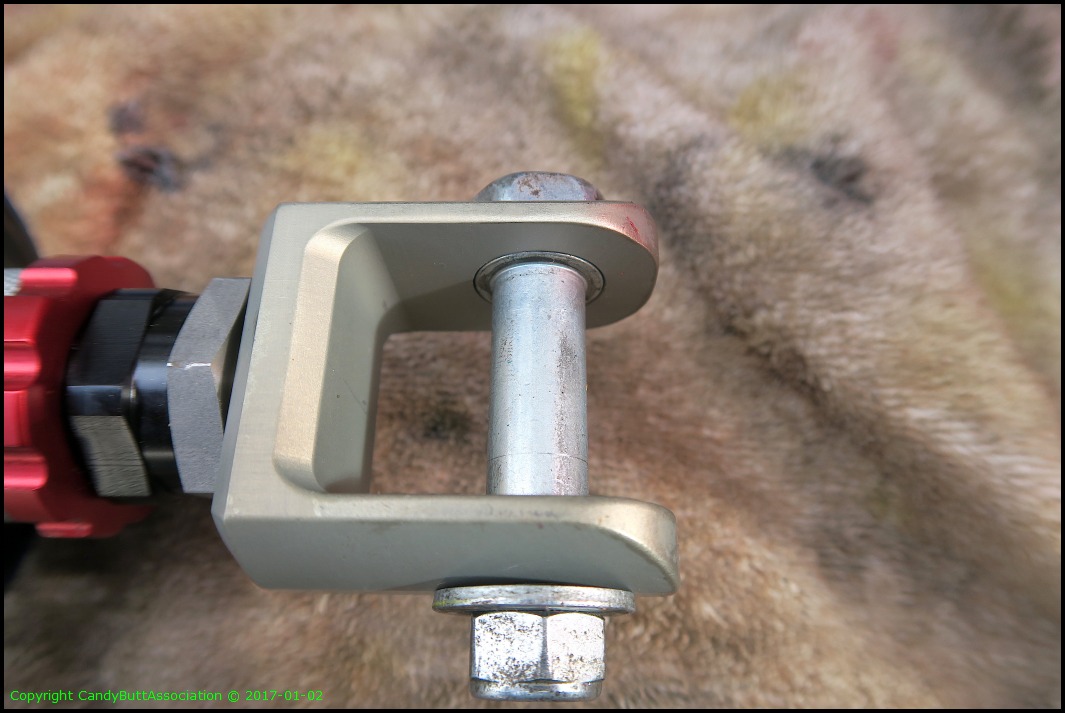
.
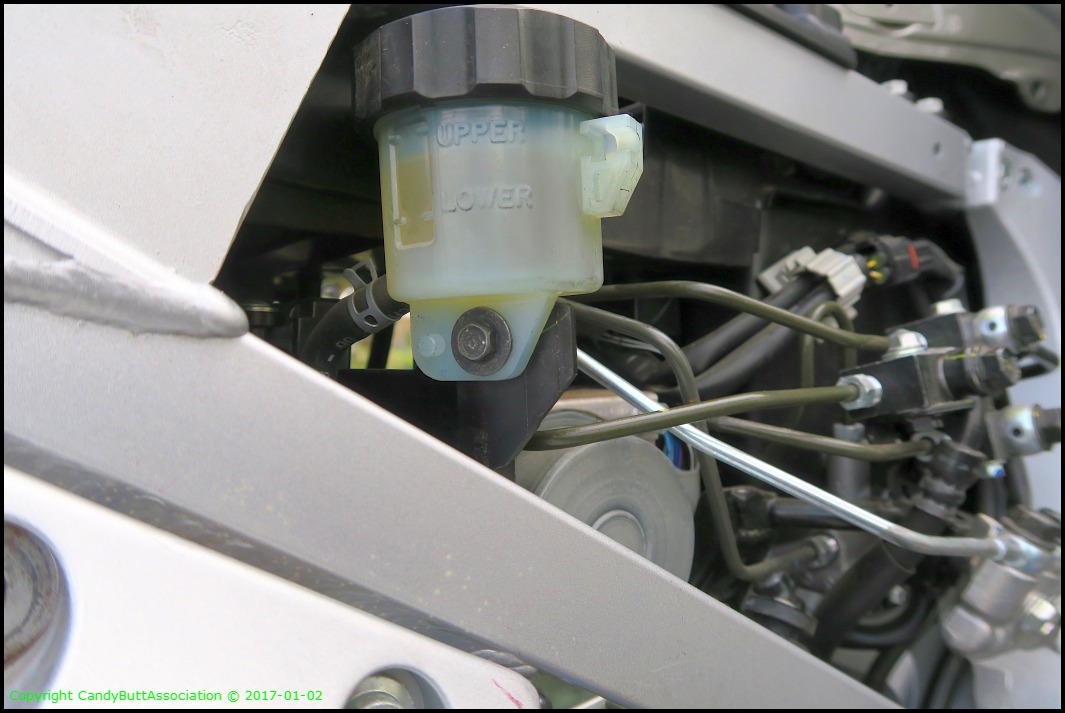
Routing the reservoir. I did not like any option other than under the rear brake hydraulic fluid line.
Loosened the reservoir. It must fit multiple models. Check out the ear and tit by the mounting bolt.
The Penske came with SS clamps. They did not fit well and rubbed the plastic. The other clamp described above is so much better.
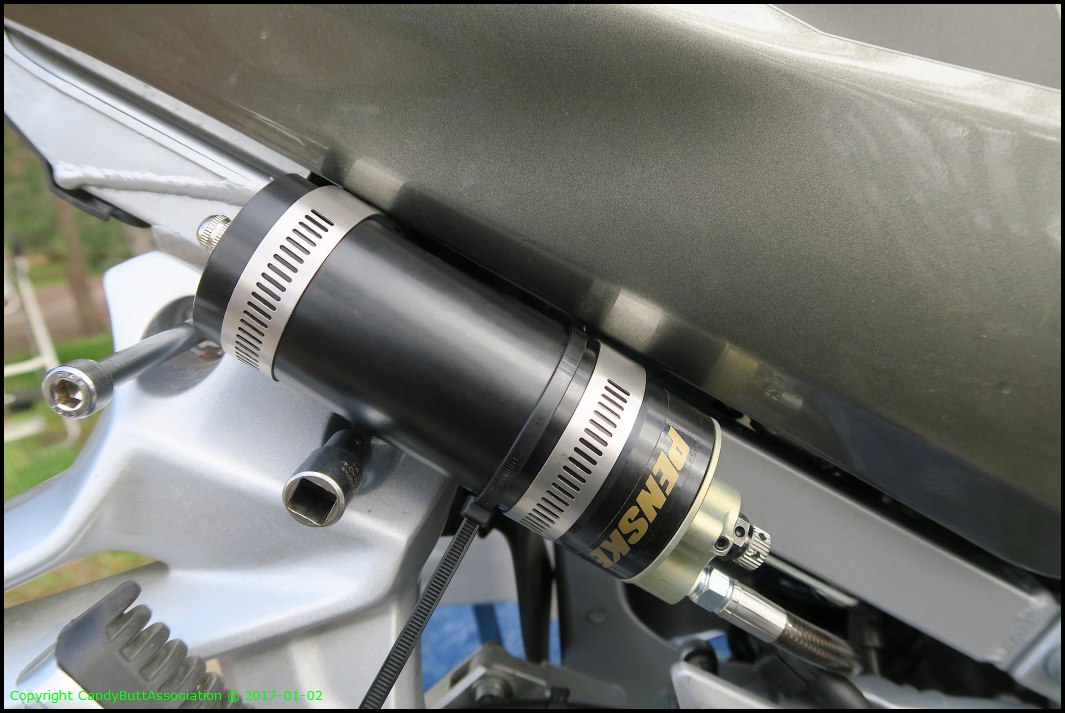
Ty-Wraps to the rescue until a nice clamp can be fabricated.
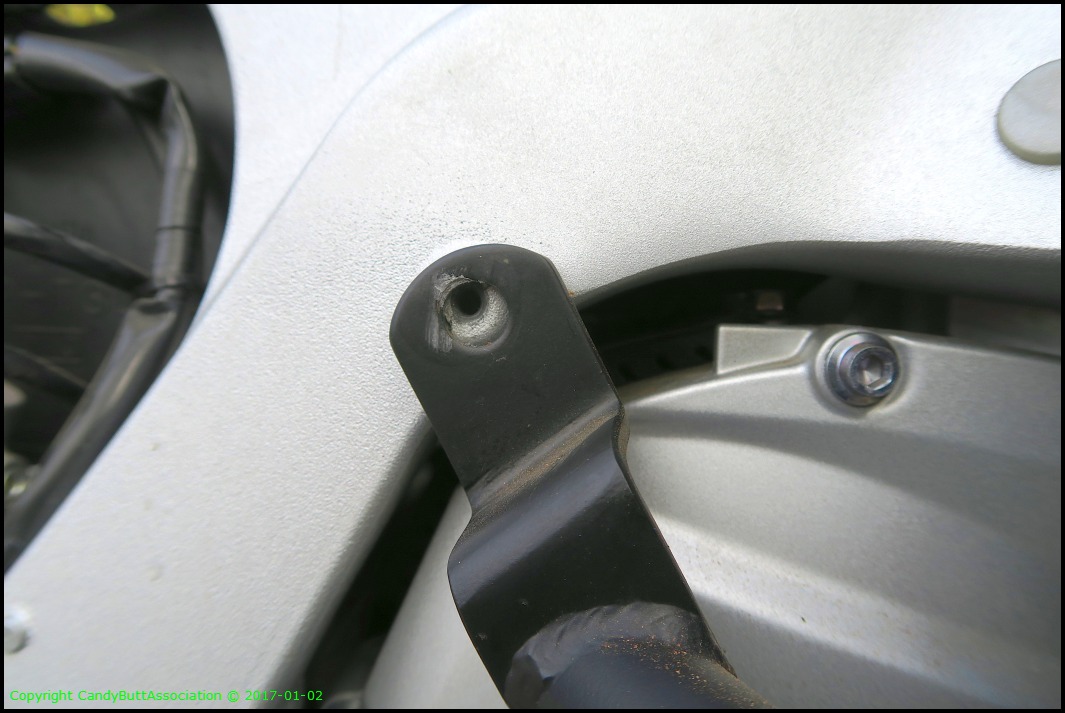
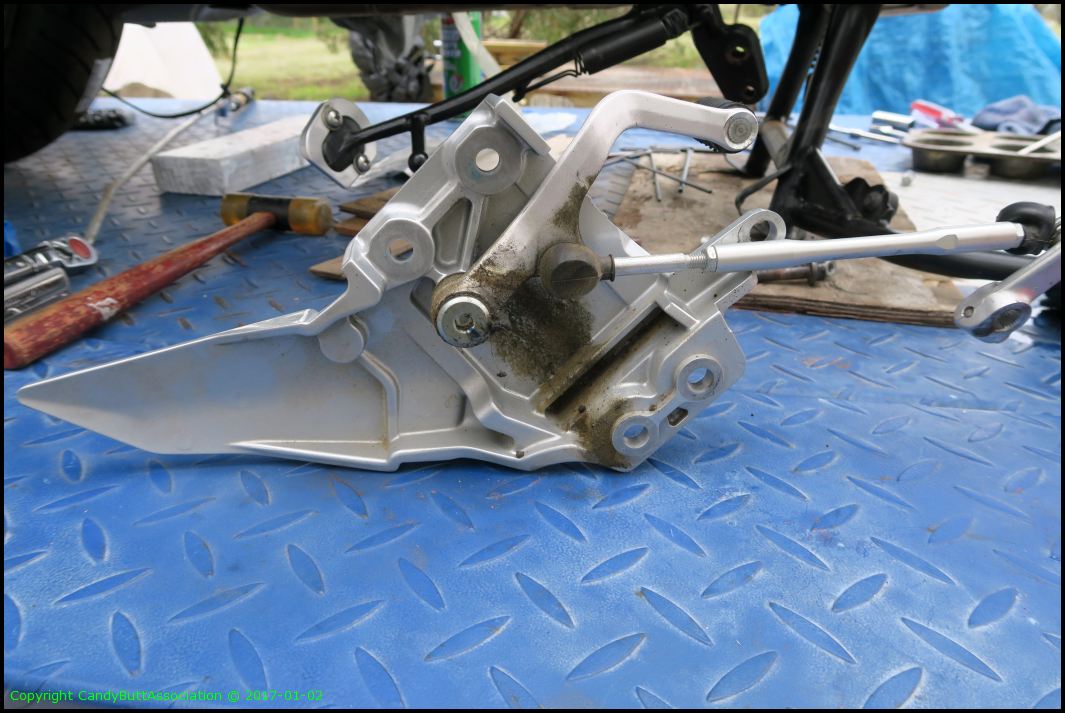
I am not sold on the Canyon Cages yet. Check out the misalignment. I hate crap like this.
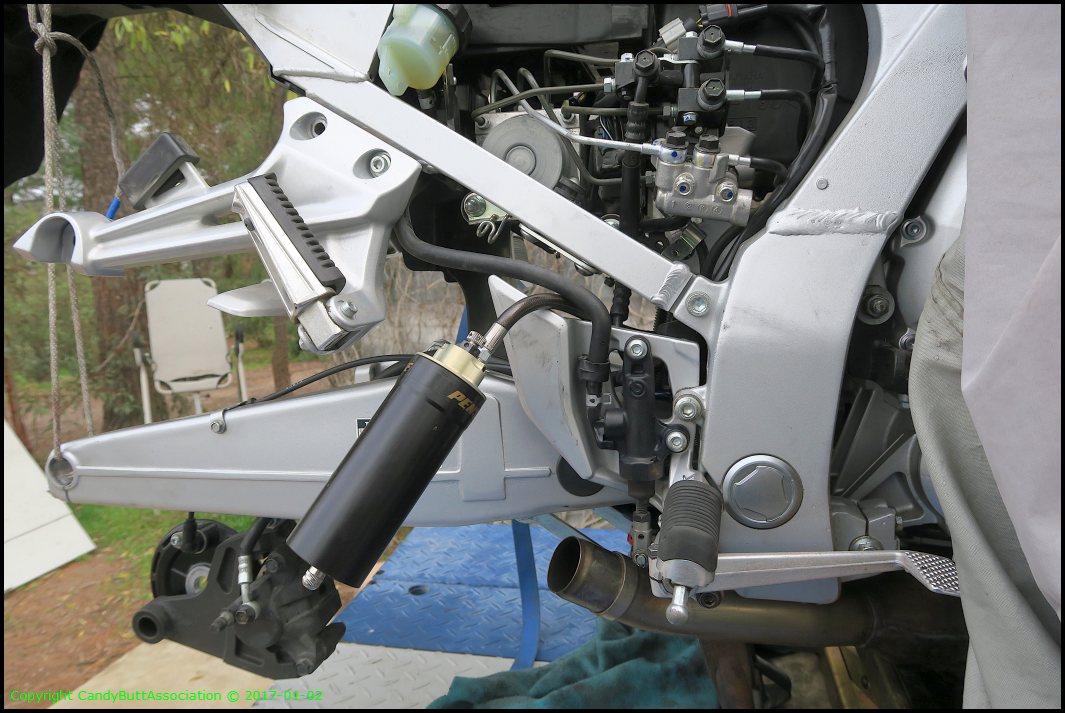
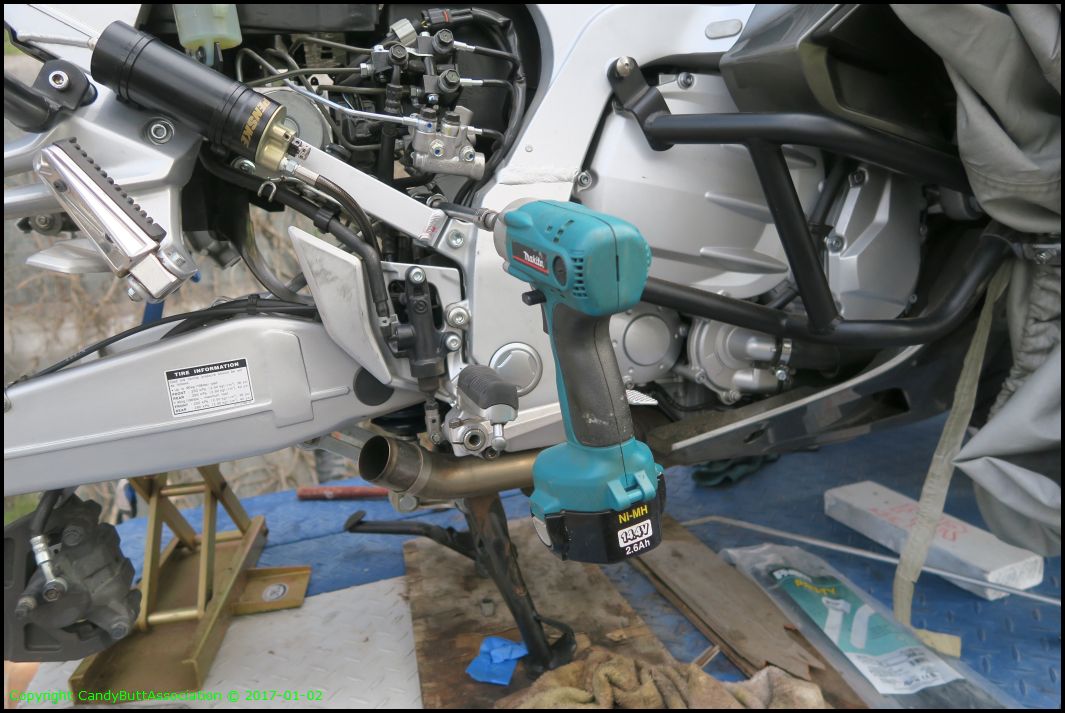
Rear shock top side install. It helps to use a jack under the swingarm to get just the right height.
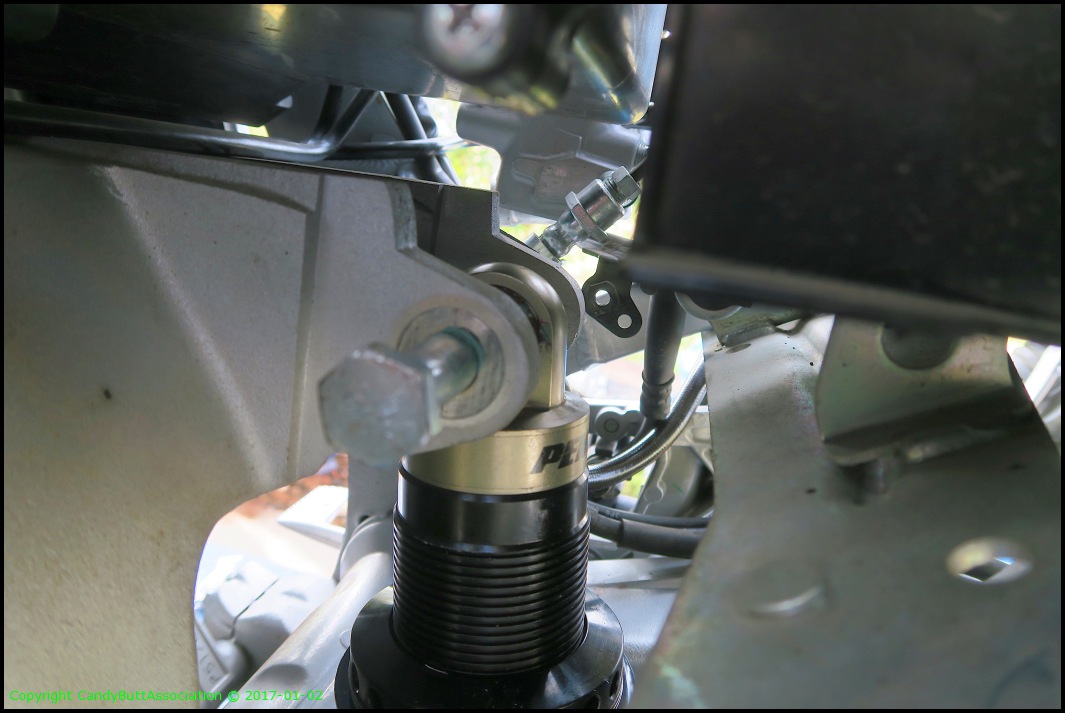
Then get all the brackets back in place.
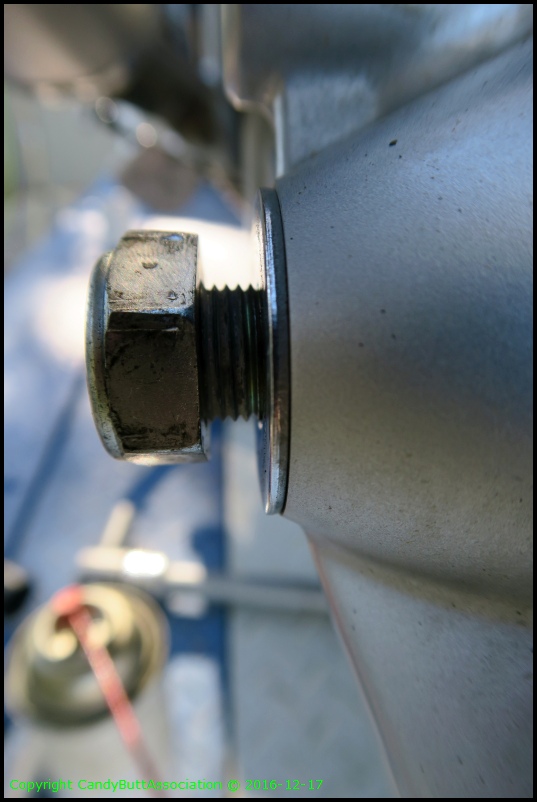
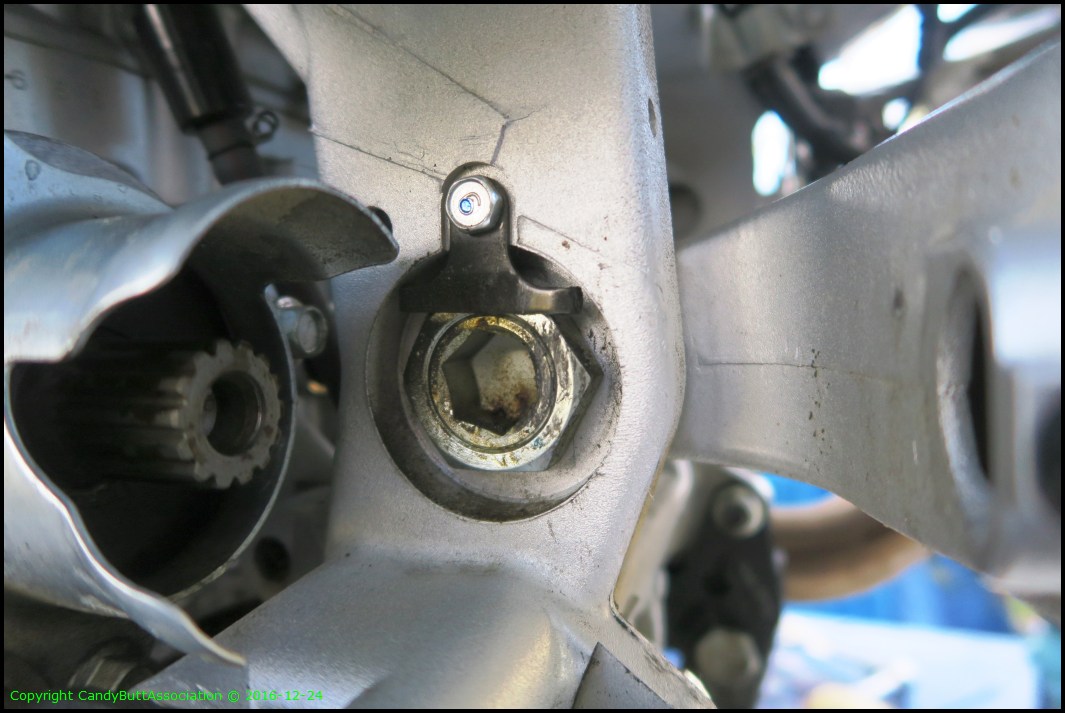
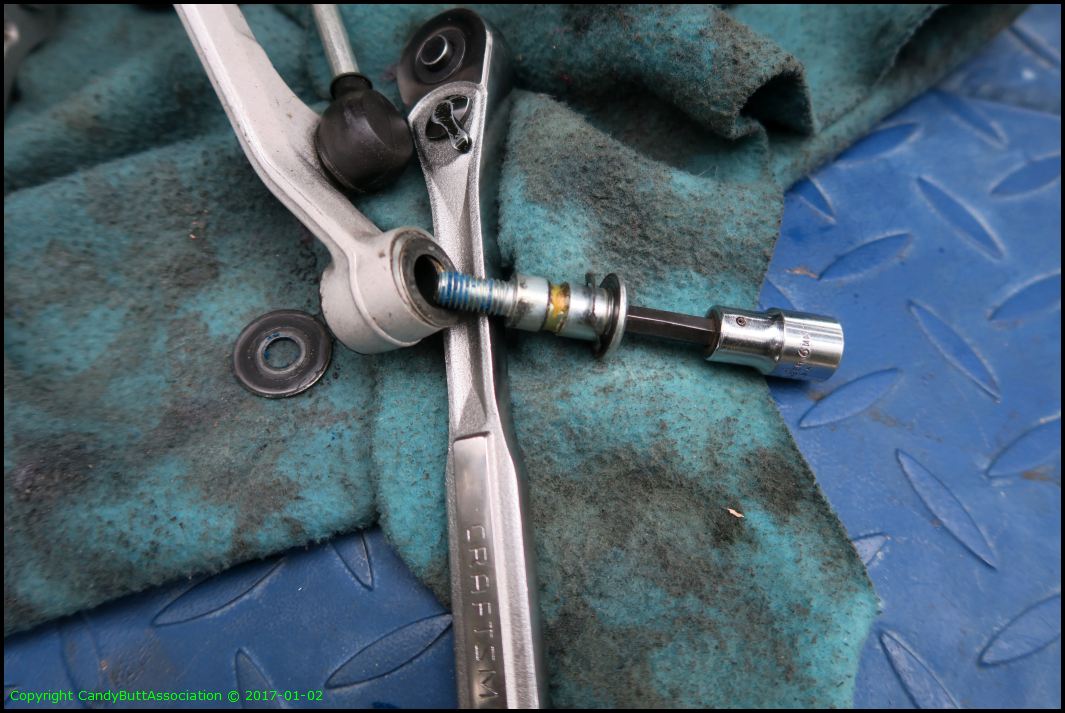
A 17MM will react nicely to the swing arm while on the other side...
One can tighten the nut.
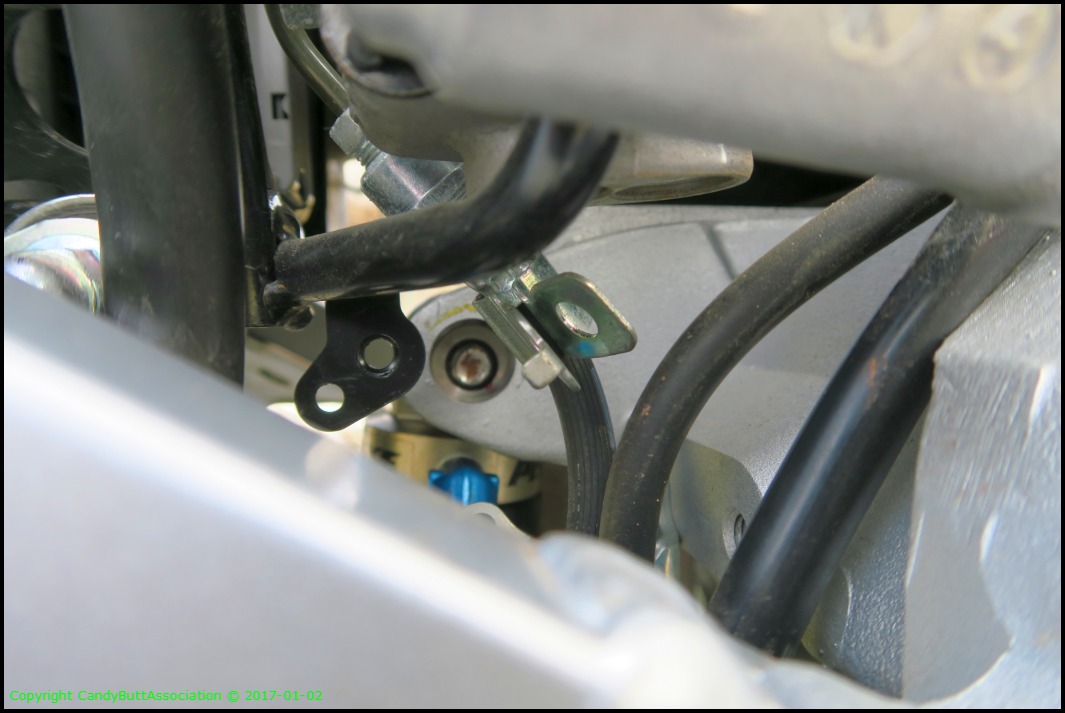
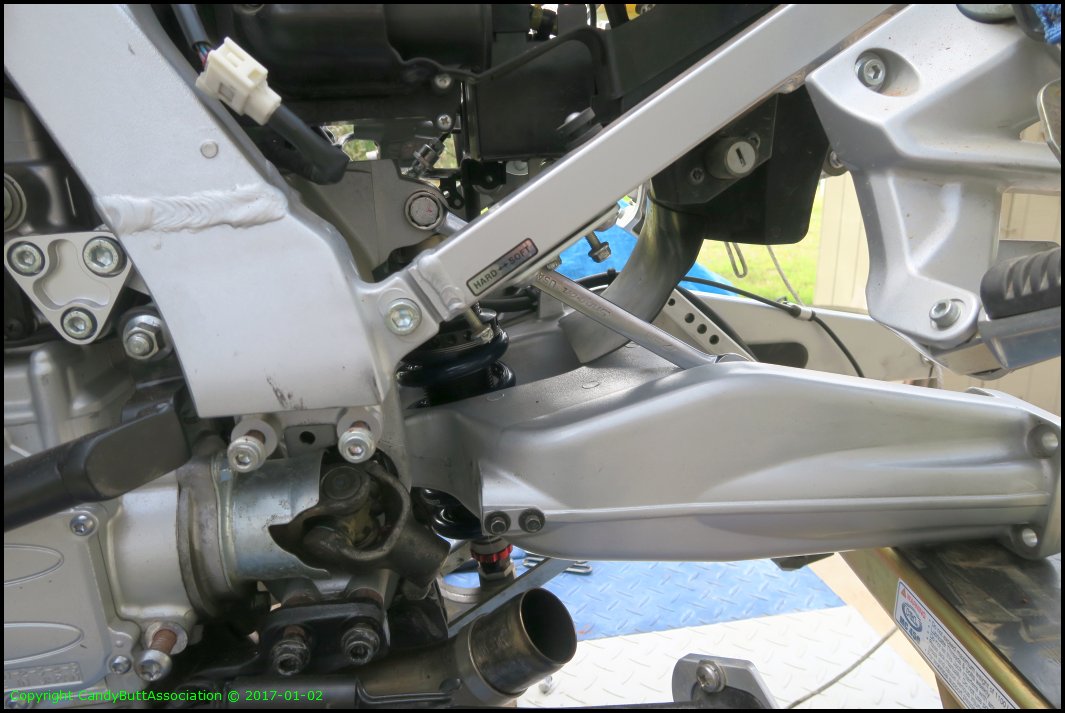
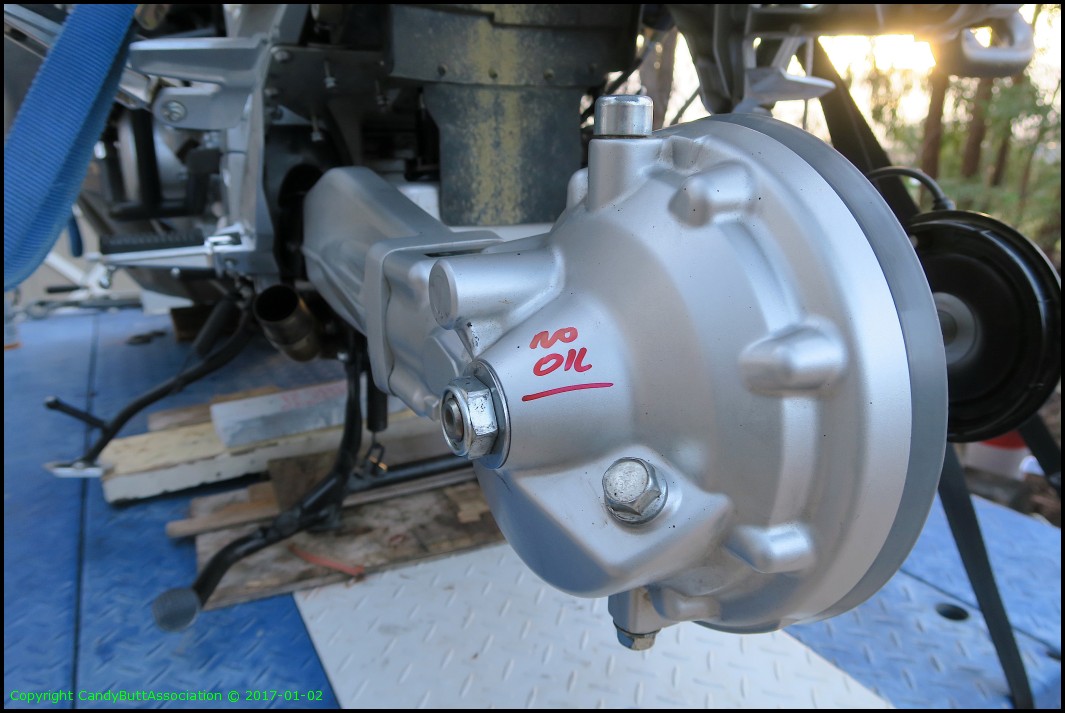
The rear end, all greased up and ready to go. I used Marine greasse on shaft, Mobil 1 red syn for the splines.
U-Joint back on.
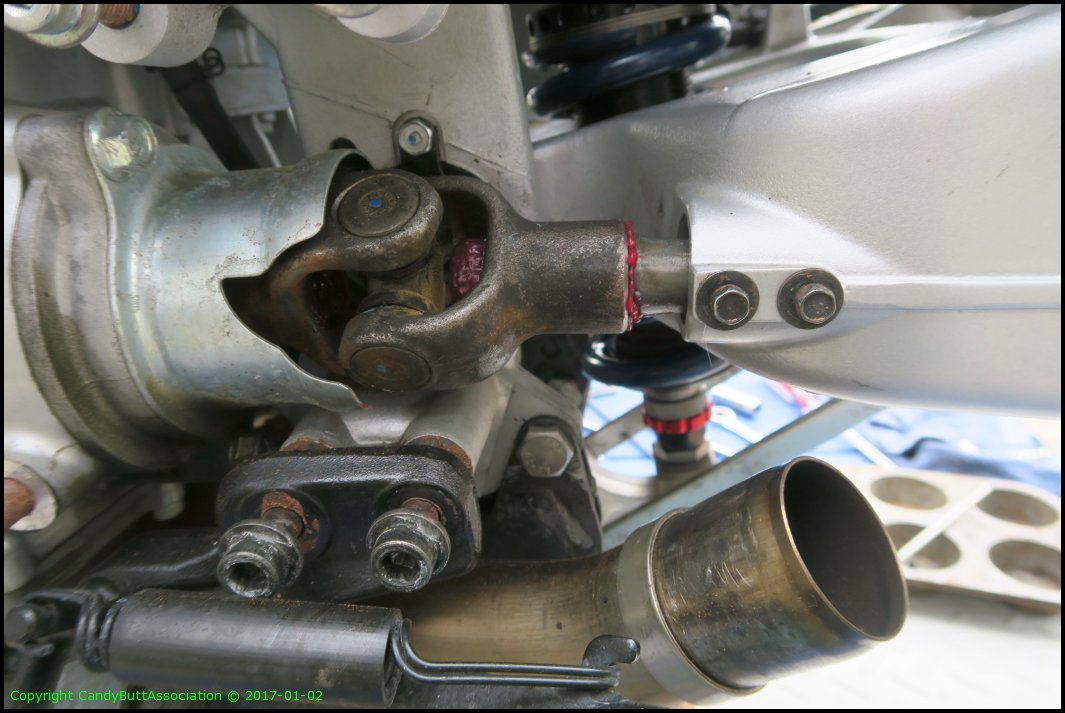
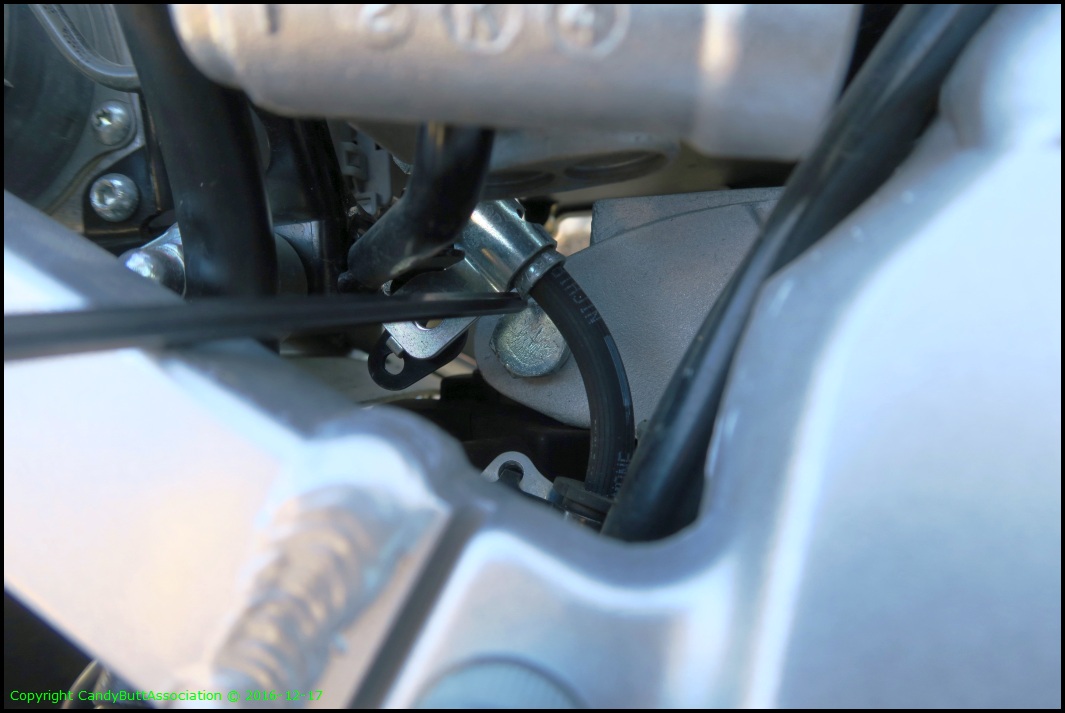
Shift mechanism. Splooge from U-Joint grease.
Little grease here from factory. 12k miles.
Ahh, that's better.
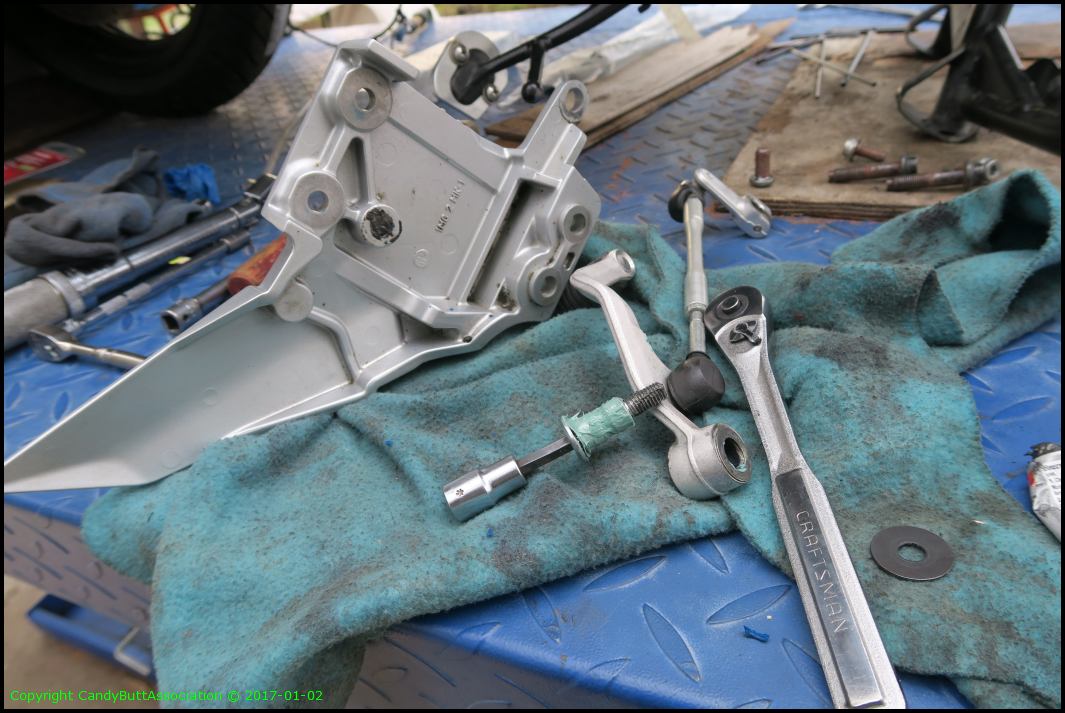
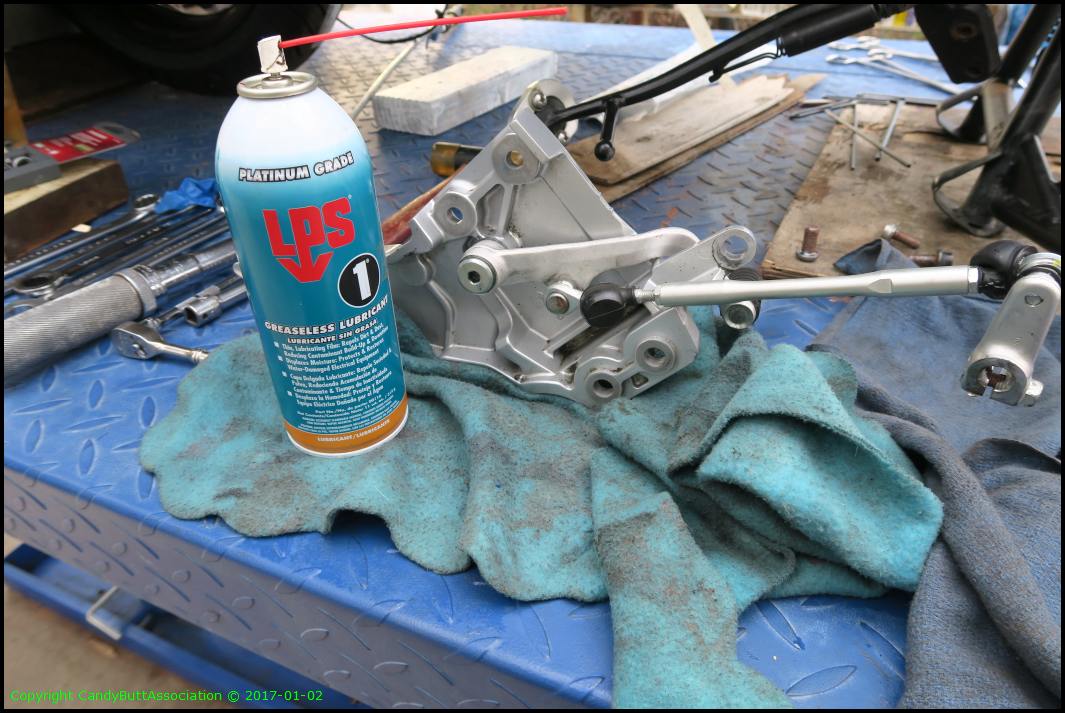
I use LPS 1 for the Heim joints. Does not attract dust. A good light lubricant.
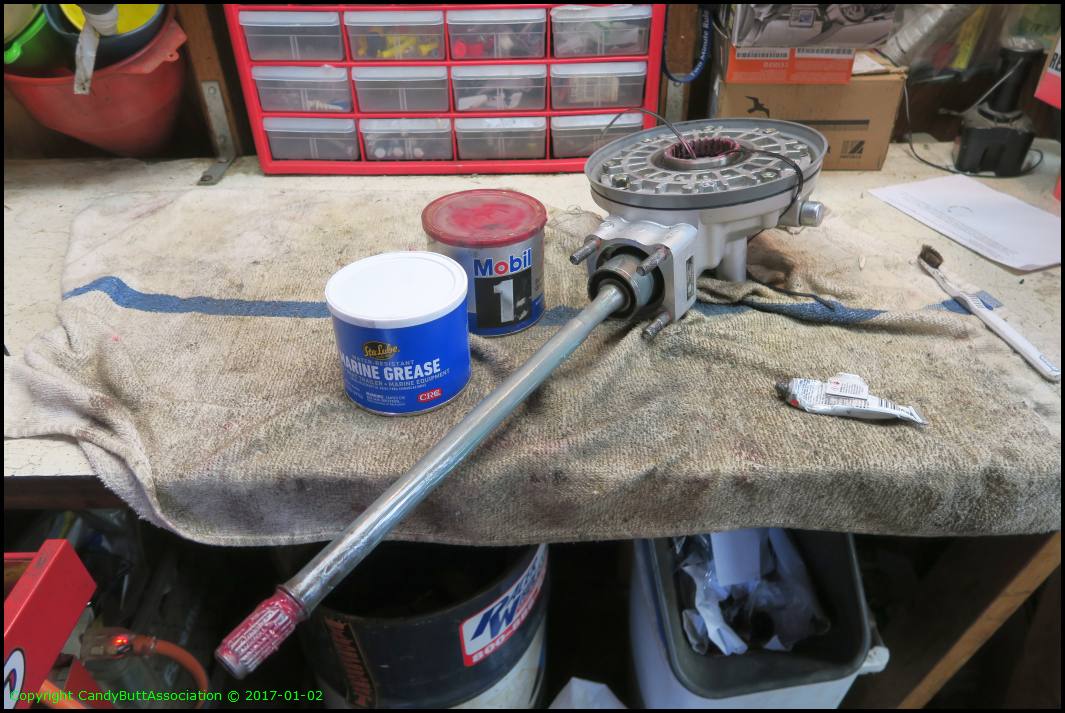
Final drive back on.
.

Ready for a rear rim. First, new rubber needs be installed.

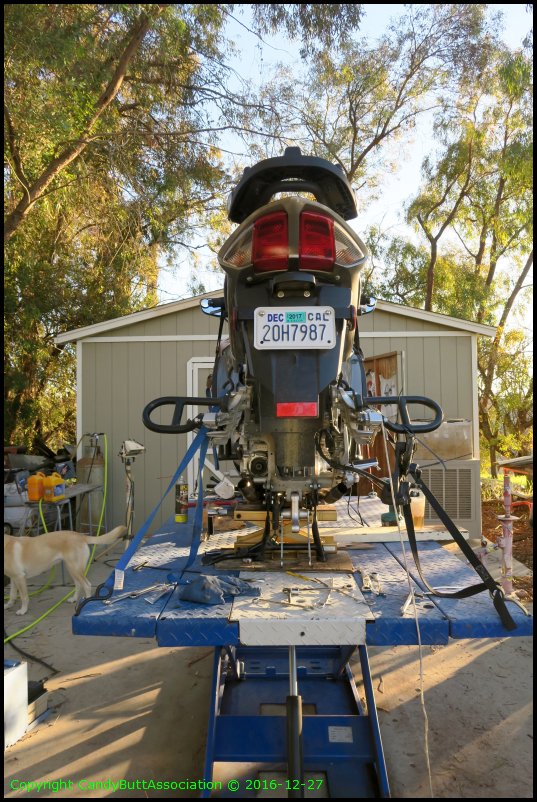
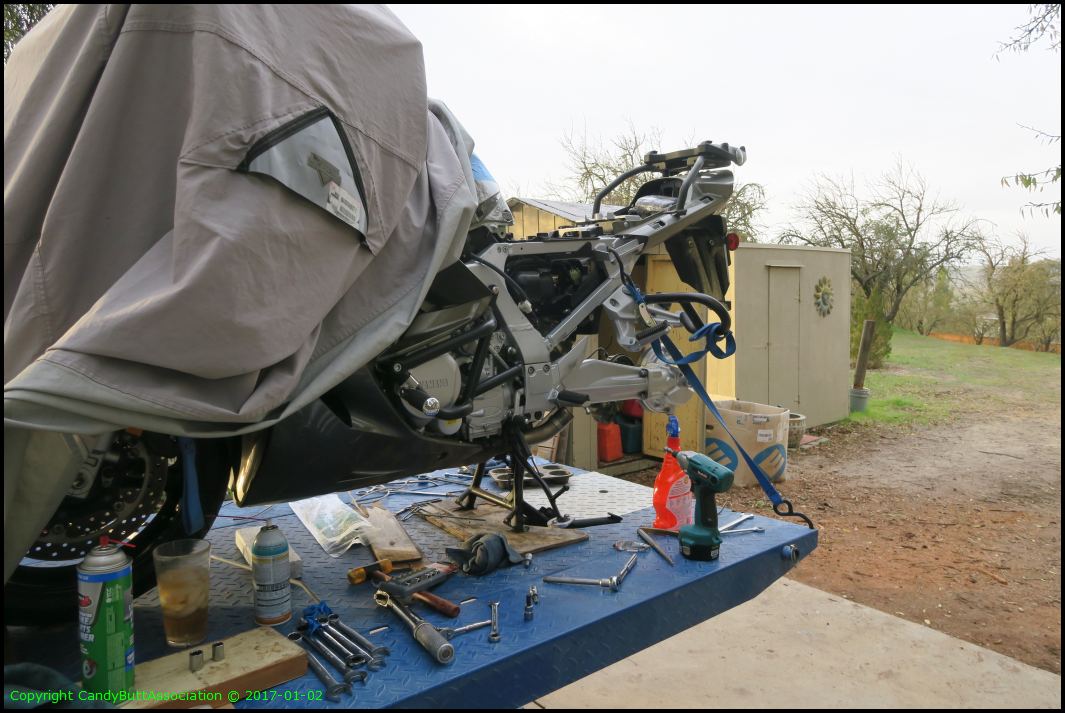
So here Naomi sits as of 1/2/17.
Friendly reminders save big dollars later!
Roll onto 1 week later, 1/6/17. New rubber on rim, rear end back on.
We are due for 8 days of rain! So wanted to get Naomi off the lift and into the shop.
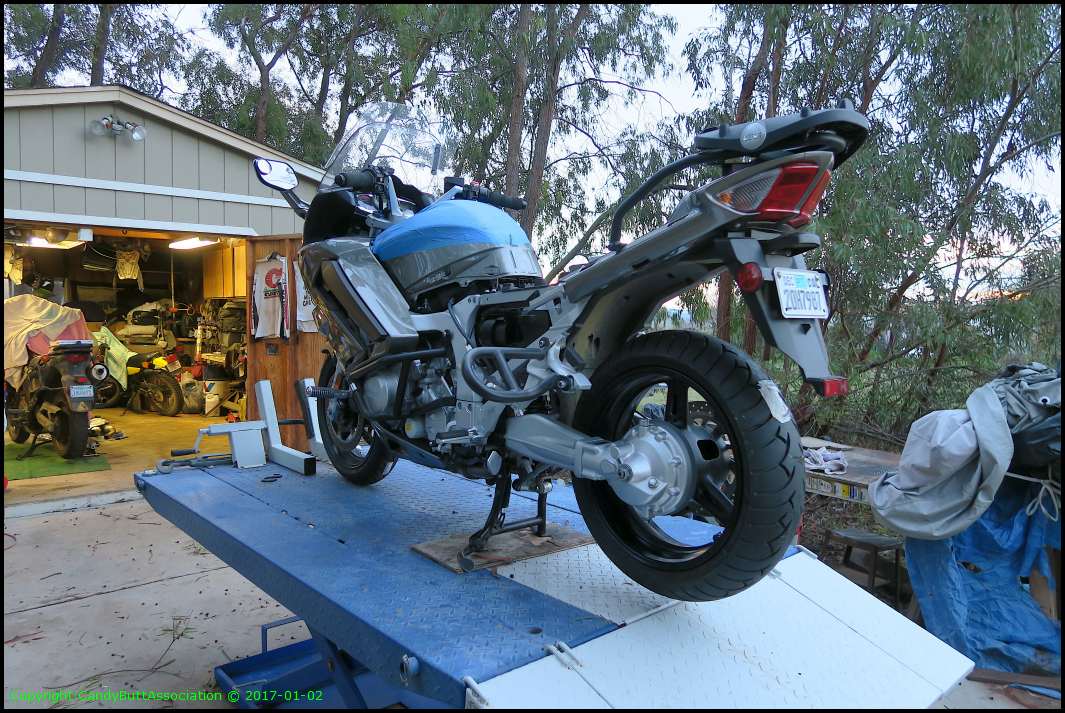
Naomi is happy to be back with the herd. Motobikes are herd creatures, you know.
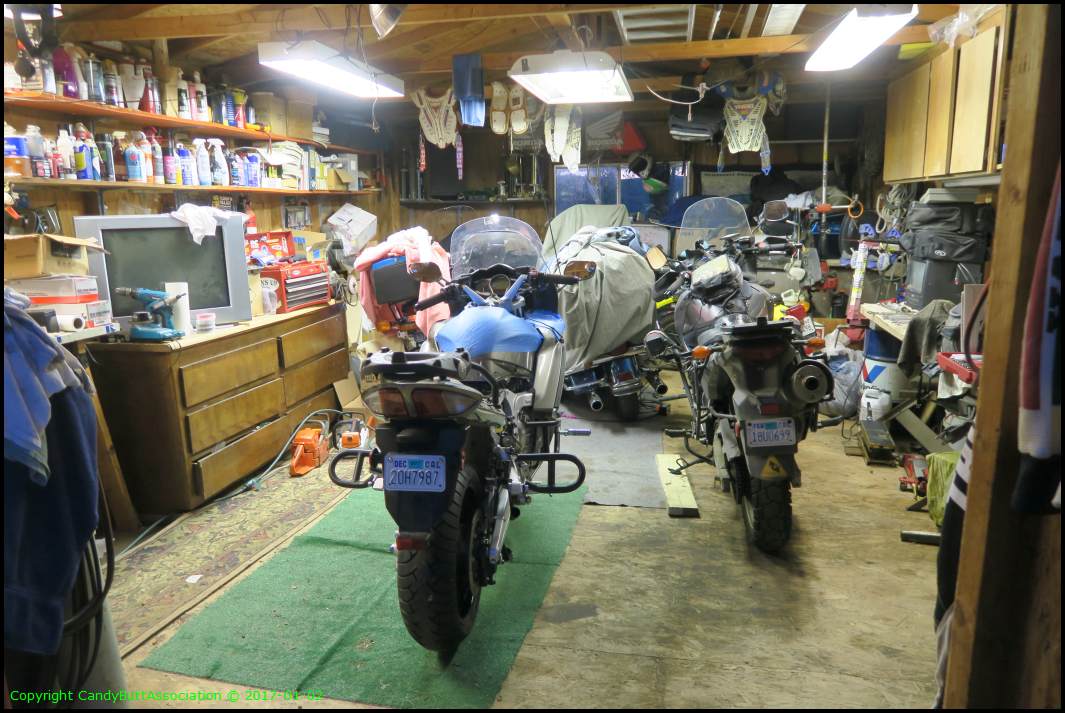
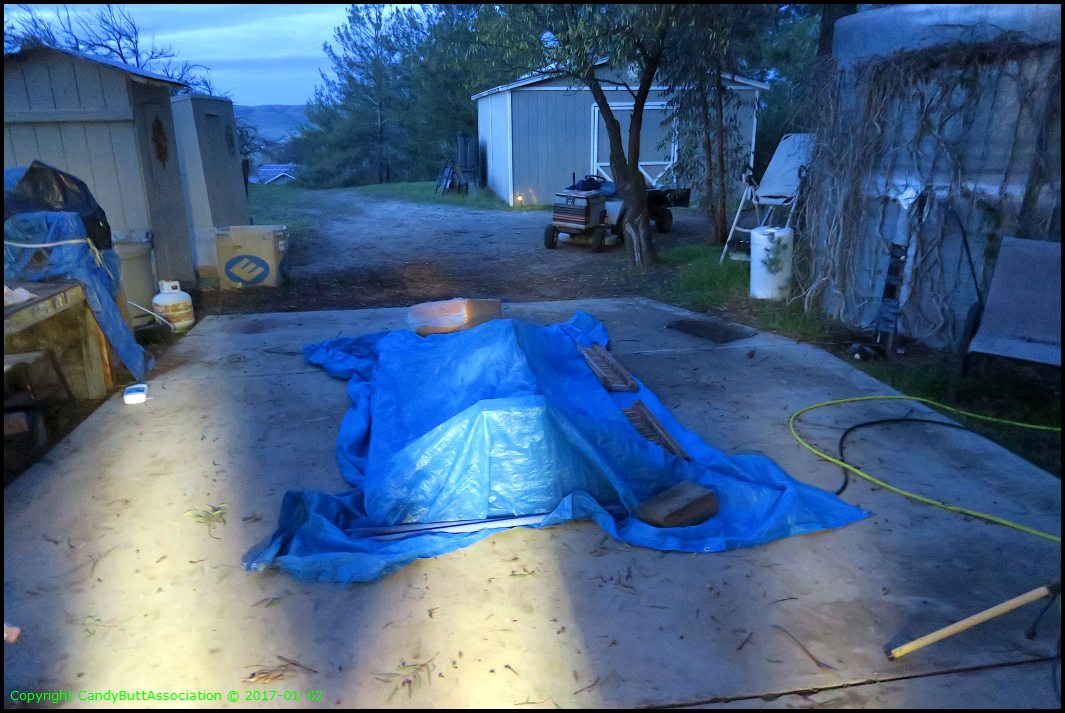
Even got the lift covered. Let the rain begin. It's supposed to start 0300.
Well, that's about it for Naomi's rear end. Sure, mufflers need go on and maybe a better bracket for shock reservoir.. But pretty much this is a done deal.