- Home
- Forums
- Ride Reports
- MotoBikes
- Restorations
- Wrenching
- 1963 BMW R69s
- 1969 BMW R60/2
- 1978 Yamaha 125
- 1979 KZ1300
- 1979 Kz1300 - Bob's Beauty
- 1981 CBX SuperSport
- 1981 Kz1300 Model A3 - Chocolatie
- 1984 Ford F250 XL
- 1987 ATK
- 1987 MowieMowie
- 1987 RotoTiller
- 1988 Honda Accord Lxi
- 1990 BMW RT100 - Barrie
- 1991 Harley Davidson FLHTCU
- 1992 Johnnie Deere
- 2000 YZ426
- 2002 Dodge Ram
- 2006 Carson RacerX Trailer
- 2006 Host Camper
- 2006 KrZy8
- 2007 Wabs
- 2012 KTM 690R
- 2013 Naomi - FJR 1300
- 2014-08-01 Air Compressor - Sears
- 2017 Kioti
- 2018 Toy Hauler
- 2020 Honda Fit
- 2021 Miscellaneous
- 2024 Log Splitter
- 2024 NeoDyne MC Lift
- 2050 test
- Lil Trlr
- Eats
- RIP
- PC Not
- Cages
- Test
- FJRF Best
- For Sale
Candy Butt Association
World's Wimpiest Riders
You are here
2017-12-26 Sevina -Erica- ClearWater Lights IInstall

Forums:
Fred W's excellent fjrforum post..
Ok then. Doing something new with ClearWater lights and an unkown vendor.
Sevinas under mirror bracket. Ericas on front caliper brackets.
Should be adequate to run Nevada at night at WarChild/Ignacio speeds..
No, I'm not all worried about running these lights at this location.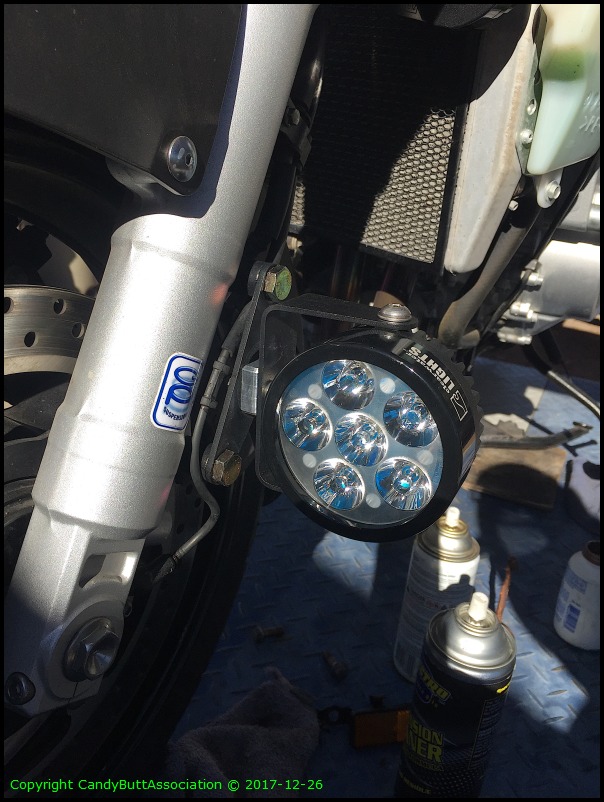
Backside view.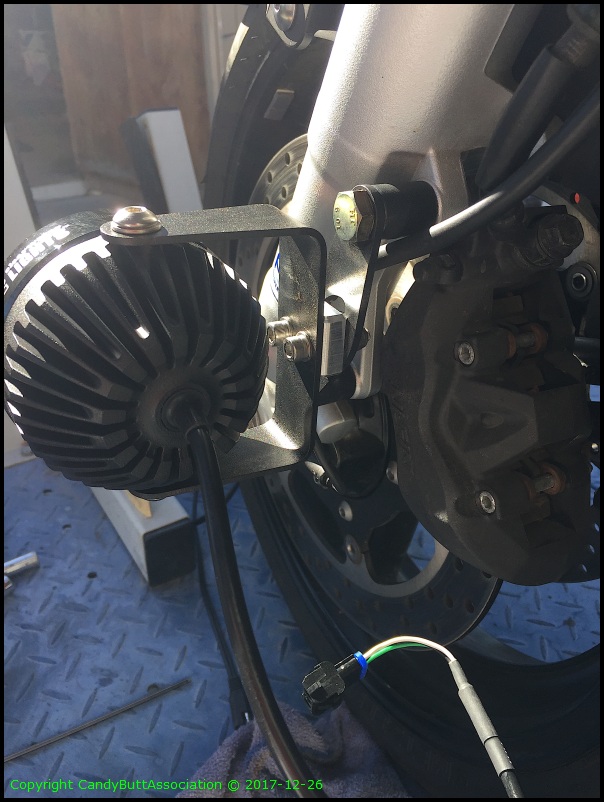

Regarding Sevina's under mirror. The studs for FZ mirrors are too short once CW bracket is in place. FZ mirror stud length.
Inadequate nut engagement IMHO.

Went to Kals Off Road Racing in Atascadero to get opinion e.g,. extending mirror stud length via cut and weld or using Fred W's furniture extenders. To Kal's credit, he fell in love with Fred W's solution and REFUSED to even attempt my idea based upon cost and workability. I like peeps who tell the truth.. even when it costs the guy some easy money
More to come..
Theme by Danetsoft and Danang Probo Sayekti inspired by Maksimer
2017-12-30 Switch Locations
Ok then. Next steps. Wiring. Switches. Locations..
Gag.
The ClearWater harness is complicated.
I have other switches to mount. Aux fuel tank pump. SPST. Headlight defeat (to allow more current to other circuits). The 2013 FJR does NOT have the same frienedly real estate as my 2006 KrZy8.

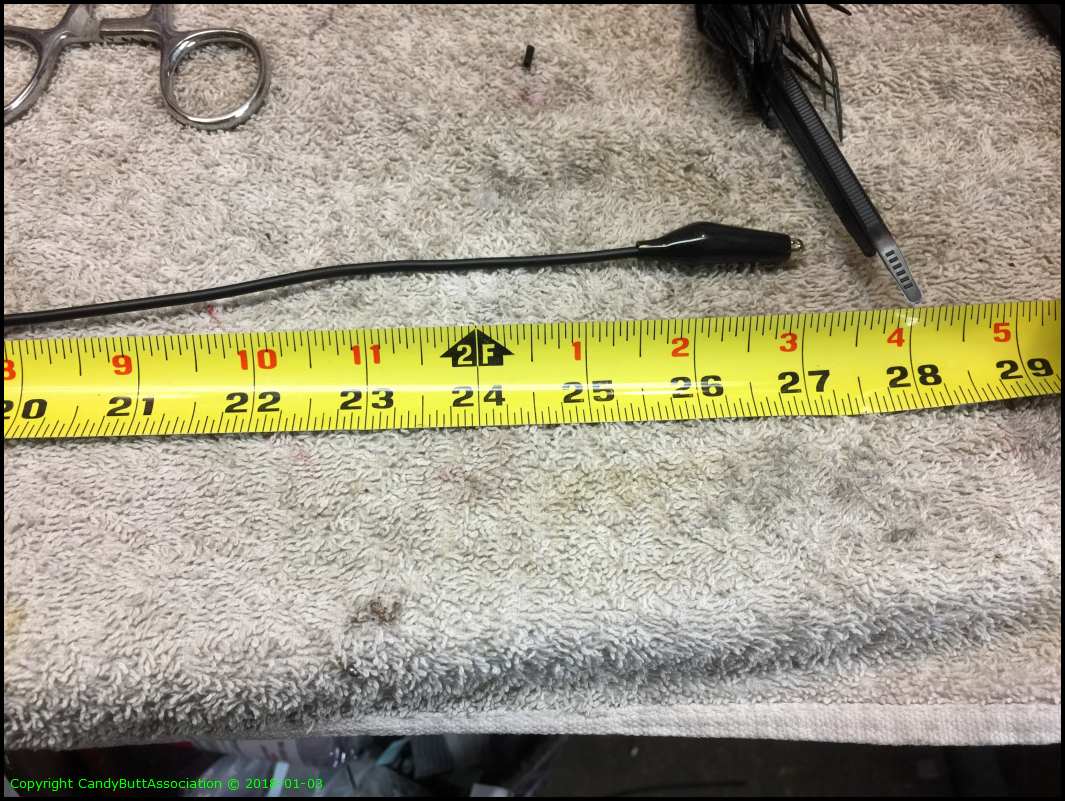
First. Meaure the CW switch.
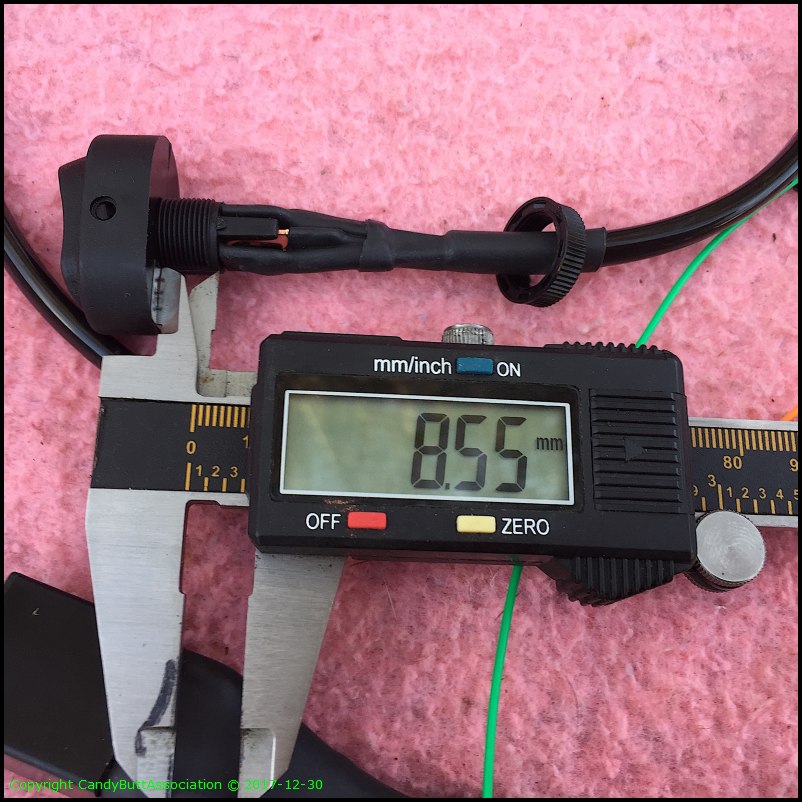
Turns out, not a special switch at all. Found at NAPA and O'Reilleys. And not water proof either. Really?
My bud Ivan at Hidden Power Cycle Sports, lent me his nice crimper so I can mak his life easier later on..
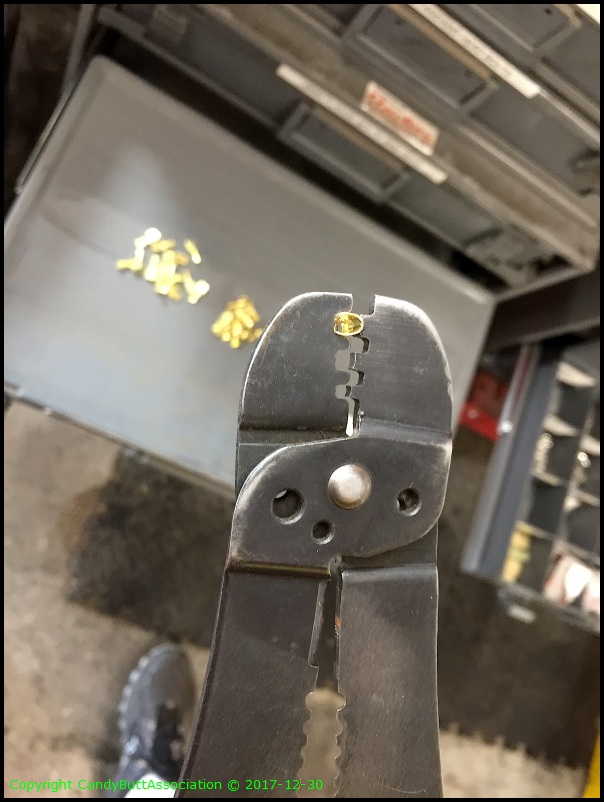
This crimper crimps the copper and and insulation. Ivan bought this one back n 1976. "Don't lose it' seemed like a fair comment"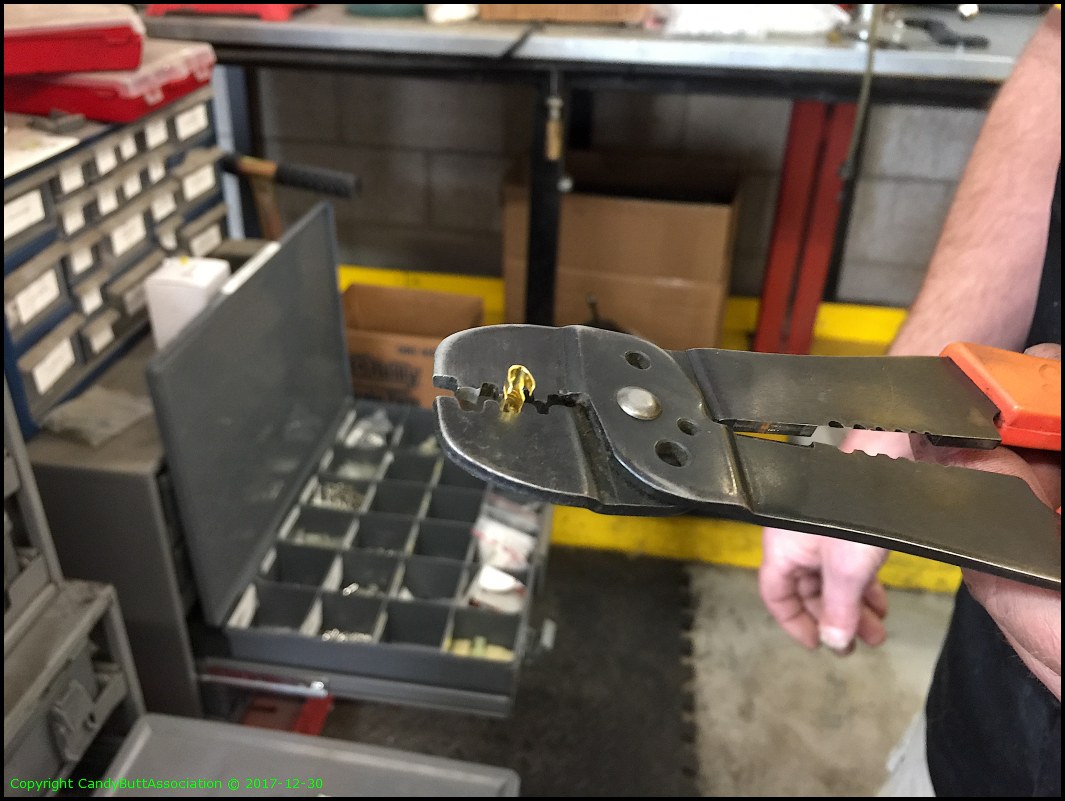
Target sites.. These two for head light defeat.. When running max current for heated gear and aux lights.

I've meausred,., but will look again 2morrow.. ClearWater Lights and Aux Fuel pump...

The CW dimmer has to go in here too.
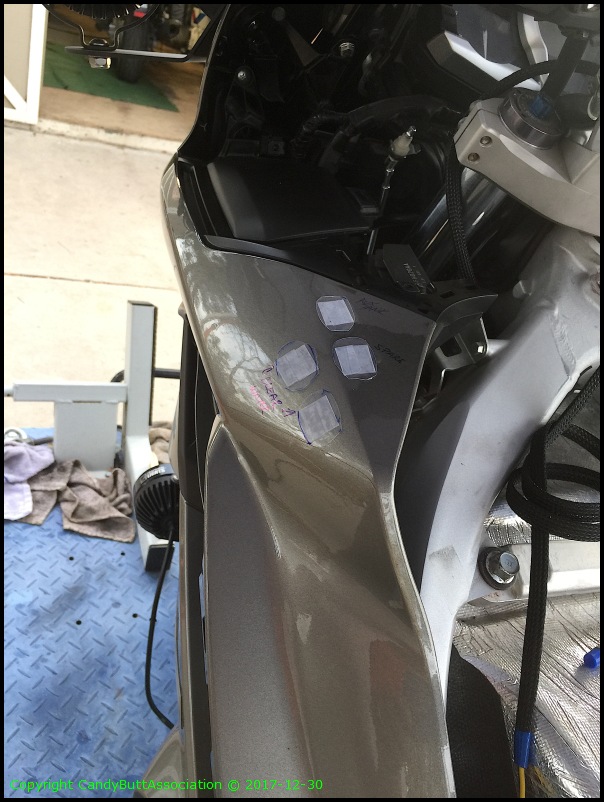
Hmmm. Headlight defeat with right hand. Shouldn't be too bad as switching is infrequent.

Overview.
Fuck this shit I'm tired and Sick.
2017-12-31 Brodie's suggestion - PMR switches
Darksider #16 - and Proud of it !
Posted 31 December 2017 - 02:05 AM
Don
Here's another option you may want to look into...
They have 1, 2, and 3 switch models in both black and polished aluminum models.
They are designed to fit in place of the hydraulic brake/clutch reservoir clamp.
You may have to specify switch logic and switch color when ordering.
They make a cool looking thumb switch too.
Worth considering.
Brodie
2017-12-31 Brodie's suggestion - PMR switches
FJR Forum Post Whore
Posted 31 December 2017 - 08:29 AM
Brodie, that is an EXCELLENT solution! I sent this email off to the PMR folks..
Your product looks excellent! I’m in the process of making a long distance rider out of my 2013 FJR.
2018-01-03 Drilling Holes
2018-01-03 Drilling Holes, Wiring
These pics are all over the place, sequence-wise. I've been working on what I can when I can..
Here's the proposed hole locations for left upper cowling.
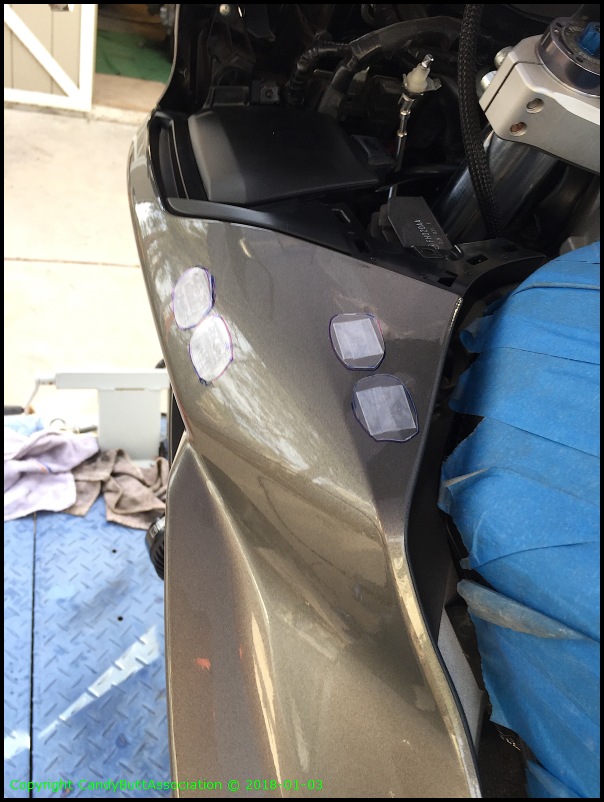
and for the right upper.

Rider's view.

I take lots of pictures when nervous about drilling. It's a stall technique.

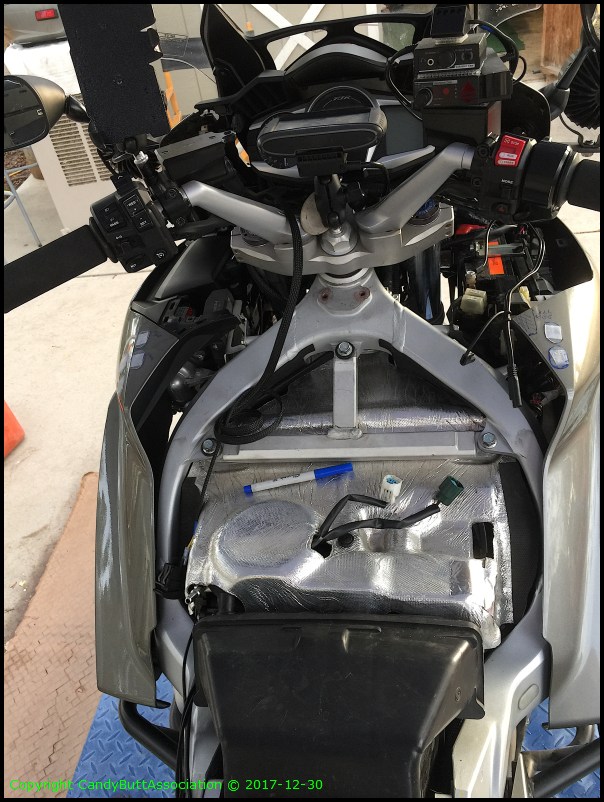
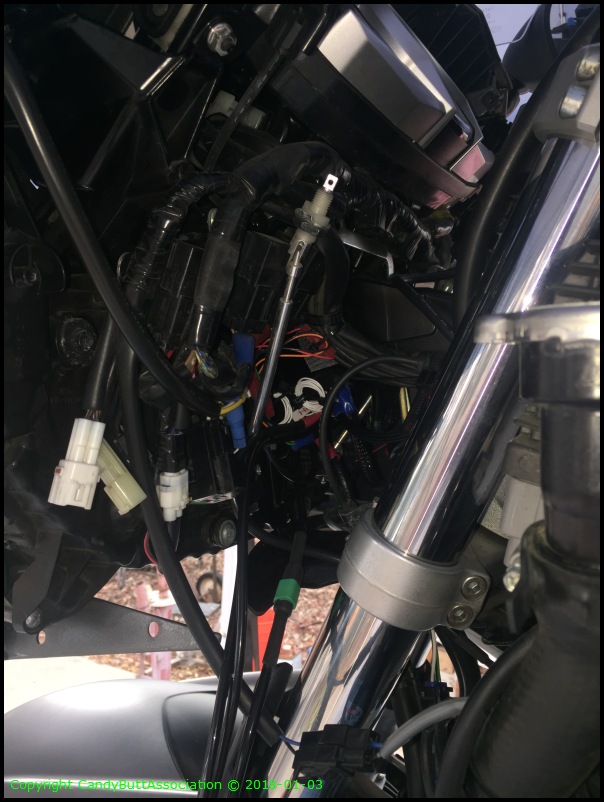
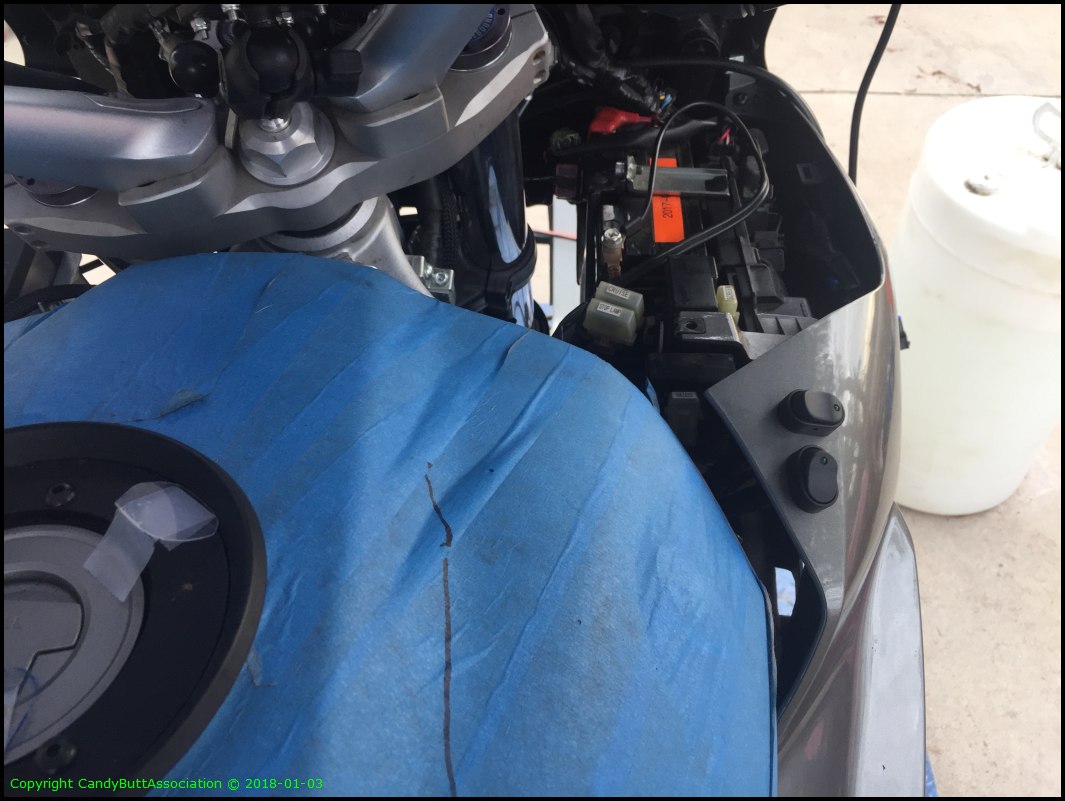
So I chickened out and thought I'd better find a place for the Master Relay. It's the 'brains'. A separate relay, a dumb one, runs the Sevina lights. This location is almost perfect, me thinks. It's tucked into a recess, is almost a press fit, and the wires hang down in case of rain?
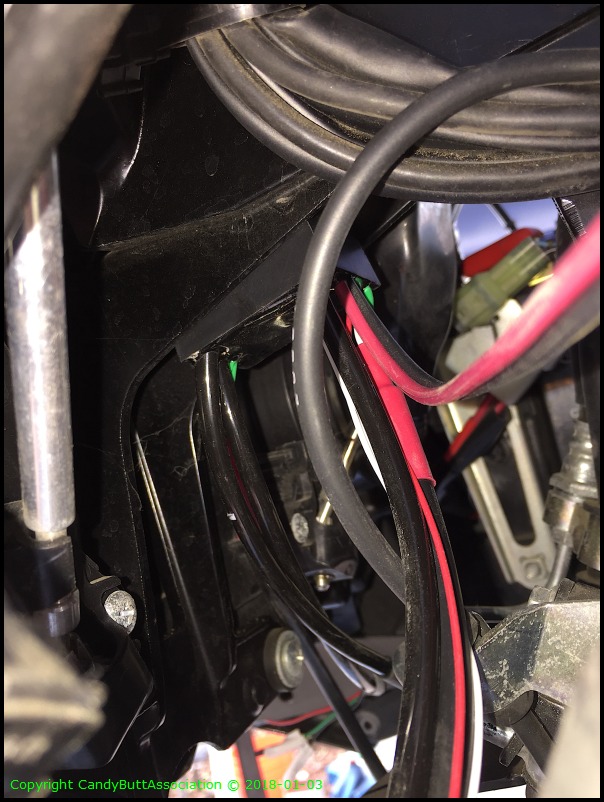
3M Dual Lock. It's the stuff.

Check fit... front panel installed temporarily.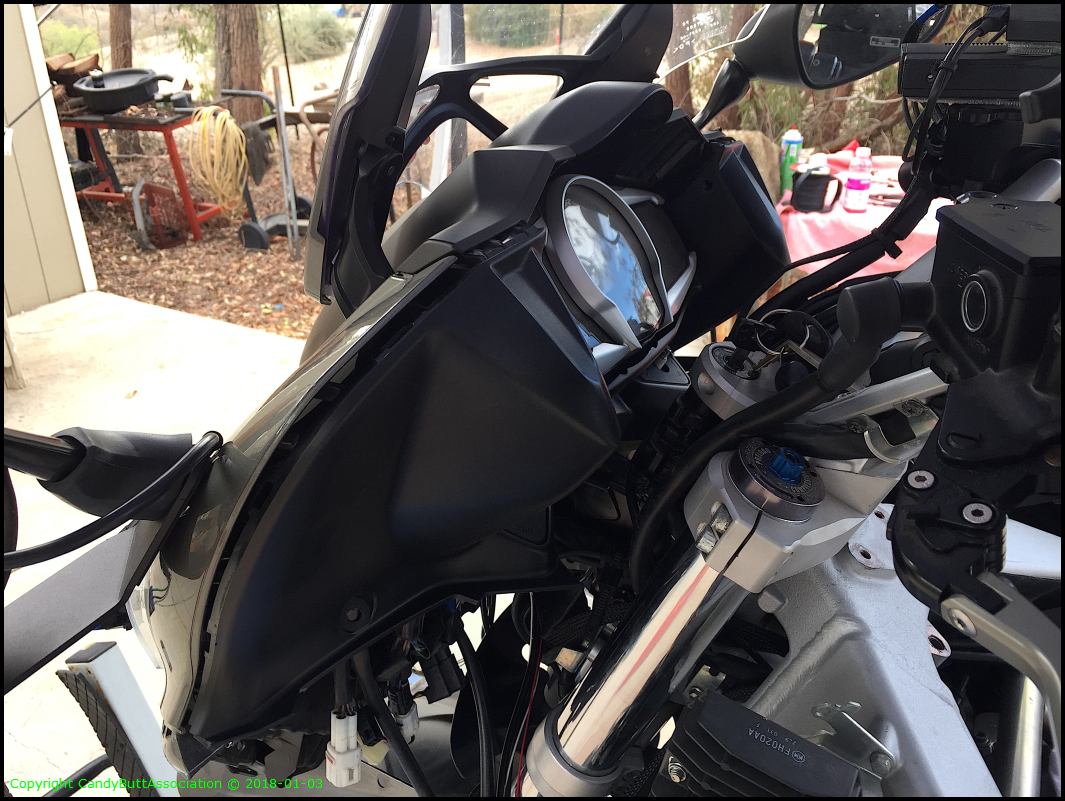
Sevina relay part number.

Clearwater Lights schematic.

Trial run to see if wiring is correct before tucking everything away and Ty-Rapping.
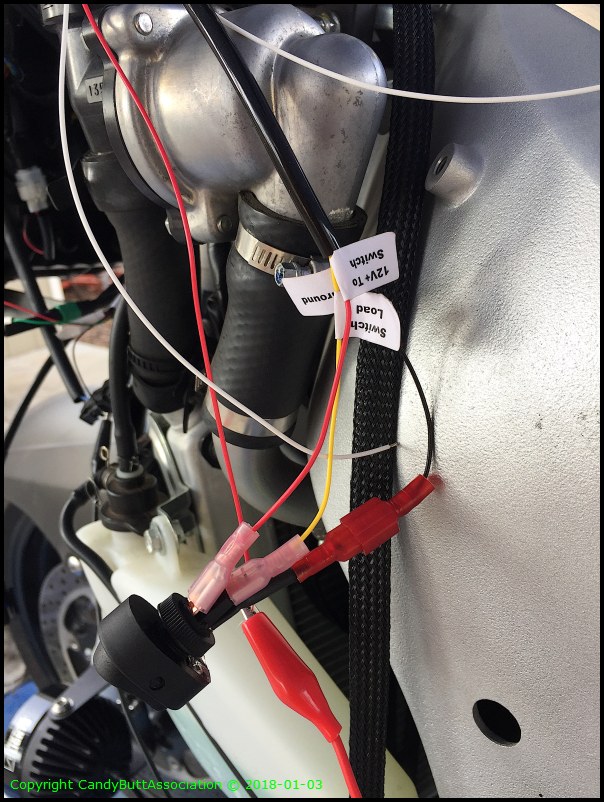
..and don't forget your grounds!

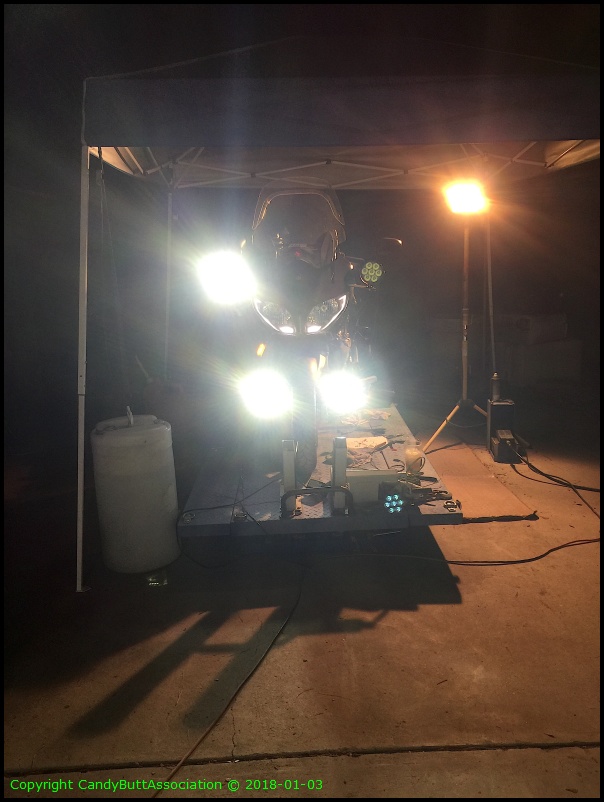
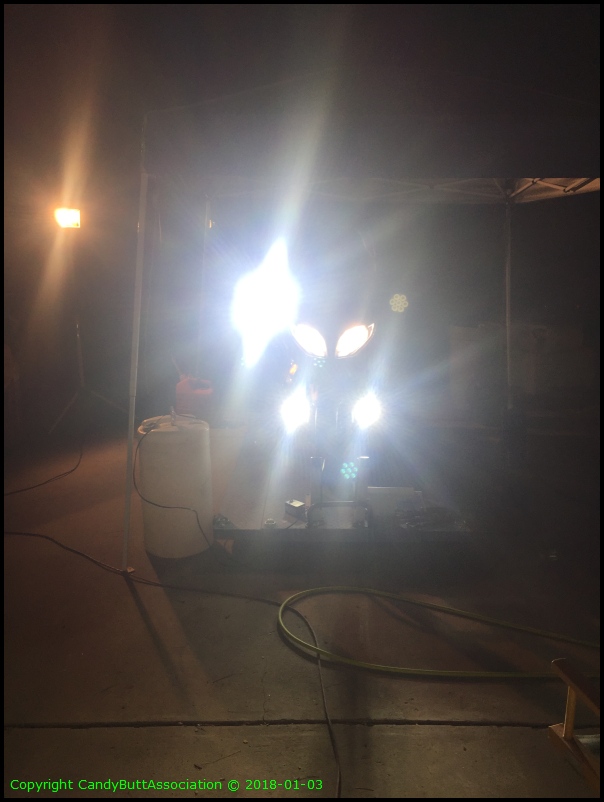
OK then, making progress, they light!
Two white wires are hi-beam, horn trigger for 100% brightness. The horn circuit is ground seeking meaning yet *another* relay would be required.. So I'm' not using the horn option. Yellow wire is Eastern Beaver harness allowing killing of hi or lo beam to save watts. PosiTapped to white wire.

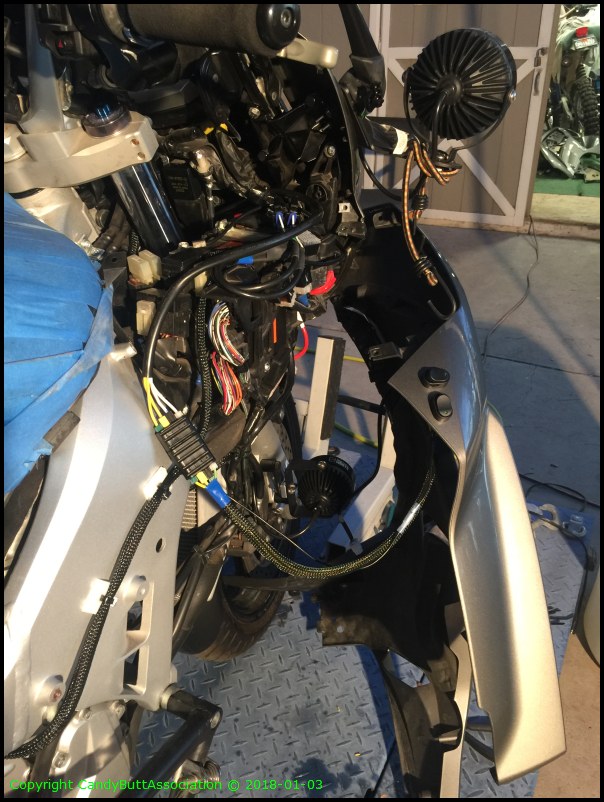
Still pretty clean up in there. More wires are coming though..

The Sevina light is incredibly bright. At first I was powering from battery only, and at full volume via dimmer one of the lights would flicker. Back it down a few degrees and the pulse width modulator was good; no flicker. Called ClearWater, Skip recommended running the alternator as it was probably voltage droop. He was right.
I ordered a wiring harness extender for the RHS light, as I placed the stupid, ugly, Sevina relay in the fairing next to battery compartment. I need to get pic of that..
I need 28" extension, ClearWater has 36" pre-built so I'll find some room and hide the rest of it.
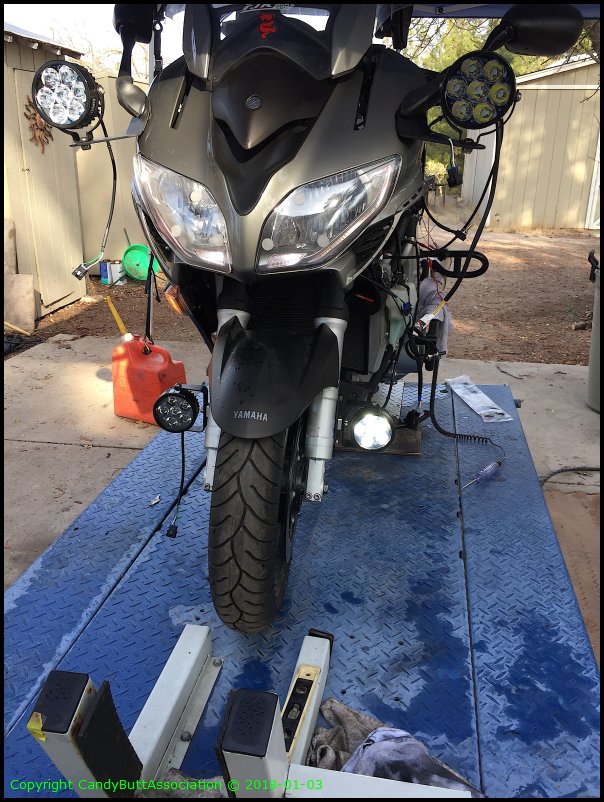
Full tilt boogie.

Originally, I was going to use motorcycle connectors to facilitate cowling and switch removal. Ivan at Hidden Power Cycle Clinic, Paso Robles, CA let me his borrow his crimper but needed it back by Tuesday after New Years.. and I didn't get that far along in the project so plan B...

This is Frank at HPCC. This is proof I returned the crimpers!
Some more wiring pics. This almost done... still pretty clean.
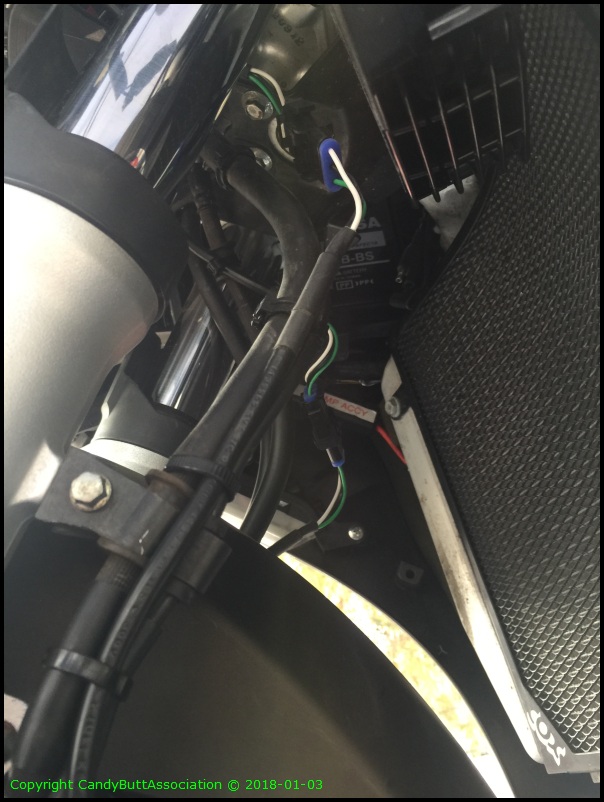
Struggled a bit with wiring for Erica's running below.. I think this will work.. But going to take a second look..

As the fork compresses, the wiring will need to 'bunch'.
With with wiring proven, time to drill? I'm a nervous Nellie.

Ok then, drilled! These two are for the headlight cut offs..
Here's my solution for the connector. It's a PosiTap trailer connector. It makes a very secure connection.
Brightness! Can't wait for the extener cable to arrive so I can get the last light fired up.
Here's the pin extractor to remove connectors...
2018-01-04 Making Connectors and another Switch
x xxxxxx
a
x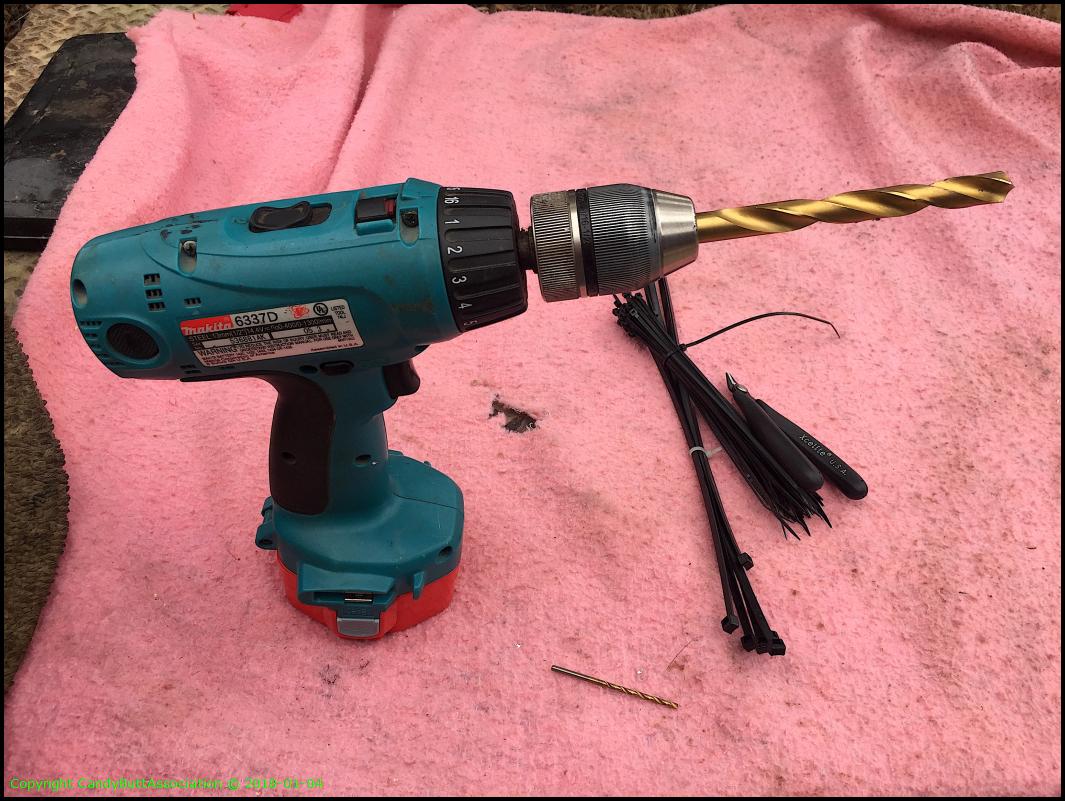
x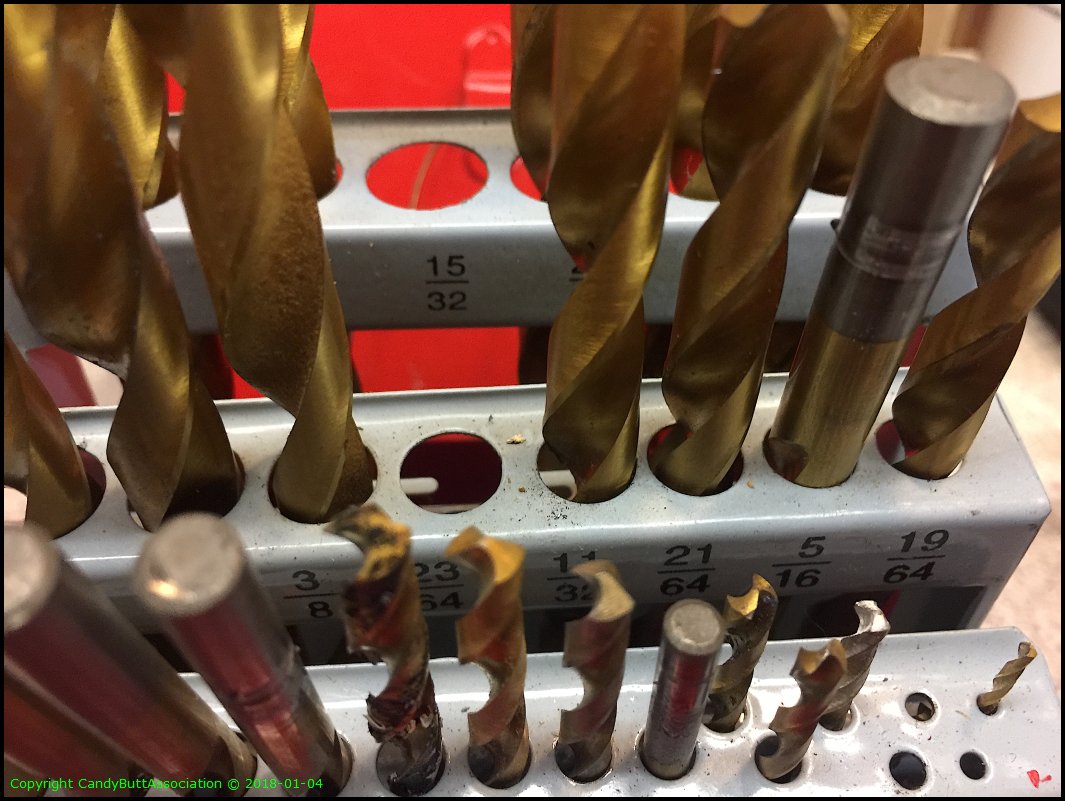
x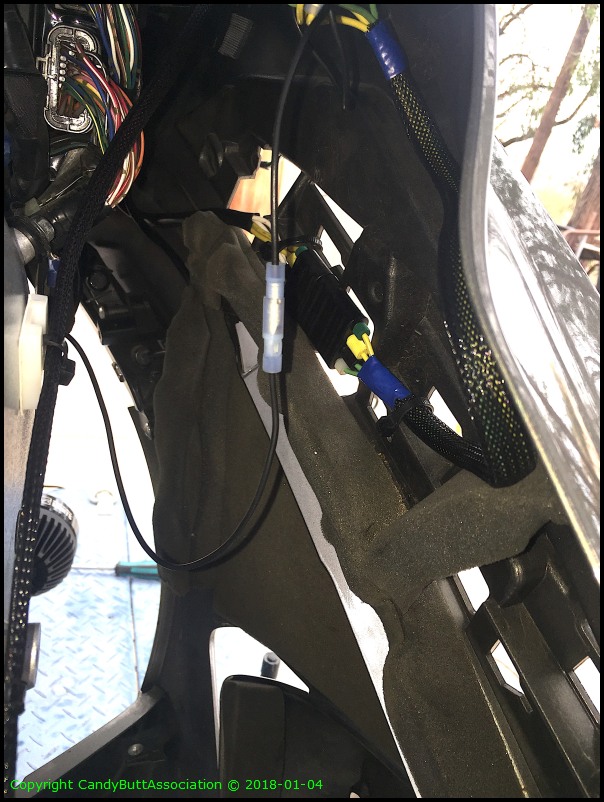
x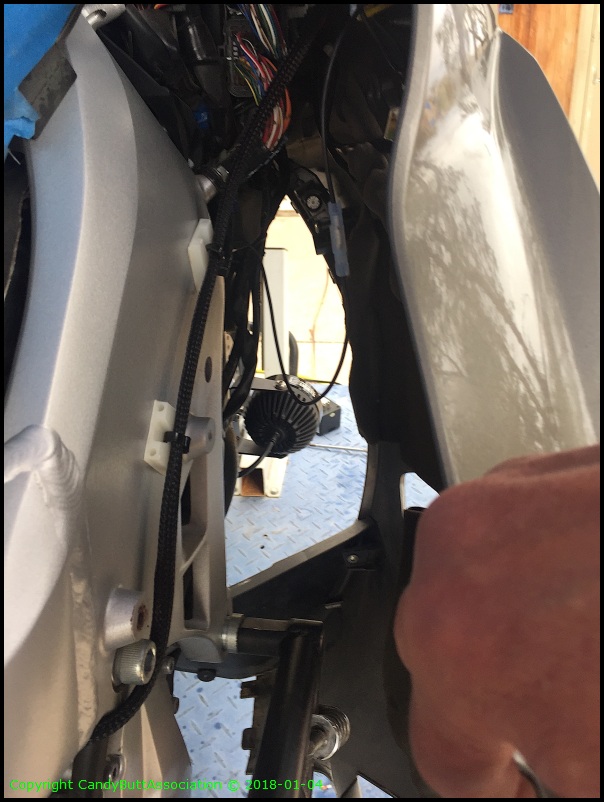
x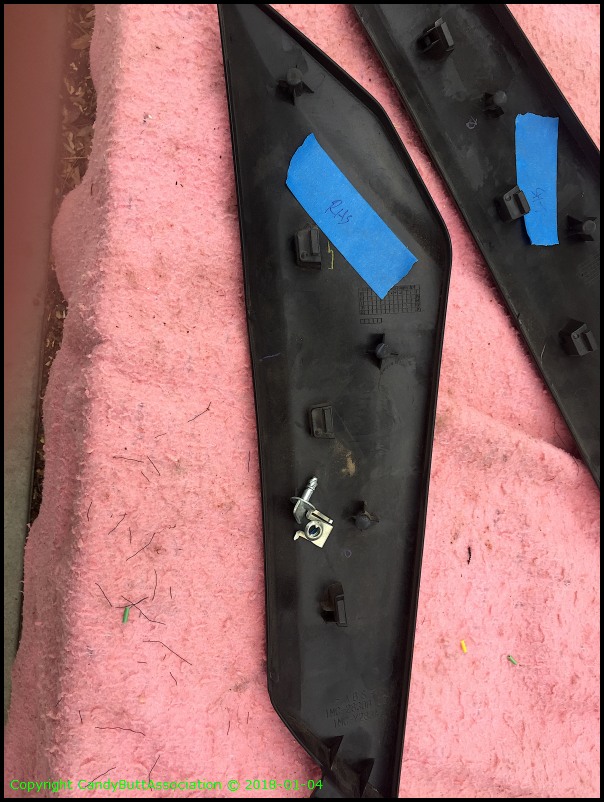
x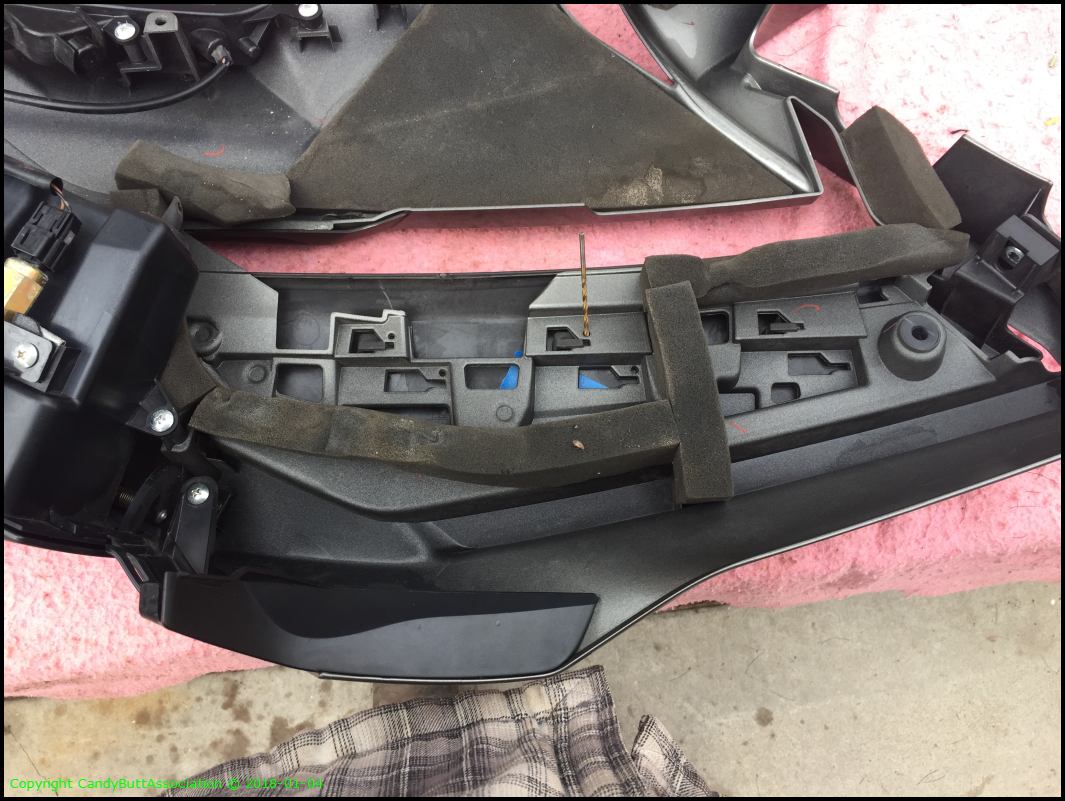
x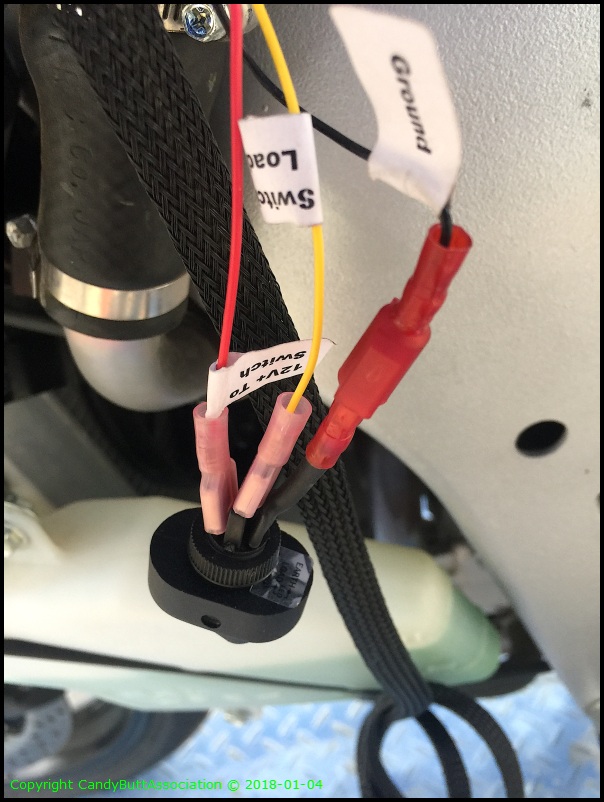
x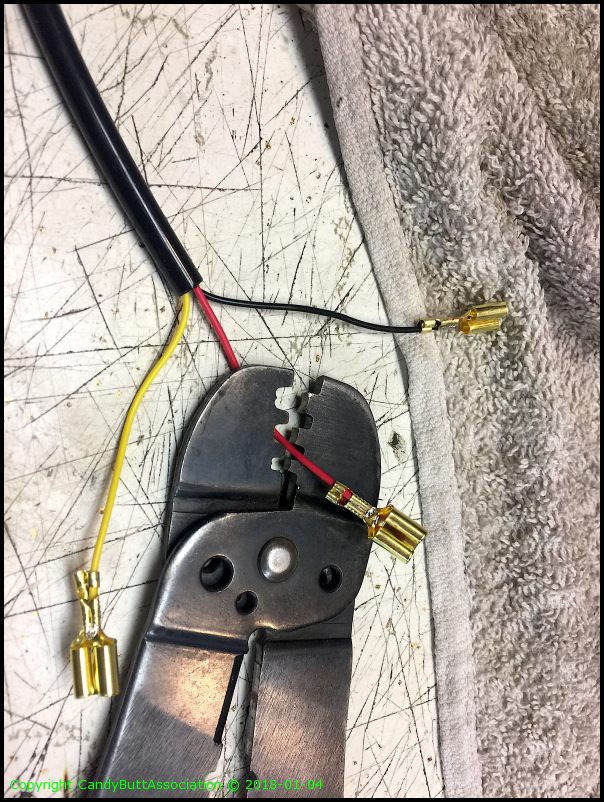
x
x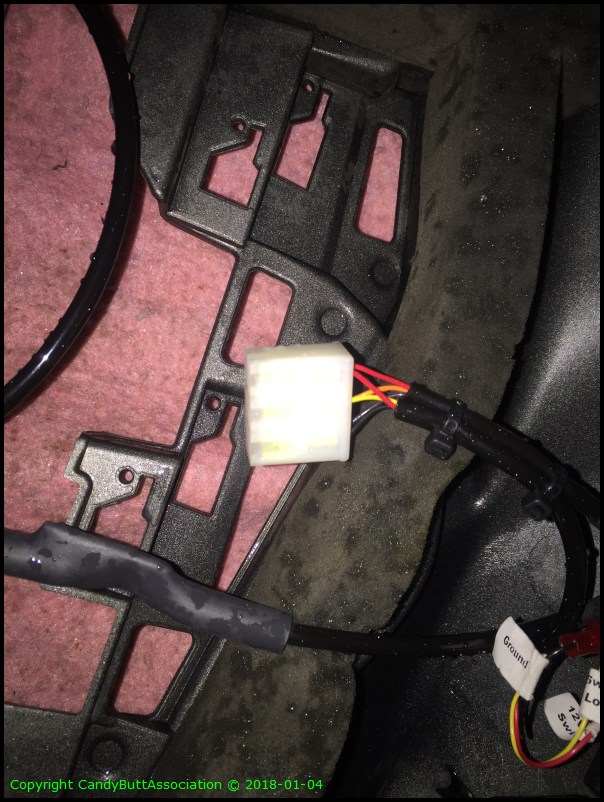
x
x
x
x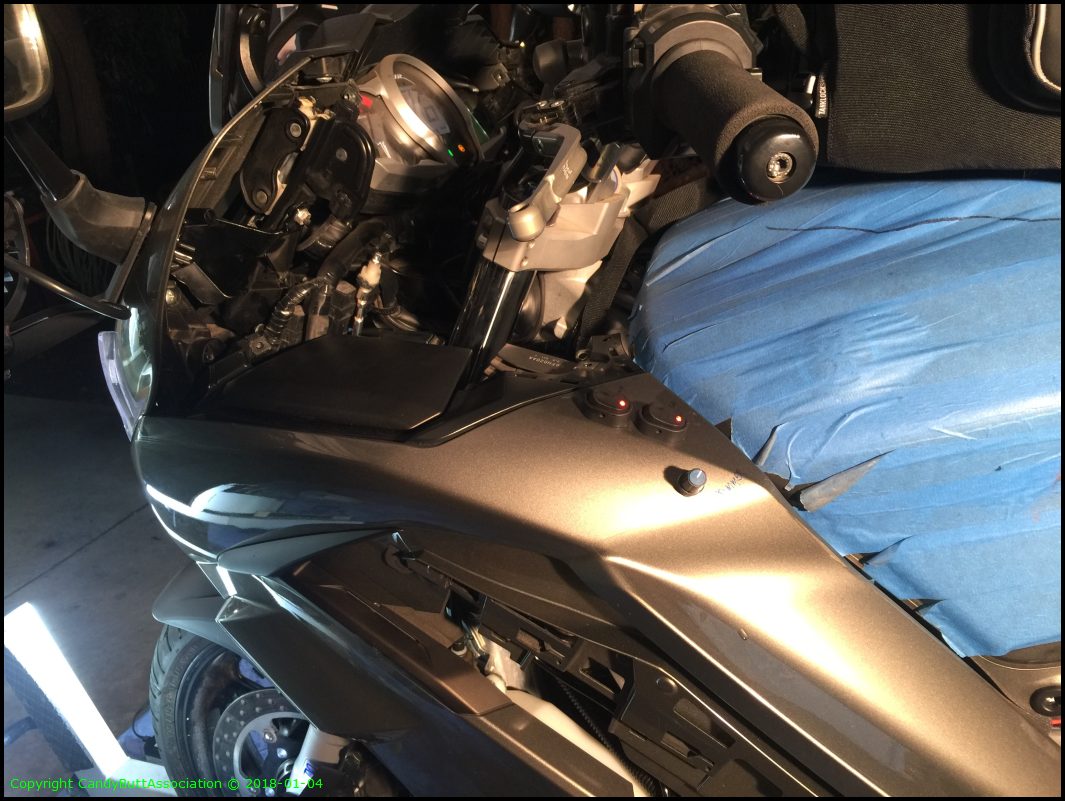
x
x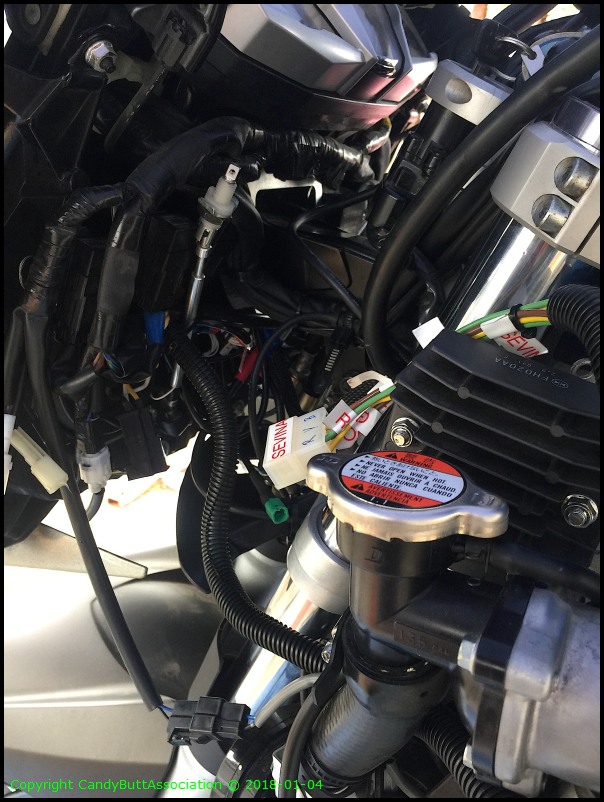
x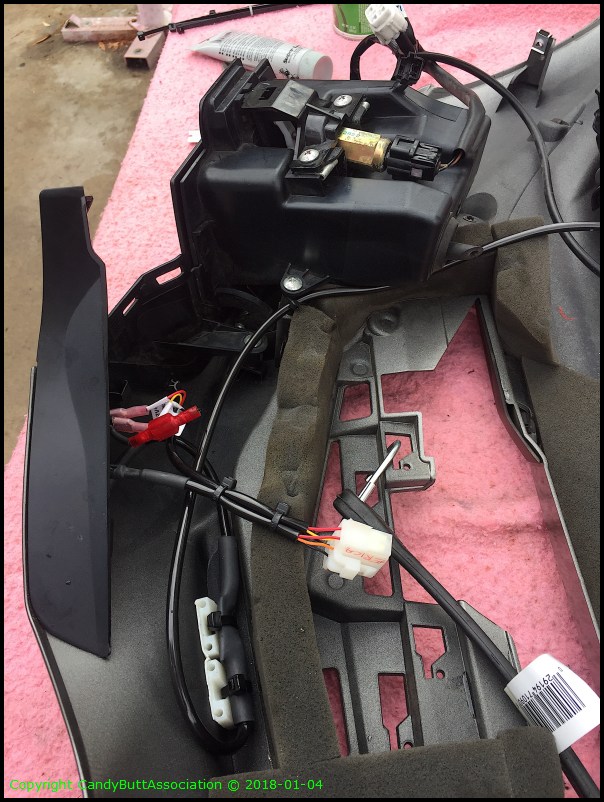
x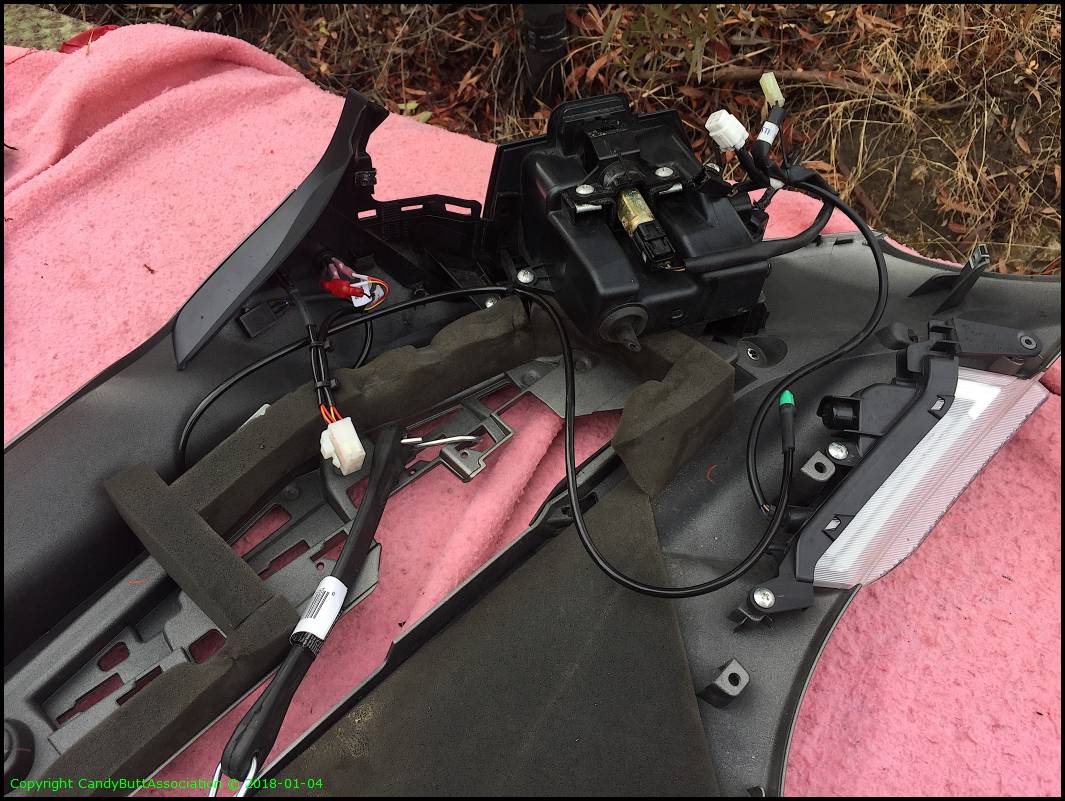
x
x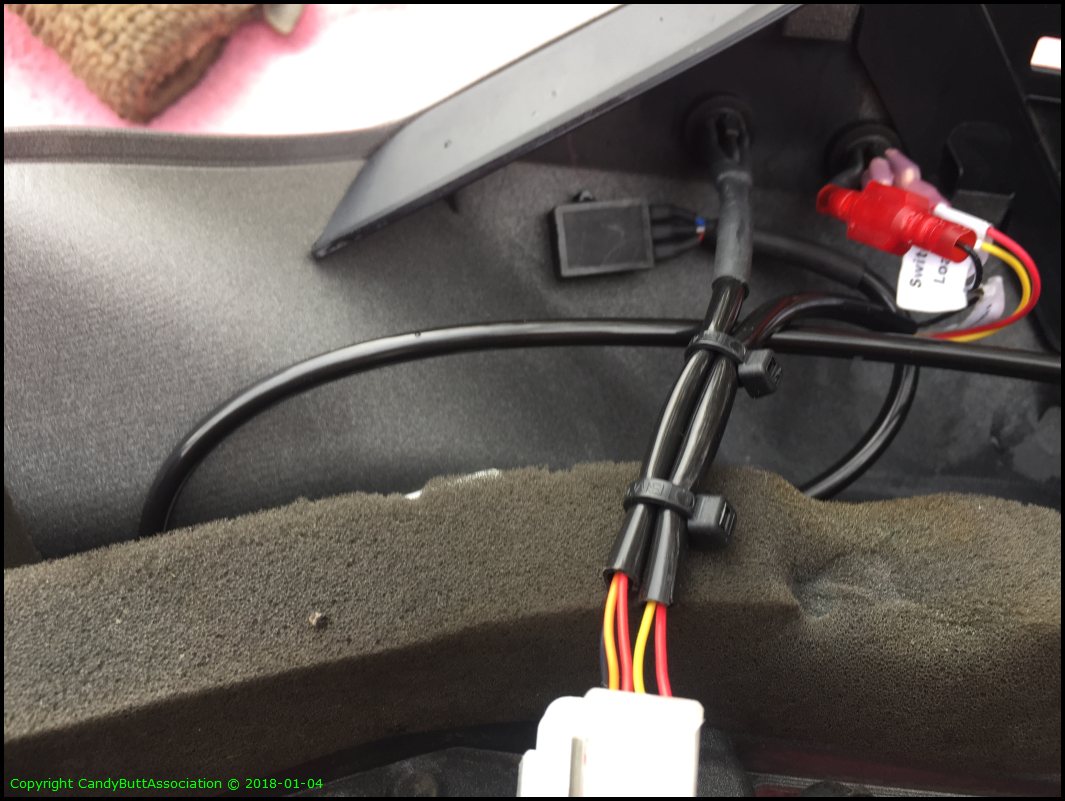
x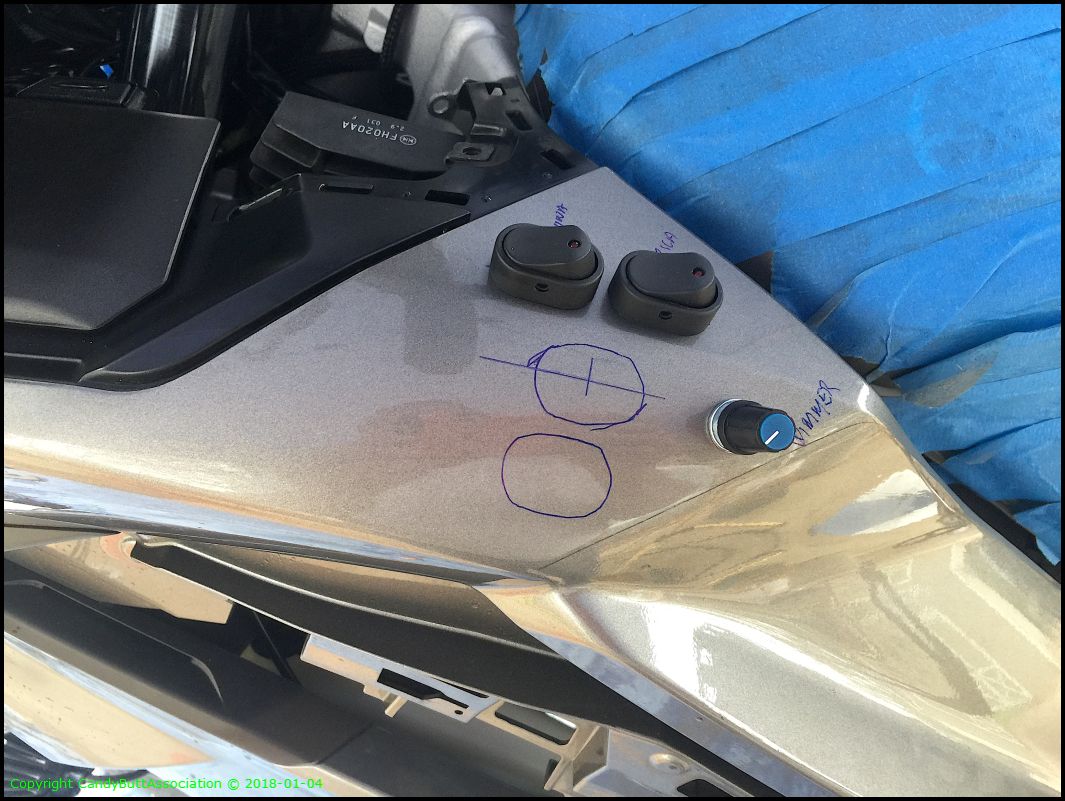
x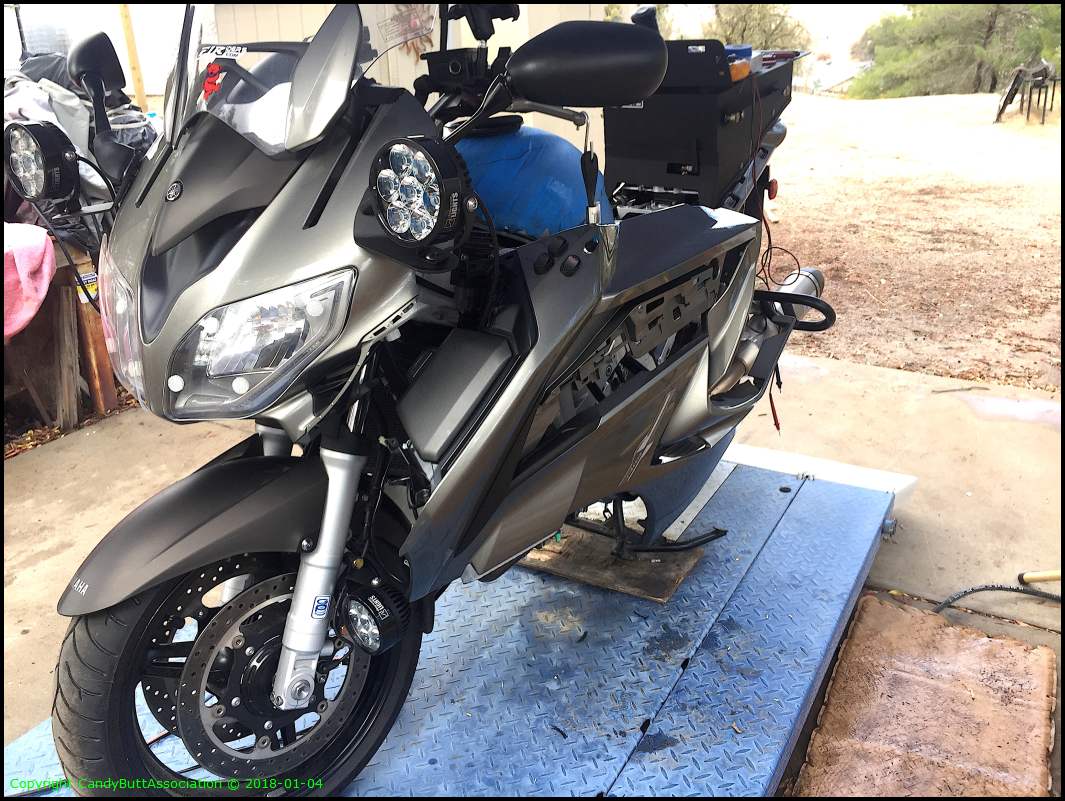
x
x
x
x
x
x
x
x
x
2018-01-04 Making Connectors and another Switch
2018-01-04 Making Connectors and another Switch to Add
The hole maker. Prefer a UniBit but 1/2" hole too big for my switch size.

15/32" perfect.

The RHS completed. Hi/Lo beam cut out switch.

I wonder if the ty-wrap stickies will stay? The frame gets warm.

Arg. Broken clip. I thought I ordered one.. No can find..

Stupid panels. I couldn't figure out why the outer black panel wouldn't click into place. Then I looked twice. Ty-Raps. The drill marks where the two pieces index.

To teh left side.

Making a connector. The ClearWater wires are a PITA. Small AWG, silicone insulation? Each crimp soldered.

The green connector is brightness control circuit.

My connector, completed. I ordered water-proof connectorcs, crimpers, and pin extractors. Next service will replace.

Turned out OK. Wires twisted for photo shoot.

I didn't have the same color wires as CW so took notes..

Each wire tagged with the CW color..

Here I think it's all done. Next morning (today) I see the AuxTank switch dangling by wires. Crap.

Overview.

I'm hoping I got the connector wiring correct.

Thew clump under the heat shrink is dimmer control.

Better shot of dimmer control.
The potentiometer, square piece, had a tab to index thus preventing rotation. I cut the tab off. It won't move...

Well crap. Another hole, switch and connector needed.

Done. Good thing too. Almost out of room.

Good service loops.. Makes taking the cowling off easy. Note the hanging strap.

More to come. It quit raining so I gotta go..
future use placeholder
place holder