- Home
- Forums
- Ride Reports
- MotoBikes
- Restorations
- Wrenching
- 1963 BMW R69s
- 1969 BMW R60/2
- 1978 Yamaha 125
- 1979 KZ1300
- 1979 Kz1300 - Bob's Beauty
- 1981 CBX SuperSport
- 1981 Kz1300 Model A3 - Chocolatie
- 1984 Ford F250 XL
- 1987 ATK
- 1987 MowieMowie
- 1987 RotoTiller
- 1988 Honda Accord Lxi
- 1990 BMW RT100 - Barrie
- 1991 Harley Davidson FLHTCU
- 1992 Johnnie Deere
- 2000 YZ426
- 2002 Dodge Ram
- 2006 Carson RacerX Trailer
- 2006 Host Camper
- 2006 KrZy8
- 2007 Wabs
- 2012 KTM 690R
- 2013 Naomi - FJR 1300
- 2014-08-01 Air Compressor - Sears
- 2017 Kioti
- 2018 Toy Hauler
- 2020 Honda Fit
- 2021 Miscellaneous
- 2024 Log Splitter
- 2024 NeoDyne MC Lift
- 2050 test
- Lil Trlr
- Eats
- RIP
- PC Not
- Cages
- Test
- FJRF Best
- For Sale
Candy Butt Association
World's Wimpiest Riders
You are here
2017-12-07 Fuel Pp Removal- Gas Cap Hysterectomy

Forums:
2017-12-07 Fuel Pump Removal & Gas Cap Hysterectomy on a 2013 Yamaha FJR
Fred W from FjrForum.com had an excellent post modifying the gas cap thus allowing key removal when cap is open. Seems like a good idea, so here we go. Later, I'll be pulling the fuel pump in order to fit the aux tank bung fitting.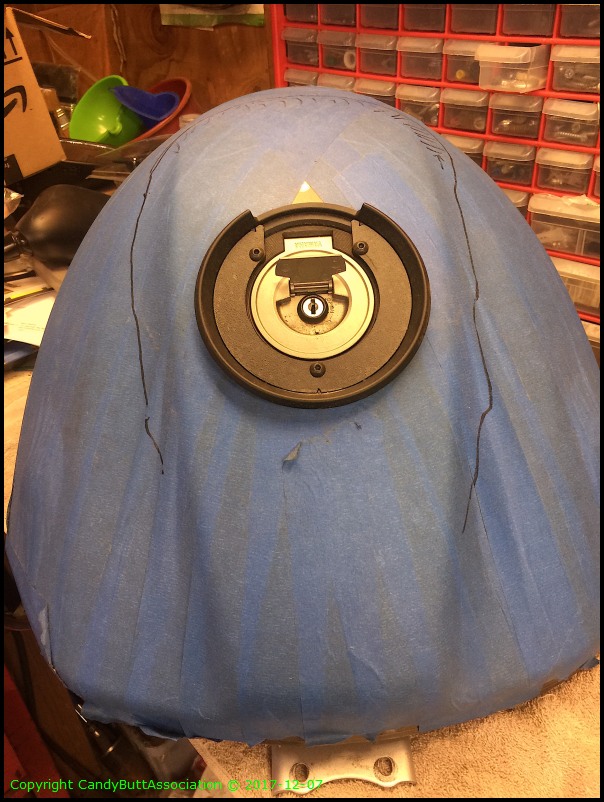
The spacers are for the tank bag ring.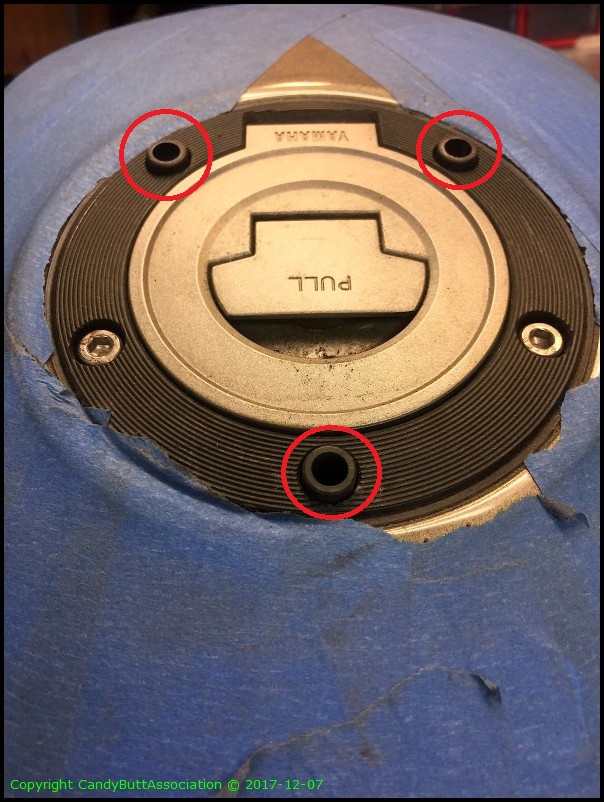
One last fastenar.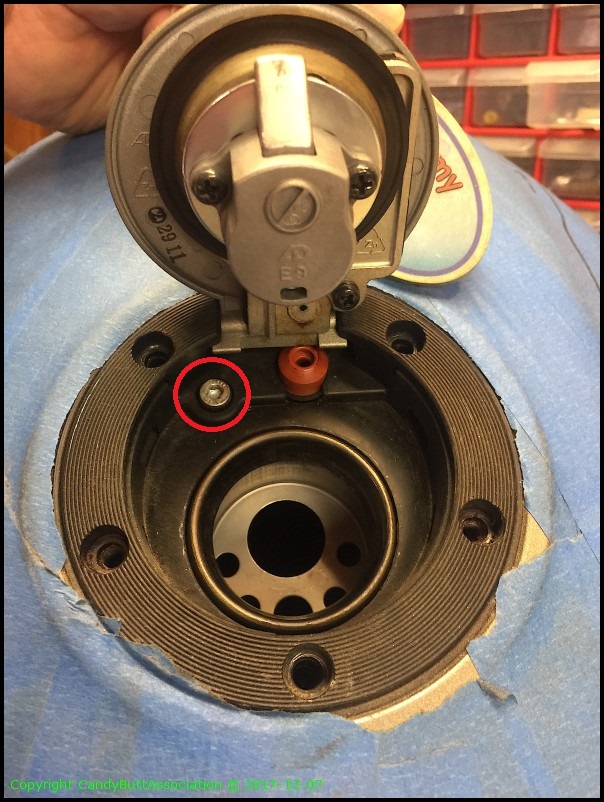
Slightly longer than the rest..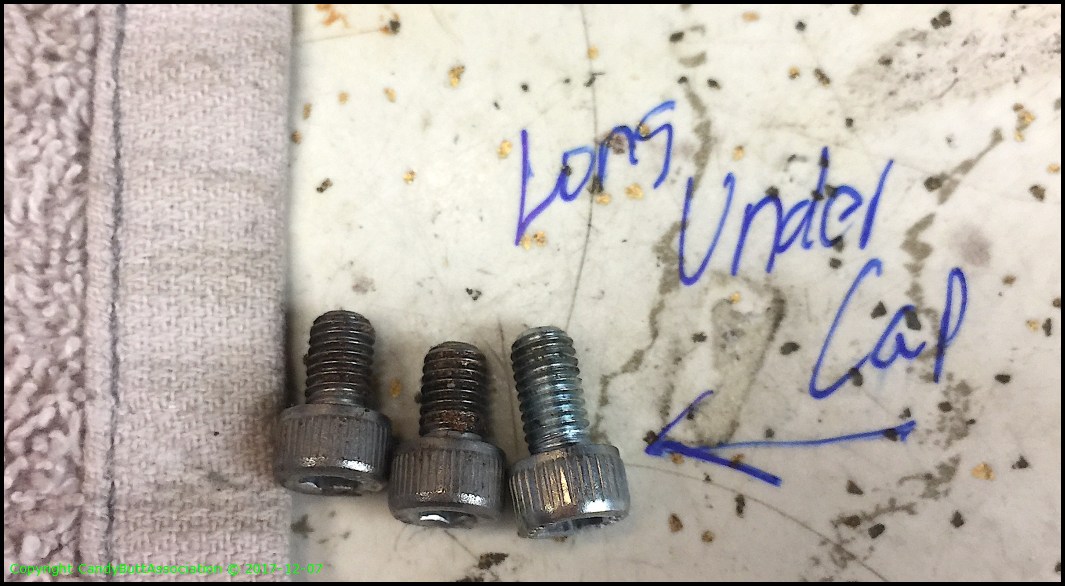
Looking in.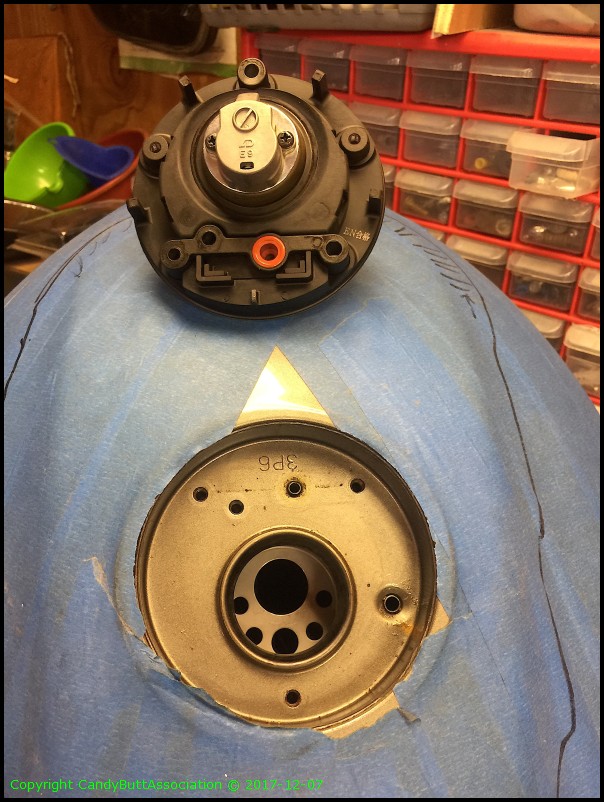
Carefully remove latch screws. There's a spring underneath so keep it under control.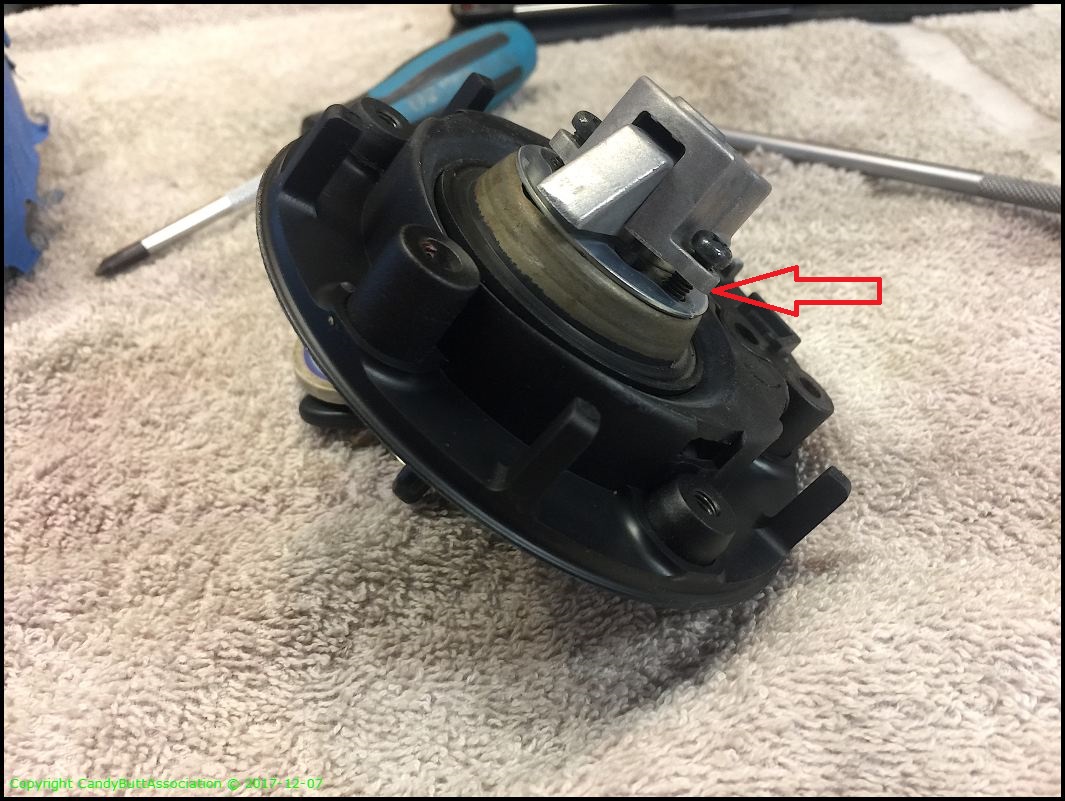
Fred W has better pix of where the spring and do-thingie goes but this might do too.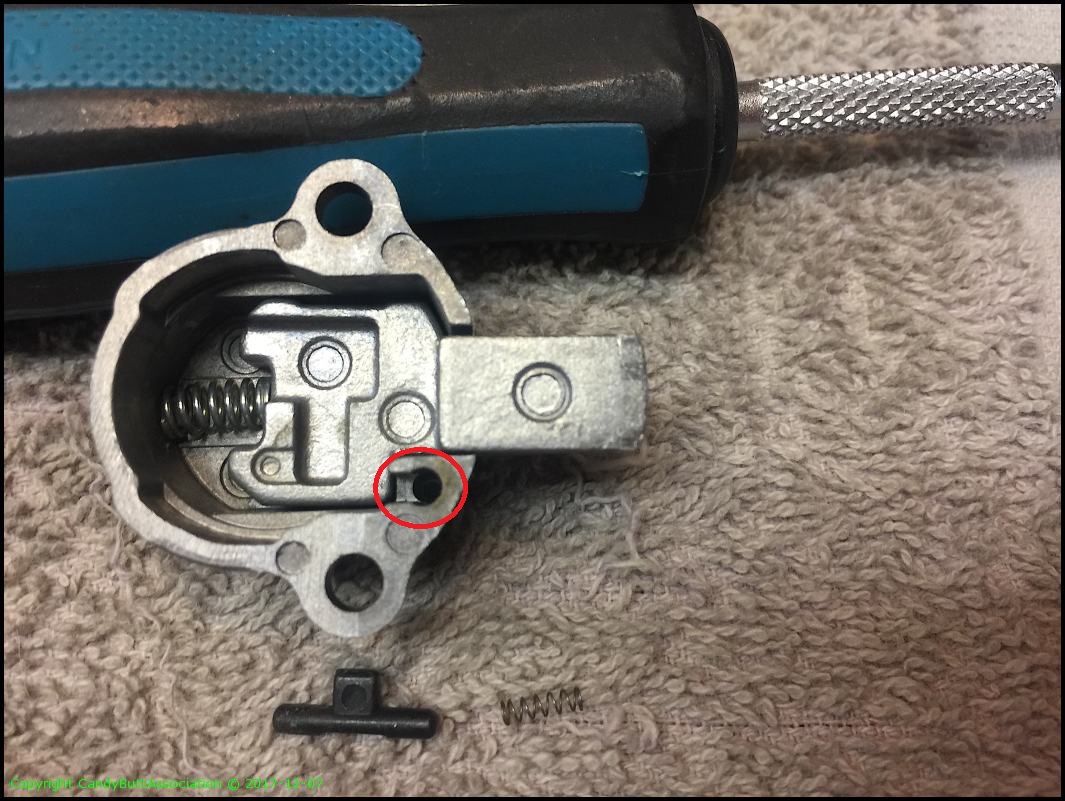
Visual inspection just because.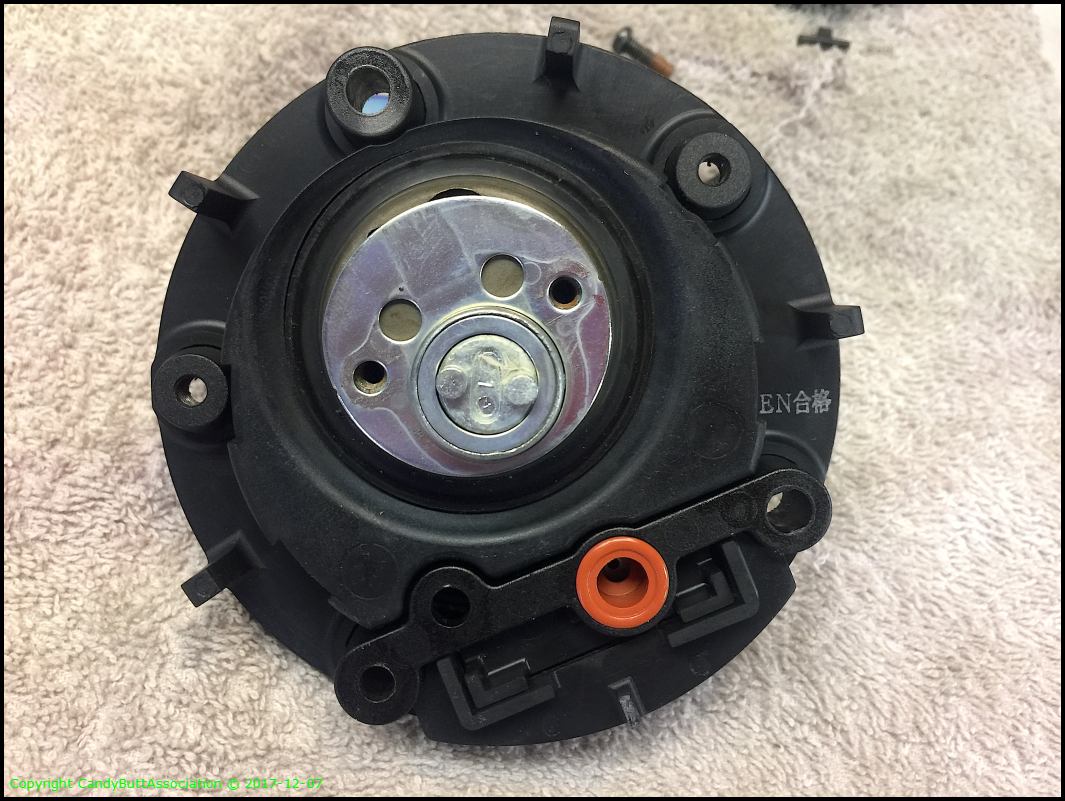
All looks good. Don't lose the ball bearing.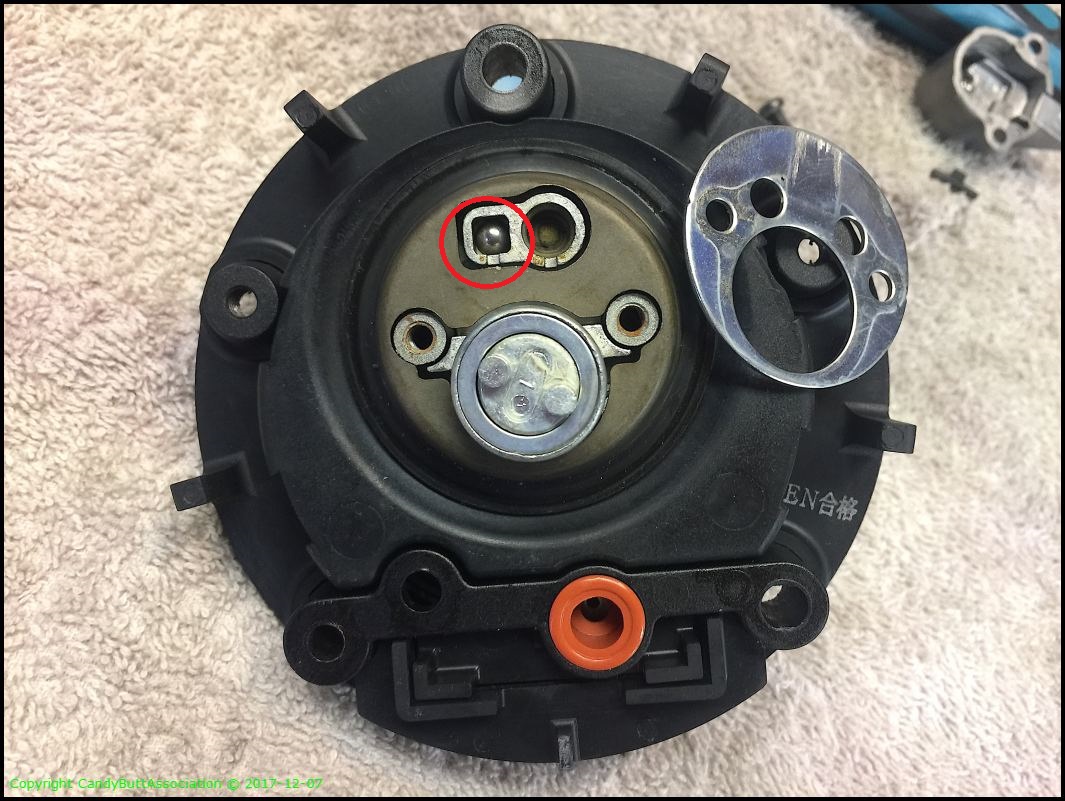
Parts storage in case later want it back 'stock'.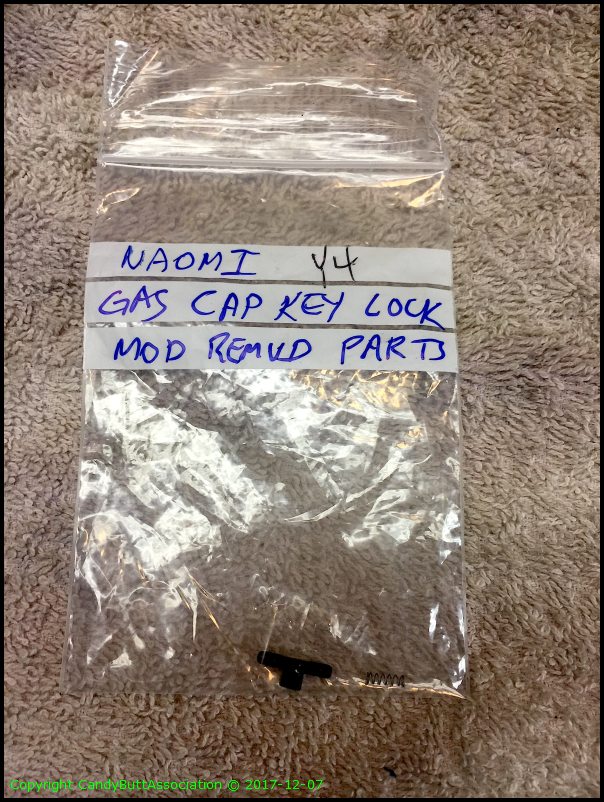
Time to start fuel pump removal. Even though the flange and tank are marked, indexed, I like to go over the top. I posted earlier when I did this job on a 2006 FJR.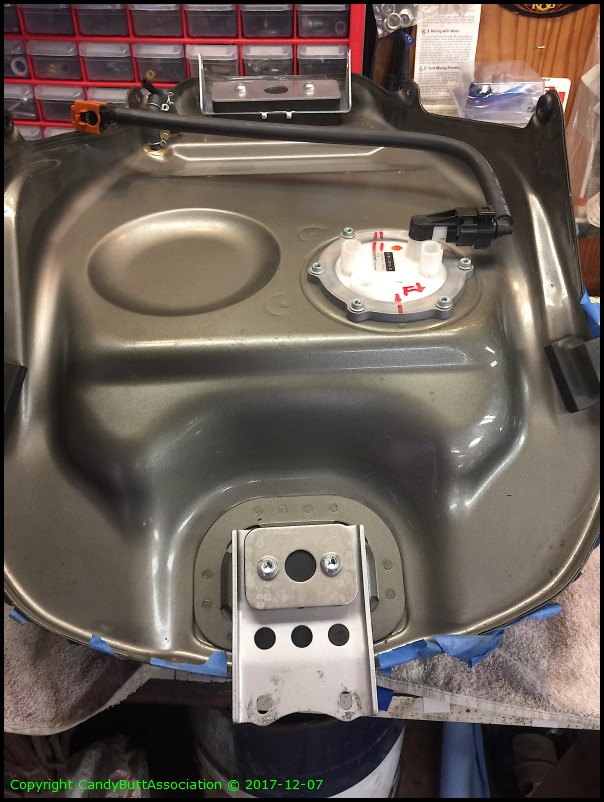
Really hard to mess the indexing up...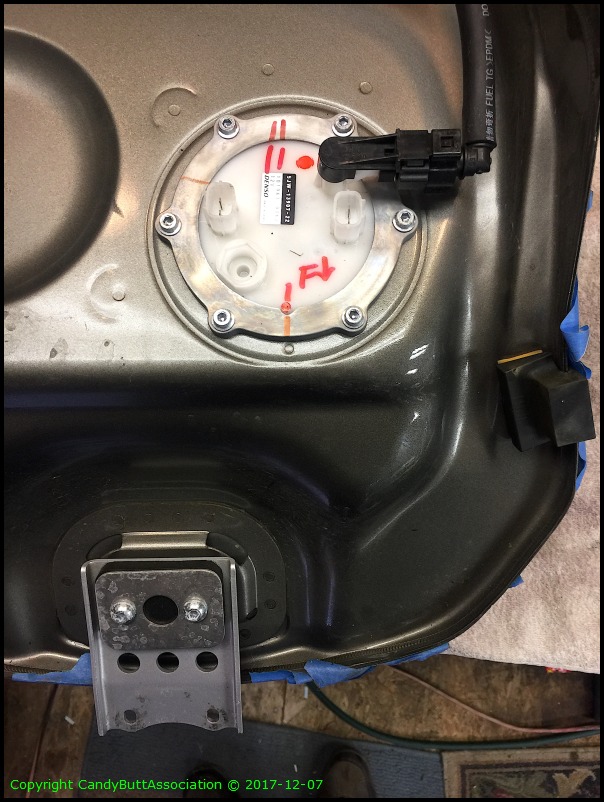
To remove the fuel line, lift the locking black plastic cover then squeeze the gray tabs together.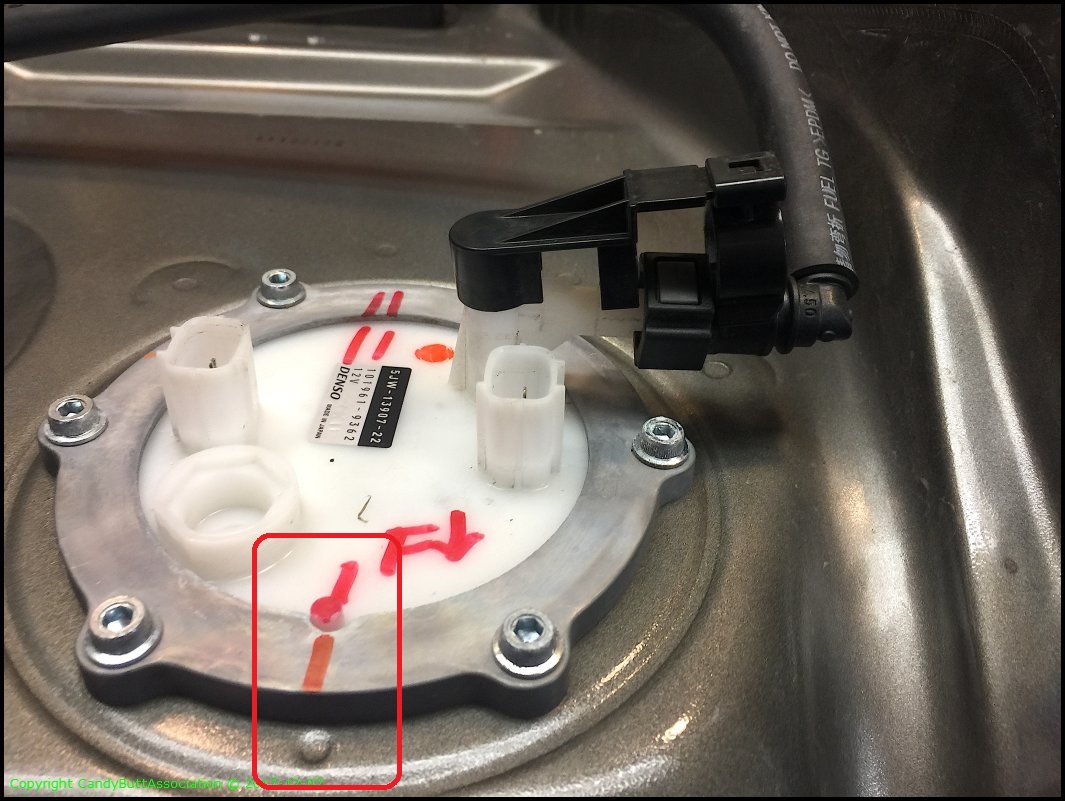
Ring off.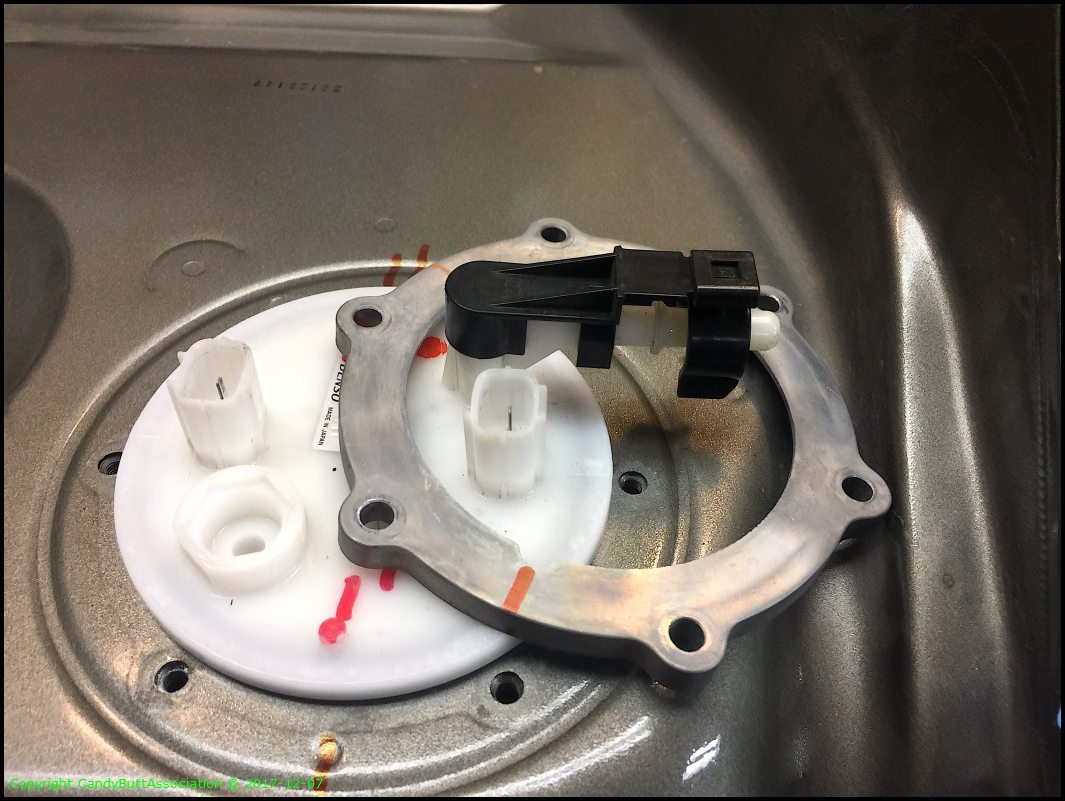
Now for the tricky part. The pump will not clear the flange. Sure, old nimble fingers Brodie did it once, but I've never been able to. Rather, simply disconnect the fuel level assembly by gently prying the locking tang then genltly push down on the assembly. It will move about 1/8" then disconnect from the pump.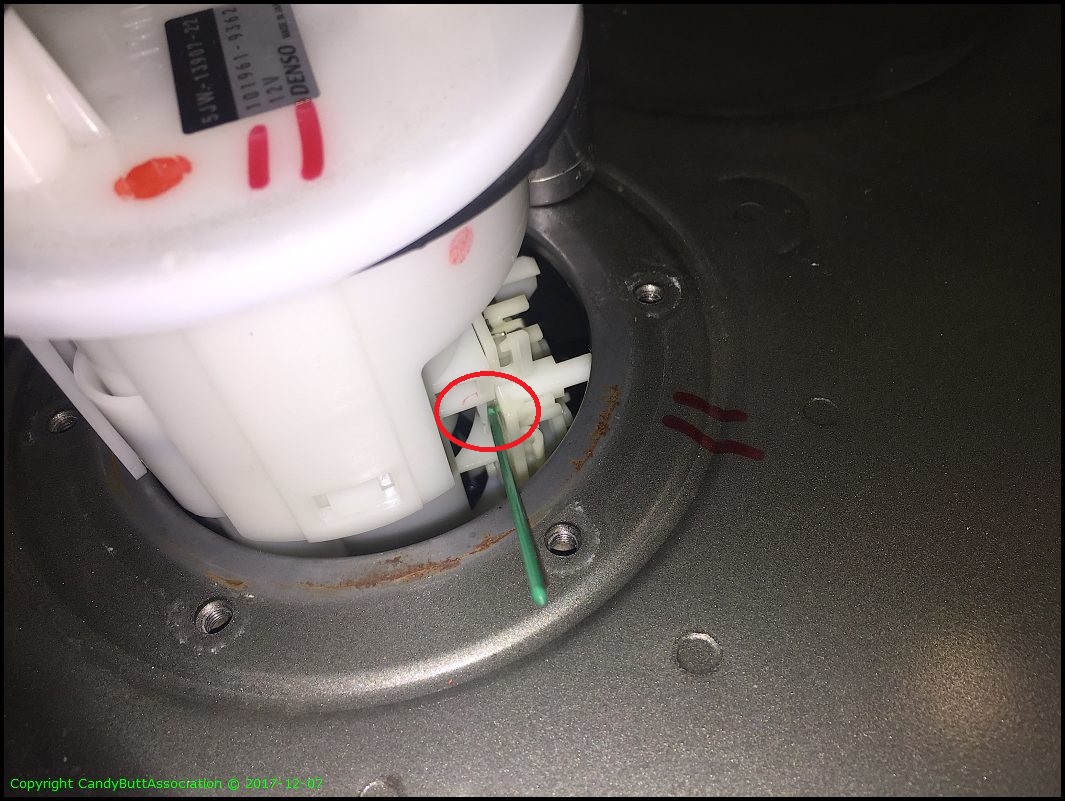
Follow the green toothpick..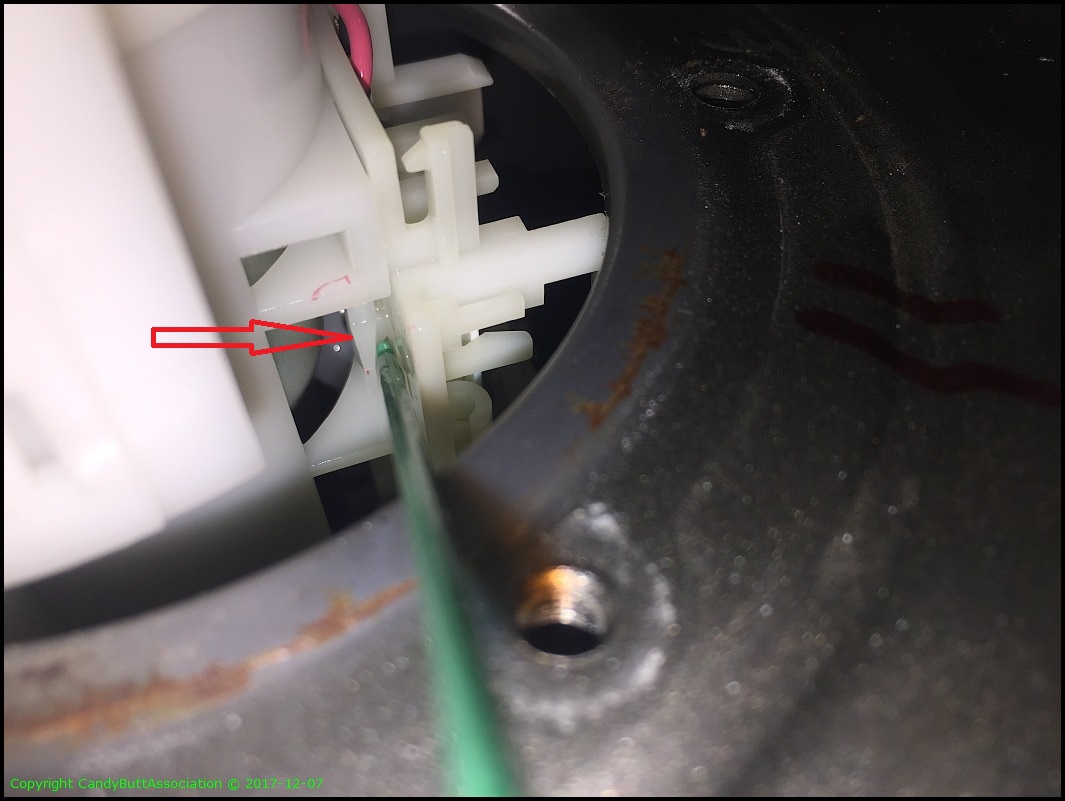
Two options.. Wiggle it until clearance exists for pump and level assembly or disconnect the level assembly connector.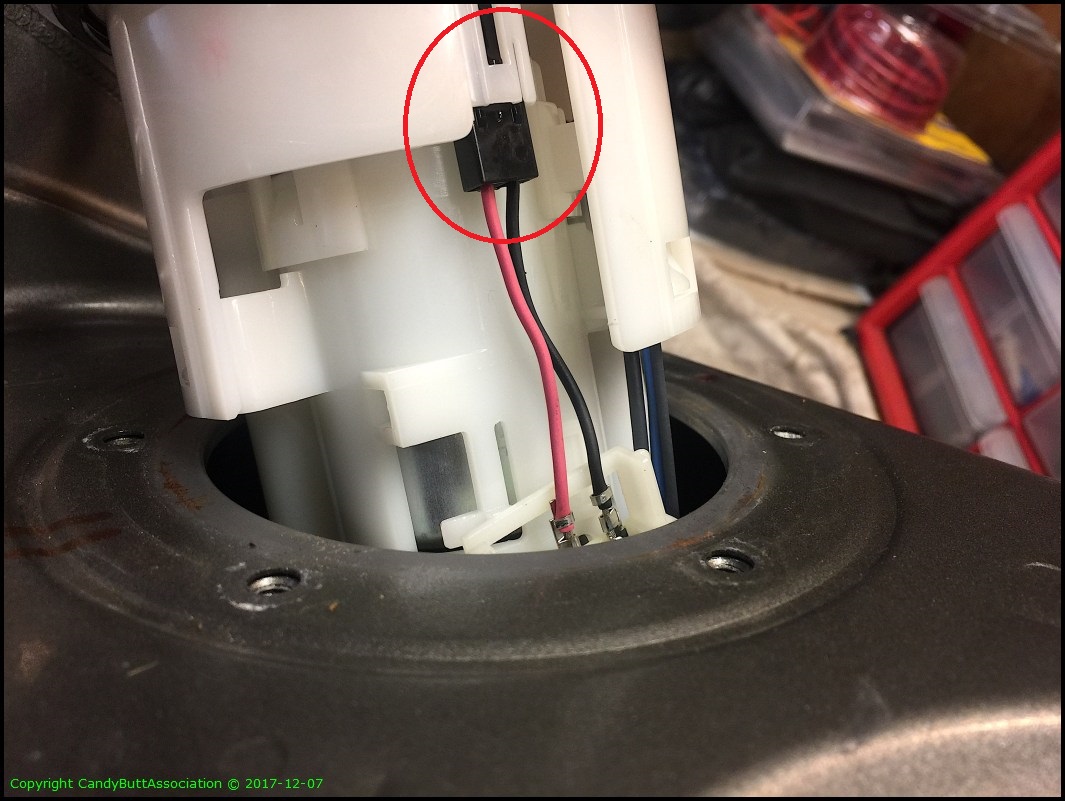
It will fit while still connected. Be gentle. Don't screw up the sending mechanism.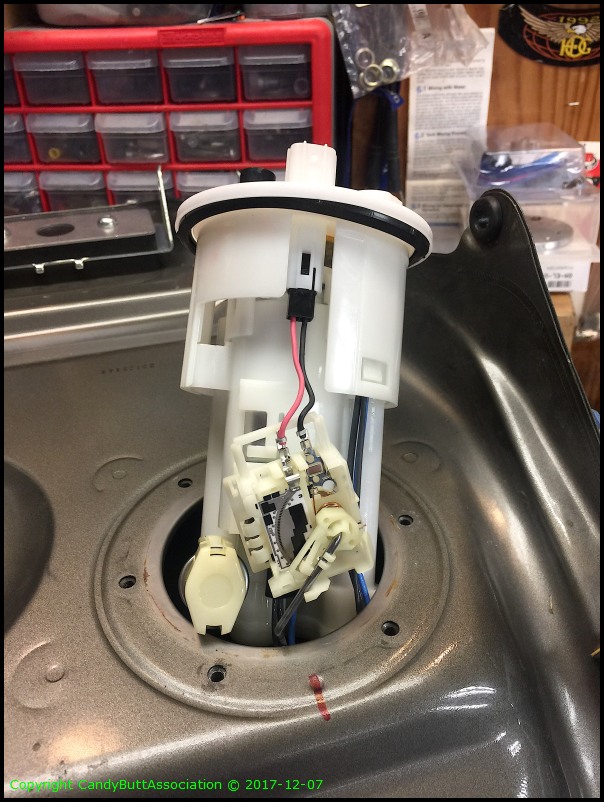
And there you go, TaDa!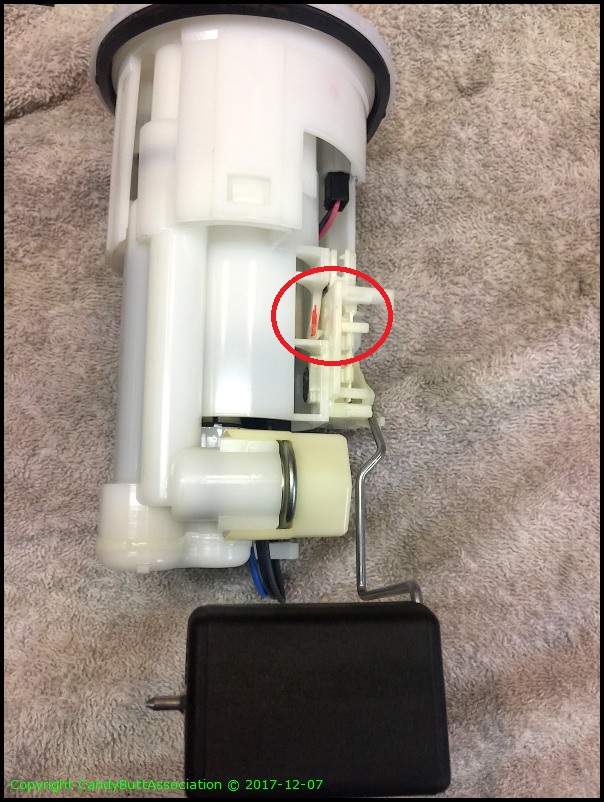
Thats it. I will add reassembly notes when I get there.
Thanks to Fred W for his original post, very helpful!
Theme by Danetsoft and Danang Probo Sayekti inspired by Maksimer